This is Part 2 of an 8 part series in getting Azure IoT Edge setup with the Raspberry Pi.
You can read the other parts here…
Part 1 – Setting up Raspbian Buster
Part 3 – Creating an Azure DevOps Organisation, Project, Settings, etc
Part 4 – Setting up the Azure IoT Edge Device Pi
Part 5 – Setting up the Azure IoT Edge Build Pi
Part 6 – Creating an Azure Container Registry
Part 7 – Download the Azure DevOps Project Source Code
Contents
In this post we’ll run through getting Raspbian Buster set up on two Raspberry Pi’s ready to get Azure IoT Edge up and running.
What we’ll be doing
What we’ll be doing
In the previous post, we got two Raspberry Pis setup with Buster. We configured the two Pis to suit our needs, one as a Build Agent and another as an actual Azure IoT Edge Device.
In this post we’ll create an Azure IoT Hub and add an IoT Edge Device to it.
1: Create an IoT Hub
Firstly, go to the Azure Portal at https://portal.azure.com and login with your Microsoft credentials.
You can create a Free Trial Account here if you don’t already have one.
Once you’re logged in, create a new IoT Hub by clicking the “Add Resource” button and typing “IoT Hub” into the “Search for a resource” box.
Clicking the IoT Hub suggestion will take you to the page to begin creating your IoT Hub.
Choose a Subscription, create or reuse a Resource Group, Region. Choose a suitable name and hit the “Next: Size and Scale >” Button.
Next, if you haven’t already used one, you can choose the Free Tier for the IoT Hub. You can only have one Free IoT Hub per subscription, so if you’ve used one already, then choose the “S1 Standard” tier.

Next, hit the “Review and Create” button, check that everything is in order, before clicking the final “Next” Button.
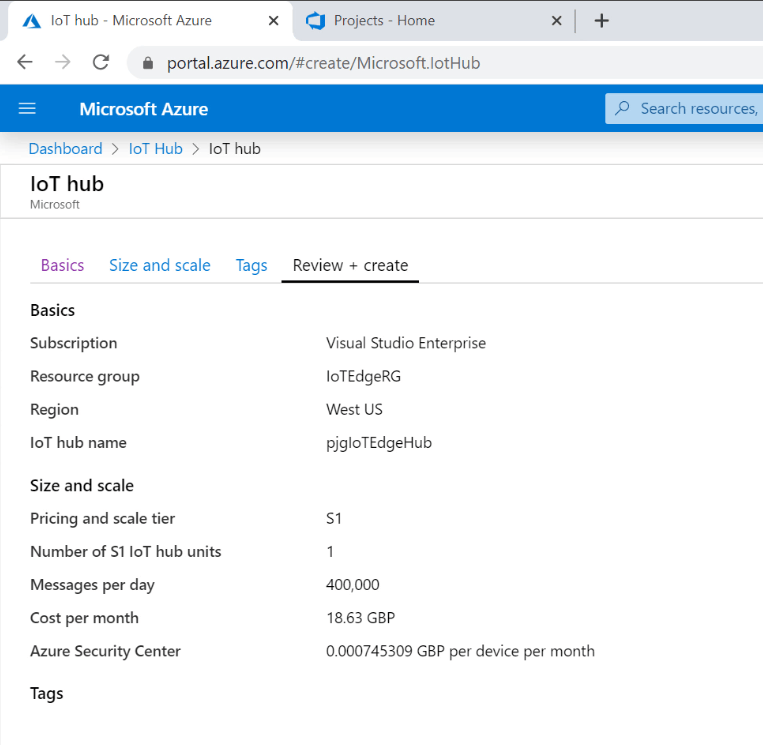
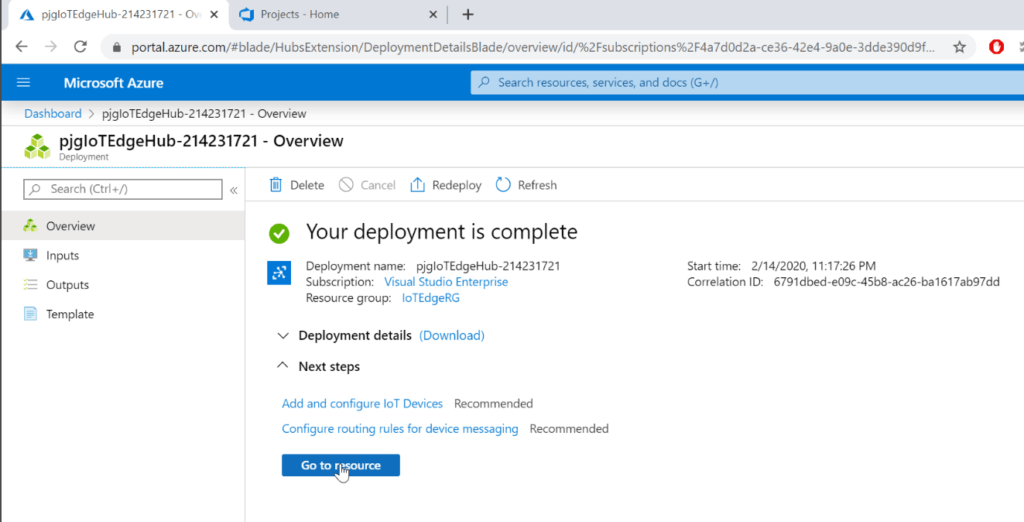
You can now patiently wait for you IoT Hub to be created. Once it’s done, click the “Go to Resource” button to go to your IoT Hub.
2: Adding an IoT Edge Device
Along the left hand edge will be all of the options for the IoT Hub. In the “Automatic Device Management” section click the “IoT Edge” link.
This screen will list your existing IoT Edge devices if you have any. Click the “Add an IoT Edge Device” button at the top of the screen.
On the “Create a Device” screen, choose a “Device ID” for your IoT Edge Device such as “iotedgedevice“, leaving the remaining settings as default.
Hitting the “Save” button will create your IoT Edge Device and return you to the list of IoT Edge Devices.

To be continued….
In the next blog post we’ll create a new Azure DevOps Organisation and Project ready to house our DevOps CICD pipeline.