In the previous post we created our own custom command in Speech Studio to turn music on and off using the Azure Percept.
In this post, we’ll take this further by delving into the world of Home Automation.
We’ll go through how to connect our command up to an Azure Function via the Command’s WebHook.
From the Azure Function, we’ll connect to an Azure IoT Hub. We can then invoke a Direct Method on a Connected Raspberry Pi.
This Direct Method will instruct the Raspberry Pi to turn on and off a Desk Lamp using a Relay.
A Recap of Custom Commands
Custom Commands allow us to create a command set that the Azure Percept can react to.
In the previous post, we created a custom command that allowed the Percept to react to a command to turn music on or off.
Custom Commands are primarily comprised of a set of example sentences and a completion operation.
In the previous post our completion operation was to simply respond to the user in voice that the music was turned on or off.
We made good use of Parameters so we could have a single command turn the music both on and off again.
What we’ll be doing
The following diagram gives us an overview of the major component parts of the solution;
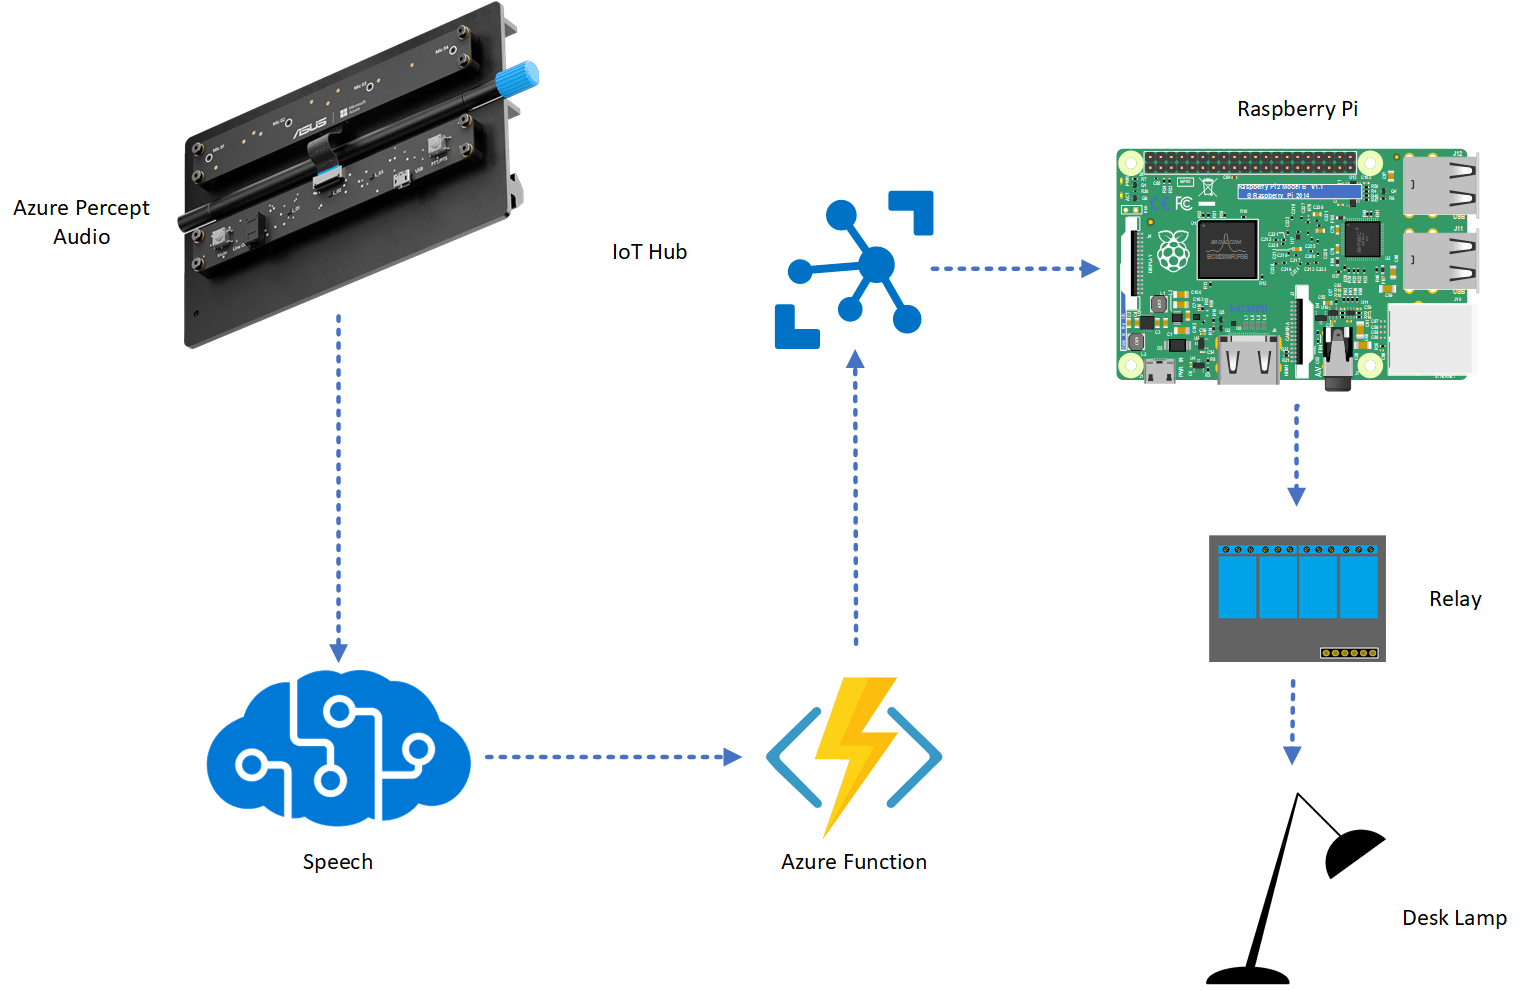
We have the Azure Percept Audio in the top left. This of course is connected to the Carrier Board which I’ve not shown here.
The Percept makes use of the Speech Service to process spoken word detected through the Percept Audio SoM.
Making use of a Webhook, the Speech Service then calls in to an HTTP triggered Azure Function.
This Azure function takes any parameters passed by the Speech Service and then connects to an Azure IoT Hub using a Service Policy.
The IoT Hub has a Device registered to it which a Raspberry Pi running .NET 5 and C#9 is connected to.
The Azure Function invokes a Direct Method on the Raspberry Pi through the IoT Hub when it’s triggered, passing in any parameters which have been passed in from the Speech Service.
The Pi then actions the Direct Method and sets a GPIO pin connected to a relay which turns the mains power on to a Desk Lamp.
Creating an Azure Function App
Once a command has been recognised by the Percept we can configure a done action.
In the previous post we configured this “Done” action as a spoken response to the user.
However, we can also configure the command to call a webhook before then returning the result of that webhook back to the user.
Before we can configure the webhook however, we need the address for the webhook to call into.
If we head to the portal and create a new Azure Function App;
Hitting the blue create button, we’re taken to the first page of the Create Function App process;
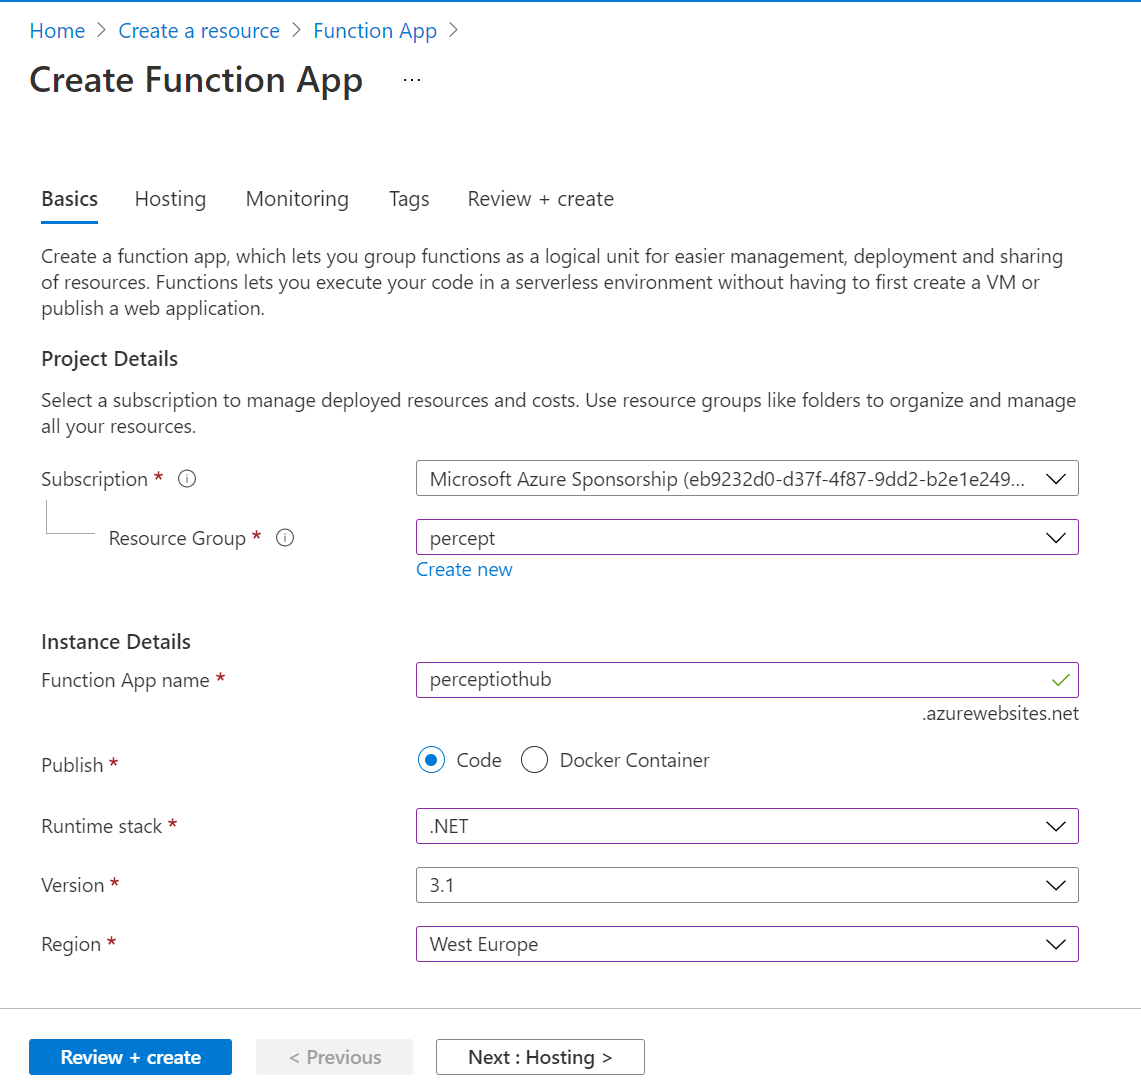
Here we can choose our Subscription, Resource group and give our Function a unique Name.
We can leave the Publish type as “Code”, set the Runtime Stack to “.NET”, the Version to “3.1” and the region to either “West US” or “West Europe” to match that of our Percept Resources.
We can leave the options on the remaining tags as their default, we we can just hit the “Review + Create” button.
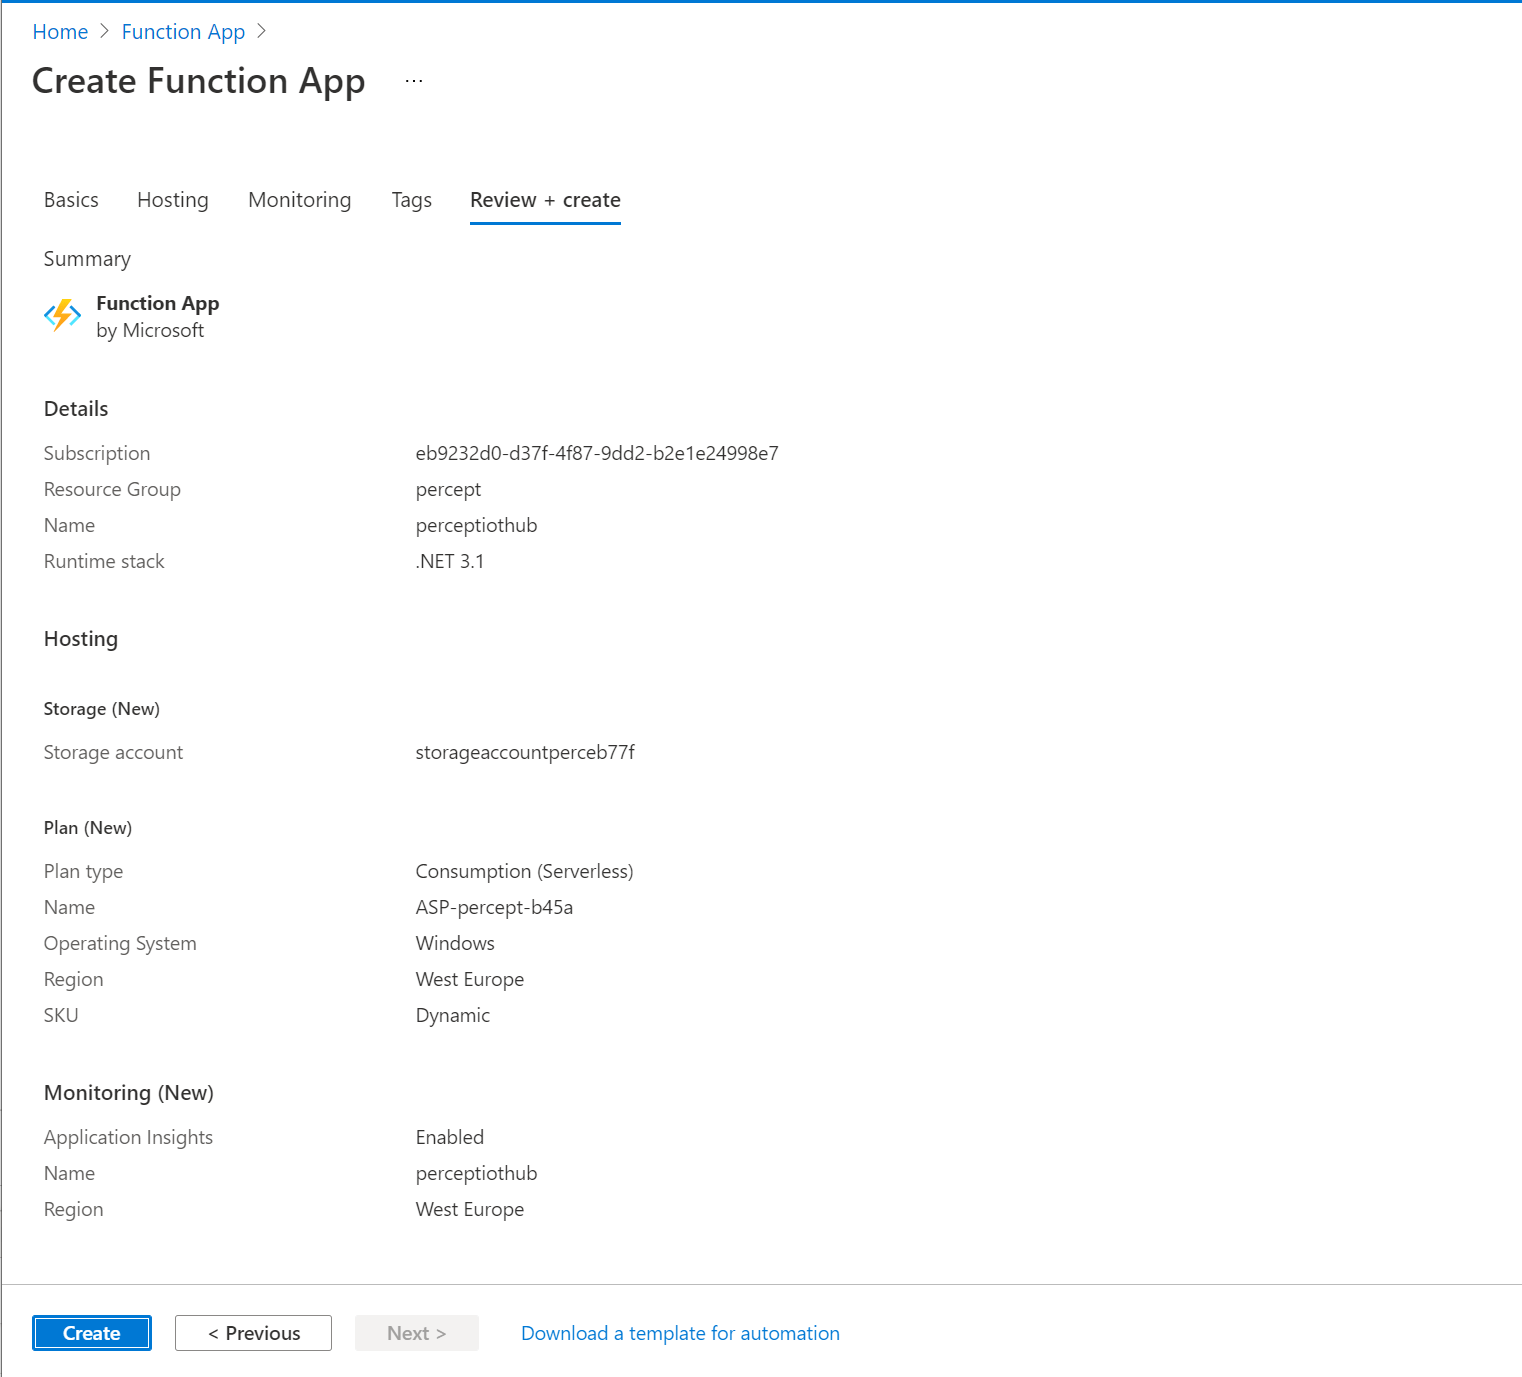
Check the options you’ve selected before hitting the blue “Create” button;
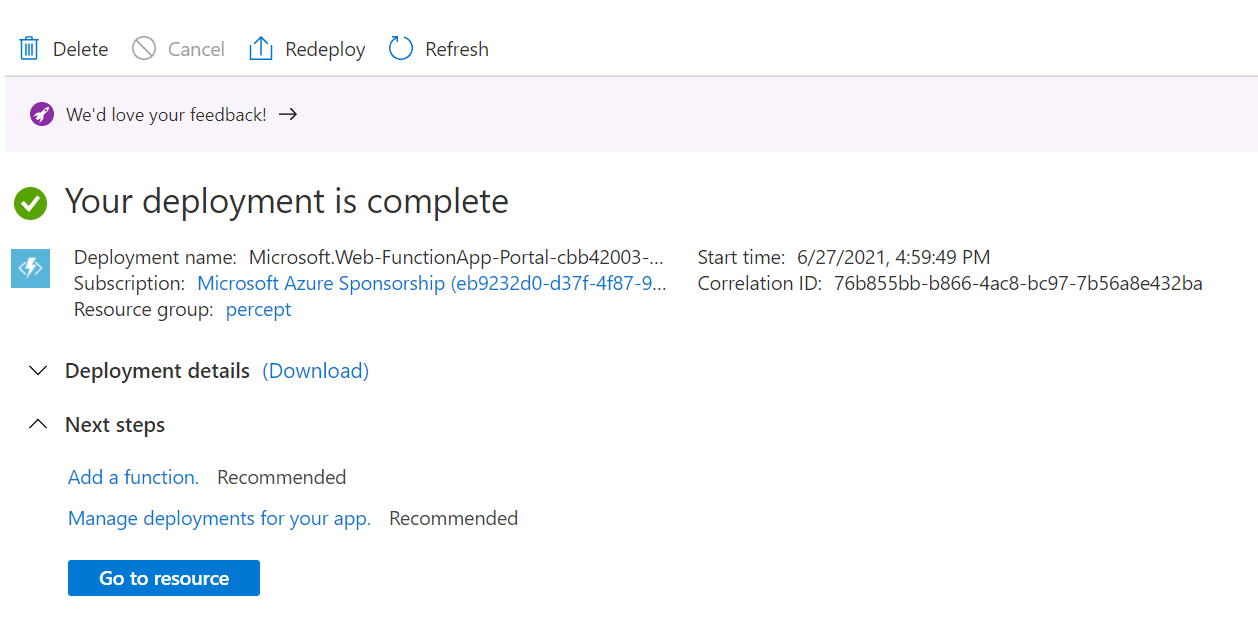
The Function App will then begin creating and complete some time later;
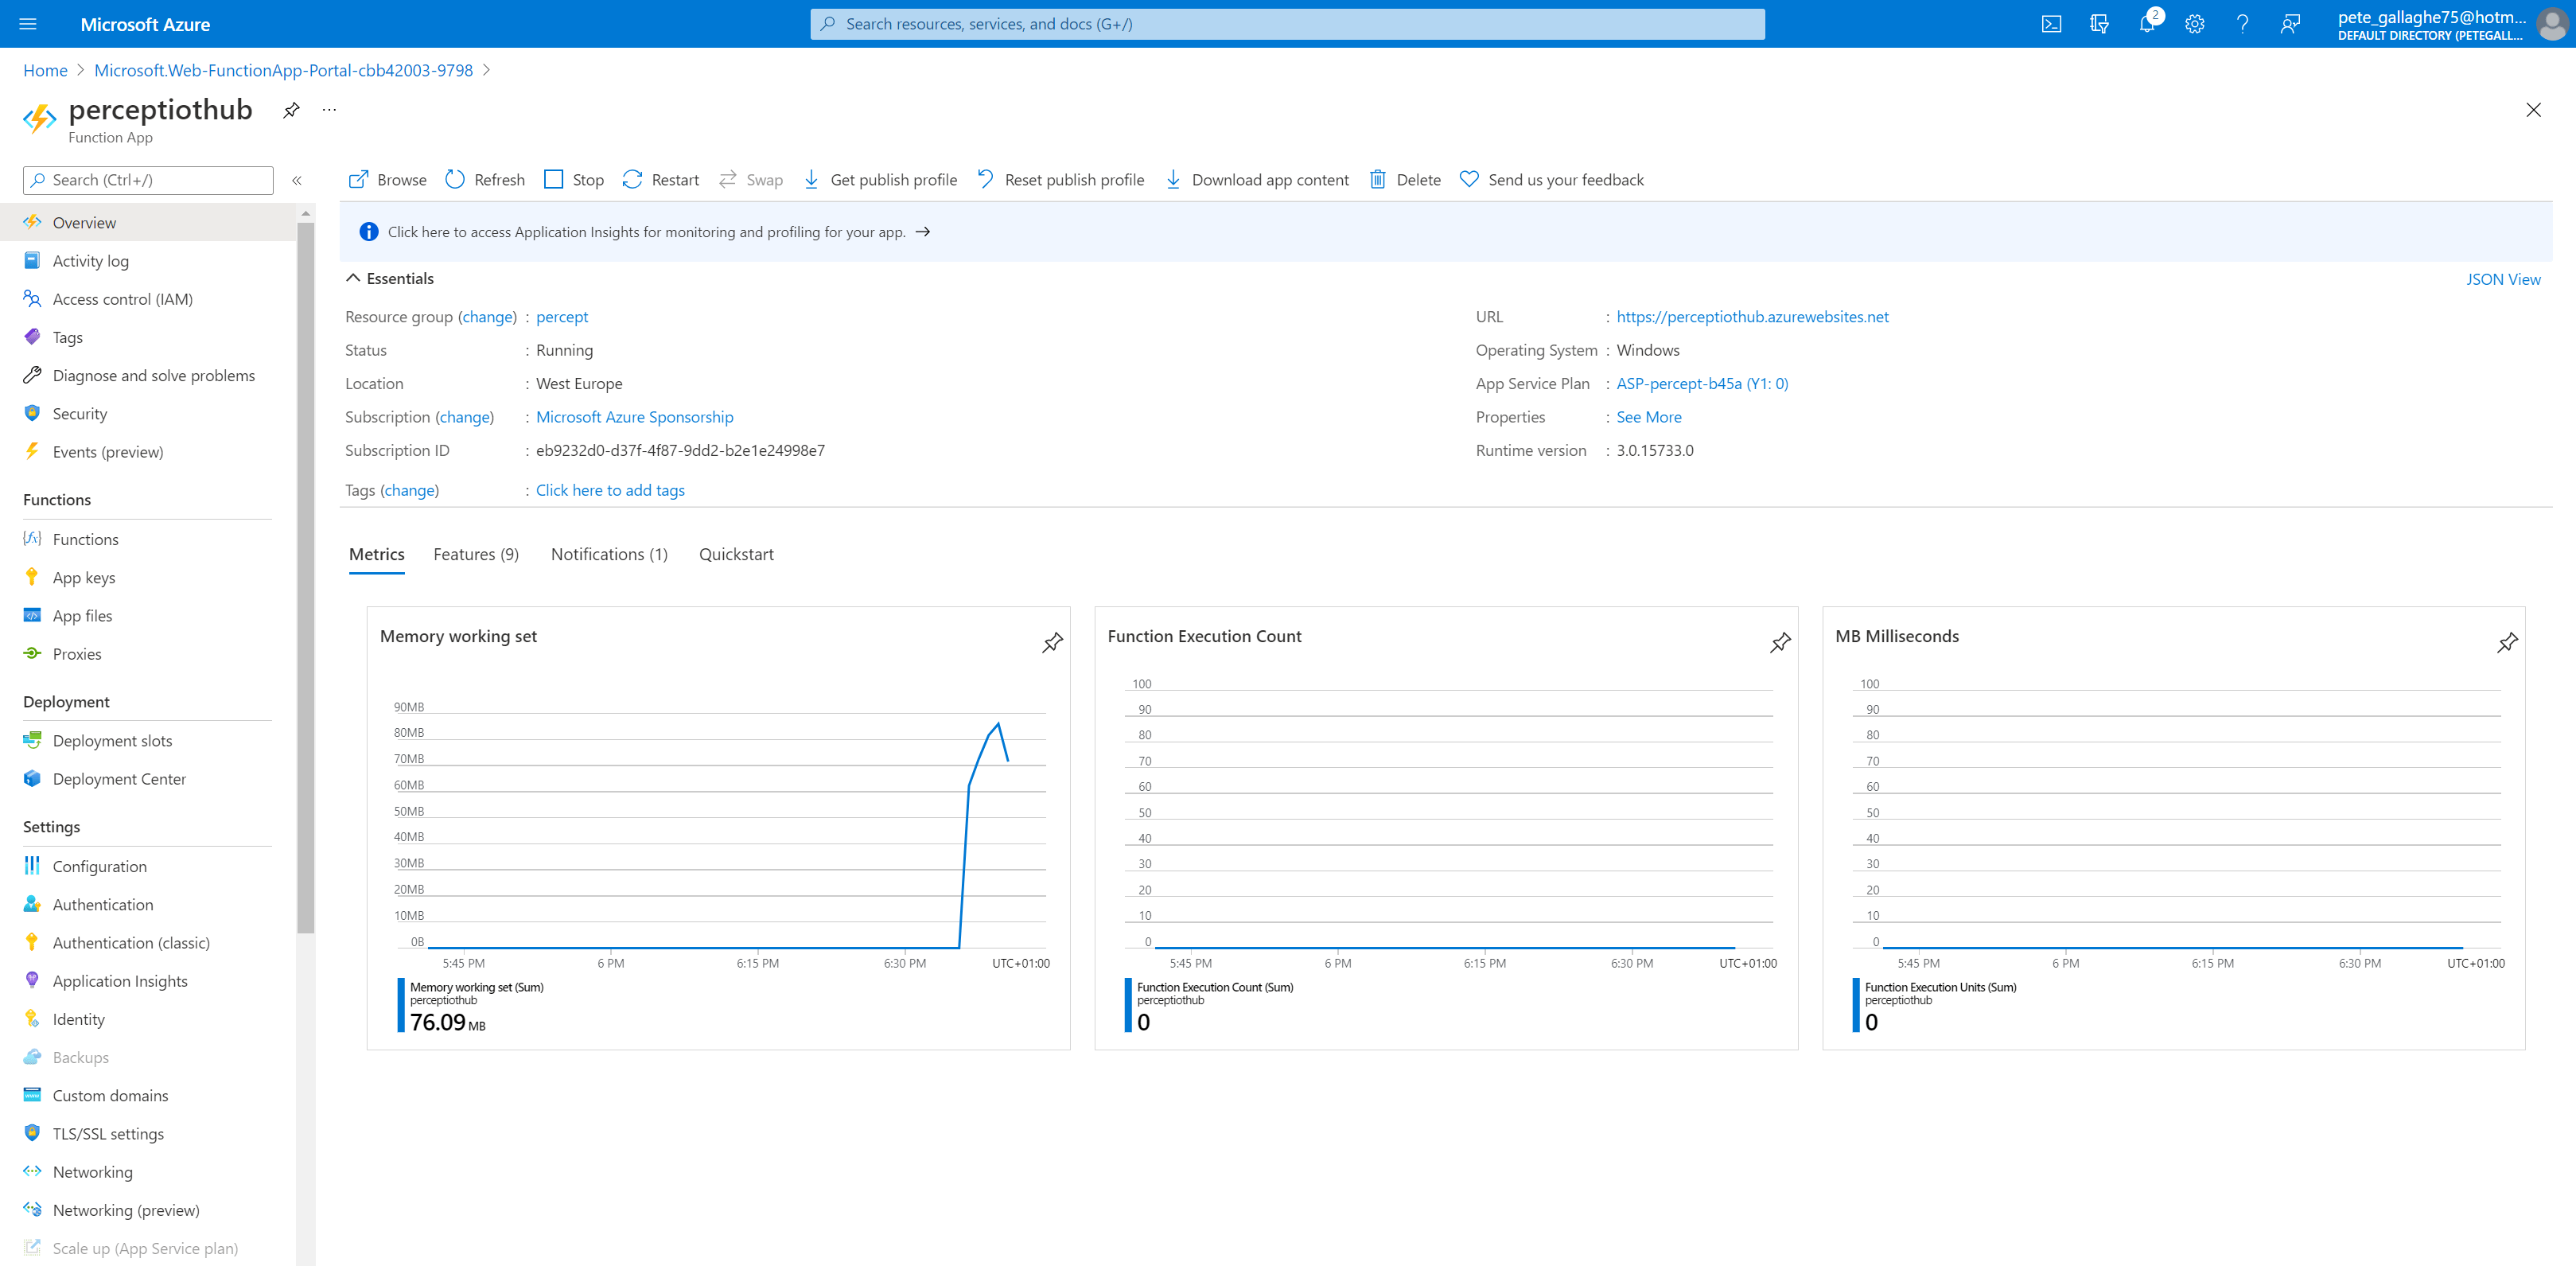
Once the Function has finished creating, we can navigate to our new Azure Function by hitting the blue “Go to resource” button;
Creating an Azure Function using VS Code
We’ll now use VS Code to create our Azure Function.
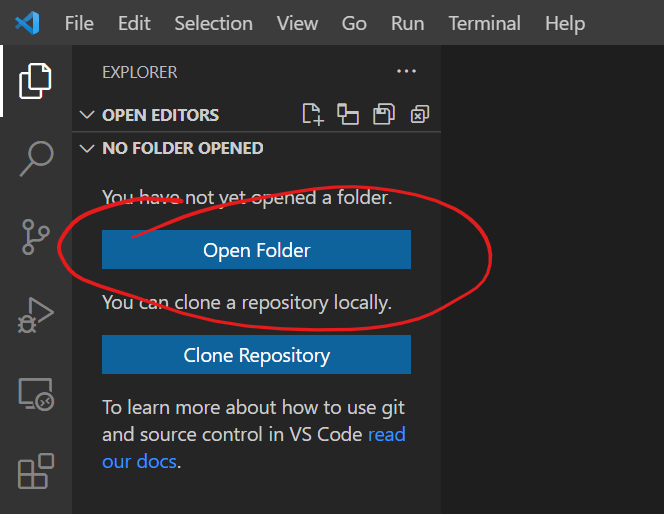
Before we do this, we need to create a directory for our Azure Function to live in, so go ahead and find a nice location for your azure function. We can then open this folder in VS Code, either by right clicking in empty space and clicking “Open with VS Code”, or opening VS Code and opening the folder directly;
Next we need to install the Azure plugin for VS Code if you don’t have it already;
You will need to sign in to Azure if you haven’t already.
Once you’re signed in to Azure, all of your resources will be listed in the left pain when you click the Azure Icon;

Next we need to create our Azure Function. We can do that from the VS Code Tool Palette by pressing ctrl+shift+p, then typing Azure Function in the search box;

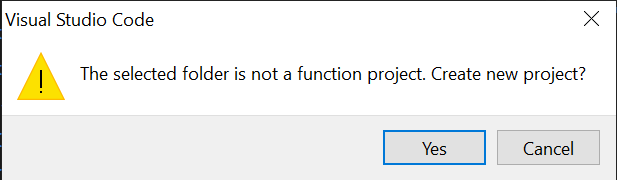
We can then select the first item in the list “Azure Functions: Create Function“.
We’ll then see the following prompt: “The select folder is not a function project. Create new project?”
We will then be prompted for which language we’d like to use;
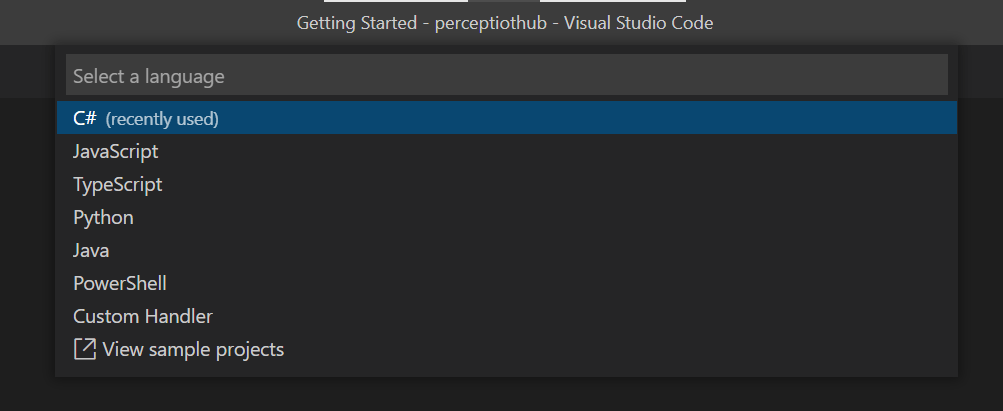
We’ll choose “C#”. Next we’ll be asked which .NET runtime we want to use;
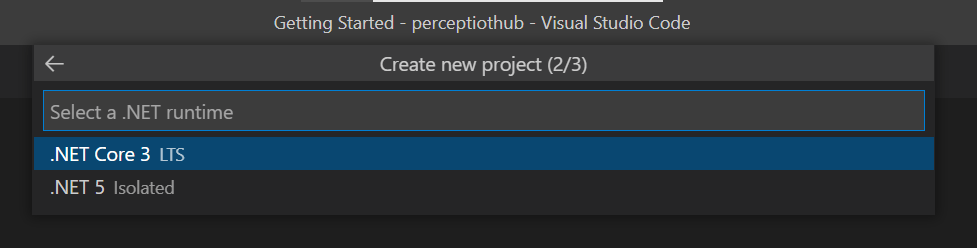
We’ll select “.NET Core 3 LTS”. We’ll then have a choice of Trigger for the Function;
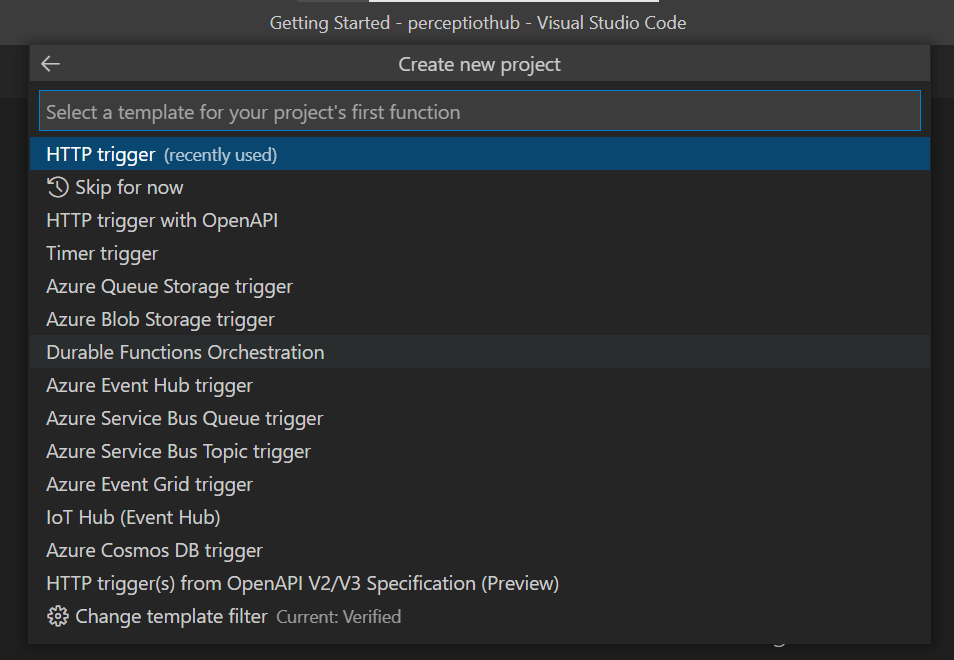
We’ll select “HTTP trigger”. We’ll then have a chance to name our Function;

We’ll choose “PerceptTrigger” for our Trigger. Next, we can give our function a namespace;
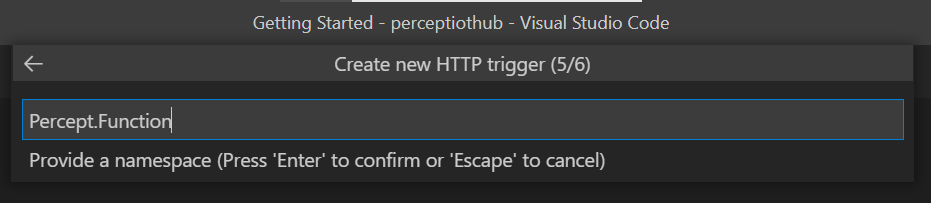
We’ll use “Percept.Function“.
Finally we can choose the type of Authentication we want to use for our function;
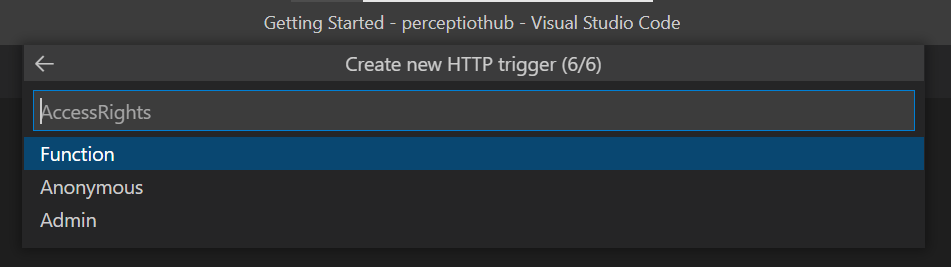
We’ll choose “Function“, which will allow us to pass a token to the function to authenticate.
The Function will then be created;
With that, the basics of our function has been created;
Adding the Azure IoT Hub SDK
Next, as we’re going to be interacting with an IoT Hub, we need to add the IoT Hub SDK.
We can do this from the terminal. Pressing ” ctrl+shift+’ ” (Control + Shift + Apostrophe), will launch the terminal;
We can install the IoT Hub SDK by running;
dotnet add package Microsoft.Azure.Devices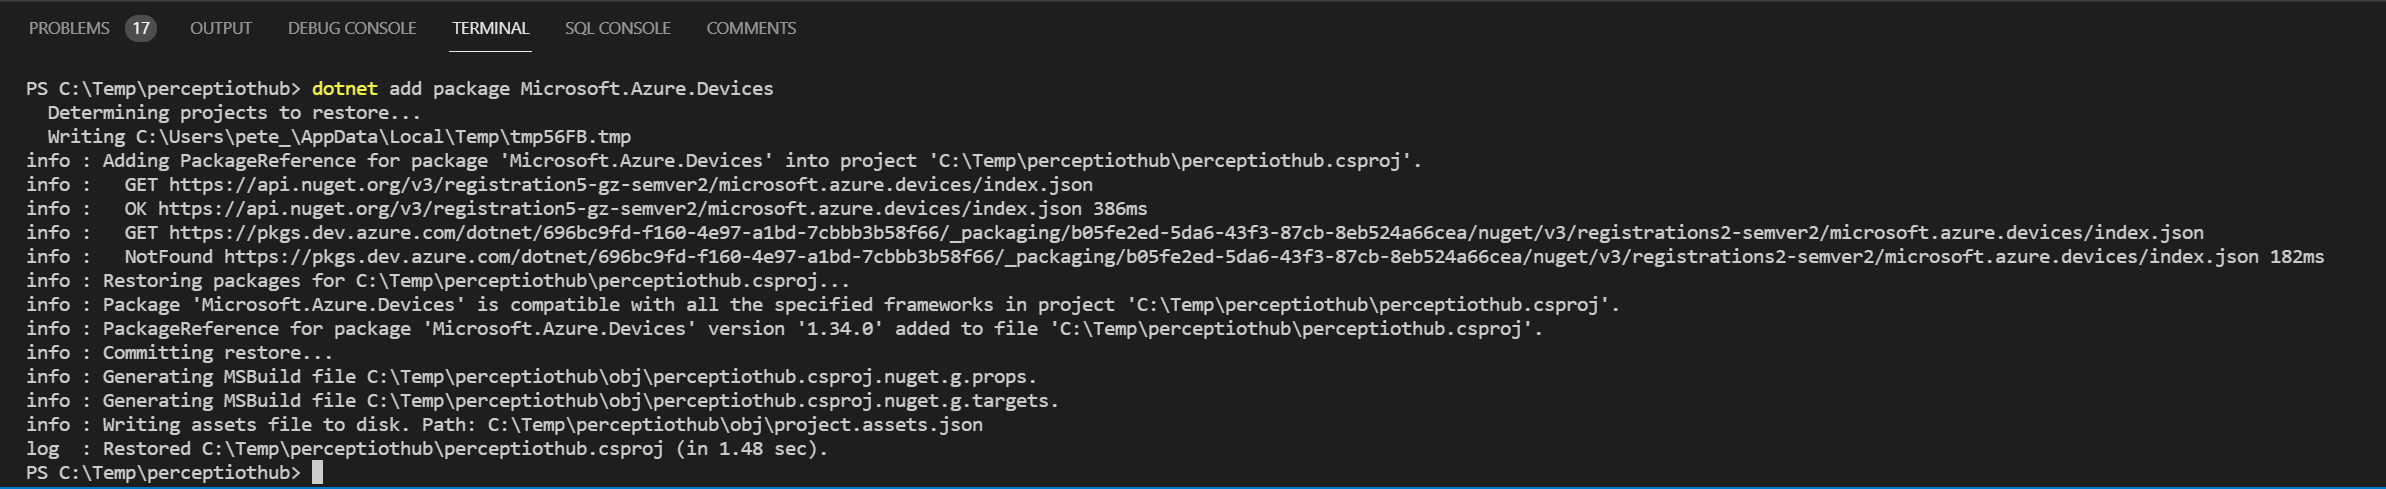
Building the Azure Function Code
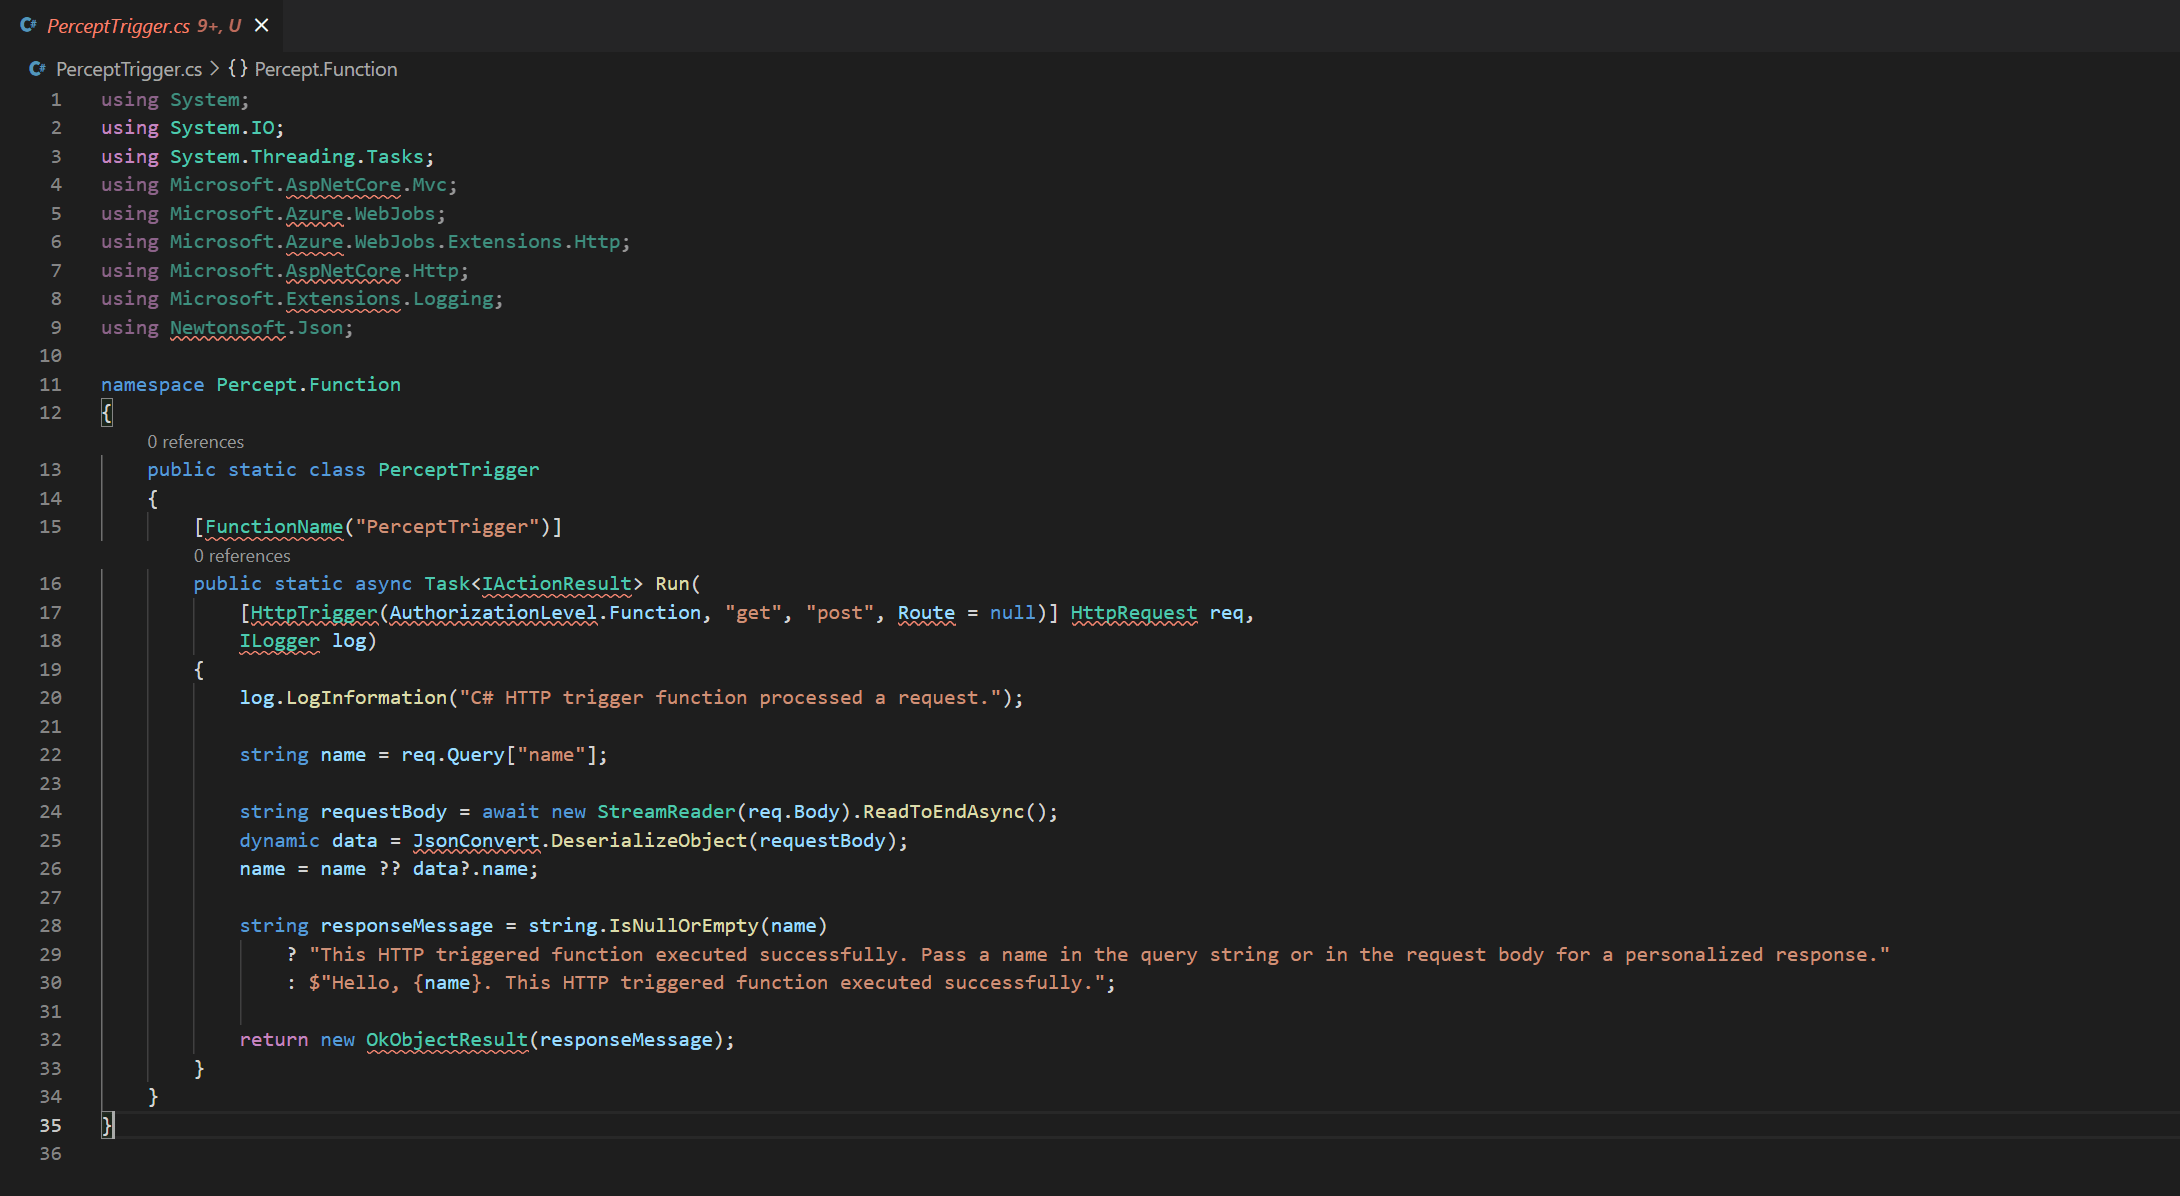
Replace the contents of the PerceptTrigger.cs file with the following block of code;
using System;
using System.IO;
using System.Threading.Tasks;
using Microsoft.AspNetCore.Mvc;
using Microsoft.Azure.WebJobs;
using Microsoft.Azure.WebJobs.Extensions.Http;
using Microsoft.AspNetCore.Http;
using Microsoft.Extensions.Logging;
using Newtonsoft.Json;
using Microsoft.Azure.Devices;

namespace PerceptIoT.Function
{
    public static class PerceptTrigger
    {

        private static ServiceClient serviceClient;

        // Connection string for your IoT Hub
        private static string connectionString = System.Environment.GetEnvironmentVariable("IotHubConnectionString");
        // Device ID for Raspberry Pi
        private static string deviceID = System.Environment.GetEnvironmentVariable("DeviceID");

        [FunctionName("PerceptTrigger")]
        public static async Task<IActionResult> Run(
            [HttpTrigger(AuthorizationLevel.Function, "get", "post", Route = null)] HttpRequest req,
            ILogger log)
        {
            log.LogInformation("C# HTTP trigger function processed a request.");

            string requestBody = await new StreamReader(req.Body).ReadToEndAsync();
            log.LogInformation(requestBody);

            dynamic data = JsonConvert.DeserializeObject(requestBody);

            log.LogInformation($"The State was: {data.state} ");

            string responseMessage = $"This HTTP triggered function executed successfully. The State was {data.state}";

            serviceClient = ServiceClient.CreateFromConnectionString(connectionString);

            await InvokeMethodAsync(Convert.ToString(data.state));

            serviceClient.Dispose();

            return new OkObjectResult(responseMessage);
        }

         // Invoke the direct method on the device, passing the payload
        private static async Task InvokeMethodAsync(string state)
        {
            var methodInvocation = new CloudToDeviceMethod("ControlLight")
            {
                ResponseTimeout = TimeSpan.FromSeconds(30),
            };

            methodInvocation.SetPayloadJson("{\"state\": \"" + state + "\"}");

            // Invoke the direct method asynchronously and get the response from the simulated device.
            var response = await serviceClient.InvokeDeviceMethodAsync(deviceID, methodInvocation);

            Console.WriteLine($"\nResponse status: {response.Status}, payload:\n\t{response.GetPayloadAsJson()}");
        }
    }
}
Remember to change the “PerceptTrigger” references in the file to whatever you chose for your Function name.
Next we need to add a local debug setting for our IoT Hub Connection string. Replace the contents of your local.settings.json file with the following;
{
  "IsEncrypted": false,
  "Values": {
    "AzureWebJobsStorage": "",
    "FUNCTIONS_WORKER_RUNTIME": "dotnet",
    "IotHubConnectionString": "ENTER YOUR IOT HUB SERVICE LEVEL ACCESS POLICY CONNECTION STRING",
    "DeviceID": "ENTER YOUR RASPBERRY PI DEVICE ID"
  }
}
Deploying the Function App
We’re now ready to deploy our Function. Using the Azure Tools Extension, in the “Functions” section, if you expand the subscription you created your Function App within, then right click we’ll be given a set of options;

If we select the “Deploy to Function App” option, we can begin deploying our new Azure Function.
We’ll be asked to confirm if we want to deploy the Function App;
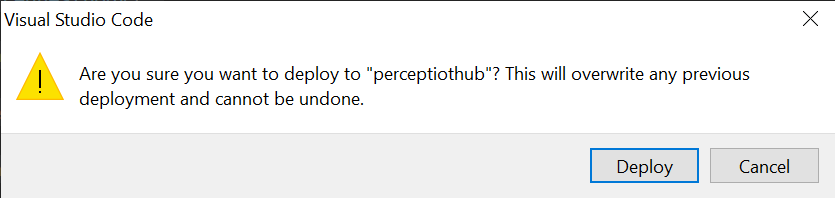
Hitting “Deploy” will begin the process of deploying the Function;

Once the process is complete, our new Azure Function will appear in the functions list;

Adding an IoT Device to the IoT Hub
As we’ll be deploying code to a Raspberry Pi which will connect to our IoT Hub, and in turn allow the Azure Function to invoke a Direct Method
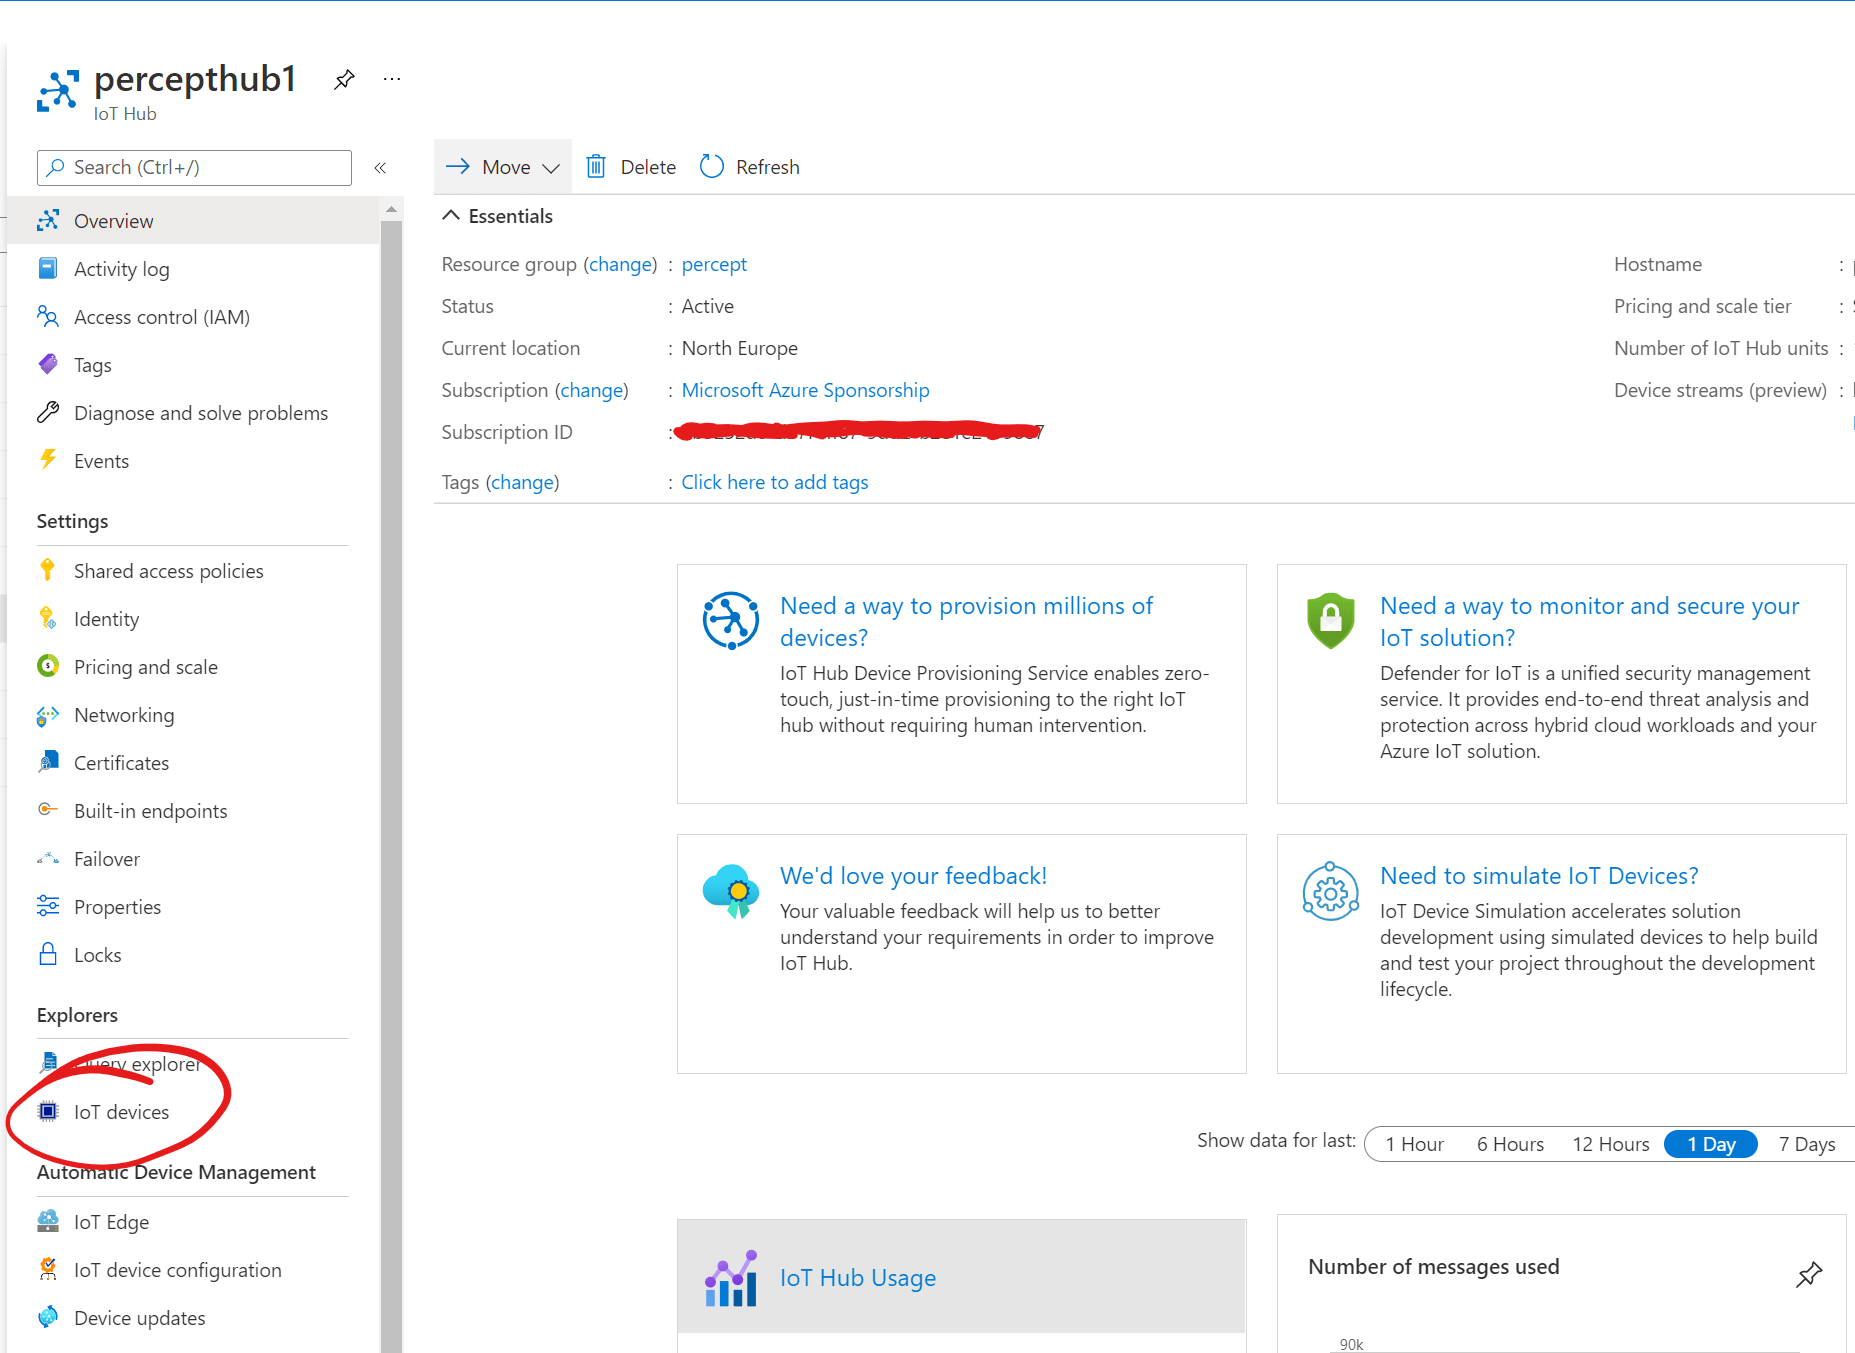
You will have created an IoT Hub as part of the Percept setup experience. We can find all of the IoT Hubs we’ve created using the portal.
Navigating to the Overview Page of our IoT Hub, we can click the IoT Devices Item;
We’ll then be shown the list of IoT Devices we currently have registered to our IoT Hub;
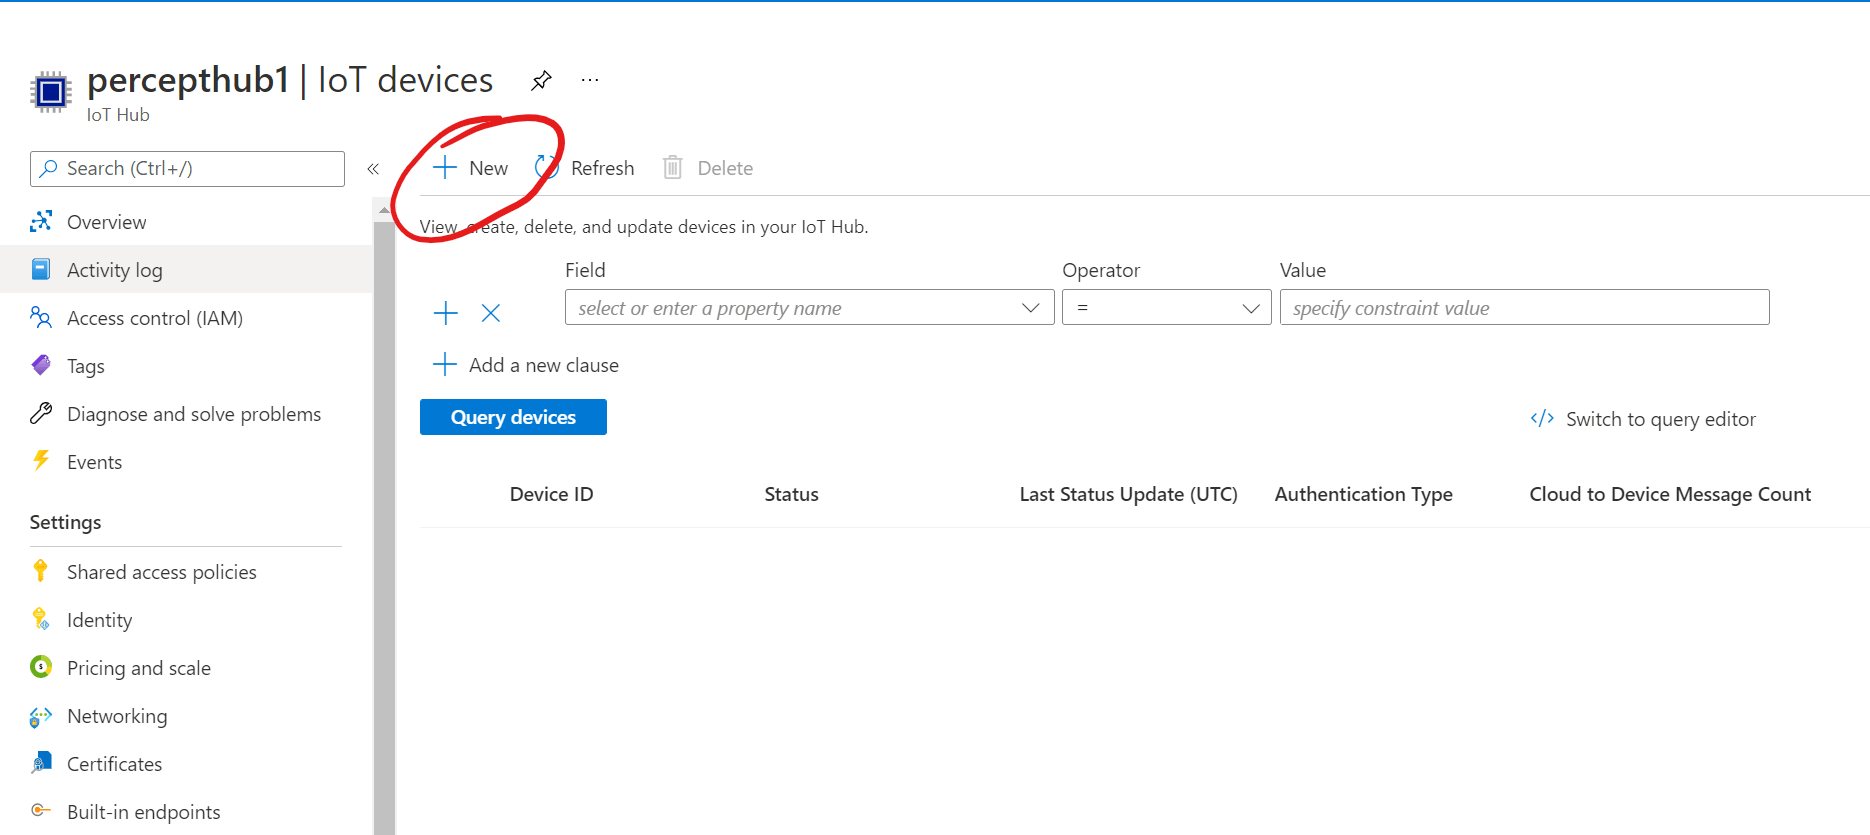
We can add a new IoT Device by hitting the “+ New” item in the toolbar;

We can name our device “devicecontrol”, leave all the options at their defaults and hit the blue “Save” button;

We’ll then see our new device listed in the Device Registry. You may need to hit the “Refresh” button in the toolbar.
Adding an IoT Hub Shared Access Policy
We now need a way for our Azure Function to connect to our Percept IoT Hub.
If we return to the overview page of our IoT Hub, we can add a new Shared Access Policy for our Function App to connect to;
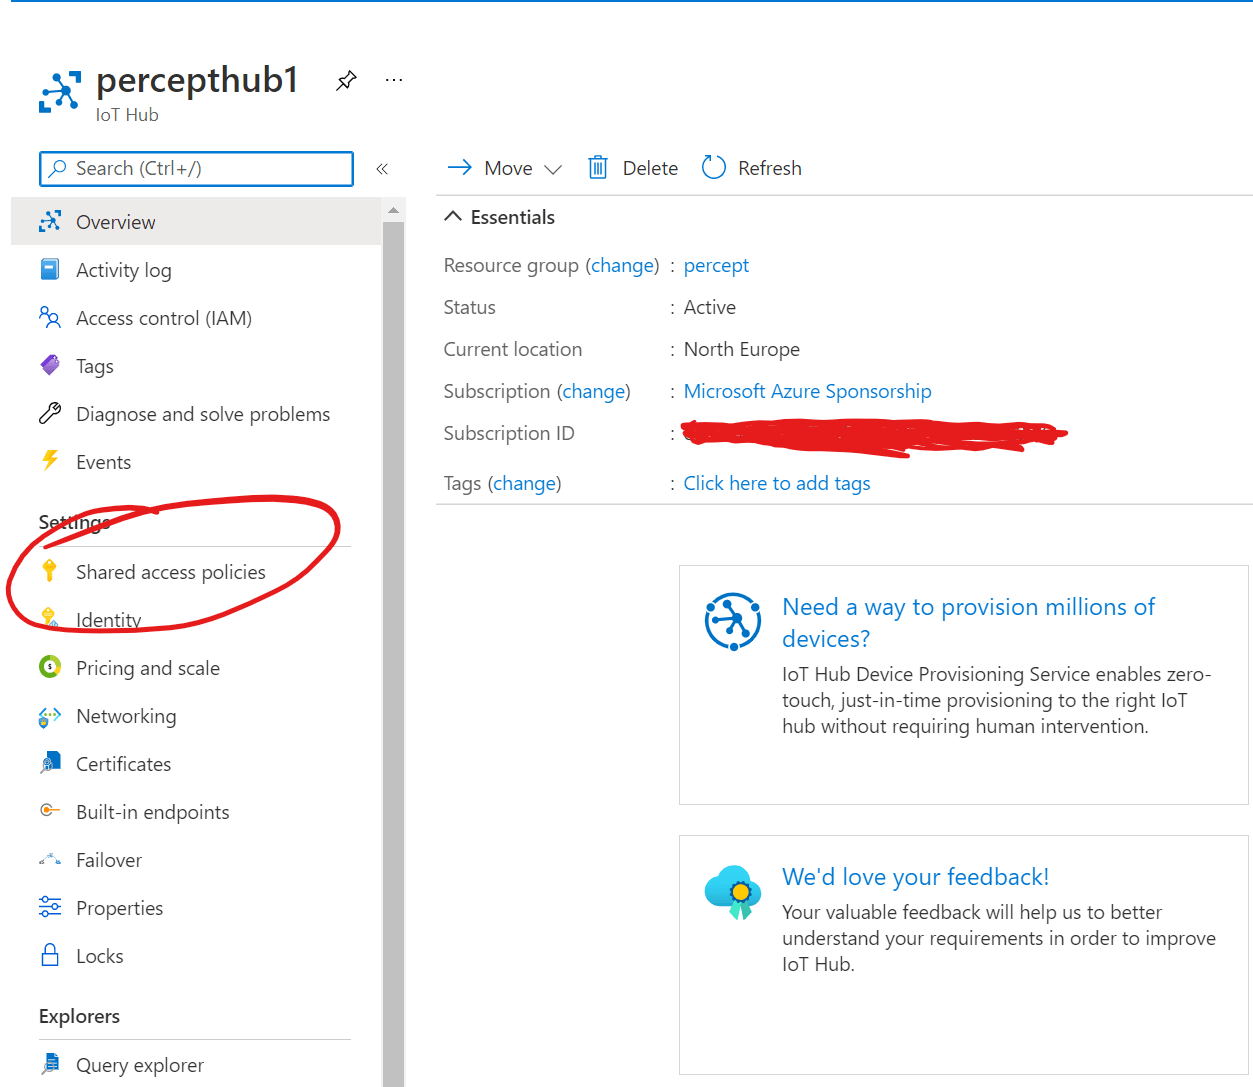
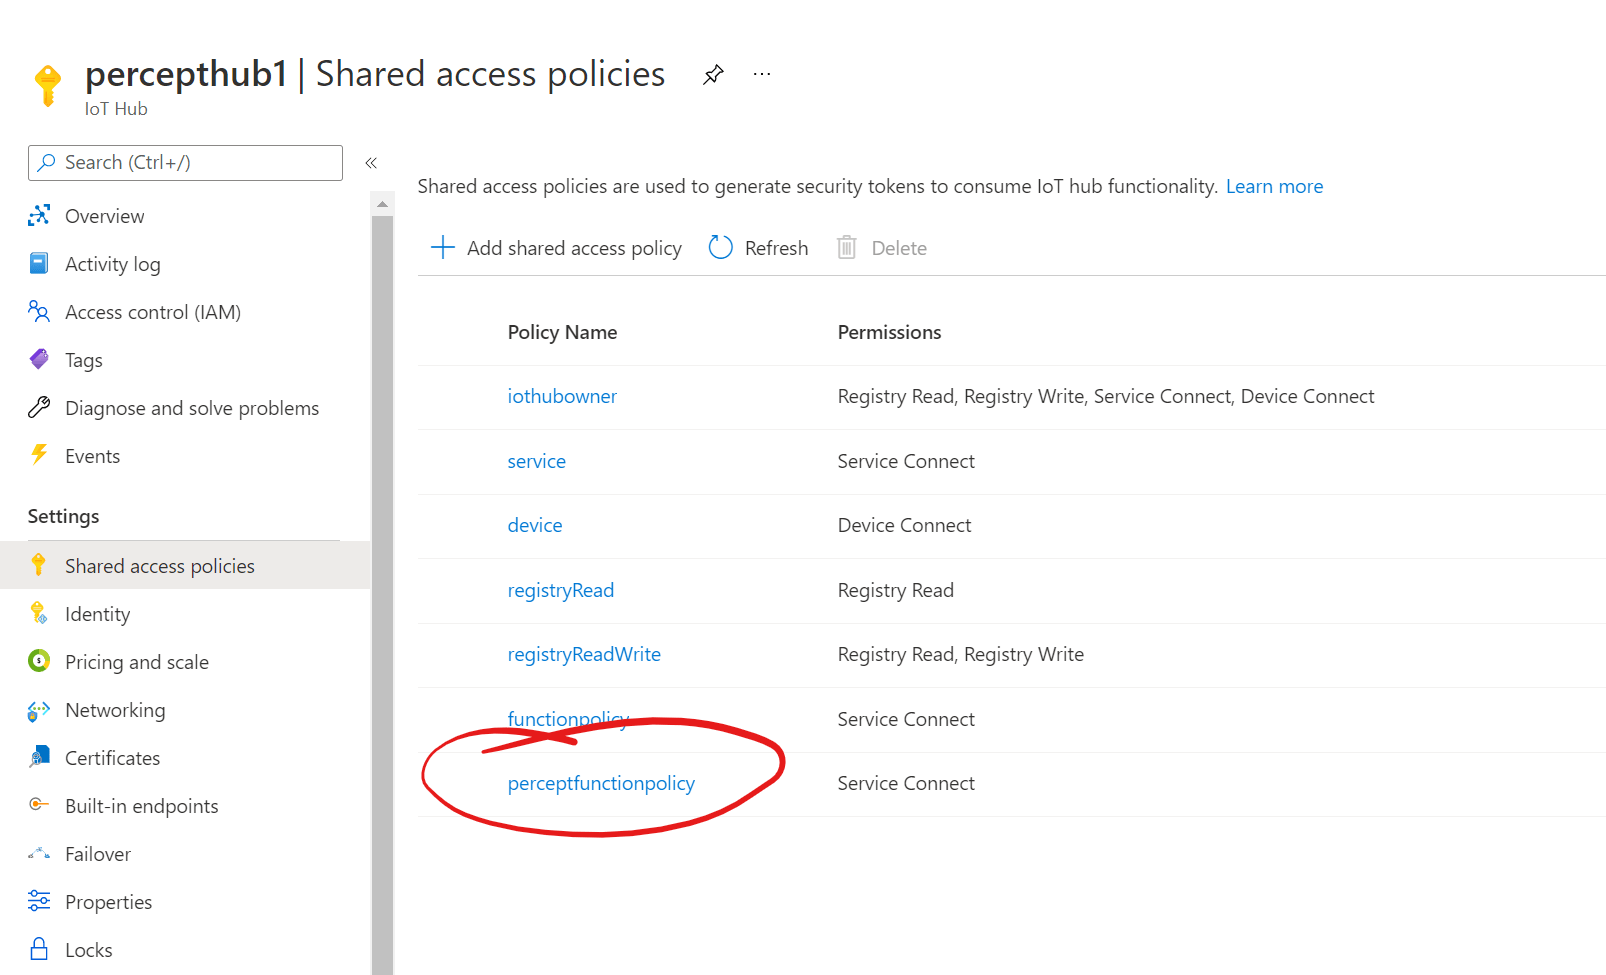
We’ll now be shown all of the existing Built-In Shared Access Policies for our IoT Hub;

Our Function will need a policy with “Service Connect” access. We could use the built in “Service” policy, but I prefer to create a new policy for services to use.
If we click the “+ Add shared access policy” in the toolbar, we can add our own policy;

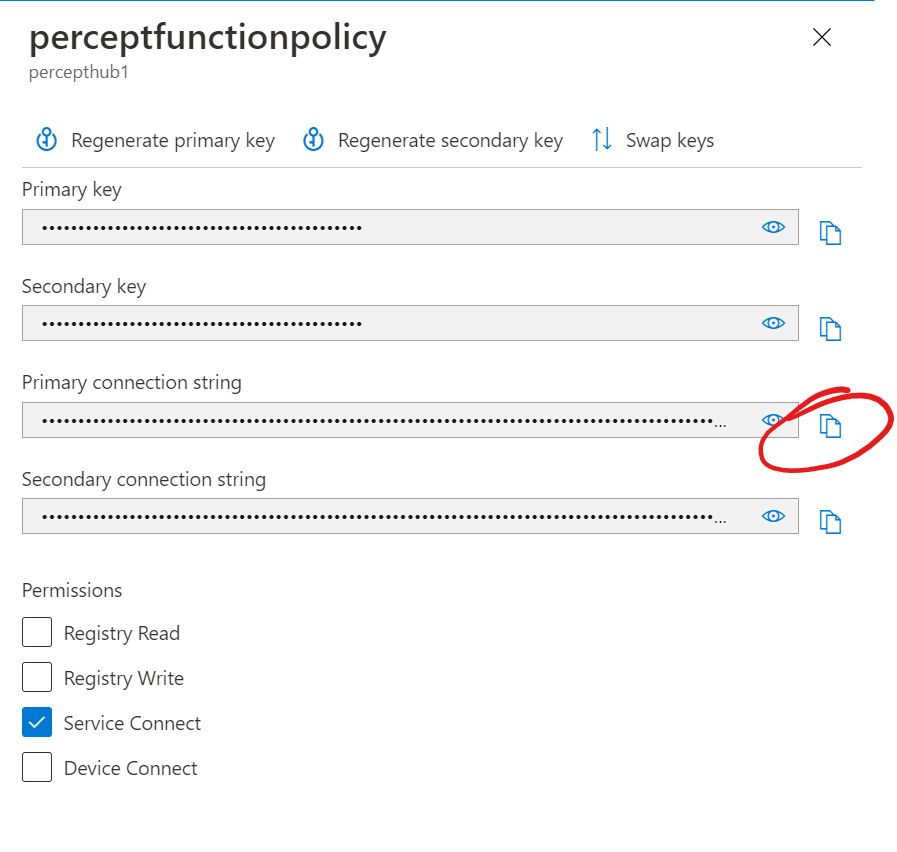
We can name our Shared Access Policy whatever makes sense, I’ve chose “perceptfunctionpolicy” here.
We can then select the “Service Connect” Permission and hit the blue “Add” button to create the Policy.
With the Policy created, it will appear in the list of Shared Access Policies;
If we click on our new Shared Access Policy, we can grab the Primary Connection string we need to allow our Azure Function to connect to the IoT Hub;
Adding a Function App Key
Now that we’ve grabbed our Shared Access Policy, we can add this along with the IoT Device ID of the Raspberry Pi IoT Device we added to the Function Keys for our Azure Function.
If we navigate to the overview page of our Function App;
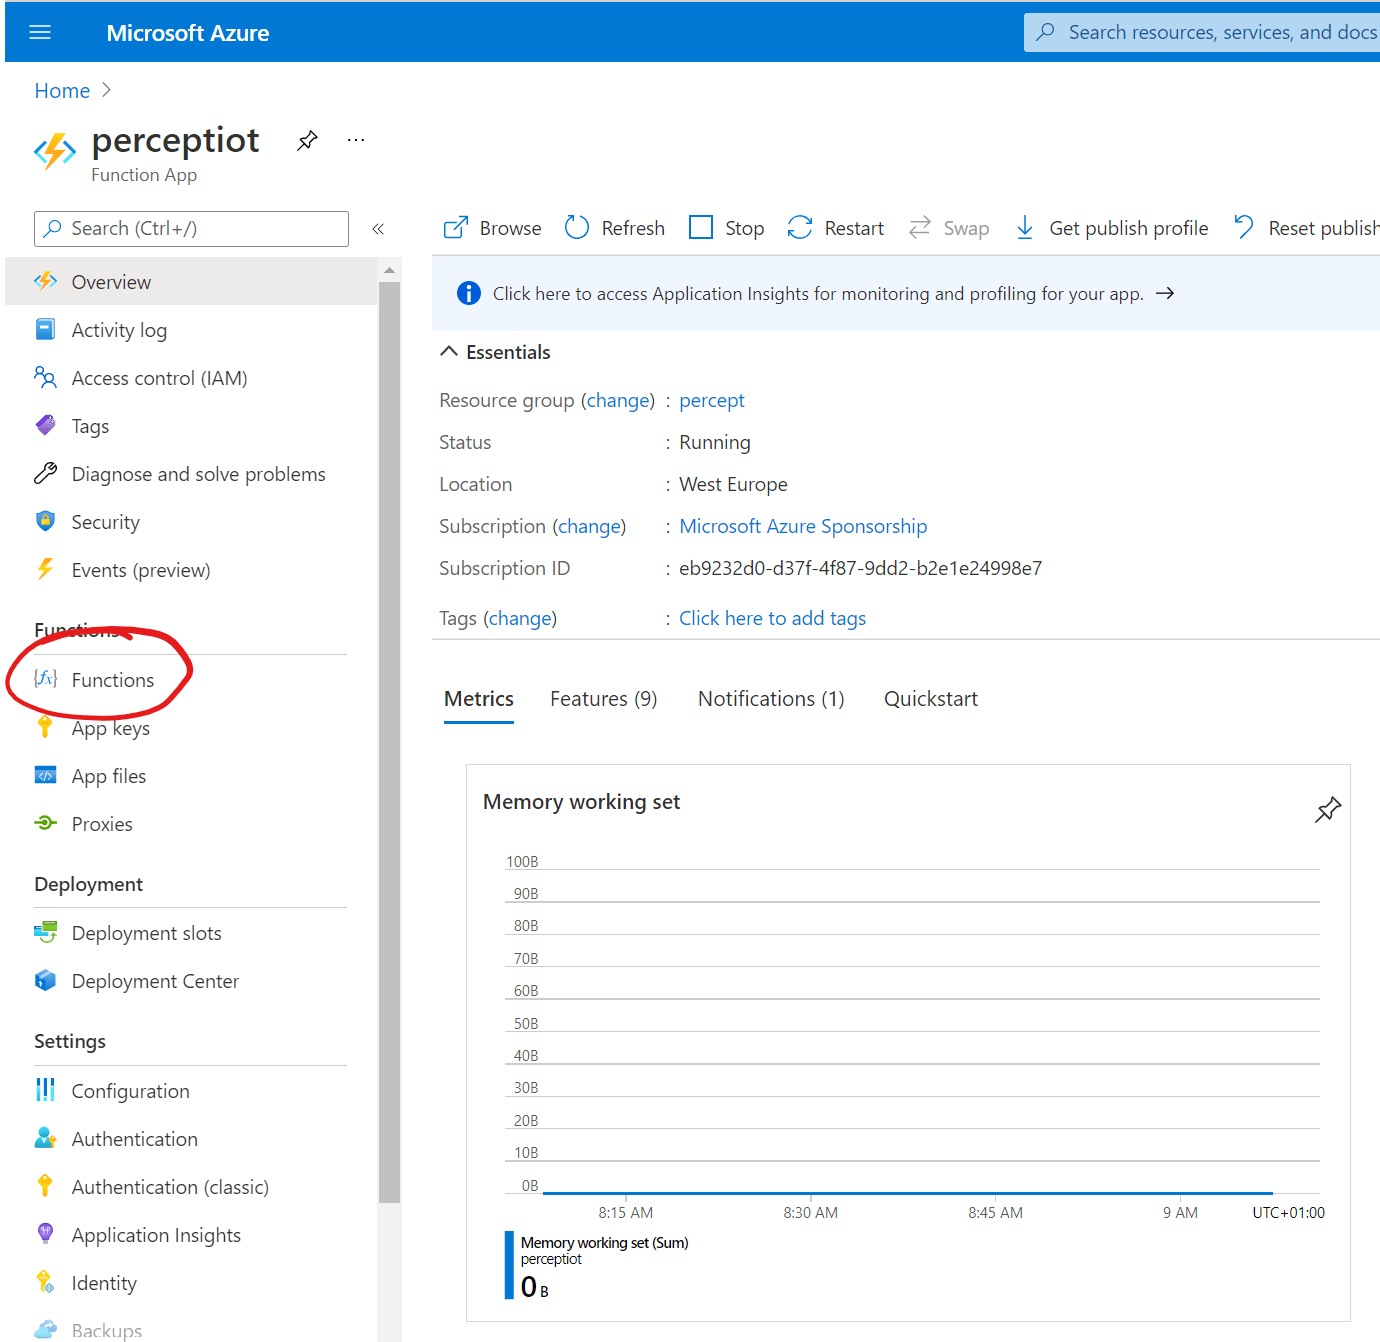
We can navigate to our list of Azure Functions by clicking the “Functions” menu item on the left;

We’ll now see the Azure Function we created from VS Code, clicking on this will take us to the details page;

We can then click the Function Keys menu item so we can add our required information;

We can add a new Function Key by pressing the “+ New function key” button at the top of the page;
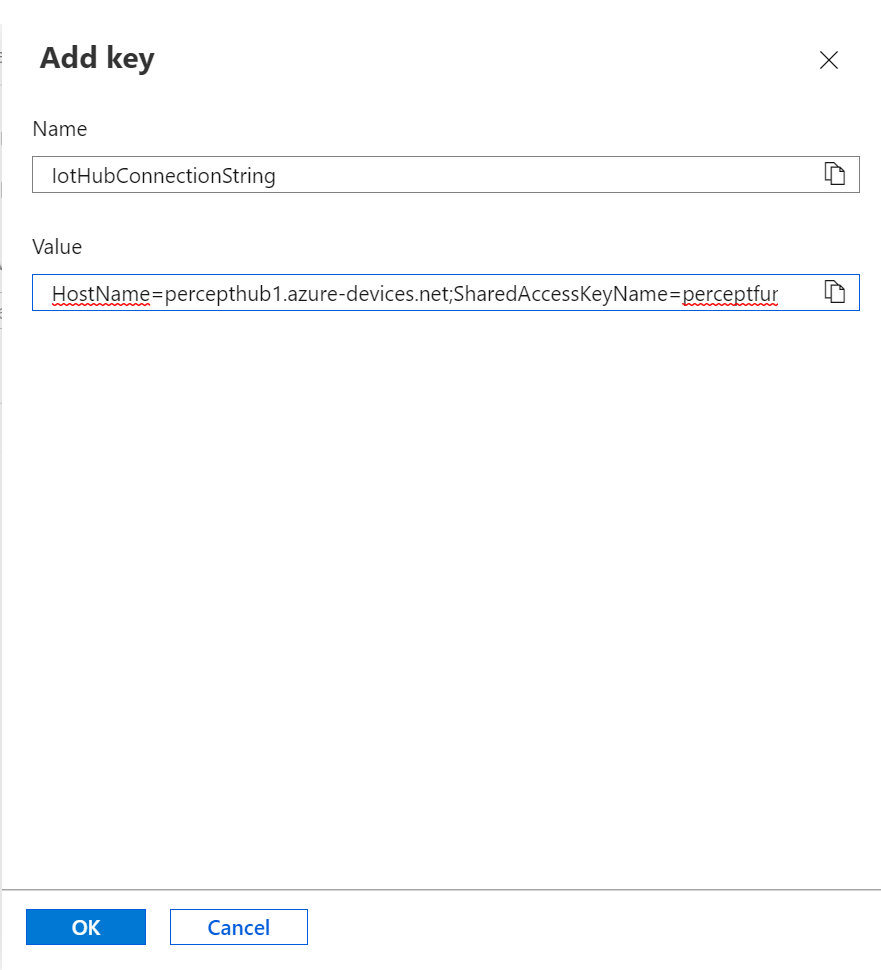
We can add a Function Key for the Service Shared Access Policy Connection String we added earlier and press the blue “OK” button.
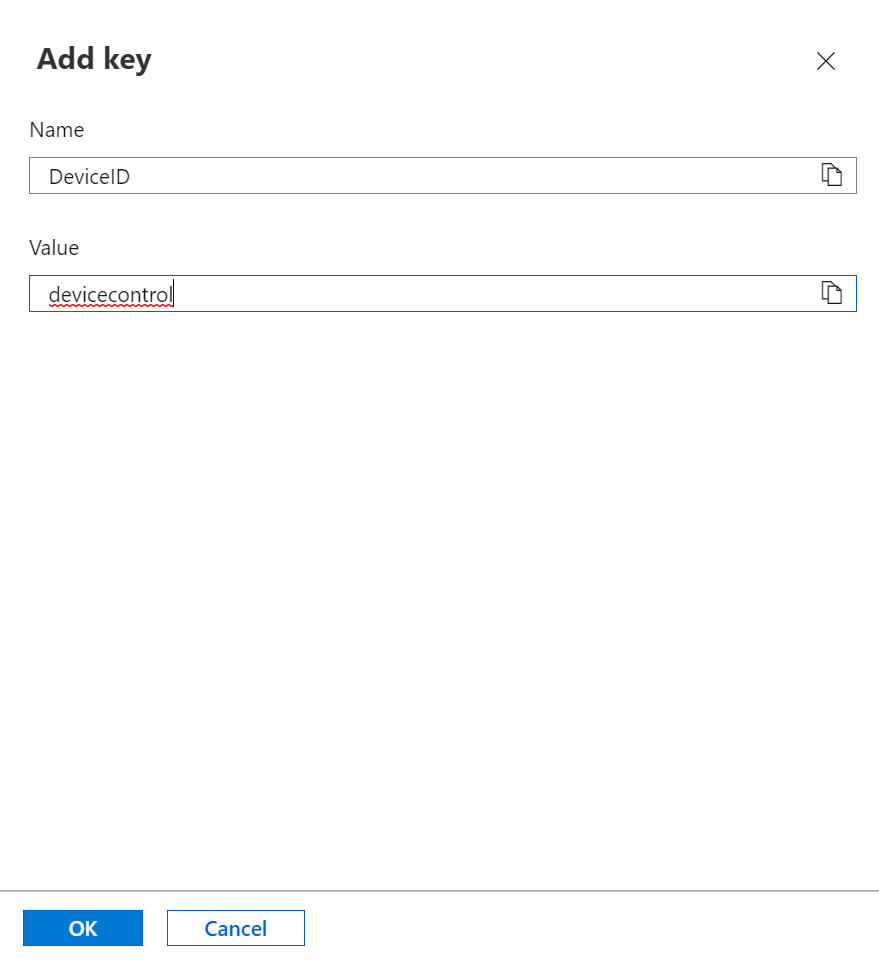
We can repeat that for our IoT Device ID;
Our new Function Keys should now be shown in the list;

Finding the Azure Function URL
We’ll be invoking our function using an HTTP trigger. As such, we’ll need the Azure Function URL.
If we return to the overview page of our function;
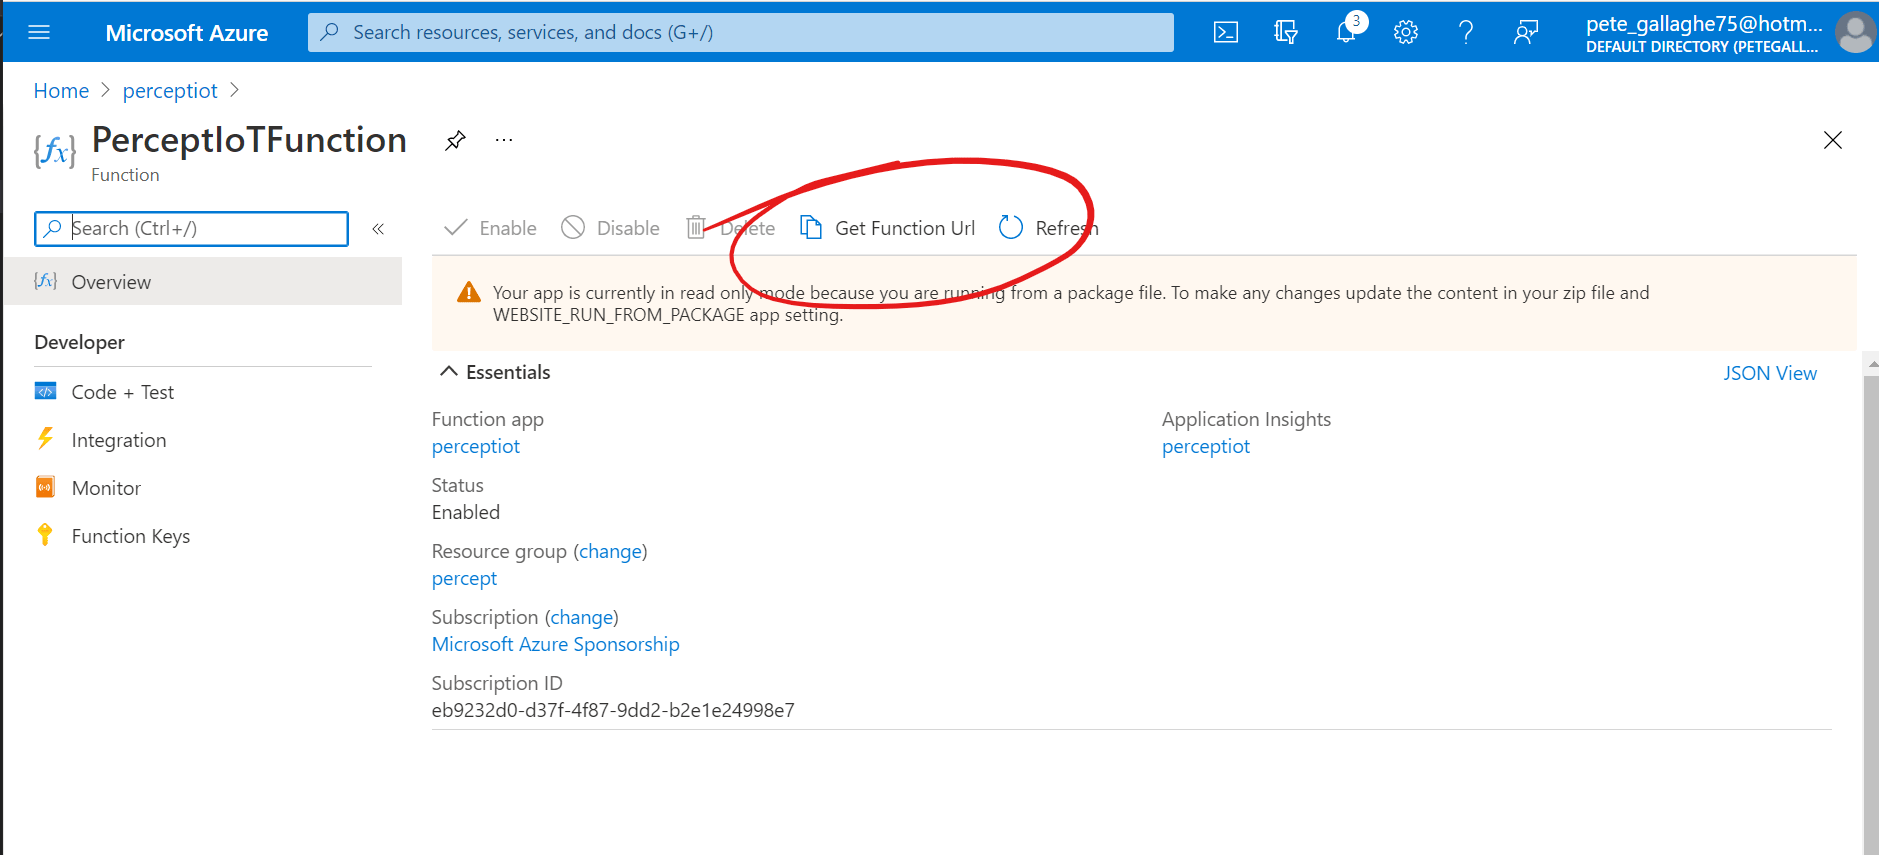
We can grab the Azure Function URL by hitting the “Get Function URL” button;
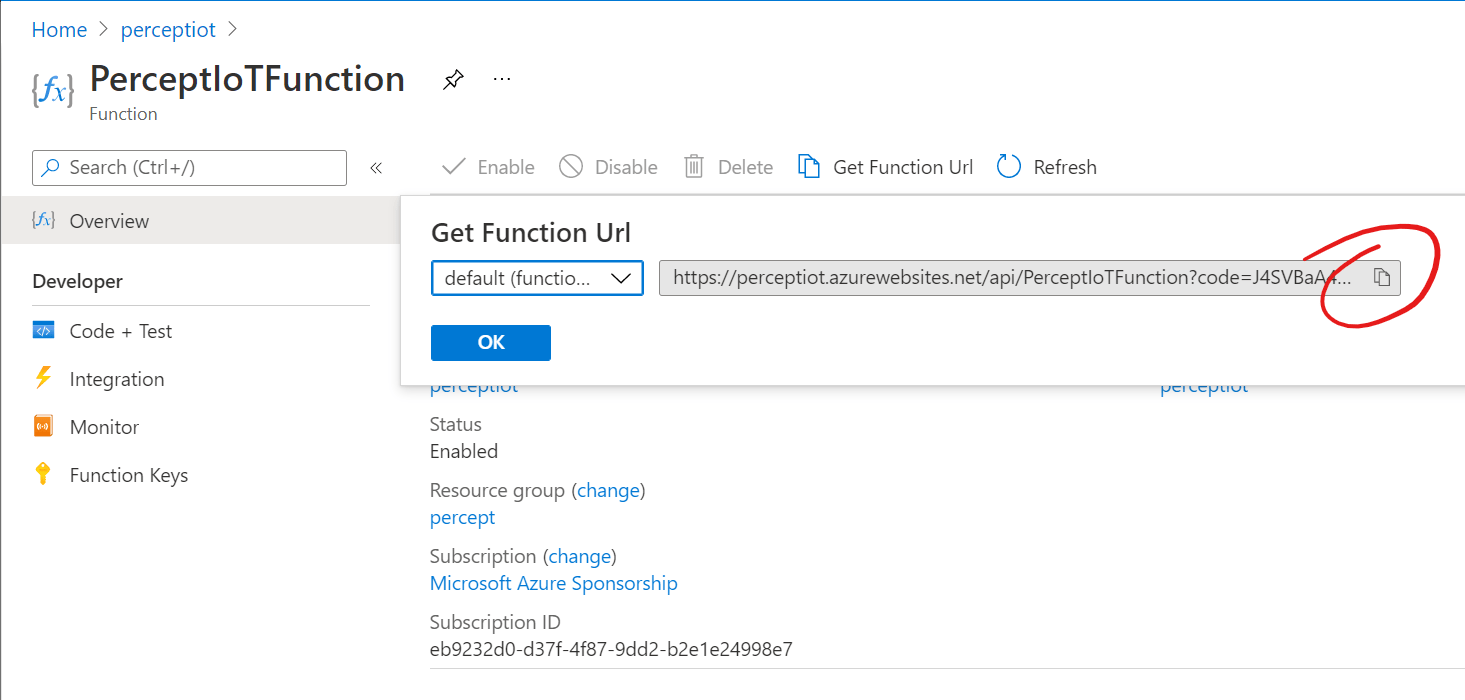
We can press the Copy button to the right of the URL.
Keep this URL safe somewhere for now as we’ll need it when we create our Web Endpoint next.
Adding a Web Endpoint to the Custom Command
We can now return to our Custom Command project. The easiest way to do this is via Percept Studio;
https://portal.azure.com/#blade/AzureEdgeDevices/Main/overview
We can navigate to Speech and click on the Commands tab;
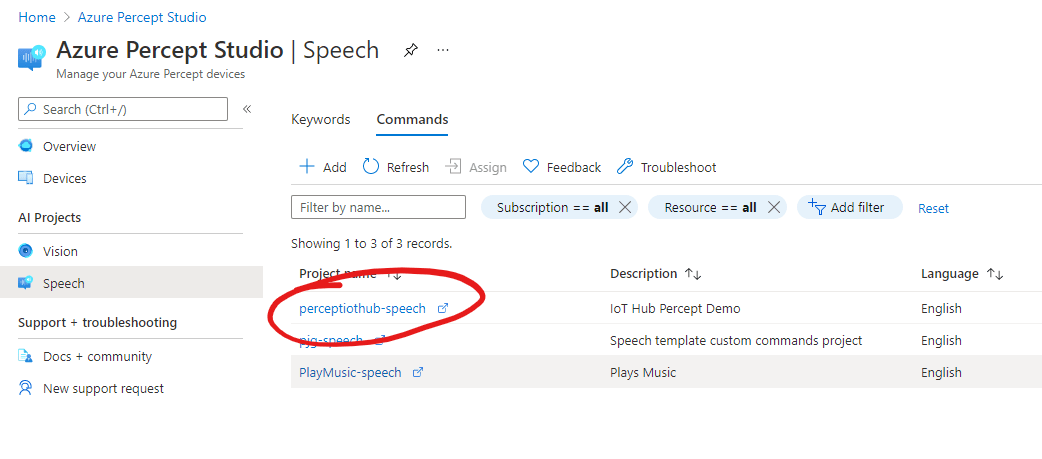
I’ve gone ahead and created a new Custom Command for this example, but you can absolutely use the PlayMusic-speech project we created in the previous post.
Clicking on our custom command will take us to the Speech Project;
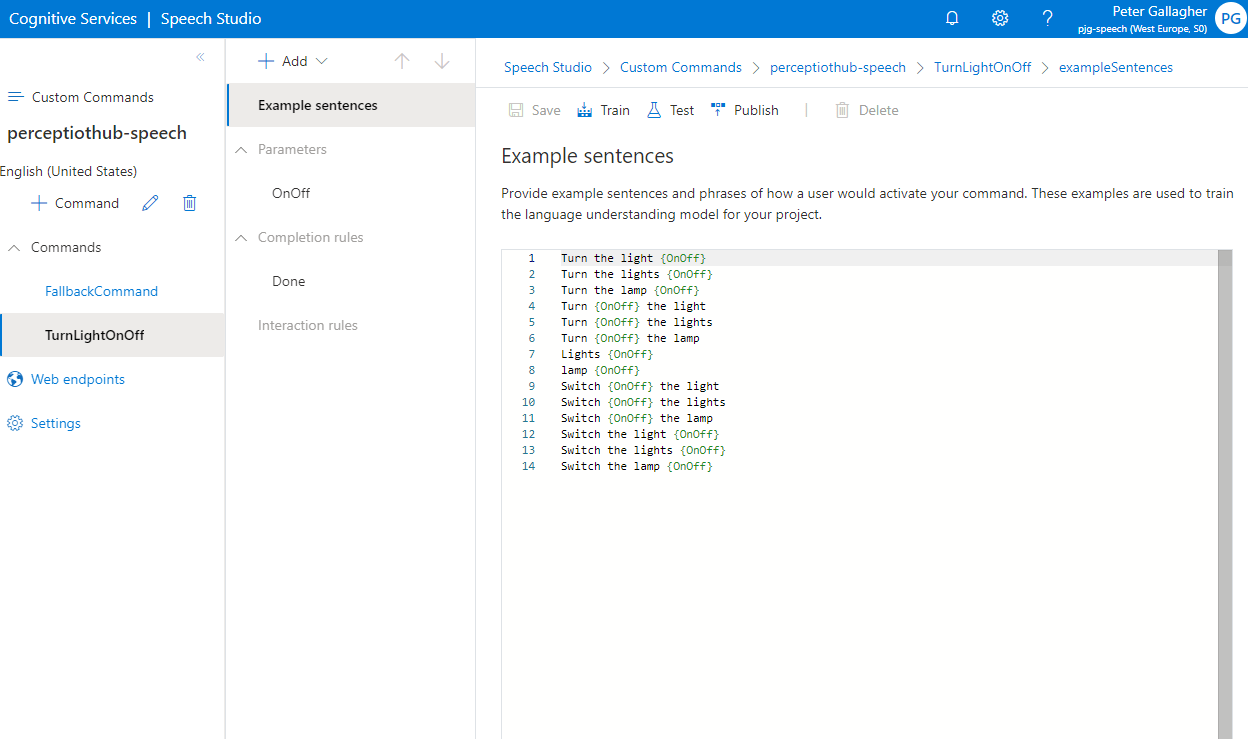
I’ve created a new Command named “TurnLightOnOff” with the following Example Sentences;
Turn the light {OnOff}
Turn the lights {OnOff}
Turn the lamp {OnOff}
Turn {OnOff} the light
Turn {OnOff} the lights
Turn {OnOff} the lamp
Lights {OnOff}
Lamp {OnOff}
Switch {OnOff} the light
Switch {OnOff} the lights
Switch {OnOff} the lamp
Switch the light {OnOff}
Switch the lights {OnOff}
Switch the lamp {OnOff}
What we need to do now is to create a new “Web endpoint” for our command to call use when it’s executed;
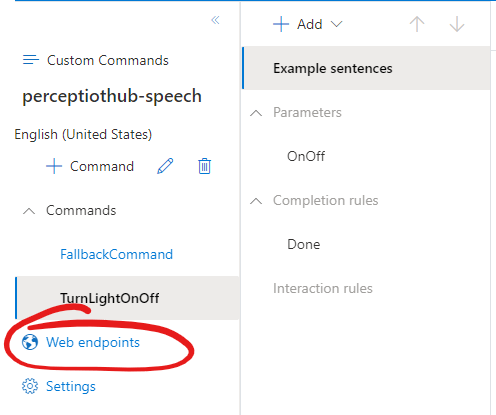
Clicking on the “Web endpoints” menu item on the left will take us to the Web Endpoints page;
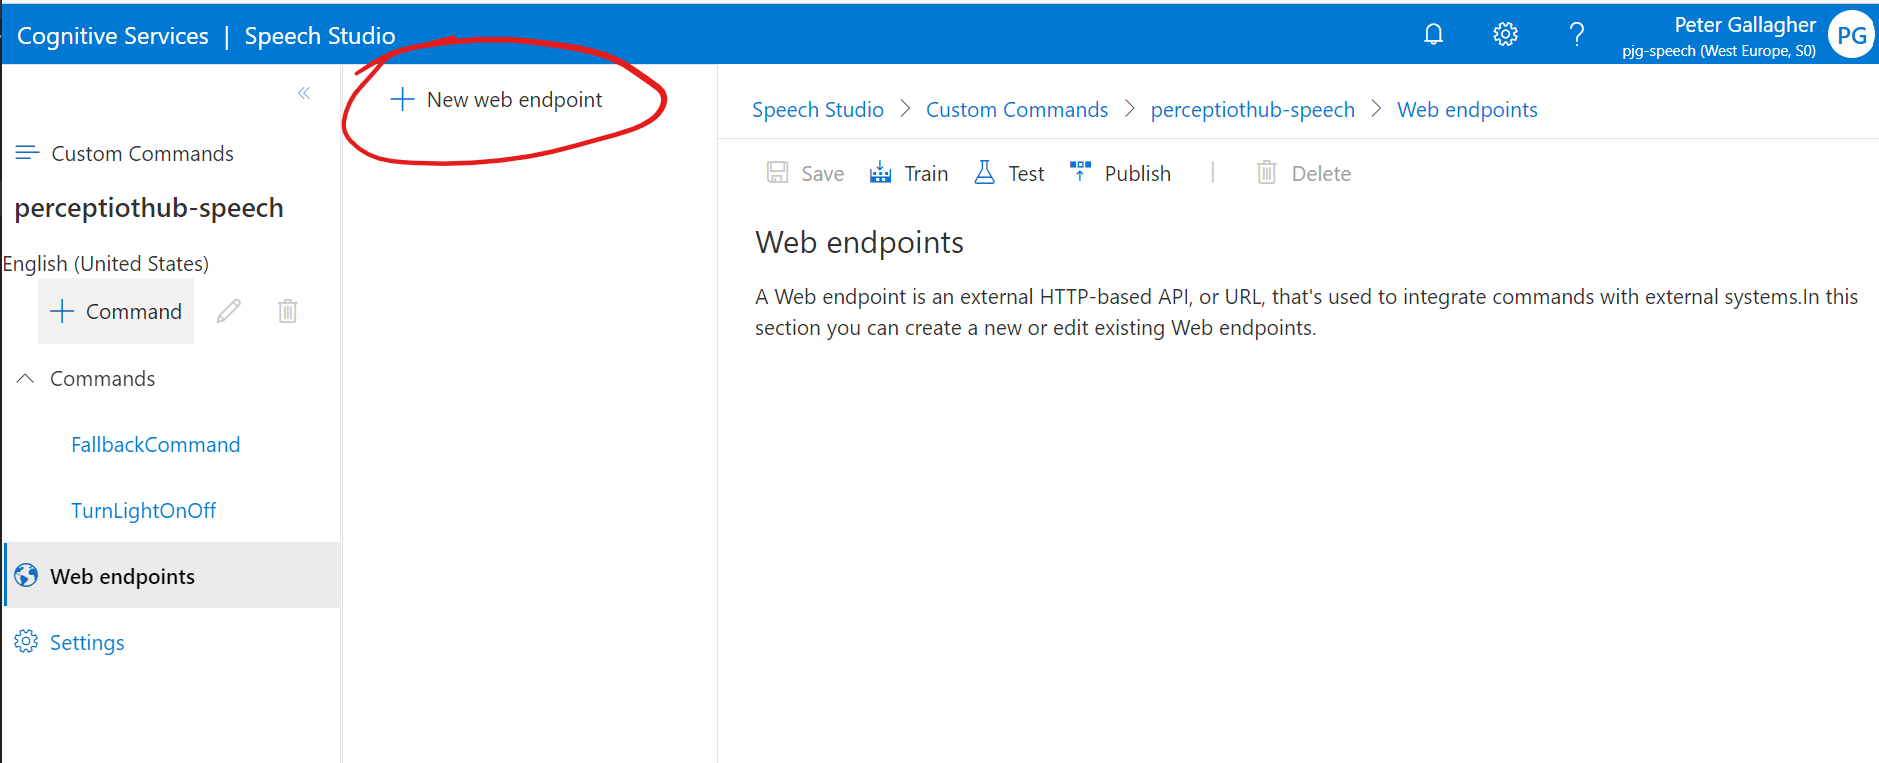
We can now click on the “+ New web endpoint” button at the top of the centre panel to add a new endpoint;
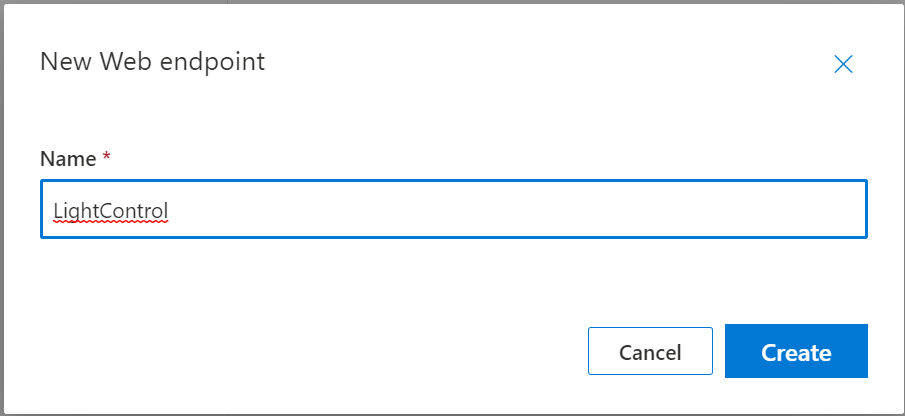
We’ll name our Endpoint “LightControl” and hit the blue “Create” button;
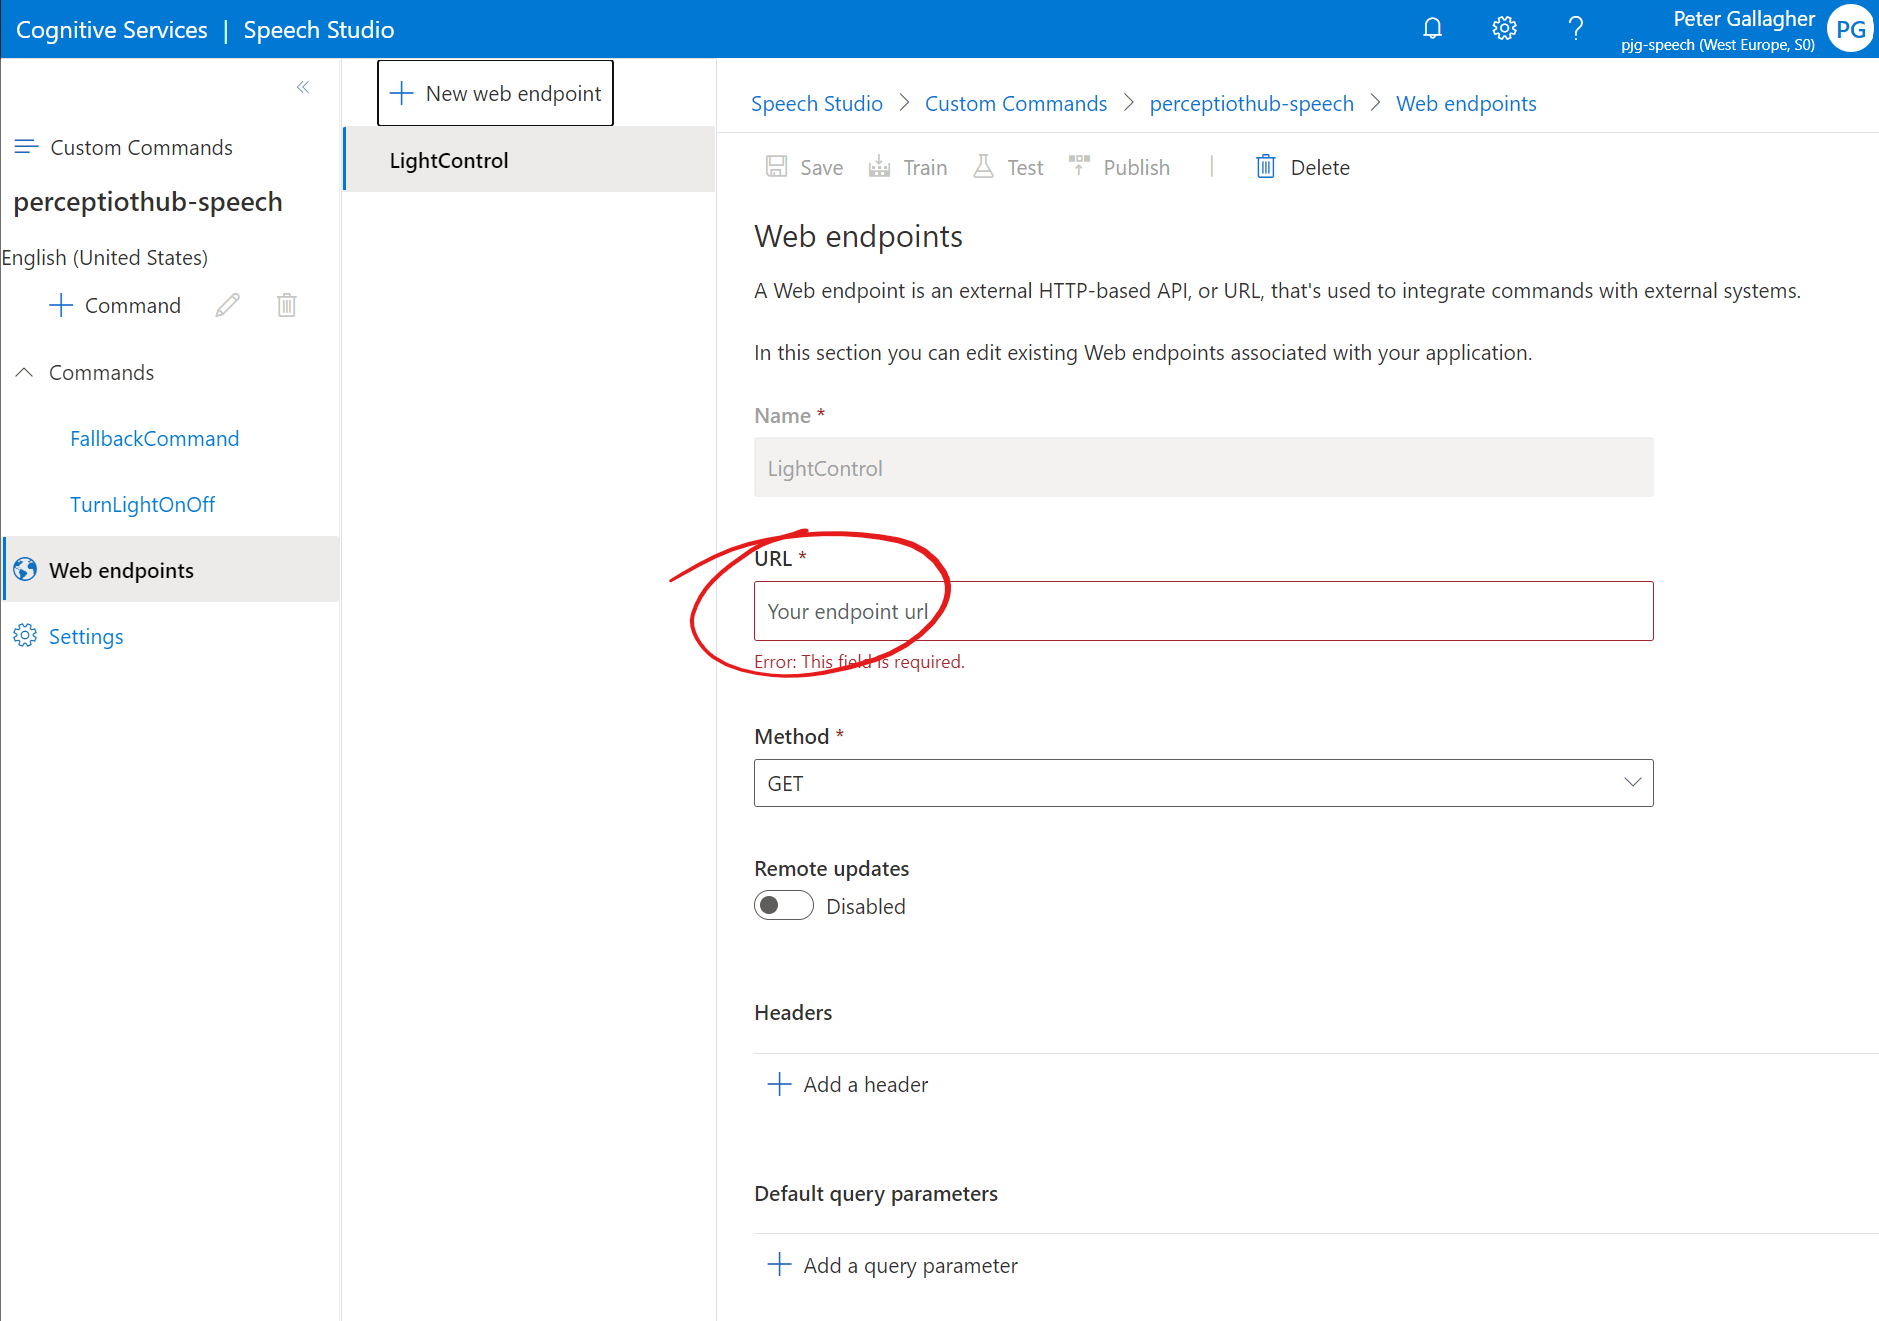
We can now paste in our Function URL from the previous step into the “URL” text box. We can cut off the section beginning “?code=…” as we’ll be passing that in as a query parameter.

We need to set the “Method” option to “POST” here, as we’ll be passing the value of our “OnOff” parameter to our Azure Function in the body of the request.
We can now add the authentication code we cut from the end of the Function URL as a query parameter;
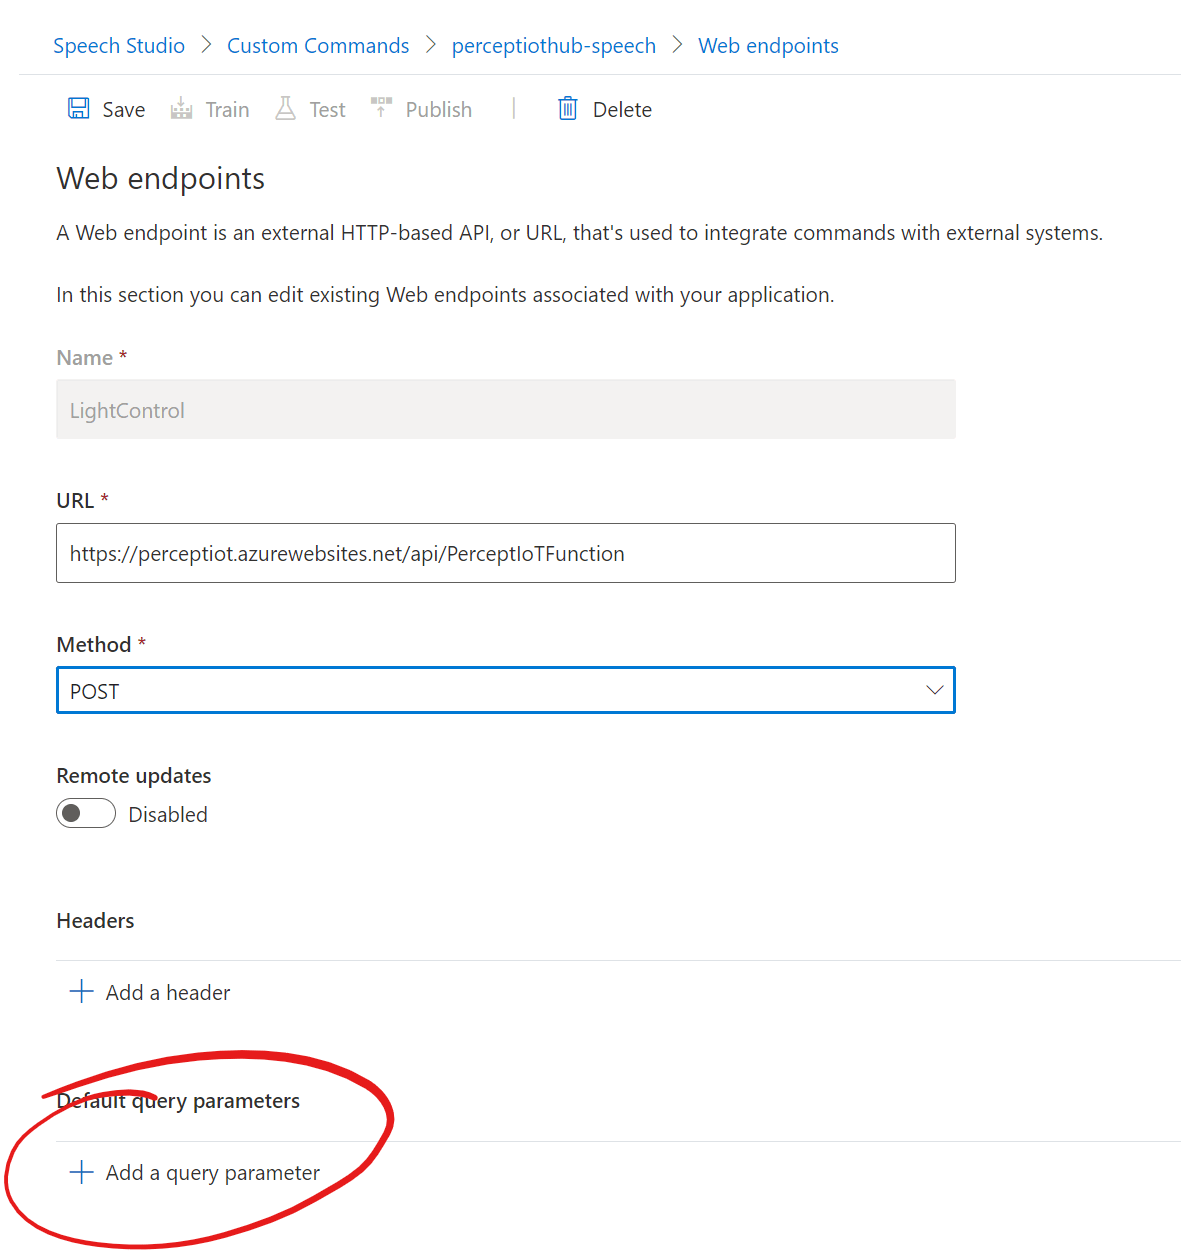
We can hit the “+ Add a query Parameter” button at the bottom of the right hand panel;
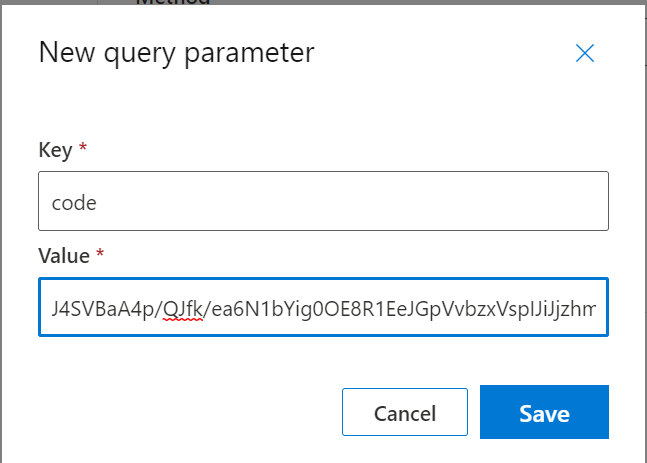
We enter “code” as the “Key” and we can paste in the Authentication Code in the “Value” box.
Remember to remove the “?code=” part in front of the Authentication code, so it’s just the random collection to letters and numbers.
We can save the parameter with the blue “Save” button.
Using the new Web Endpoint
We can now make use of our new Web Endpoint within our TurnLightOnOff Custom Command.
If we navigate to our TurnLightOnOff Custom command and to the “Done” section;

Make sure to remove any existing actions if you’re reusing anything from a previous post.
We can add an action for our Web Endpoint by hitting the “+ Add an action” button at the bottom of the right hand pane;
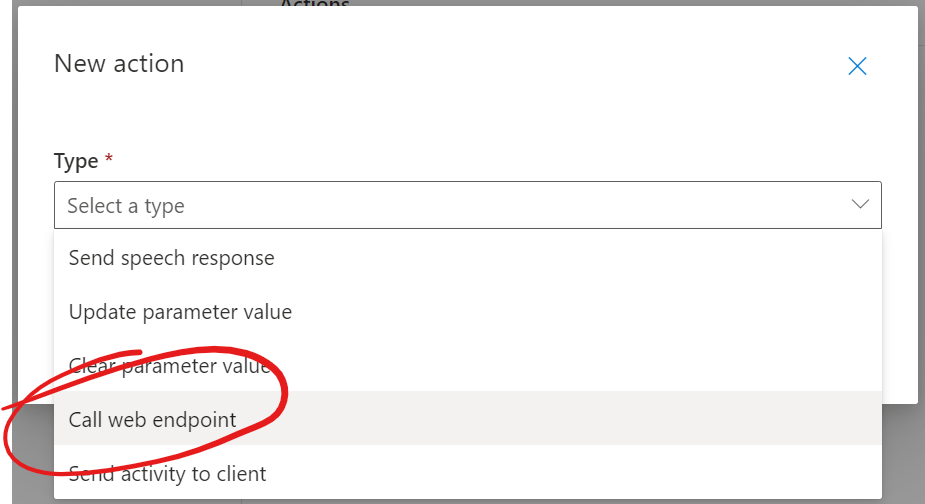
Selecting the “Call web endpoint” option will show the Call Web Endpoint dialog;
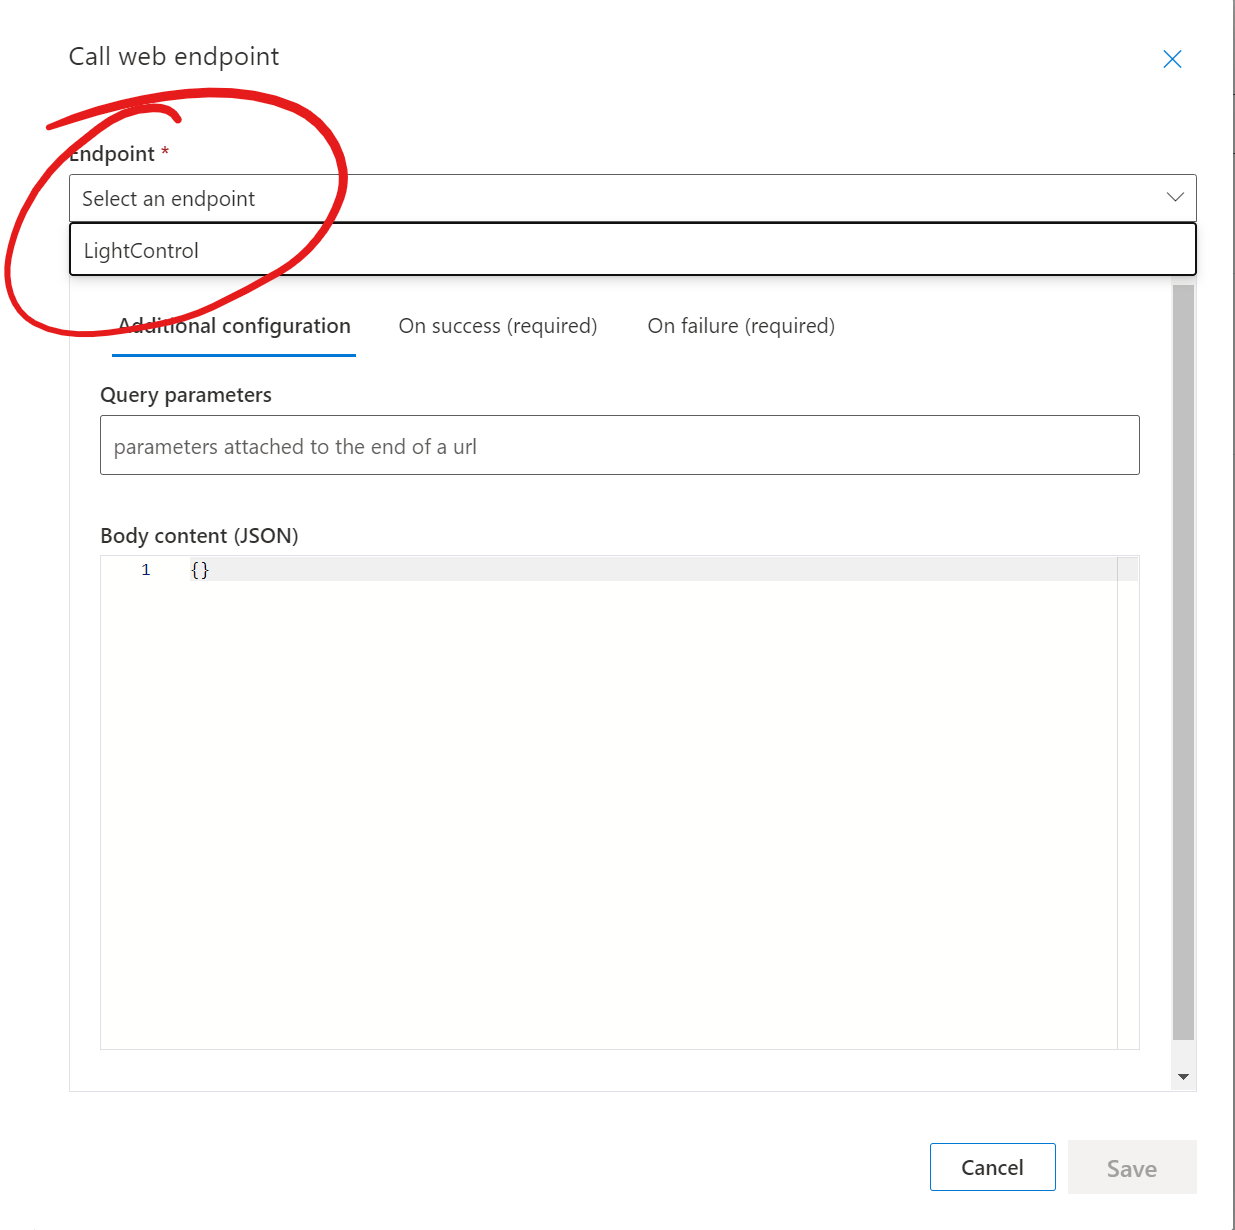
We can select our new “LightControl” Web Endpoint from the “Endpoint” dropdown.
Next we need to pass in the value for our “OnOff” paramater so that the Azure Function can pass this to the Raspberry Pi via the IoT Hub and a Direct Method. If we replace the “Body content (JSON)” section with the following;
{
  "state": "{OnOff}"
}

We now need to feedback a spoken response to the user once the Web Endpoint has been called. If we hit the “On Success (Required)” tab at the top;
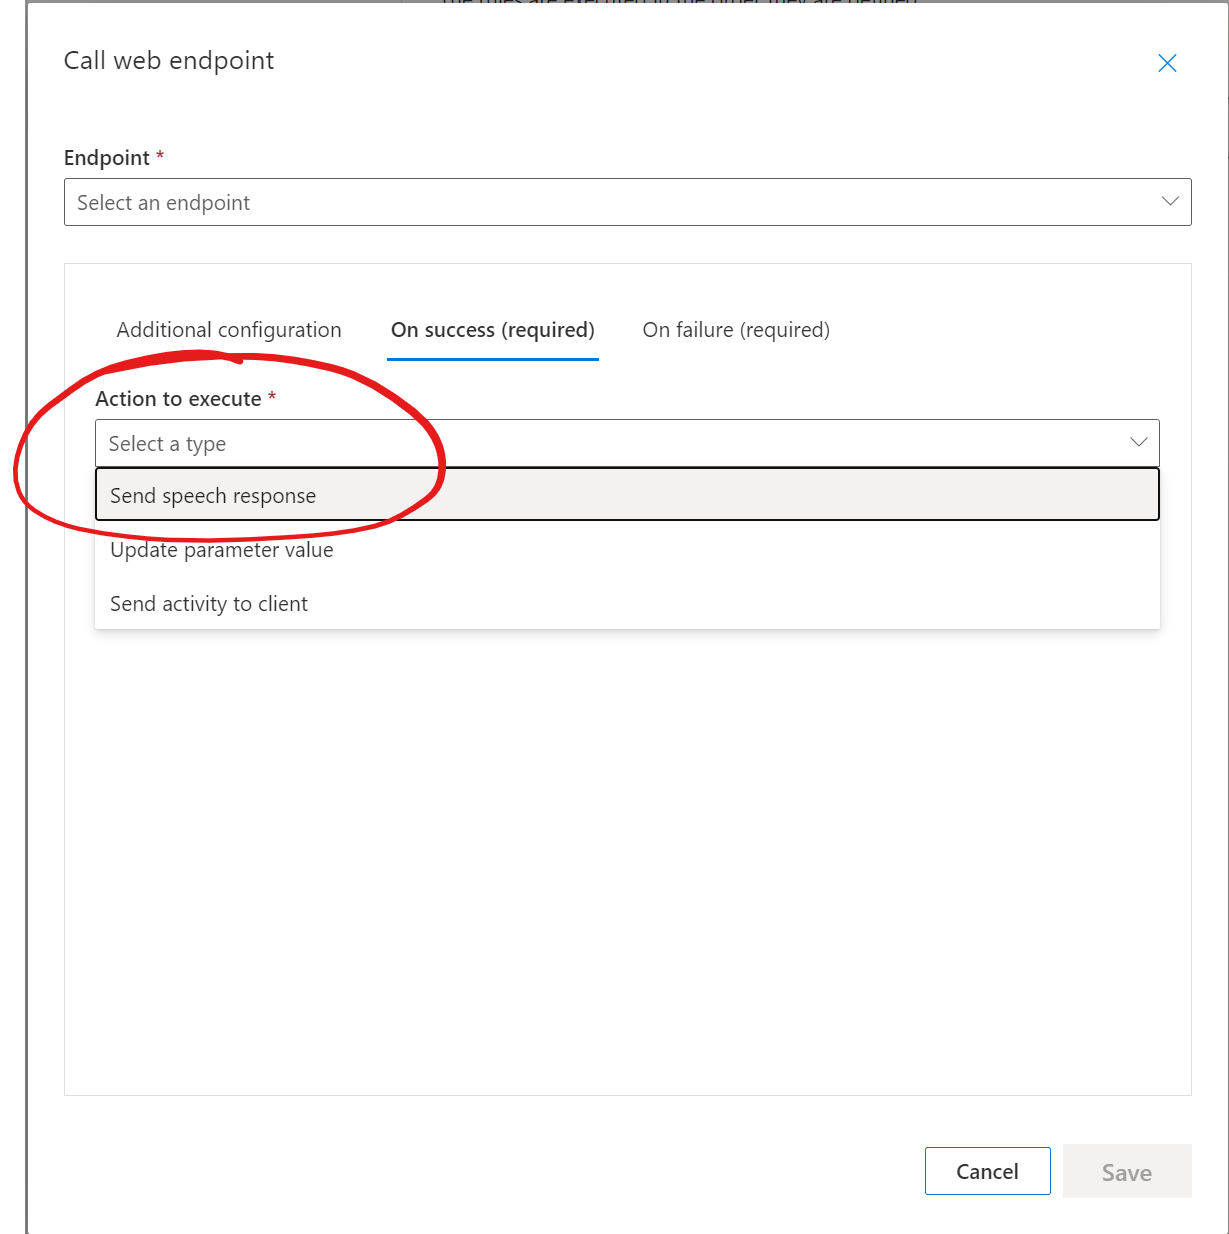
We can select the “Send speech response” option from the “Action to execute” dropdown;
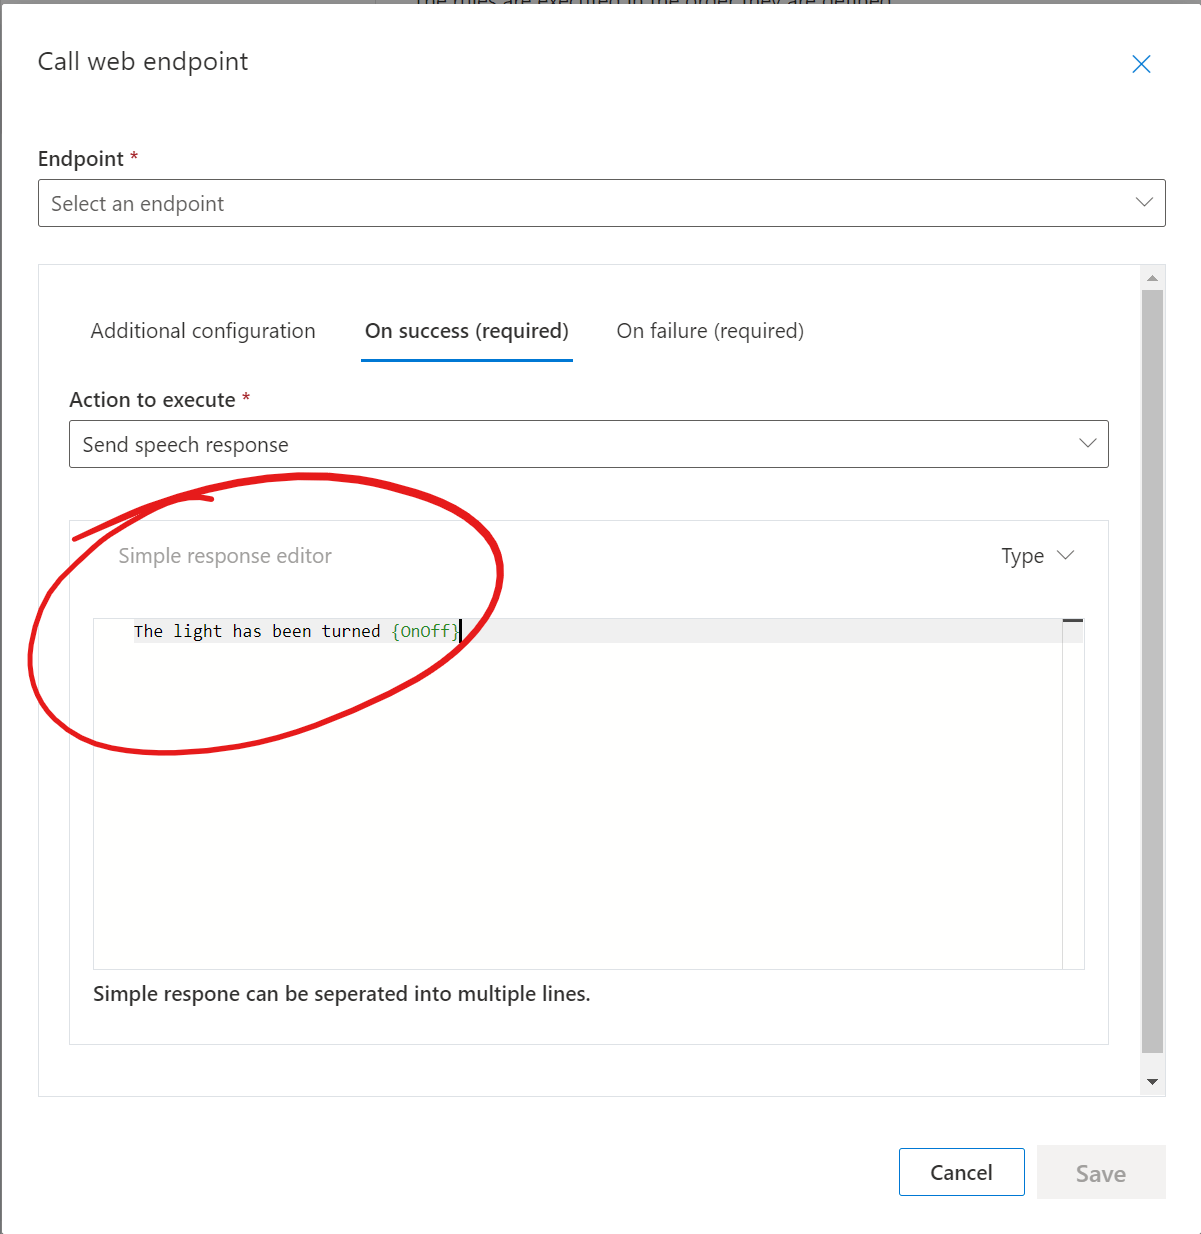
We can return the following response;
The light has been turned {OnOff}We can then repeat this for the “On Failure (Required)” tab;
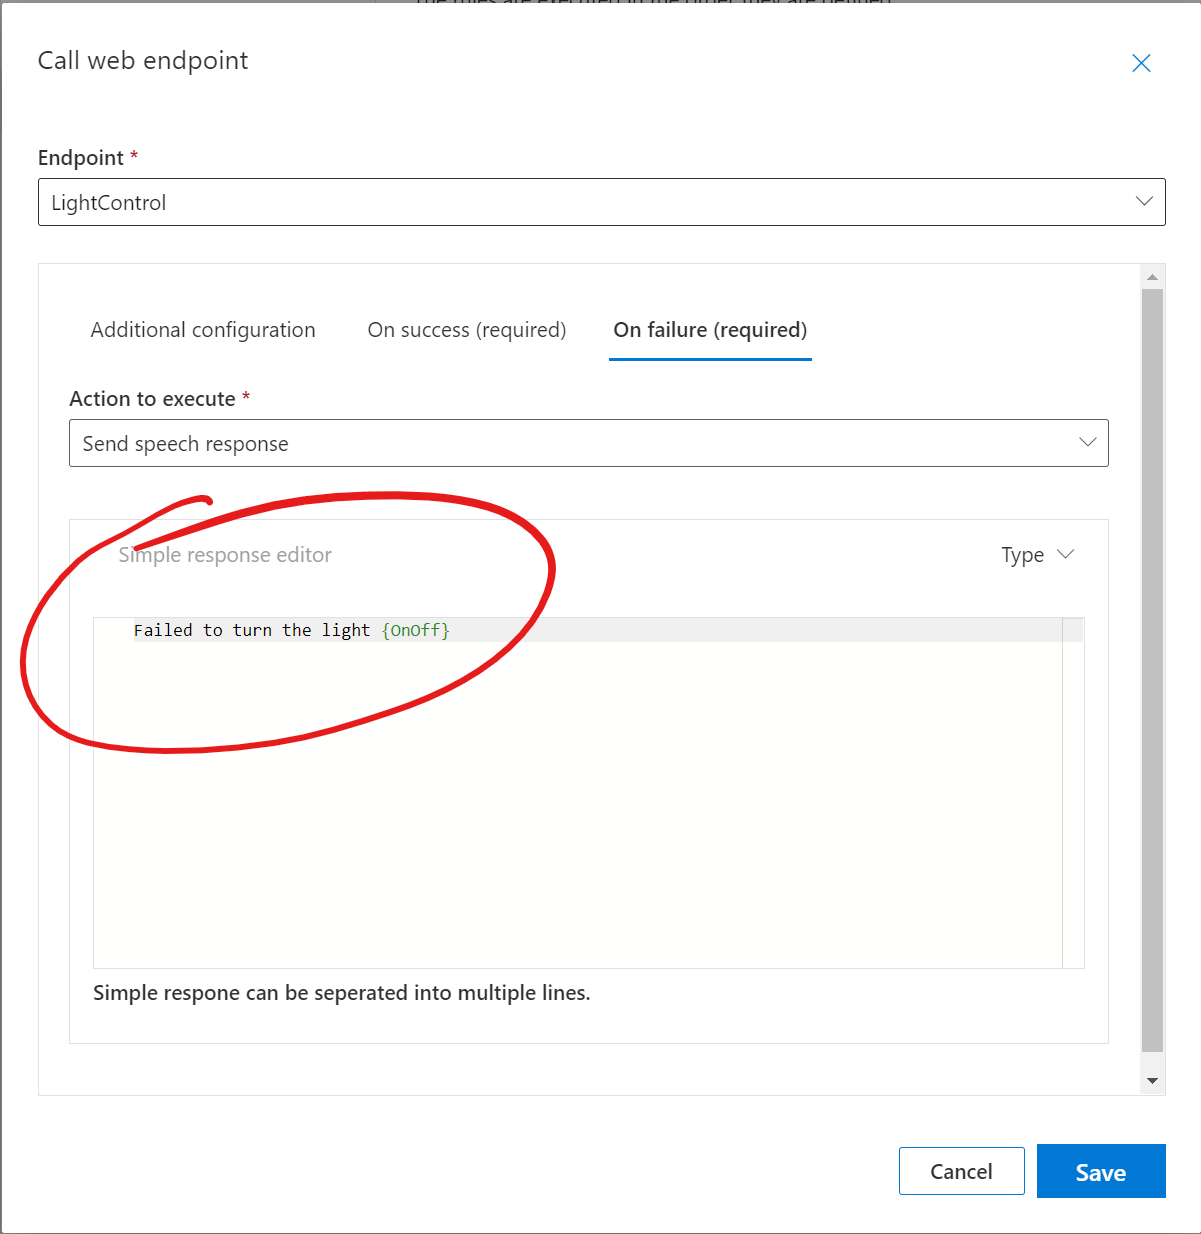
Where we can enter the following response in the “Simple Response Editor”;
Failed to turn the light {OnOff}We can now save our Done Action by hitting the blue “Save” button;
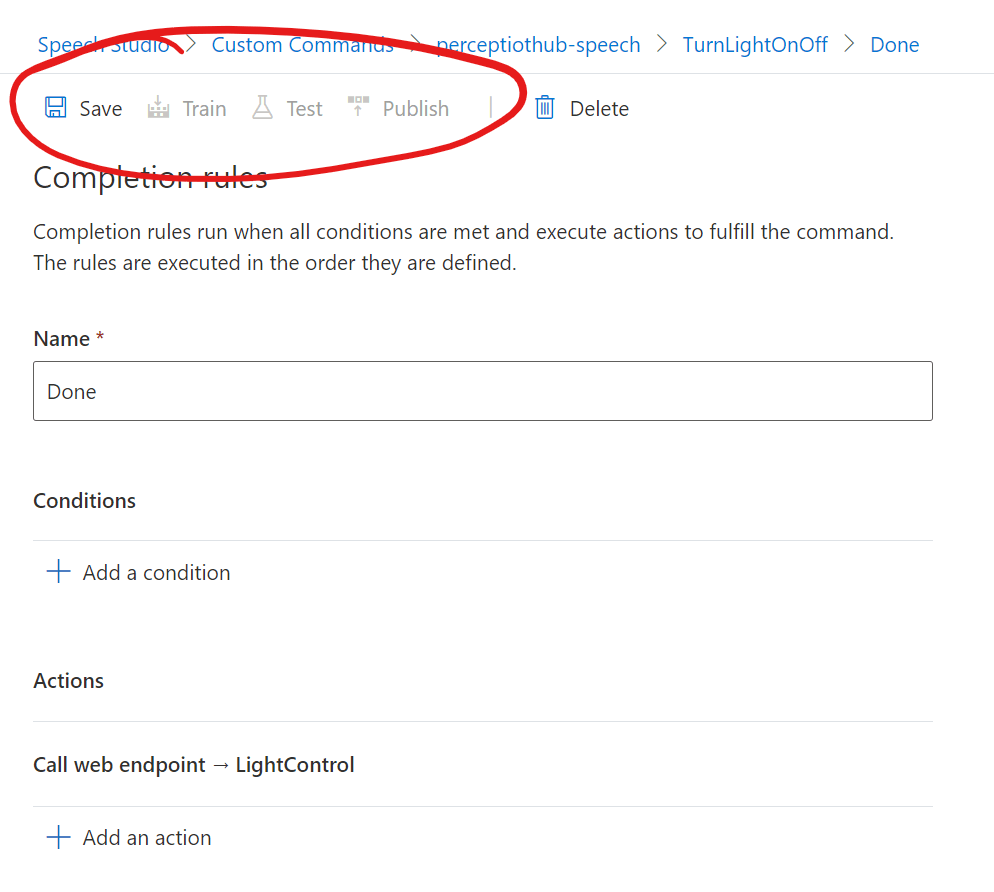
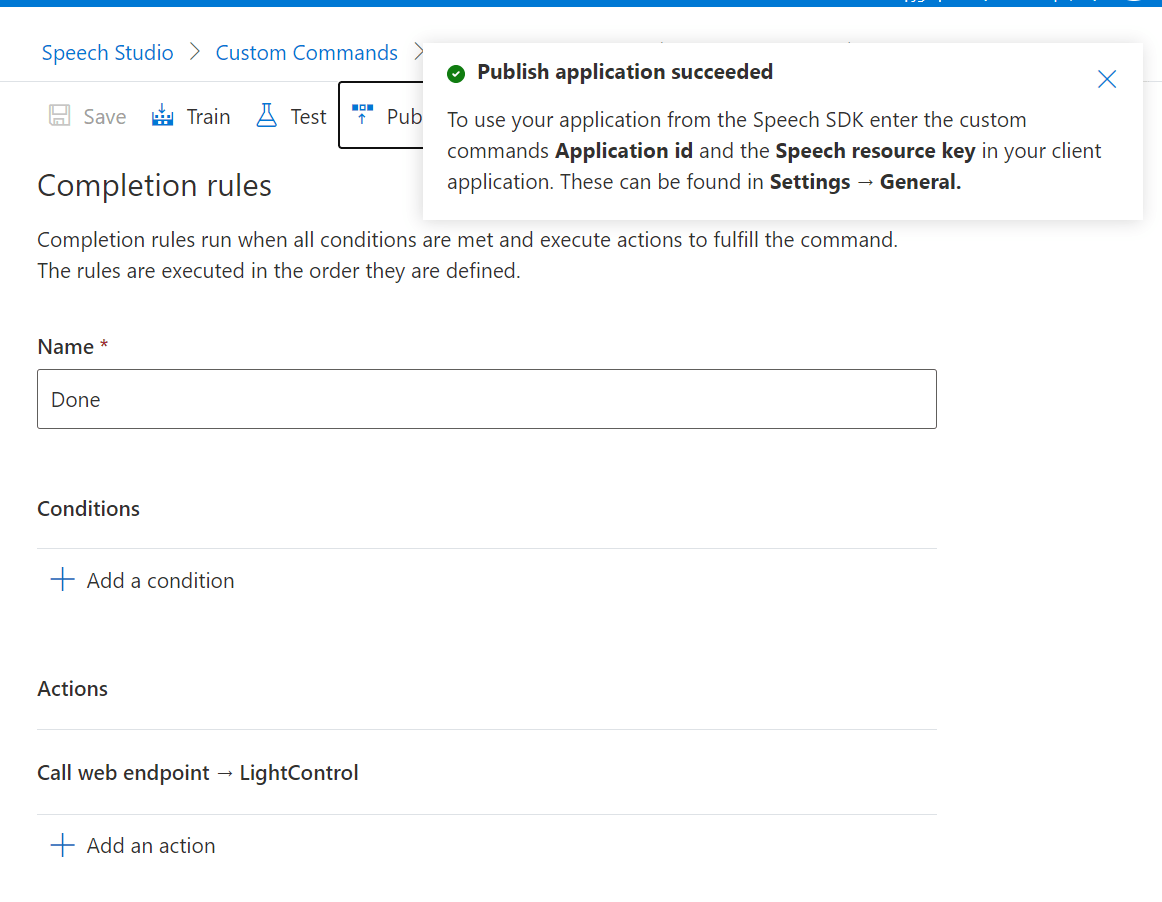
Finally, we can hit the “Save” button, followed by the “Train” button and finally the Publish Button;
We can then return to Azure Percept Studio and make sure our custom Command is assigned to our Percept;
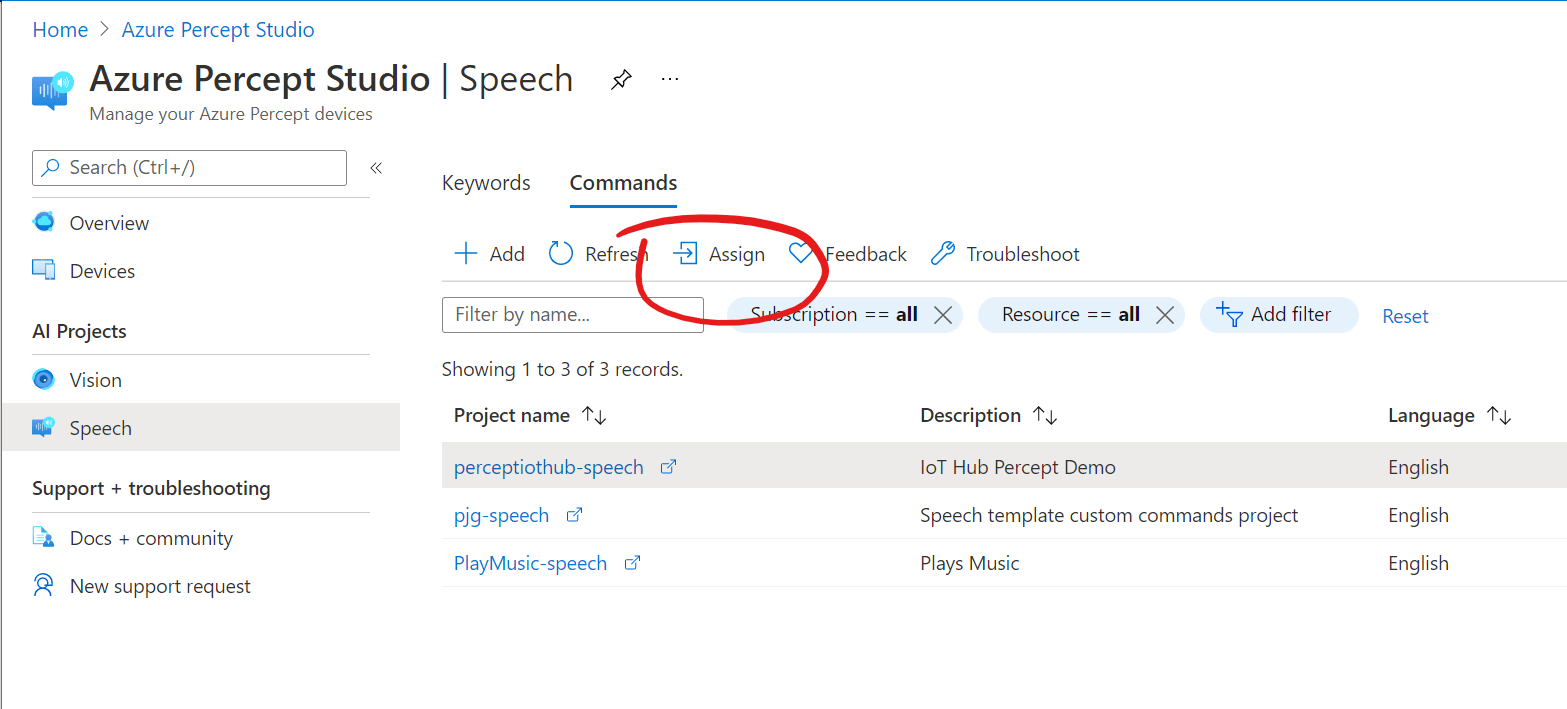
Select your Custom Command and hit the “Assign” button in the toolbar;
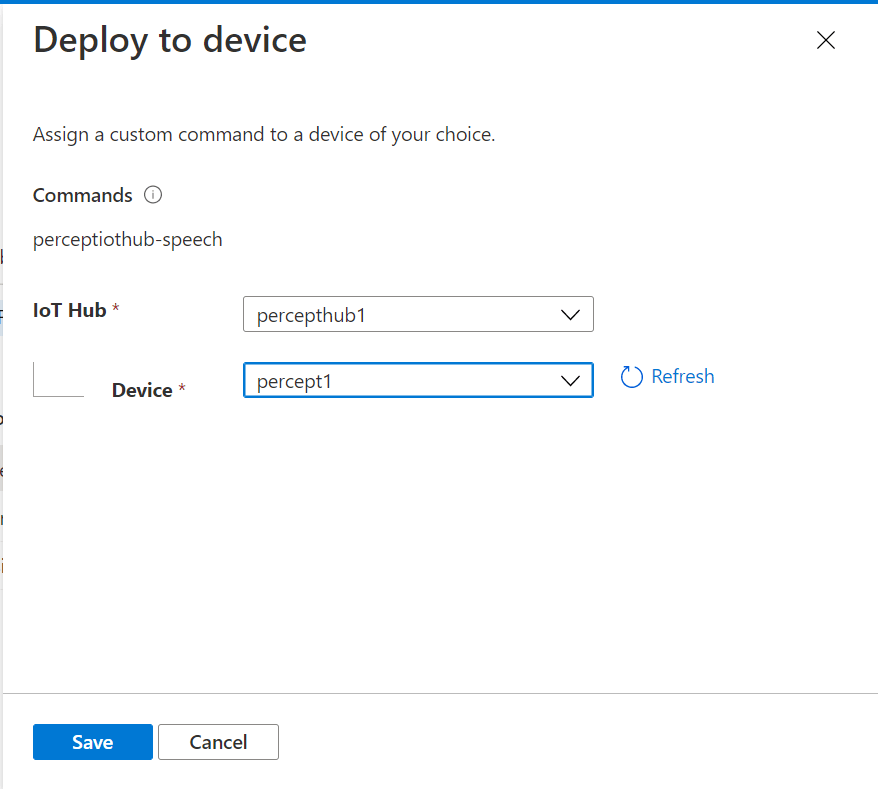
Select your IoT Hub and Percept Device and hit the blue “Save” button to Deploy to your Device;

Raspberry Pi Code
Next we’ll get the Raspberry Pi set up ready to connect to the IoT Hub and receive the Direct Method Invocation from our Azure Function.
The first thing you’ll need to do is get your Raspberry Pi set up to run .NET 5. I’ve created a post around on how to that;
Once you’ve got the Pi Setup, we can create the project. I’d do this either in your home directory, or if you’ve set up a SAMBA share, then that directory will be best.
We create a new .NET 5 console application with;
dotnet new console -o device_code
cd device_code
We can now add the nuget packages for both GPIO Control and Azure IoT Hub Client;
dotnet add package System.Device.GPIO
dotnet add package Microsoft.Azure.Devices.Client
Next paste the following code over your Program.cs file;
using System;
using System.IO;
using System.Text;
using Newtonsoft.Json;
using System.Threading.Tasks;
using System.Device.Gpio;
using Microsoft.Azure.Devices.Client;

namespace device_code
{
    class Program
    {
        static string DeviceConnectionString = "ENTER YOU DEVICE CONNECTION STRING";
        static int lightPin = 32;

        GpioController controller;

        static async Task Main(string[] args)
        {

            GpioController controller = new GpioController(PinNumberingScheme.Board);

            controller.OpenPin(lightPin, PinMode.Output);
            controller.Write(lightPin, PinValue.High);

            DeviceClient Client = DeviceClient.CreateFromConnectionString(DeviceConnectionString, Microsoft.Azure.Devices.Client.TransportType.Mqtt);

            await Client.SetMethodHandlerAsync("ControlLight", (MethodRequest methodRequest, object userContext) => {

                Console.WriteLine("IoT Hub invoked the 'ControlLight' method.");
                Console.WriteLine("Payload:");
                Console.WriteLine(methodRequest.DataAsJson);

                dynamic data = JsonConvert.DeserializeObject(methodRequest.DataAsJson);

                if (data.state == "on")
                {
                    controller.Write(lightPin, PinValue.Low);
                }
                else
                {
                    controller.Write(lightPin, PinValue.High);
                }

                var responseMessage = "{\"response\": \"OK\"}";

                return Task.FromResult(new MethodResponse(Encoding.ASCII.GetBytes(responseMessage), 200));

            }, null);

            while (true)
            {

            }

        }
    }
}
We now need to replace the placeholder for the IoT Device Connection String with the one from the device we created earlier.
If we return to the portal, to our IoT Hub IoT Device Registry Page and to the Device Details page for our “devicecontrol” device;
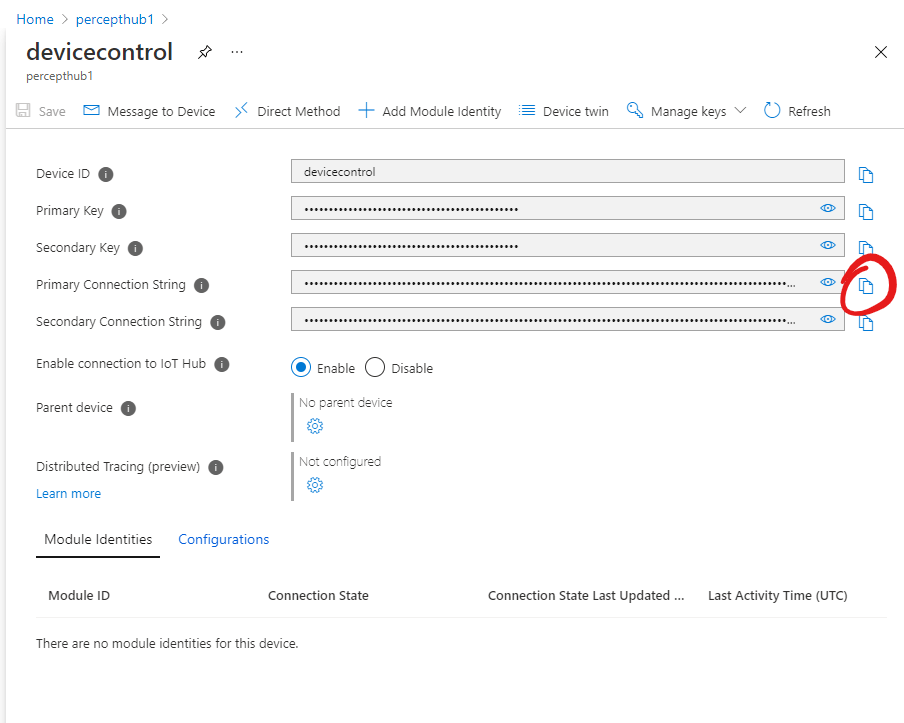
We can copy the Primary Connection string and then paste that into the Program.cs file where we have “ENTER YOU DEVICE CONNECTION STRING”.
Raspberry Pi Circuit
The hardware side of this solution centres around a Raspberry Pi. We make use of a Relay to turn the mains supply to a desk lamp on and off.
DISCLAIMER
As a word of warning. The mains relay part of solution should only be attempted if you are experienced in handling mains voltages, as this can be very dangerous if the correct safety precautions aren’t followed.
Needless to say, I can’t take any responsibility for damage or harm as a result of the following instructions!
With that out of the way, the following is the circuit diagram for the Raspberry Pi, Relay and Lamp;

The Raspberry Pi is connected as follows;
| Pi Pin Number | Function | Relay Pin Label | Colour |
|---|---|---|---|
| 2 | 5V | VCC | Red |
| 20 | GND | GND | Black |
| 32 | Relay Control (GPIO 12) | IN1 | Green |
I’ve actually enclosed my whole circuit (aside from the Pi), in a patress to keep the mains side sealed away;
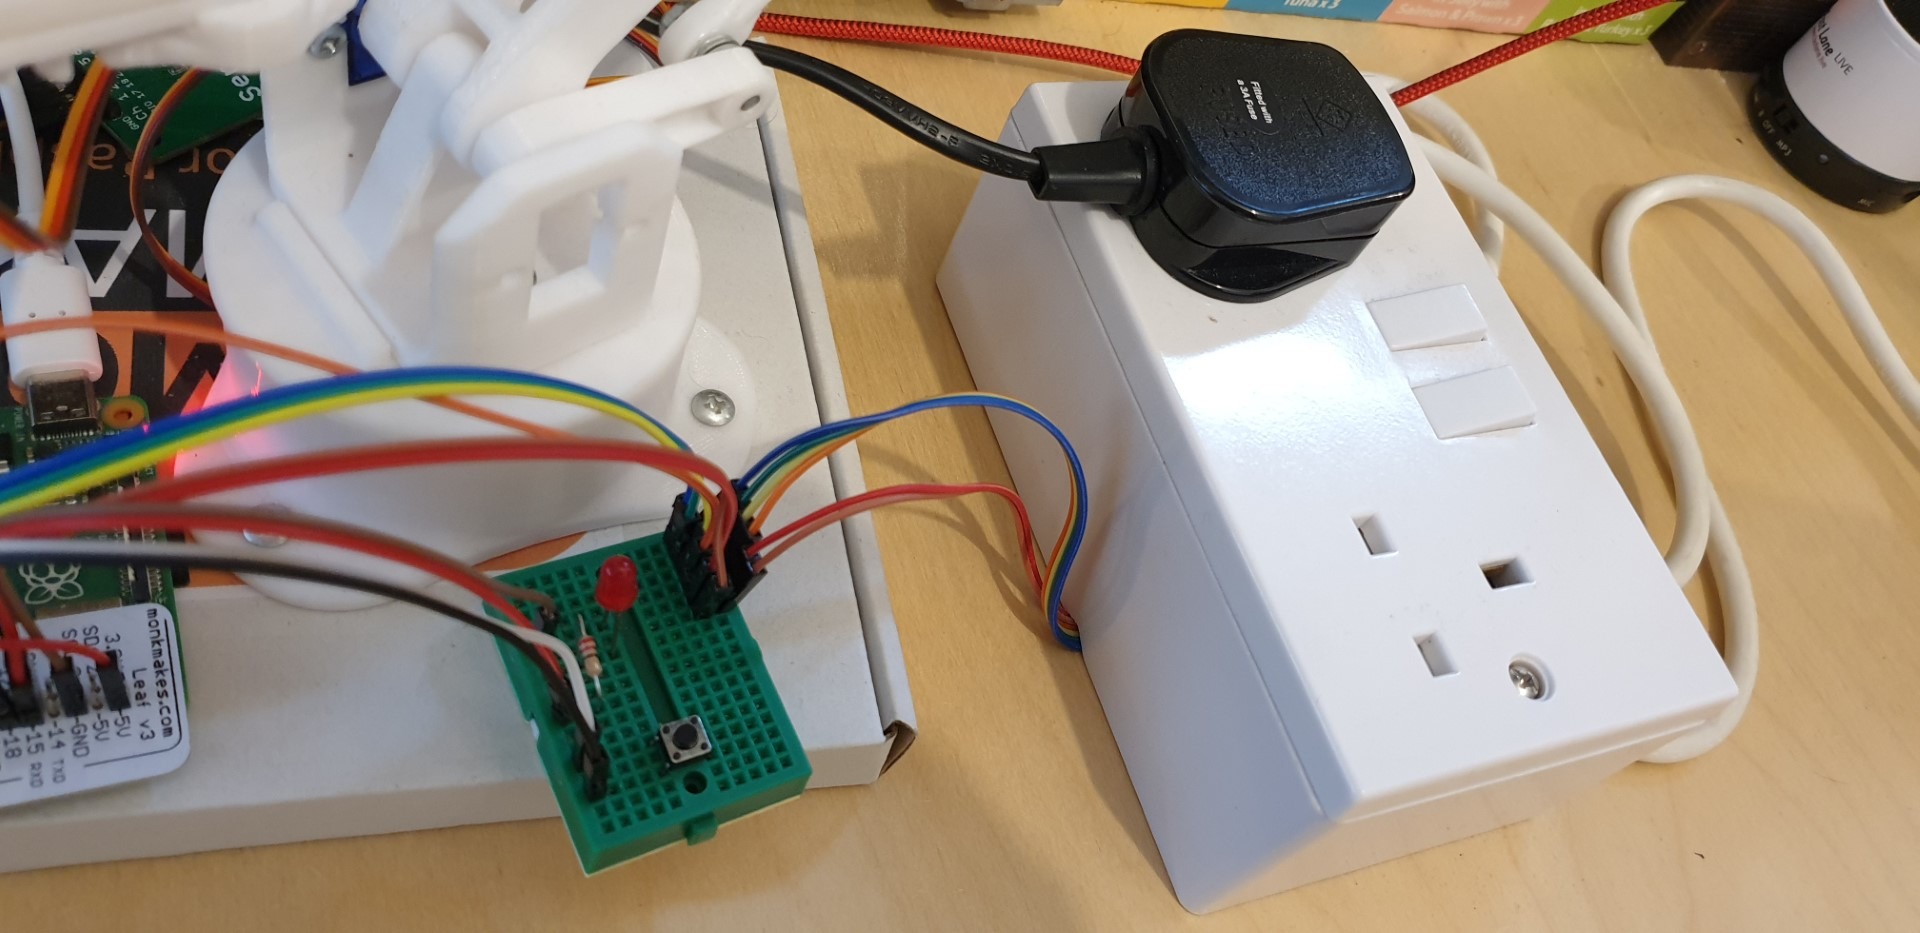
I’m using an Elegoo 4 way Relay unit… You can find this at Amazon here;
Testing the System
With all of these parts hooked together, you should be in a position to test turning the light on and off!
First we need to run the software on the Raspberry Pi.
From the directory you created the “device_code” project, run the code with;
dotnet runOnce the code is running, you can try turning the light on and off using your Percept.
The Raspberry Pi terminal window should feedback the instructions it recieves;
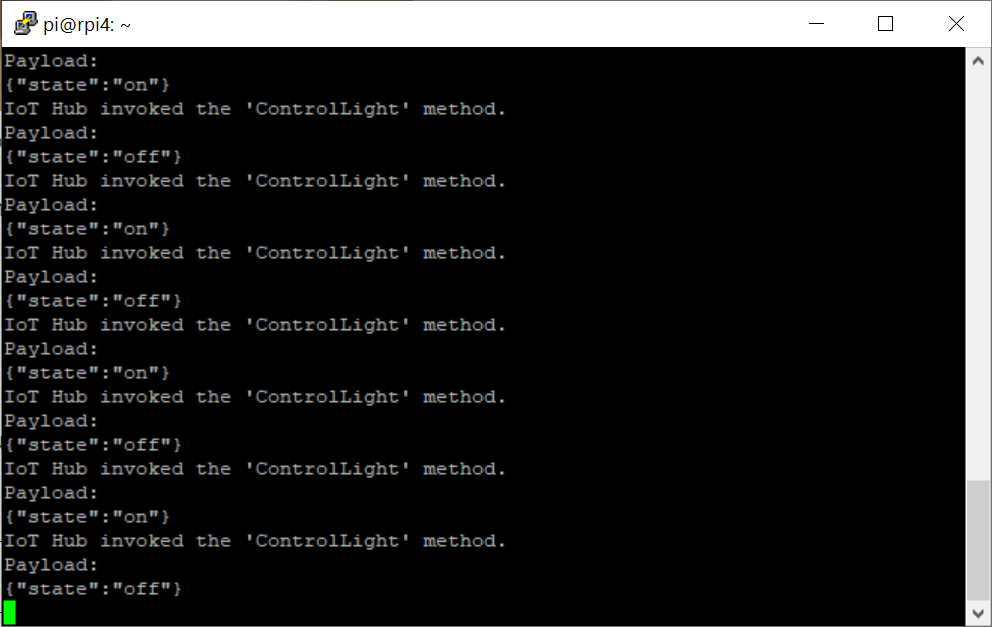
If everything has gone according to plan, you should now have a working system!