What we’ll be doing
In this first post in a series of posts, I’ll run you through how to get Octopus Deploy setup, along with the required Azure Services, in order to deploy an ASP.NET Blazor app to Dev, Staging and Production environments.
Contents
Part 1 – Environments and Deployment Targets
Part 2 – Linking Azure
Part 3 – Create Azure Web Apps + Staging and Production Deployment Targets
Part 4 – Create and Package a Blazor WebAssembly App
Part 5 – Octopus Deploy Projects, Variables and Processes
Part 6 – Create a Release
Part 7 – Send a Notification to Microsoft Teams
Prerequisites
For this tutorial you’ll need the following;
- An Azure Subscription
- Either a Cloud Hosted Octopus Deploy Environment or…
- … If you’re self hosting Octopus Deploy, a local SQL Server instance.
- The .NET 5 SDK
- Visual Studio Code
- For Teams Notifications – A Teams Environment with Admin access
What is Octopus Deploy?
Octopus Deploy is a CI/CD (Continuous Integration / Continuous Deployment) tool that automates the Release and Deploy process of a DevOps Pipeline.
Octopus Deploy isn’t designed to be used for the whole DevOps pipeline, and instead is designed specifically with the Release portion of the pipeline in mind. We then incorporate Octopus Deploy into our wider DevOps solution.
Getting started with Octopus Deploy
There are a few options to running Octopus Deploy. We can install the runtime locally or on a VM, or we can use the cloud hosted option which frees us from needing to worry about our own infrastructure.
Either of these options will work however for the self hosted option, you’ll also need a SQL Server instance installed for Octopus Deploy to use.
There are some fantastic docs available for installing Octopus Deploy, so I suggest you run through these first and come back here when you’ve got your Octopus Deploy instance up and running.
Octopus Deploy First Steps
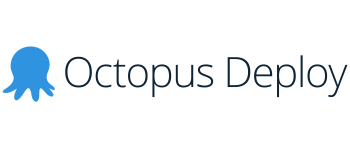
When you first access your Octopus Deploy instance, after logging in, you’ll be presented with the Dashboard and some handy instructions for how to get started;
Octopus Deploy Environments
The first step for us to complete is to create our first environment.
Octopus Deploy Environments are a way to group all of the deployment targets (web apps, servers, file systems etc etc) for our environments together. We name our environments according to our business domain language, however most users will name theirs something like “Development”, “Staging”, “Production” and so on.
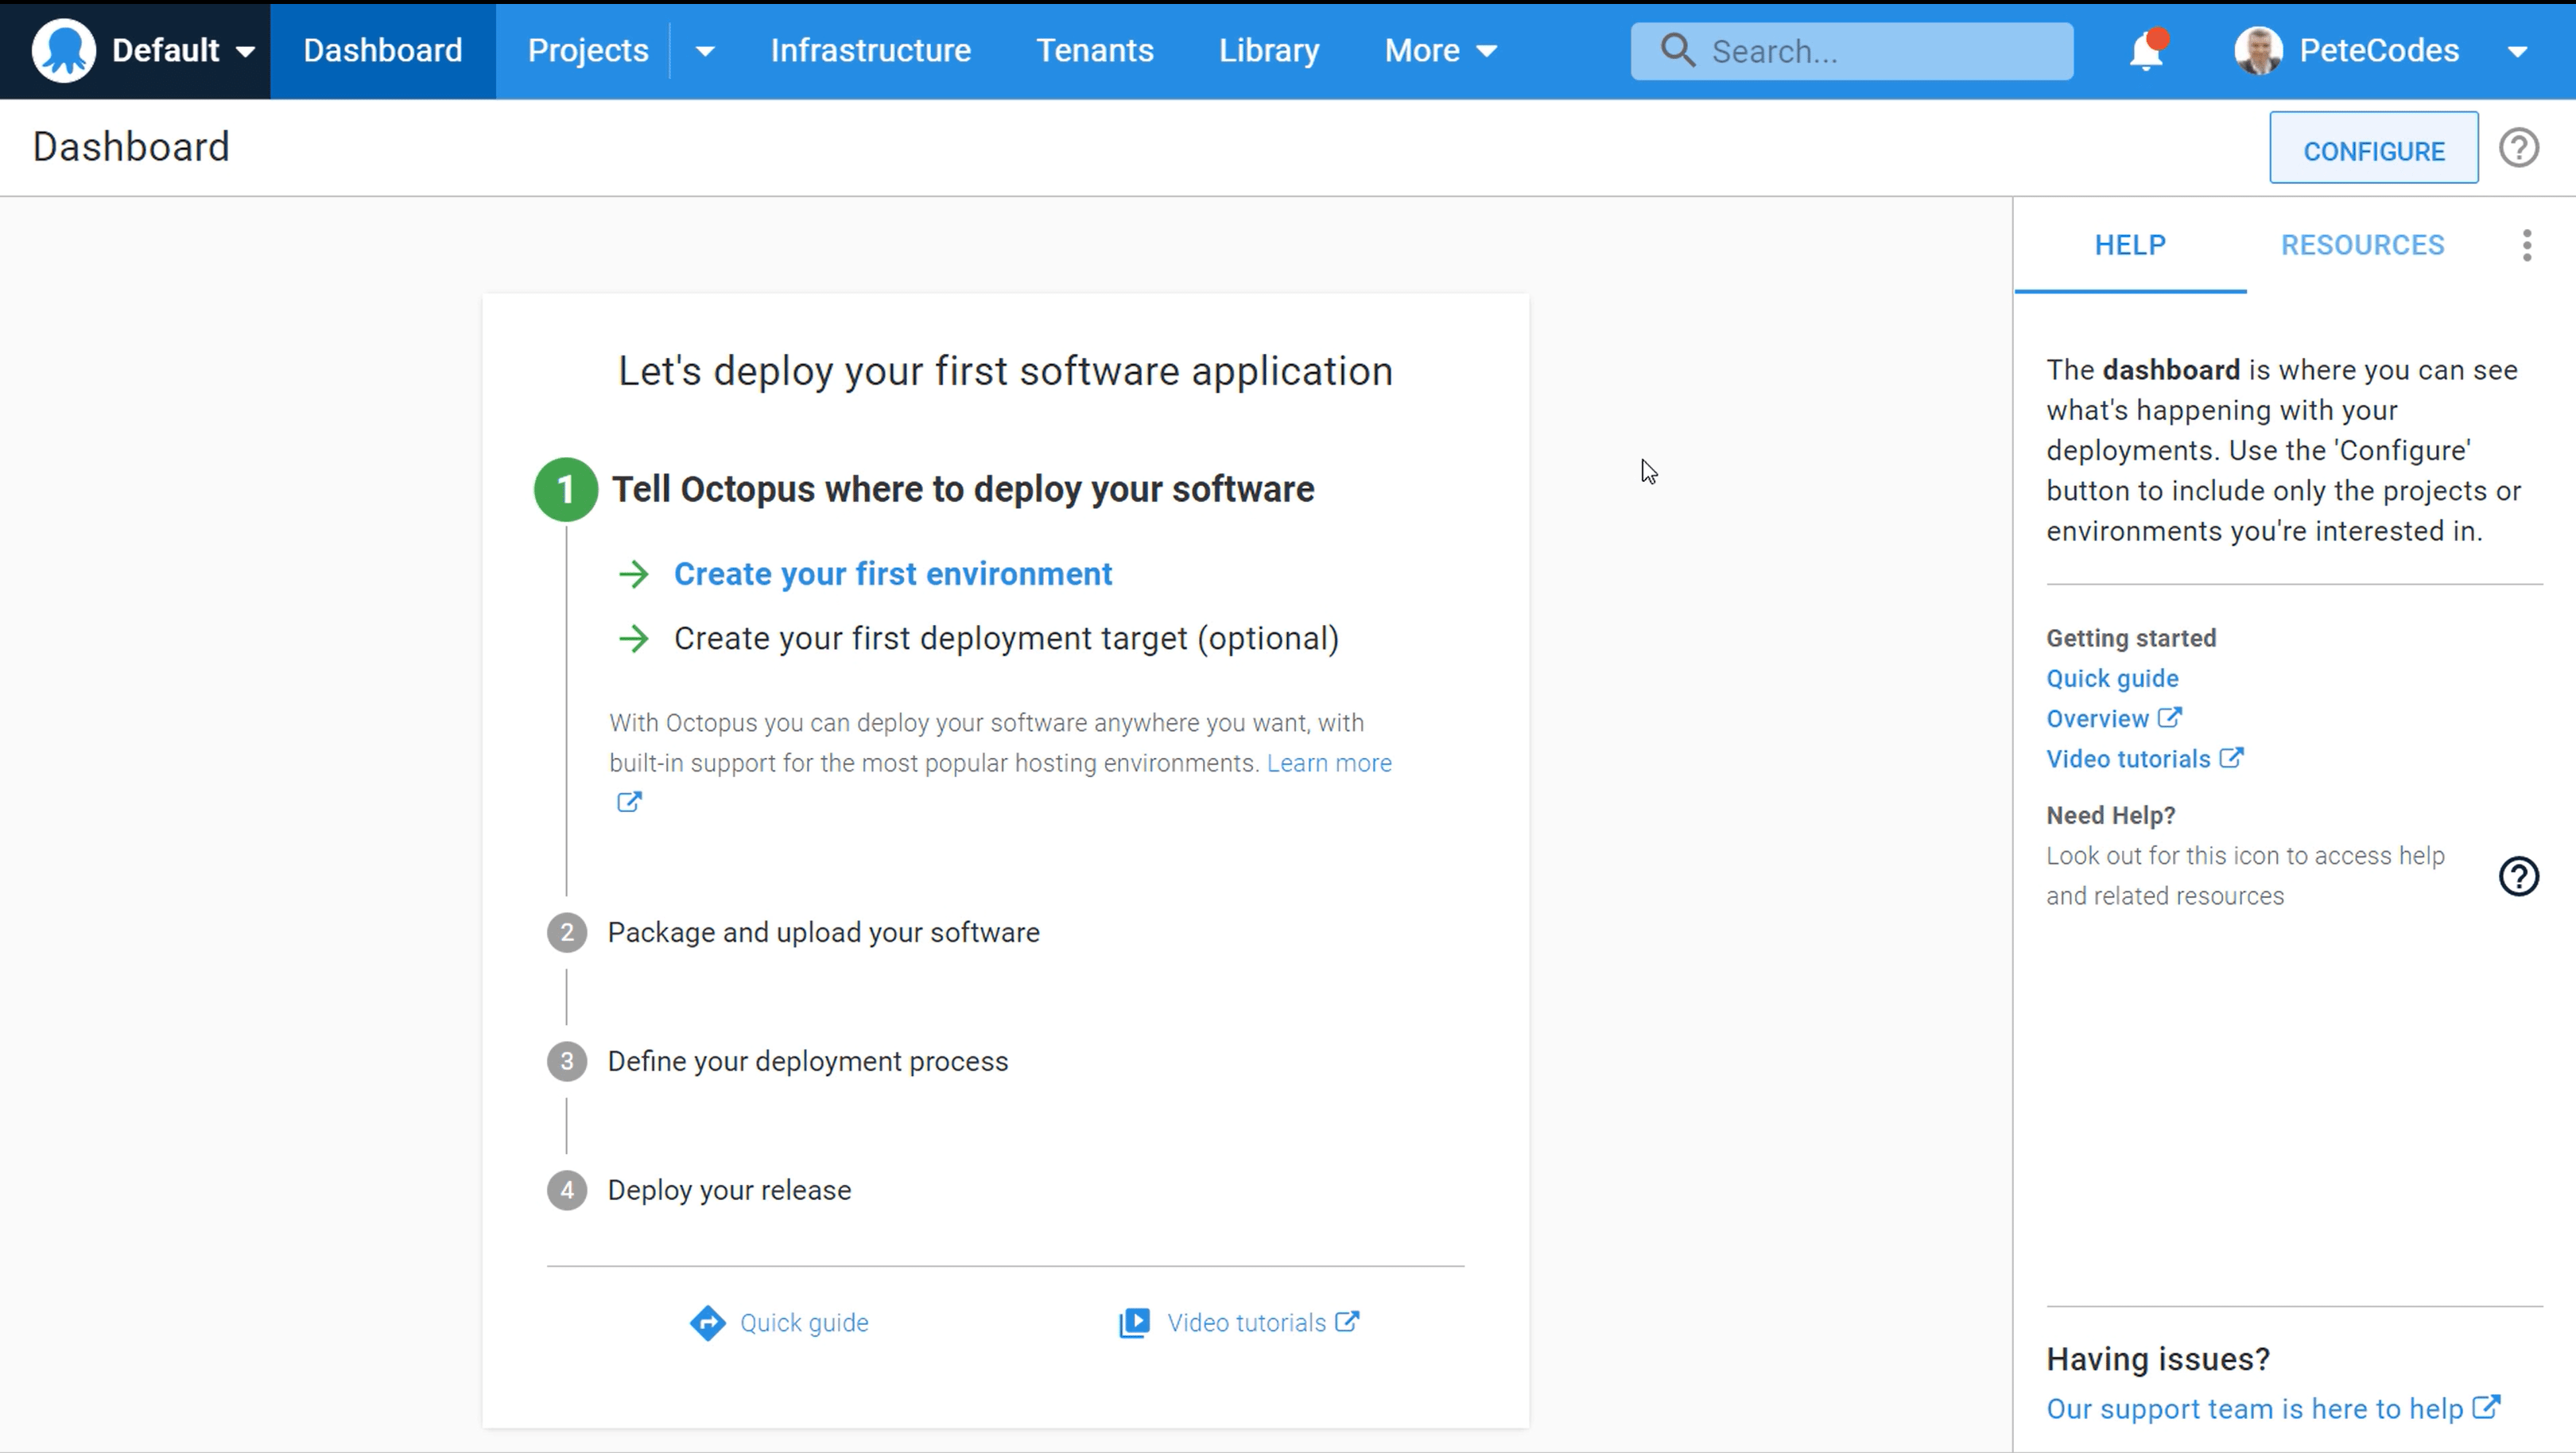
To create our first Environment, we can click on the “Create your first environment” link on the Dashboard, which will take us to the Environments page;
To create our first Environment, we can click the green “Add Environment” button at the top right of the page. This will prompt us for a name for our Environment;
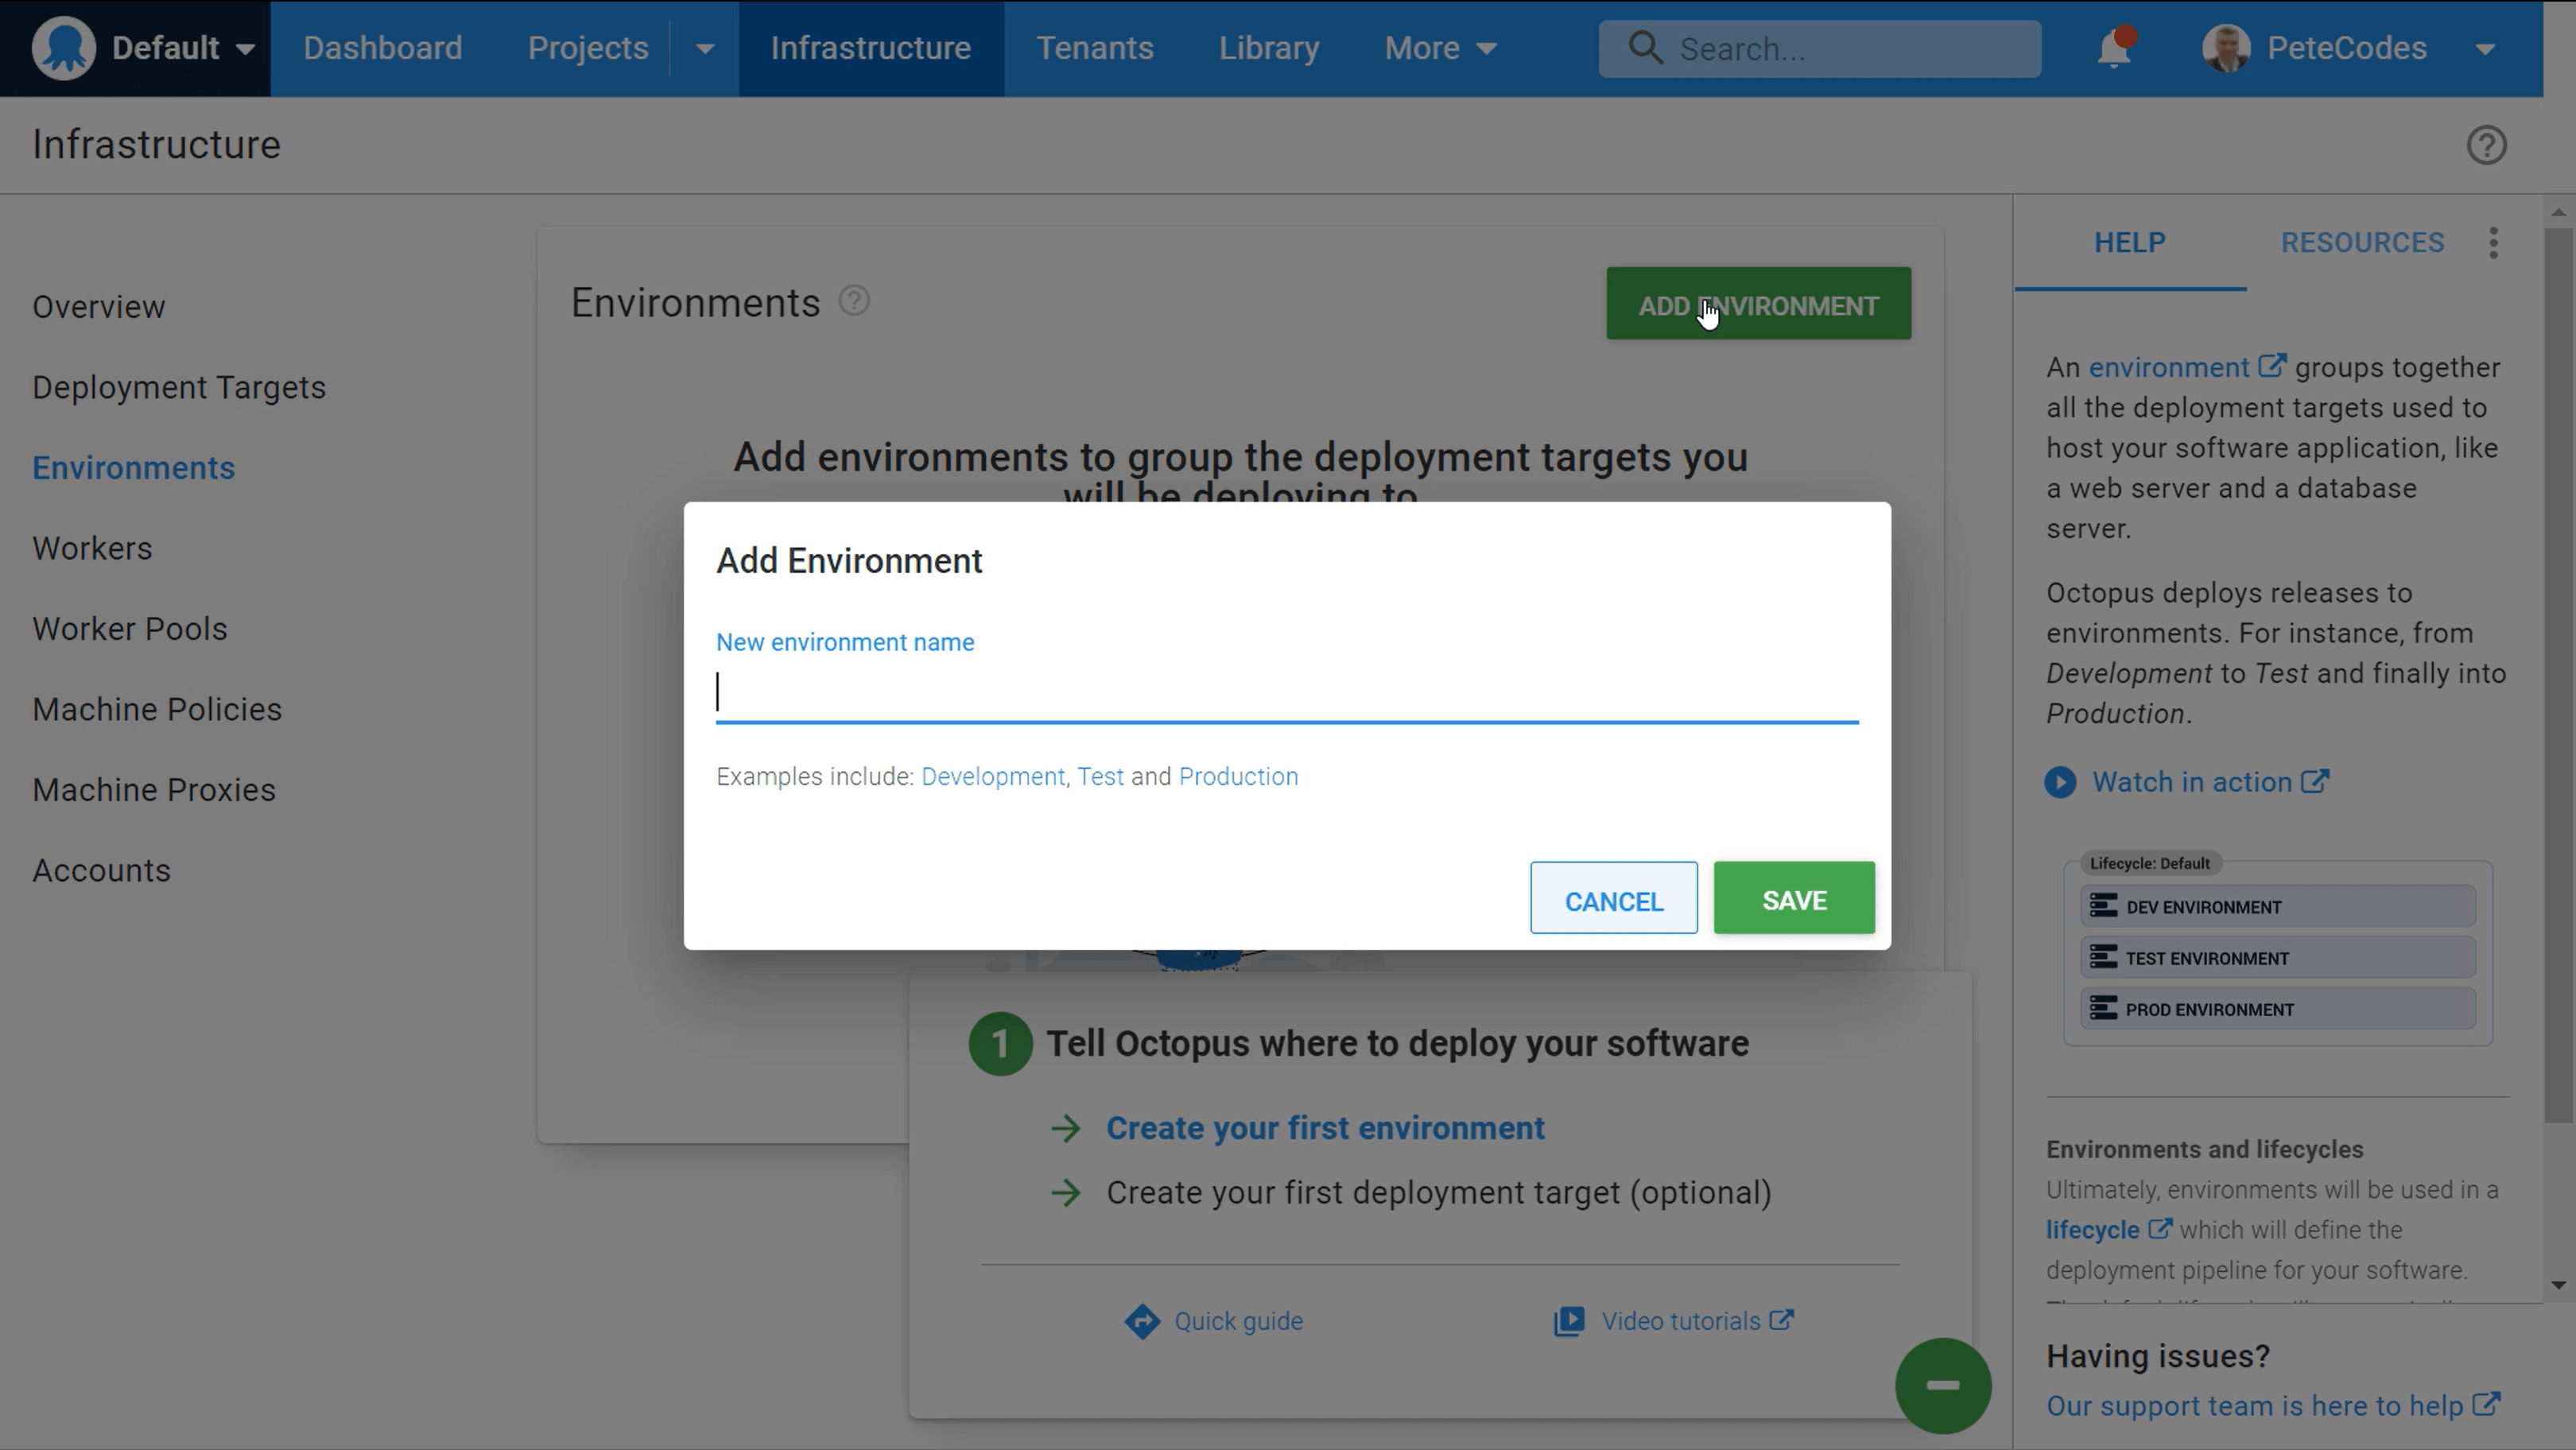
We can name our first Environment “Development”, but feel free to name this whatever fits your business domain language.
We’ll then be shown the Environment Summary page. Here we can add a Description for the Environment, which can be useful if the chosen Environment name isn’t descriptive enough.
We can also set the Default Guided Failure Mode and Dynamic Infrastructure options.
If we return to the Environments page by pressing the menu item on the left, we can repeat this step for our “Staging” and “Production” Environments.
Again, feel free to use whatever naming strategy works for your use case.
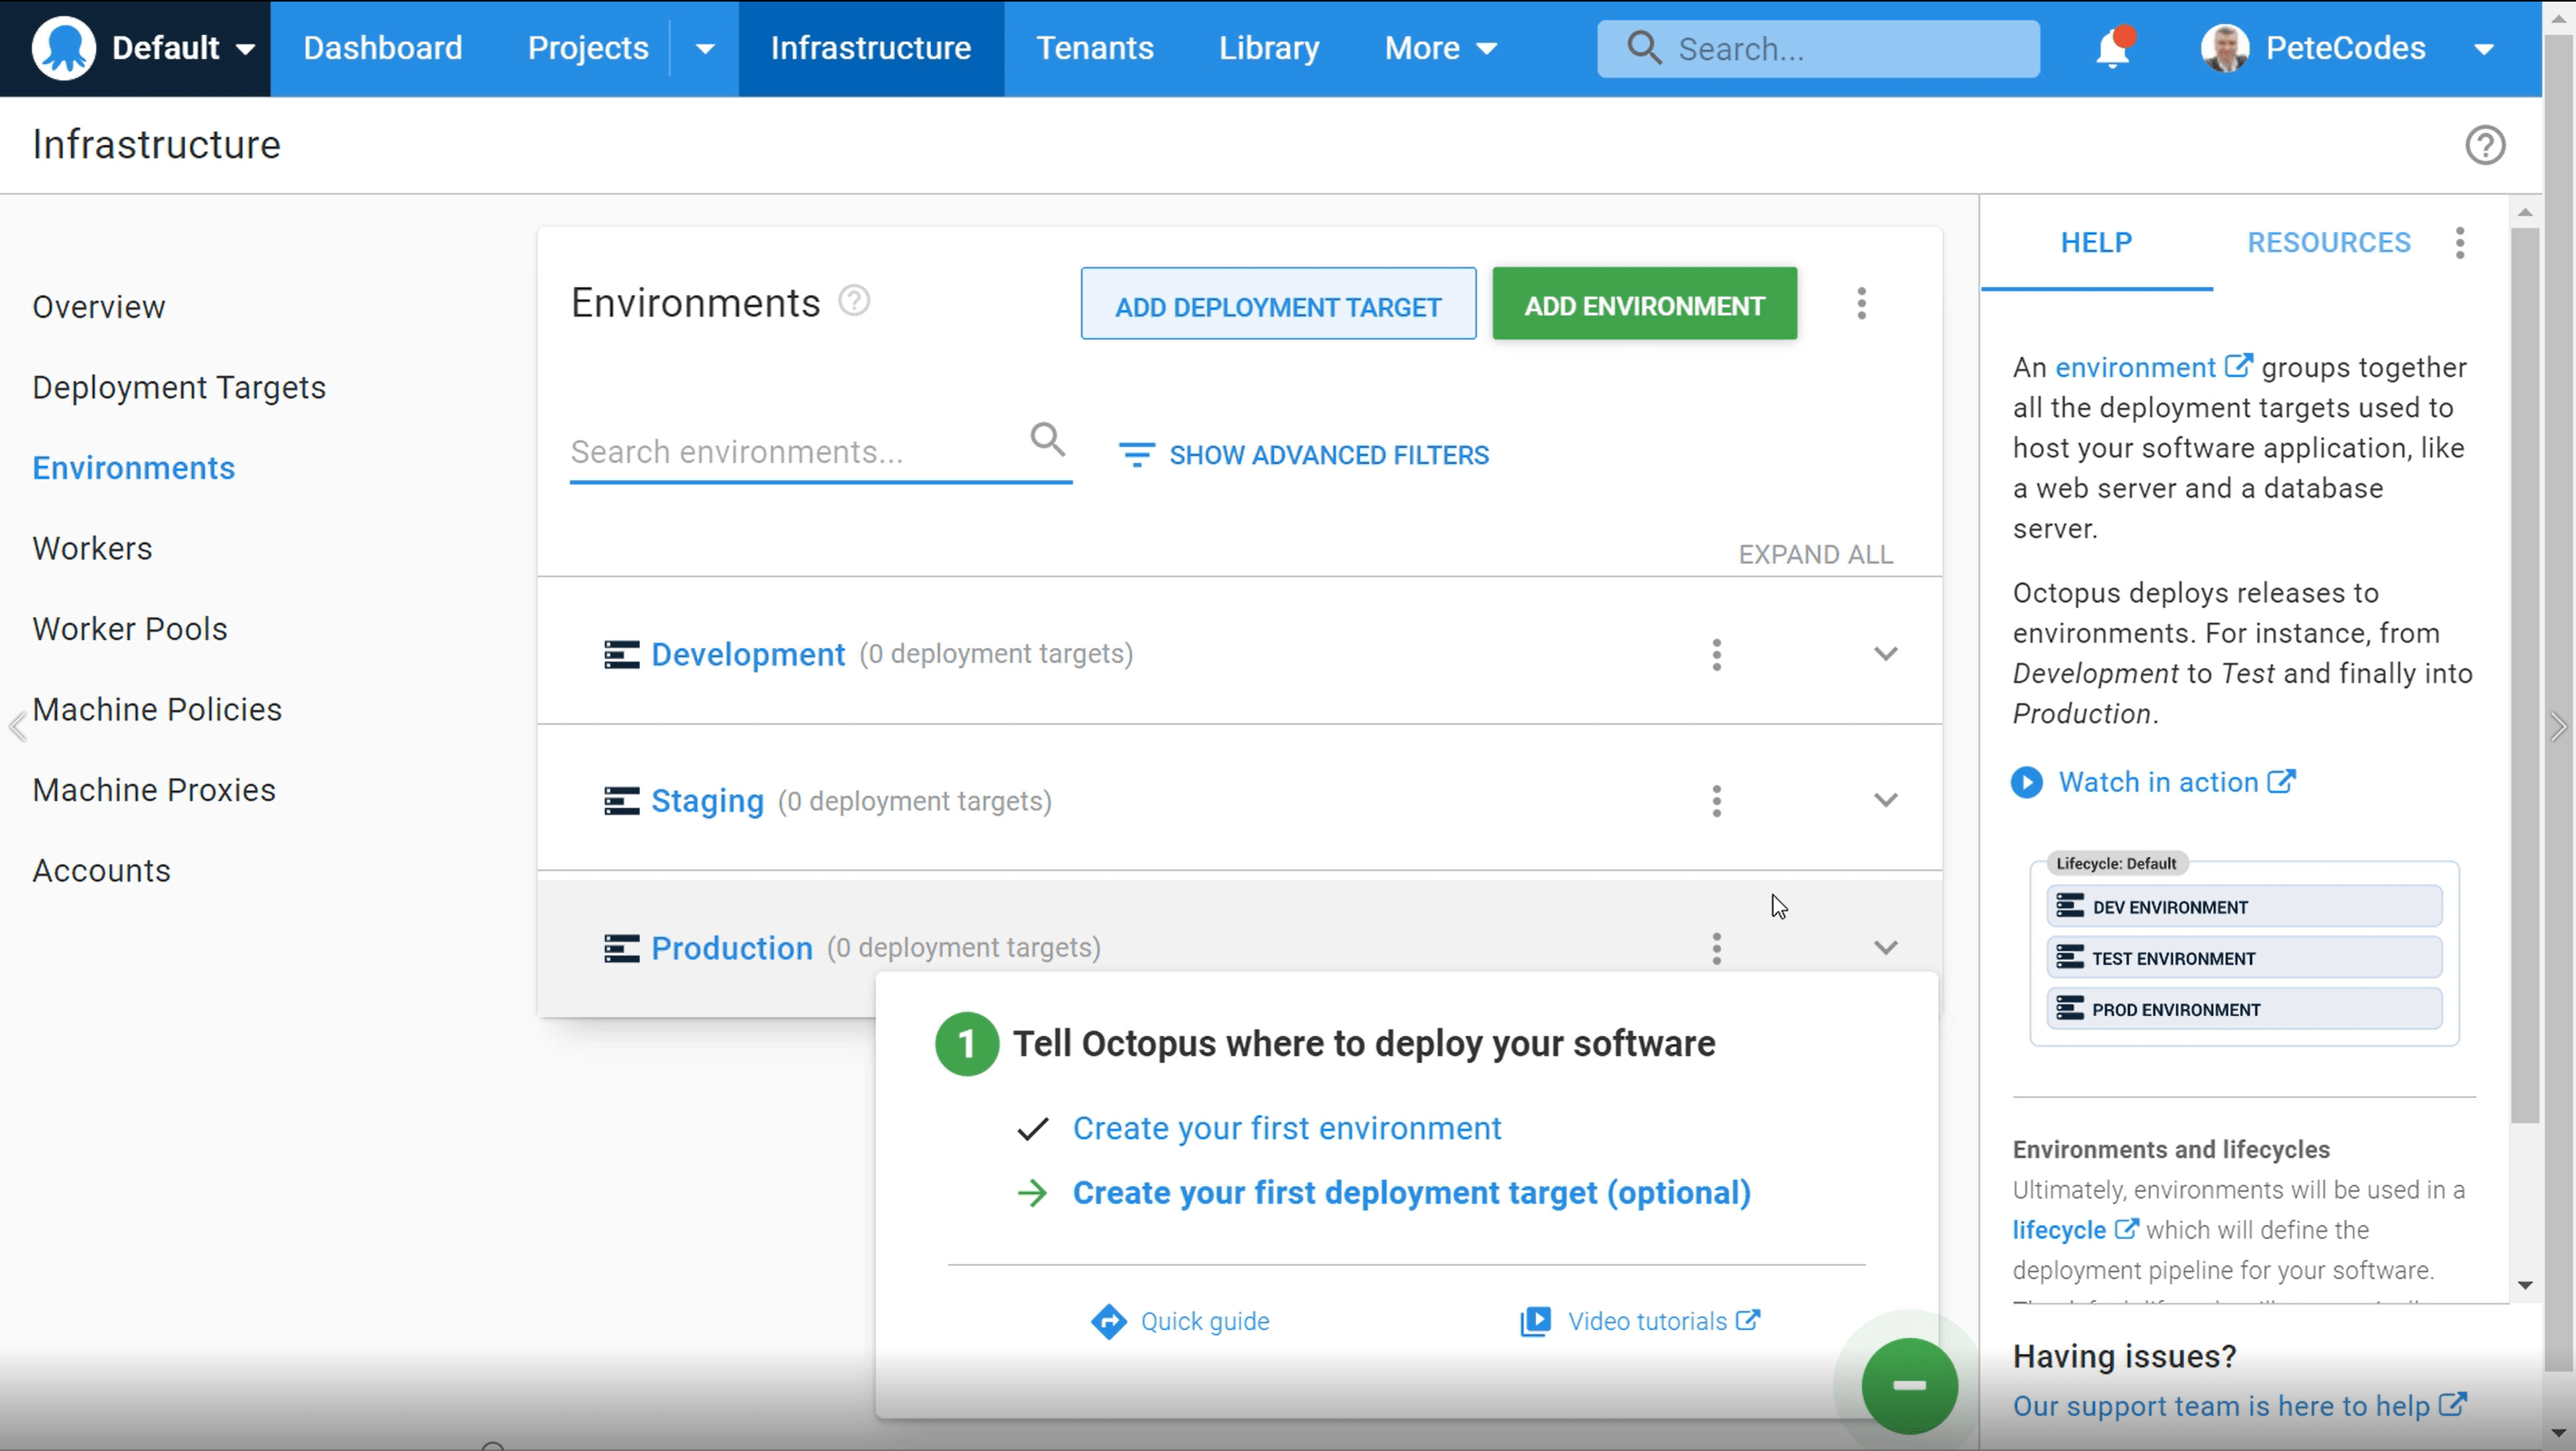
With the “Staging” and “Production” environments created, we should have three Environments shown on the screen;
Octopus Deploy Deployment Targets
Octopus Deploy Deployment Targets are the locations where our published binaries are delivered to in order to un our applications.
Octopus deploy supports a host of different targets including Windows, Linux, Mac, Azure, Kubernetes, and more.
We can create Deployment Targets to suit the various stages of our DevOps Pipeline, including those for our Development, Staging and Production infrastructure.
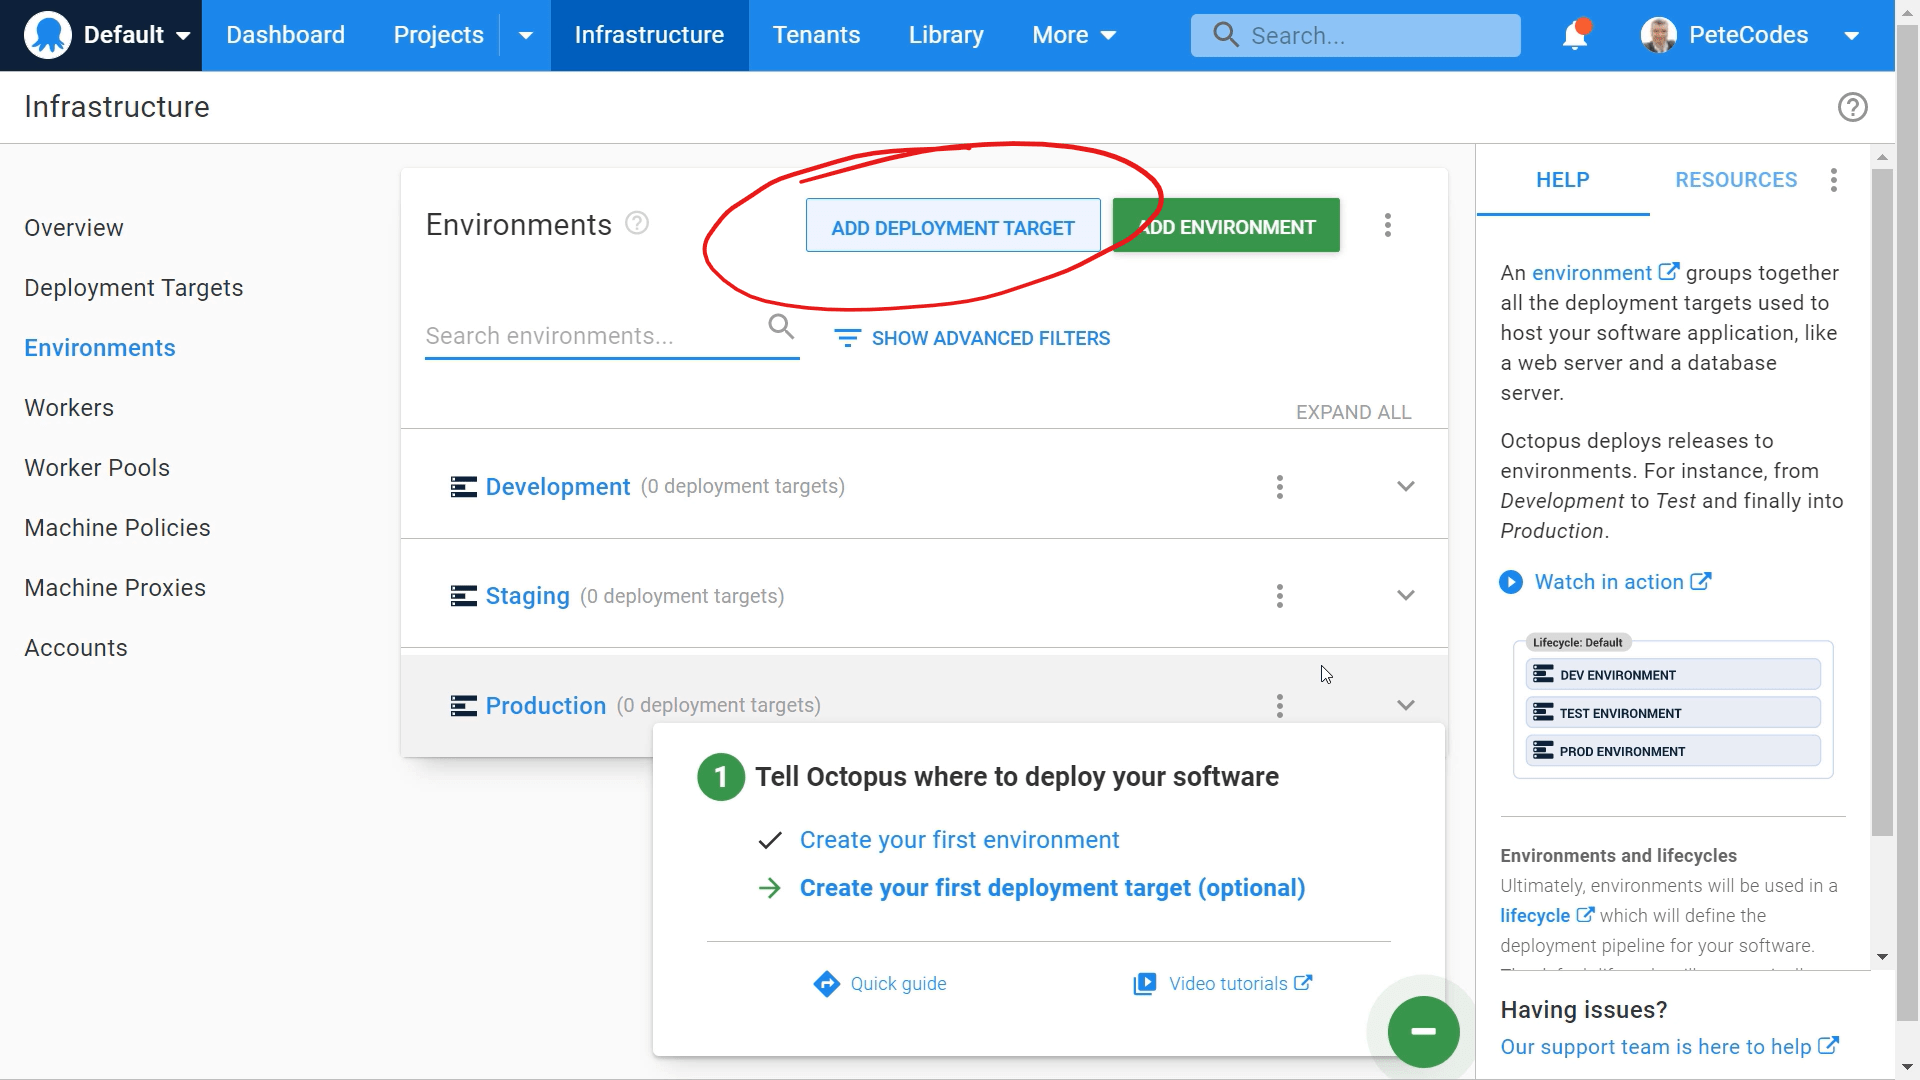
Now that we have our Environments set up, we can add a deployment target for our Development Environment.
If we click the Add Deployment Target at the top of the Environments page;
We’ll then be shown the list of available deployment target categories;
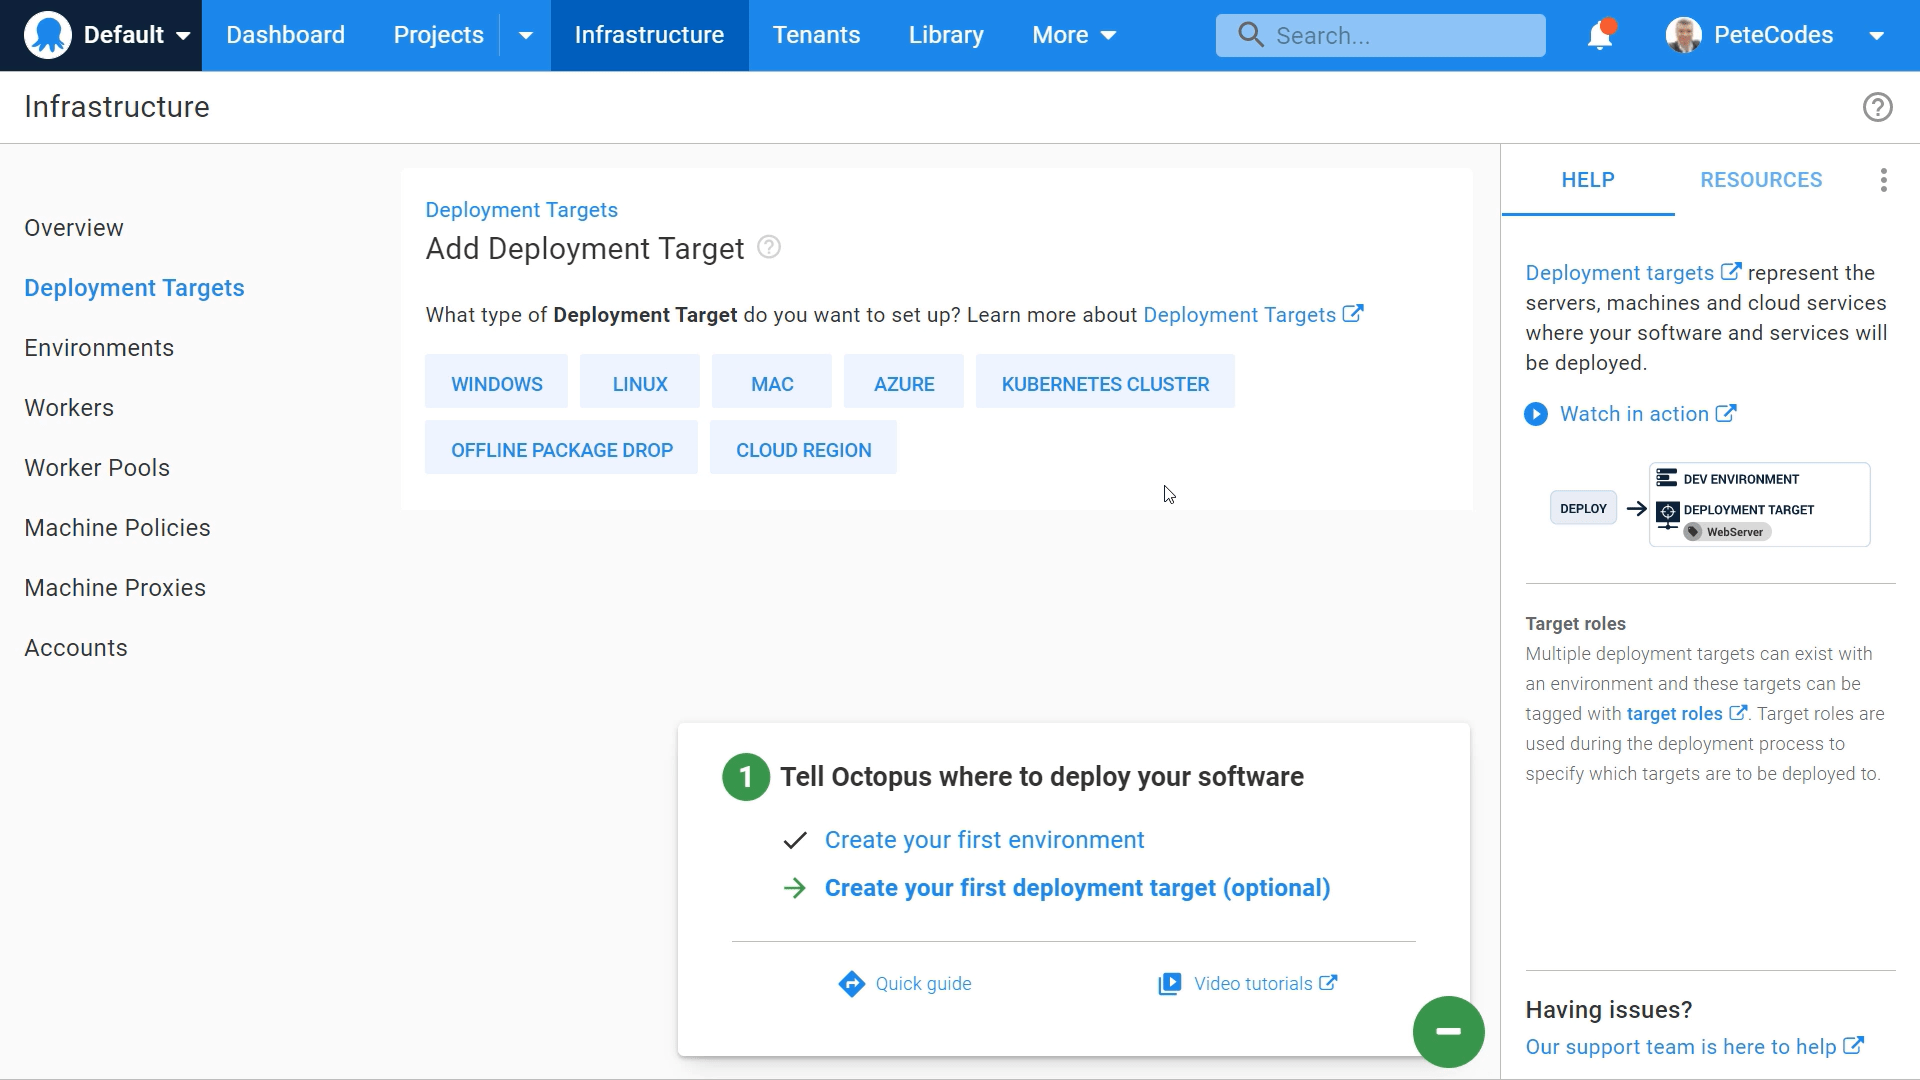
We’ll be deploying to Azure here, so we can select the Azure option. We’ll then be shown a set of options for Azure Targets;
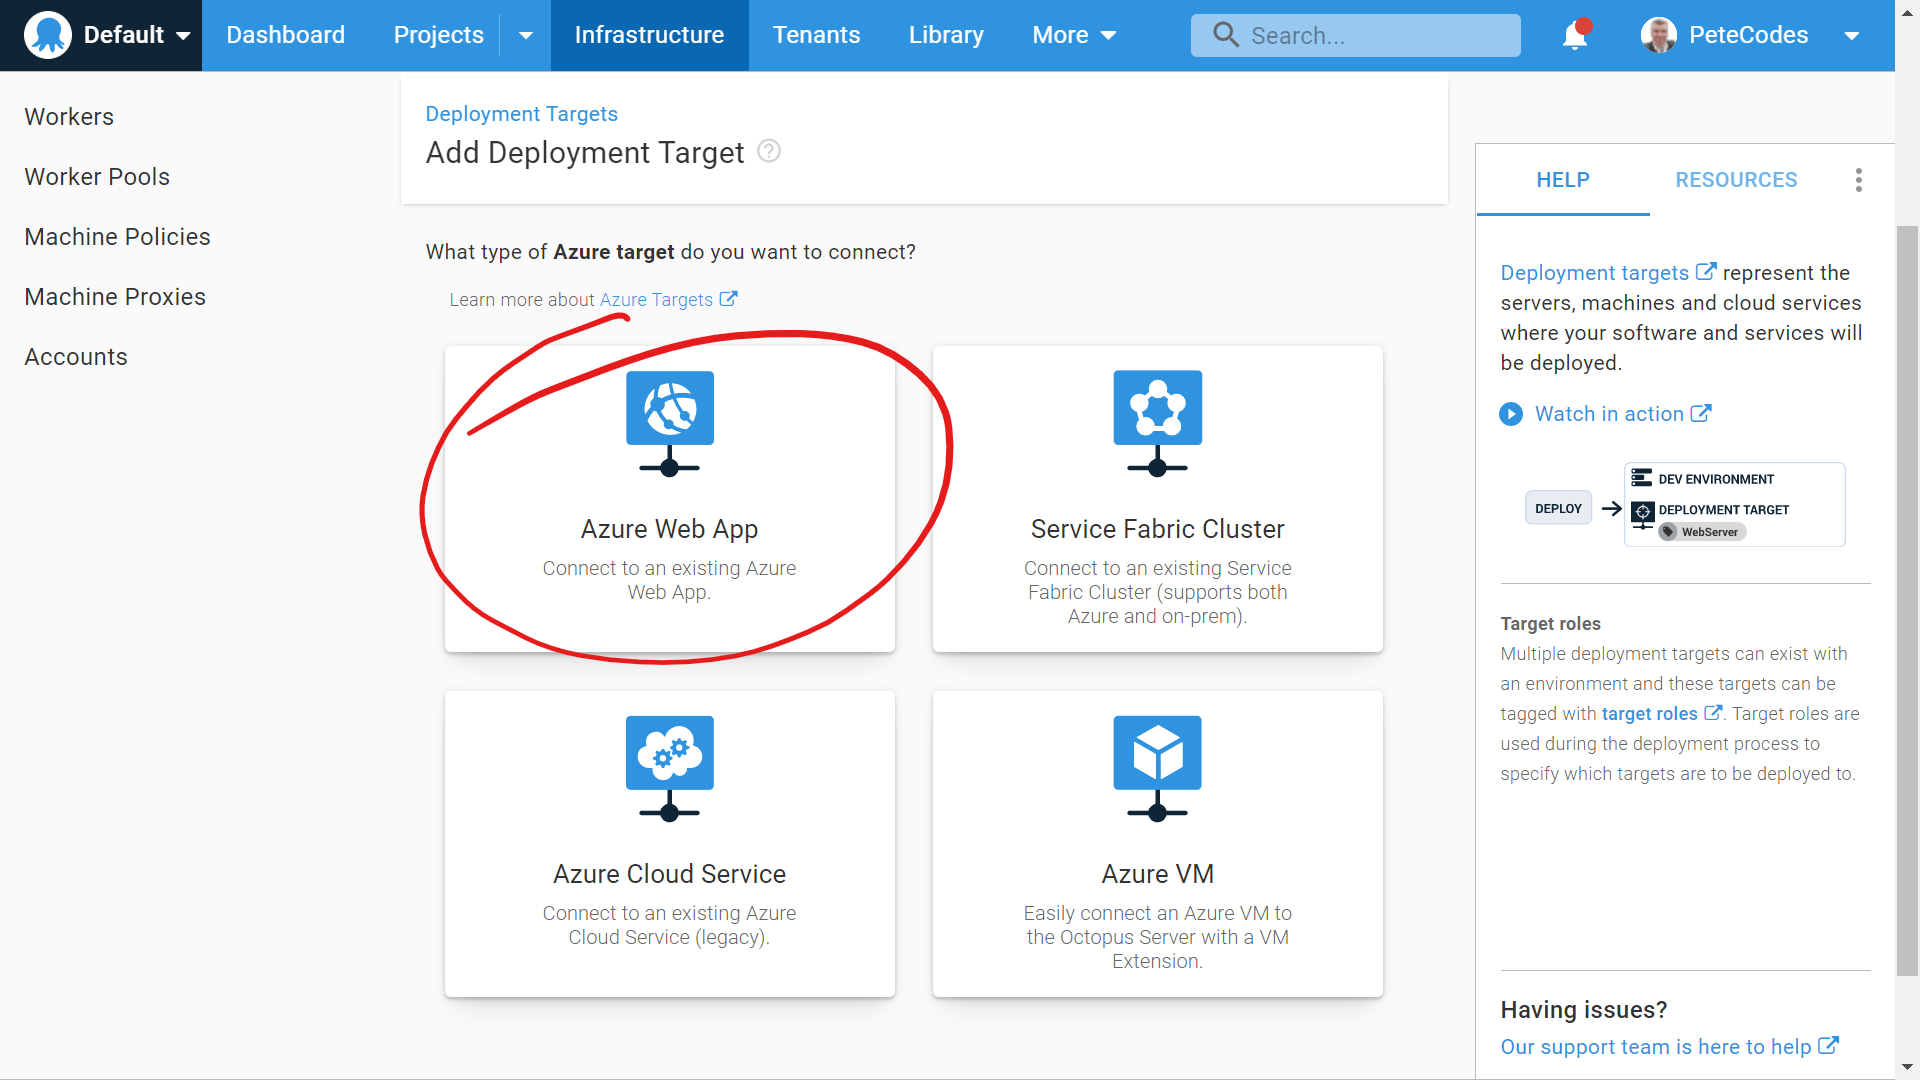
We’ll be deploying to an Azure Web App, so we can select the “Azure Web App” option. We’ll then be taken to the New Deployment Target page for our Azure Web App Deployment Target;
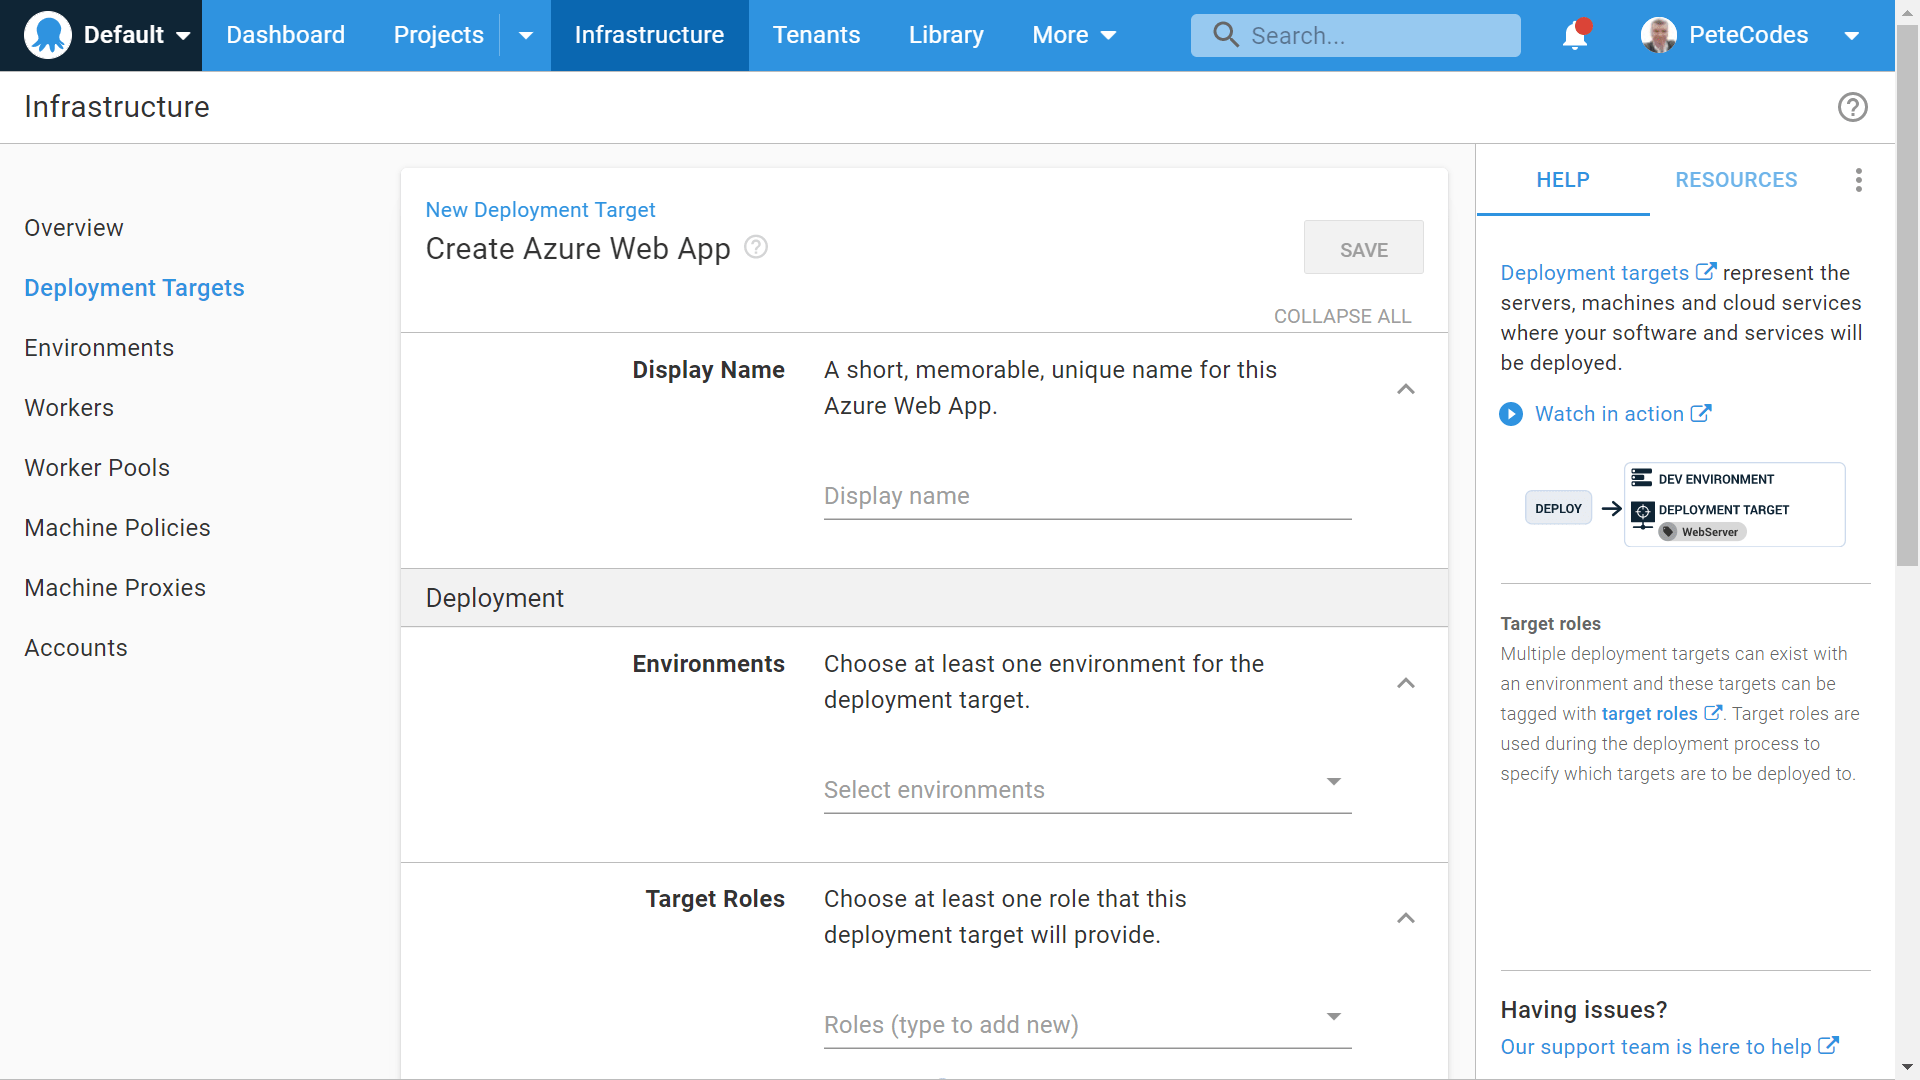
We can then give our Deployment Target a name. We’ll choose “Pete Codes Web App – Development”, as this will be the Deployment Target for our Development Environment.
We can now chose the Environment that this Deployment Target will apply to;
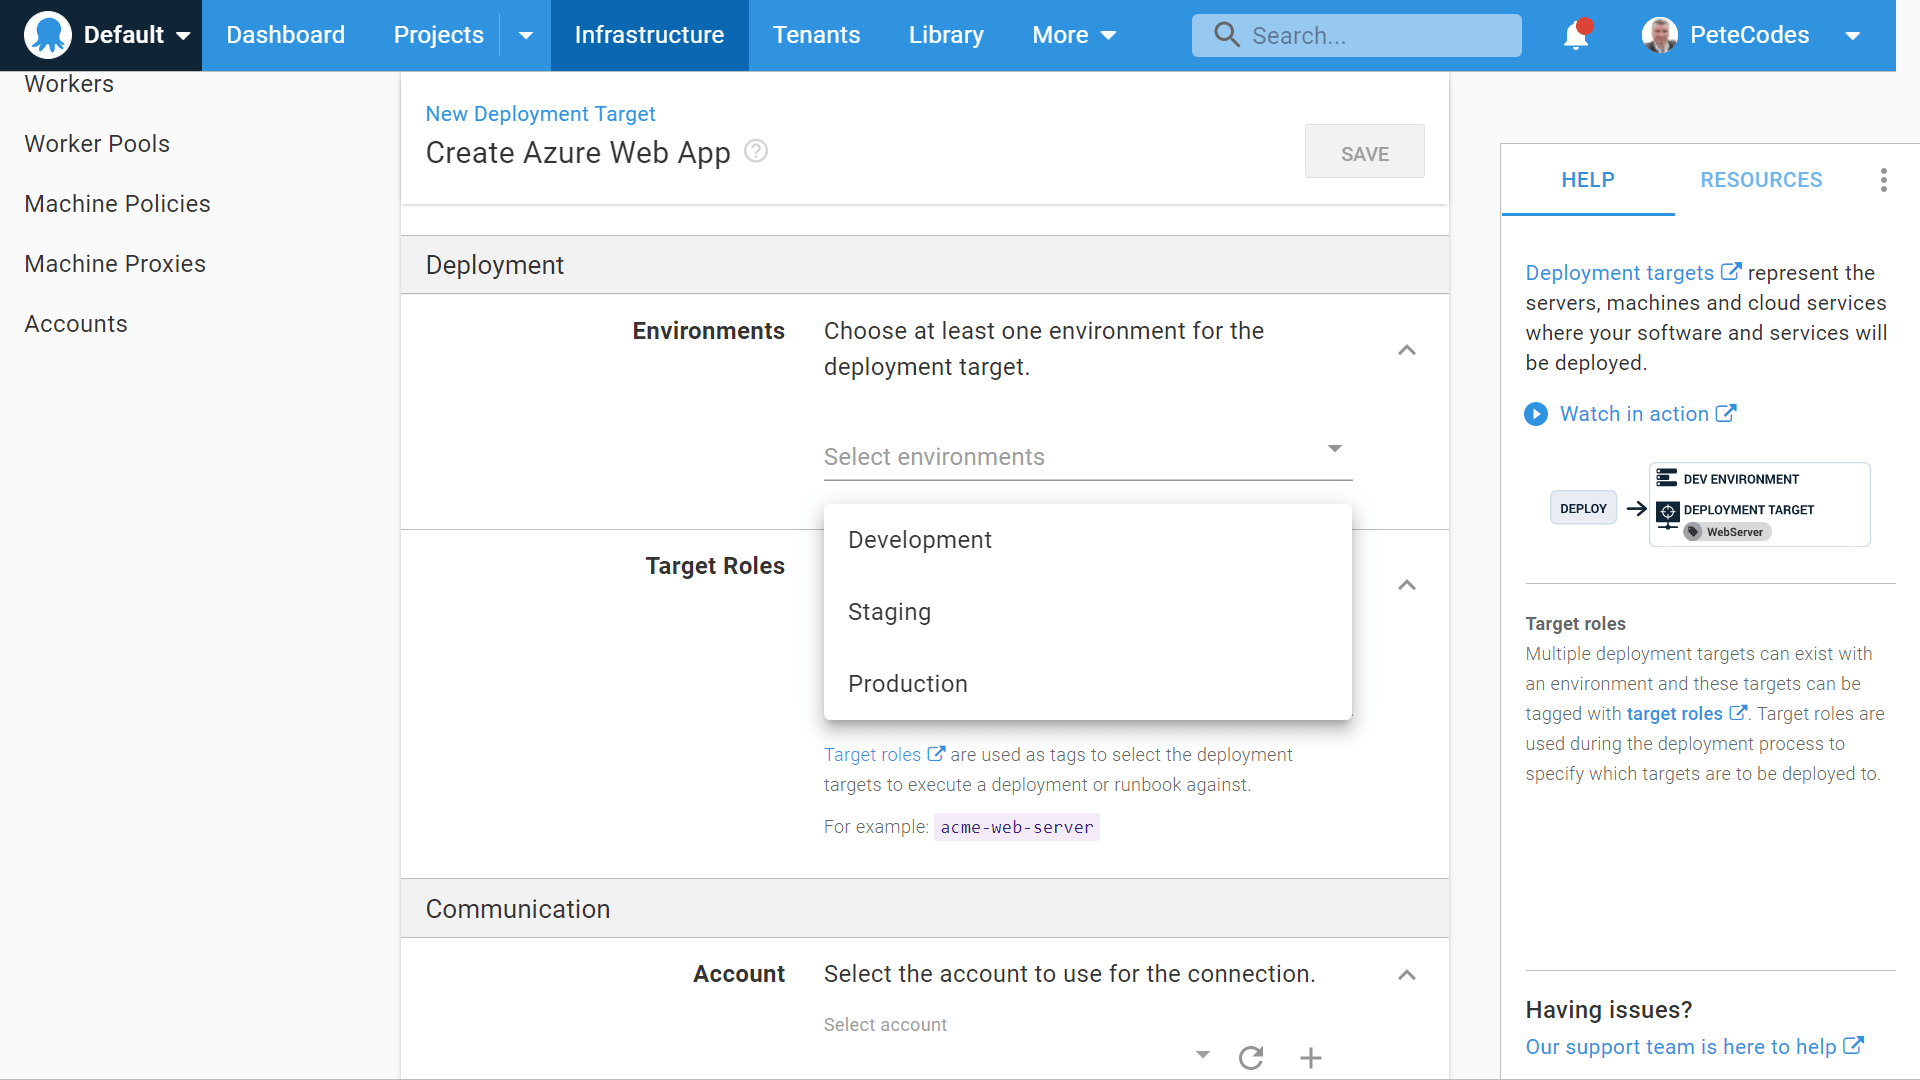
Dropping down the Environments options will show the environments we created earlier. In our case this is Development, Staging and Production. We can choose the Development Option here.
Octopus Deploy Target Roles
Next up we can select the Target Role for this Deployment.
Target Roles are a way to tag Deployment Targets so that Octopus Deploy can select them during a Deployment or Runbook run.
Choosing the correct naming scheme for our Target Roles is important, as it gives users the necessary information to manage which deployment targets will be used under each condition.
We can either choose a broad naming scheme for a role, such as “IIS Server”, or use a specific name such as “PeteCodes – WebServer”. Generally, choosing a more specific Role name is preferred to a generic one, as this gives us more flexibility going forwards.
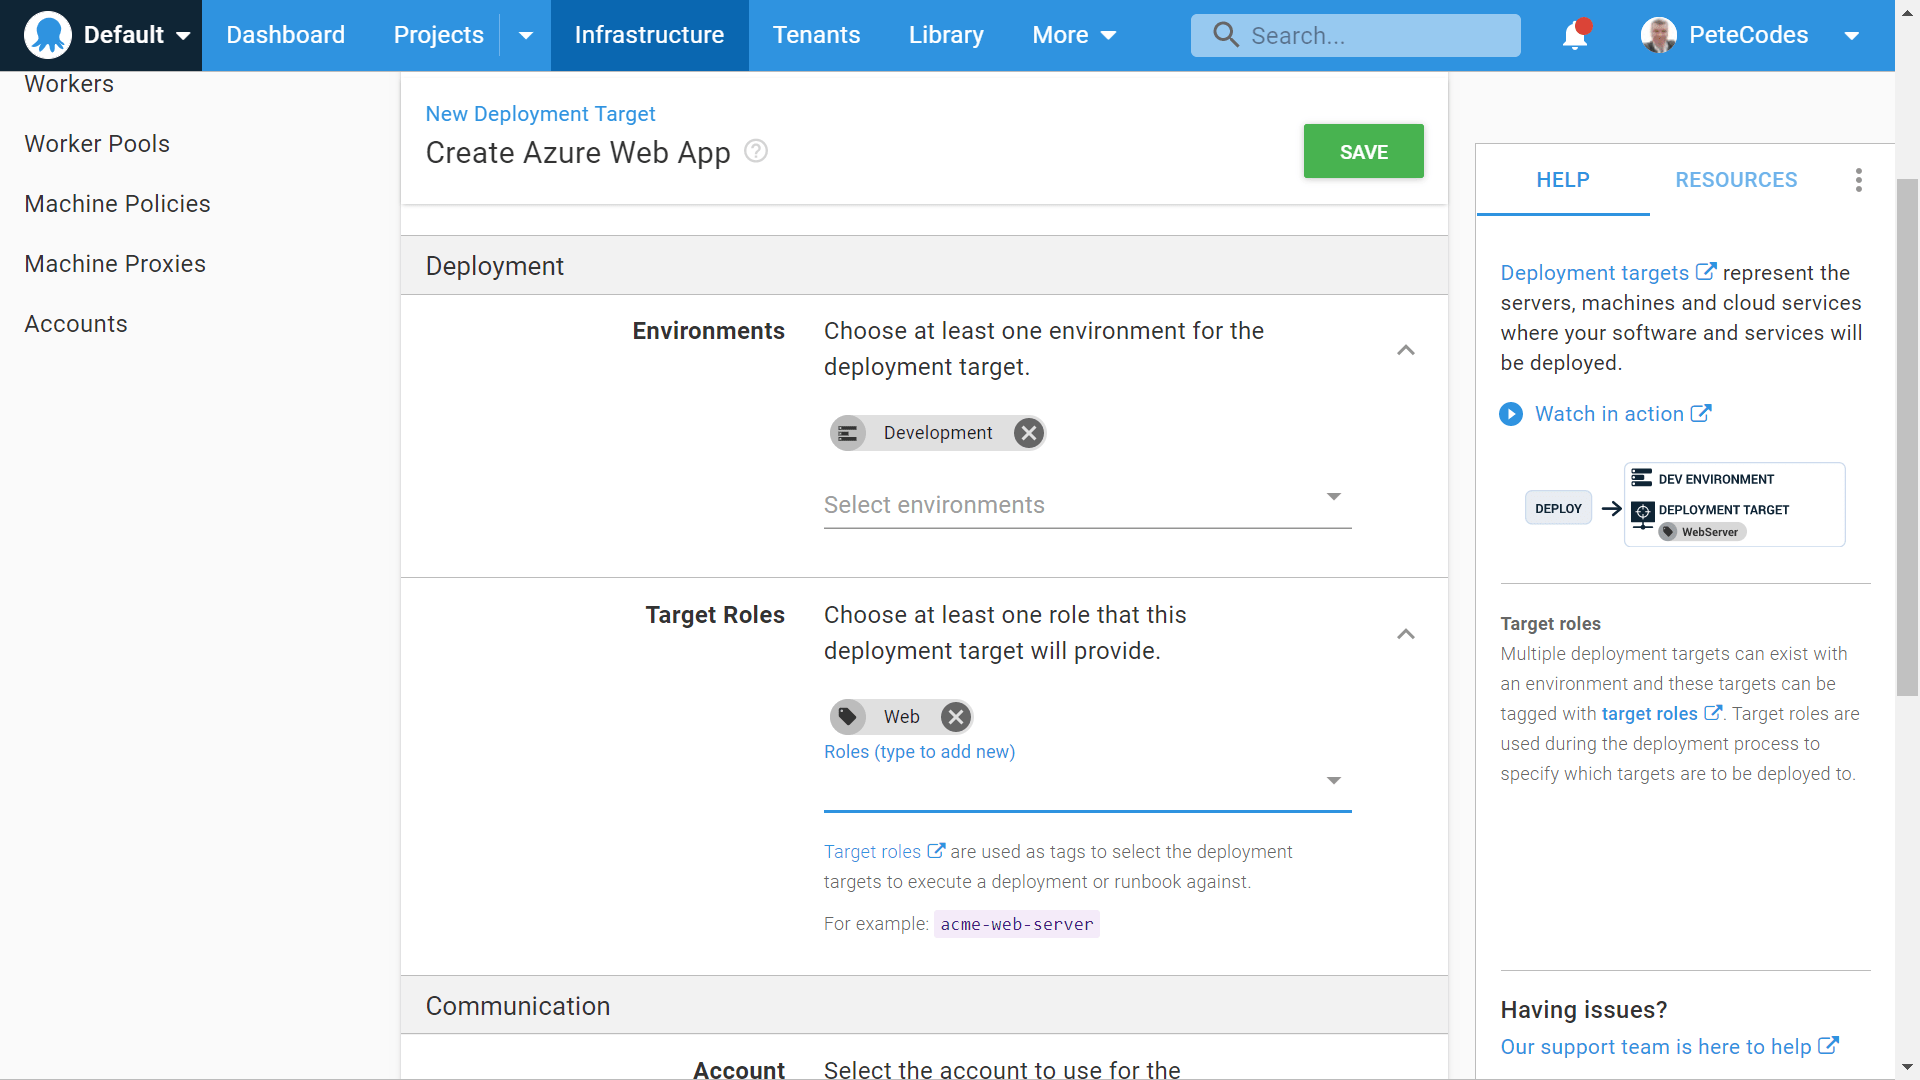
For this blog post though, we won’t be diving into Target Roles, so we can just enter “Web” in the text box and hit the enter key to accept our new Target Role;
Next Time…
In the next post we’ll continue on and set up an Azure Account to deploy our web app to.