What we did last time
In this series of posts we’re running through how to get Octopus Deploy setup, along with the required Azure Services, in order to deploy an ASP.NET Blazor app to Dev, Staging and Production environments.
In the previous post we created our Azure Web Apps for Development, Staging and Production.
We then went on to complete our Development Deployment Target as well as create Staging and Production Deployment Targets.
What we’re doing this time
In this post we’ll create our Blazor WebAssembly Web App and Package it up ready to upload to Octopus Deploy.
Contents
Part 1 – Environments and Deployment Targets
Part 2 – Linking Azure
Part 3 – Create Azure Web Apps + Staging and Production Deployment Targets
Part 4 – Create and Package a Blazor WebAssembly App
Part 5 – Octopus Deploy Projects, Variables and Processes
Part 6 – Create a Release
Part 7 – Send a Notification to Microsoft Teams
Prerequisites
Once again, for this tutorial you’ll need the following;
- An Azure Subscription
- Either a Cloud Hosted Octopus Deploy Environment or…
- … If you’re self hosting Octopus Deploy, a local SQL Server instance.
- The .NET 5 SDK
- Visual Studio Code
- For Teams Notifications – A Teams Environment with Admin access
Create a Blazor Web Assembly App
Now that we’ve got our major Octopus Deploy moving parts set up, we can go ahead and create our Blazor App.
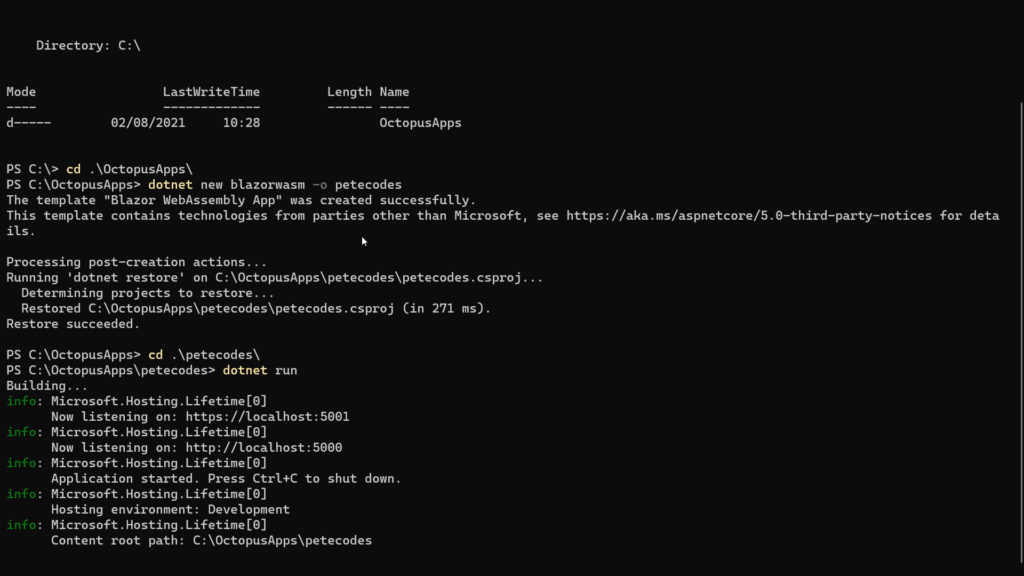
If we head over to the terminal, we can create our new Blazor Web Assembly app with the following command;
dotnet new blazorwasm -o petecodesThis will create a new Blazor WebAssembly app in the petecodes directory.
If we enter that directory with;
cd petecodesWe can then run our new application with;
dotnet runThe app will start running;
If your browser doesn’t open automatically, you can open it and go to;
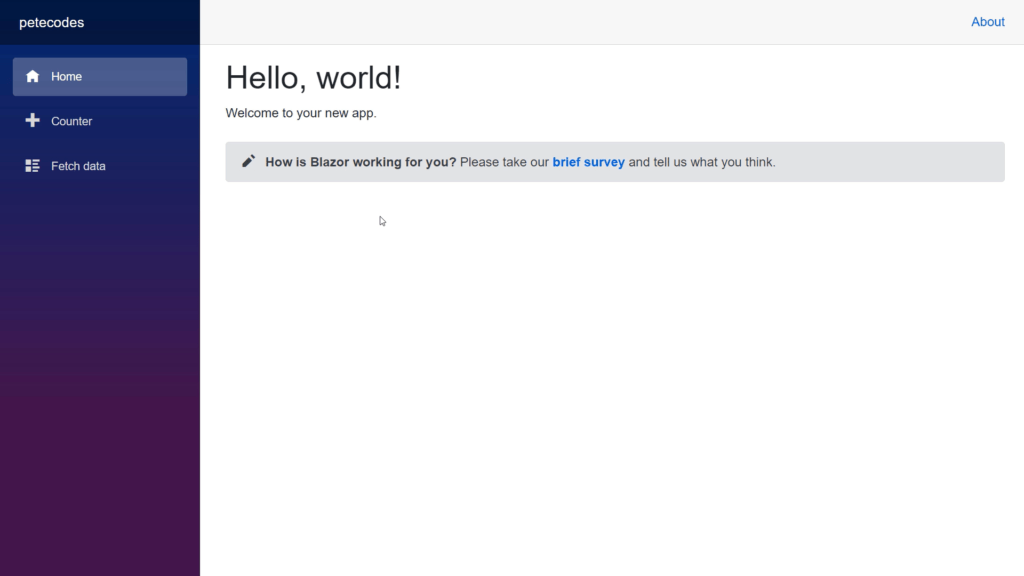
https://localhost:5001You’ll then be able to see the vanilla Blazor Web Assembly app;
Adding Variables to the Blazor Application
One of the most powerful features of Octopus Deploy is it’s ability to replace variables in files depending upon certain parameters such as the Environment and so on.
We’ll come back to this functionality later on… But for now, to make use of this functionality in our Blazor Application, we can add an “appsettings.json” file to our project.
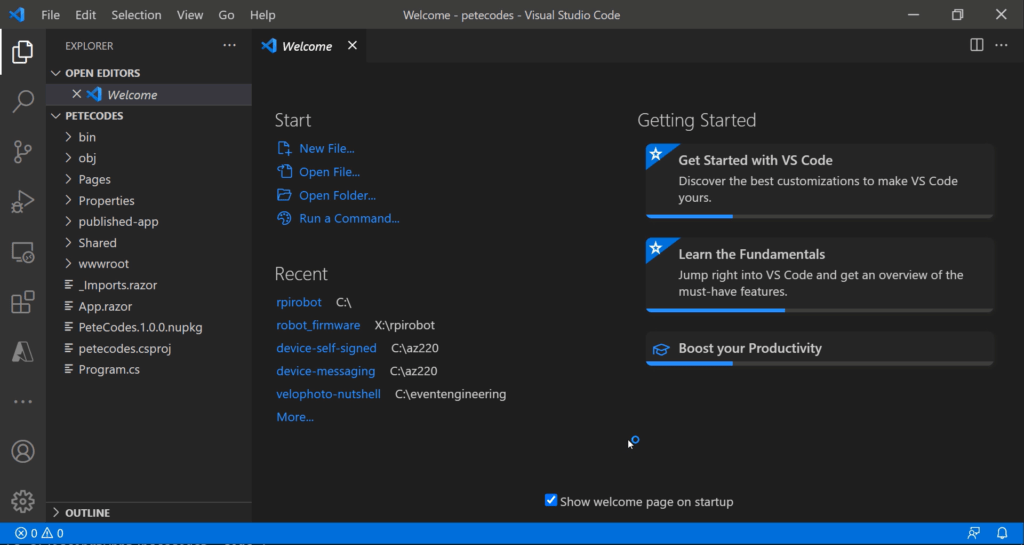
If we return to the terminal and use ctrl+c to stop the application, we can then open the solution using Visual Studio Code by using the following command;
code .The application will then open in VS Code;
We can add our new “appsettings.json” file to the “wwwroot” directory by right clicking on the directory and choosing “New File”;
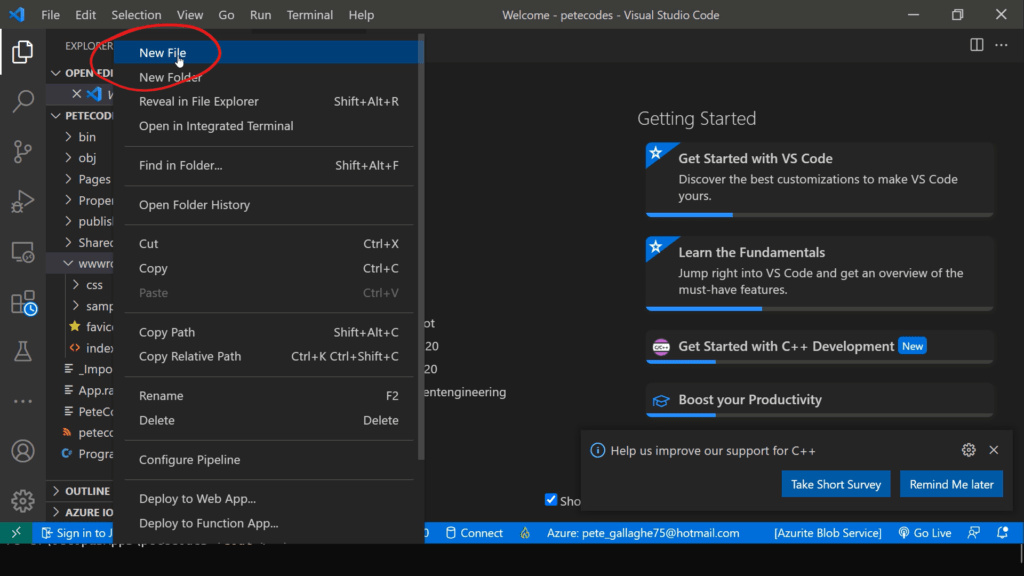
We then name the file “appsettings.json”, paste the following code into the new file and save it;
{
    "h1FontSize": "50px"
}
We can then make use of this variable by opening up the “Index.razor” file within the “Pages” directory. We can replace the contents of that file with the following code;
@page "/"
@using Microsoft.Extensions.Configuration
@inject IConfiguration Configuration

<h1 style="font-size:@Configuration["h1FontSize"]">
    Configuration example
</h1>

<h1>Hello, world!</h1>

Welcome to your new app.

<SurveyPrompt Title="How is Blazor working for you?" />
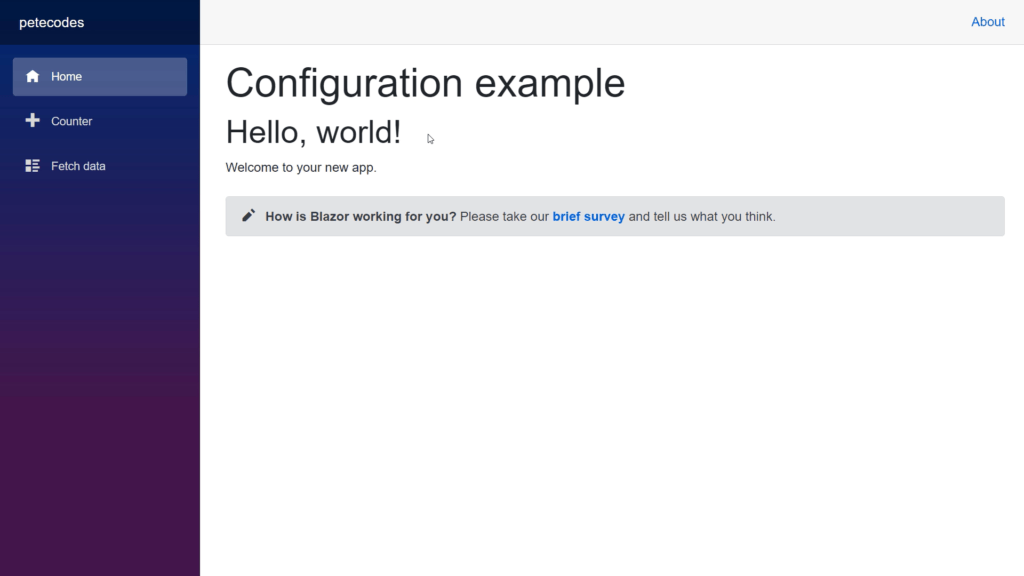
If you like, at this point you can run the application back up again from the terminal with “dotnet run” to see the result of the change we’ve made;
Publishing a Release of the Code
The next thing we need to do is Publish our app. This involves creating a release package of all of the files needed to run the application using services such as an Azure Web App.
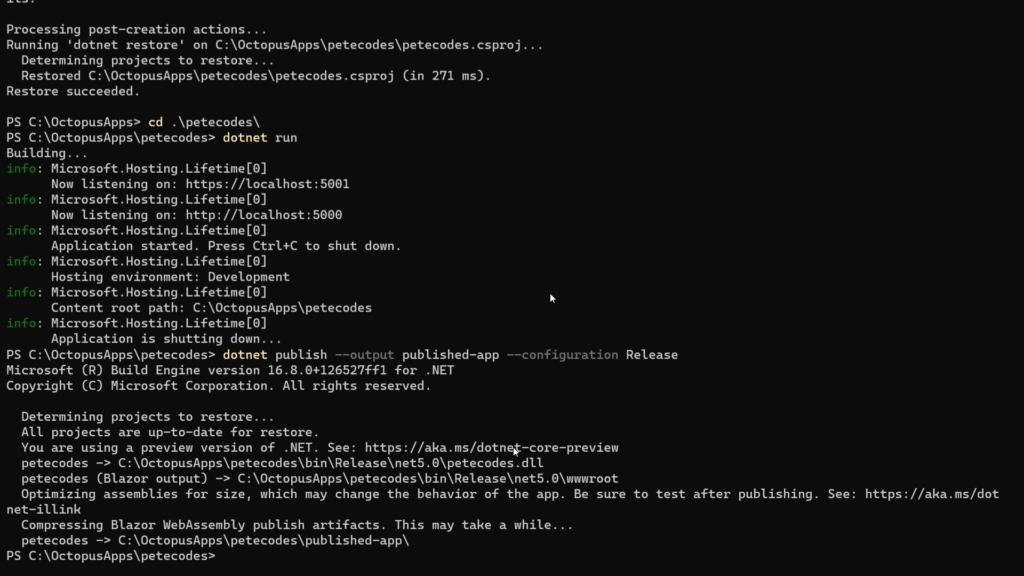
We can do this with the following command;
dotnet publish --output published-app --configuration ReleaseThis will take a few moments and we should see the results shown on the screen;
Installing the .NET Octo Command Line Tool
In order to use these files in our Octopus Deploy Environment, we’ll need to package the files up into a Nuget Package. There are quite a few ways to do this, but the simplest is to install the .NET Octo Command Line Tool.
We can install the tool with the following command;
dotnet tool install --global Octopus.DotNet.Cli --version 7.4.3366Note: I’ve specified a version here, as the alternative is specifying that we can use Preview Version.
As time goes on, the version will likely change (you can see it had already changed between creating the demo and writing this blog!).
You can find the latest version on the Octopus.DotNet.Cli nuget page.
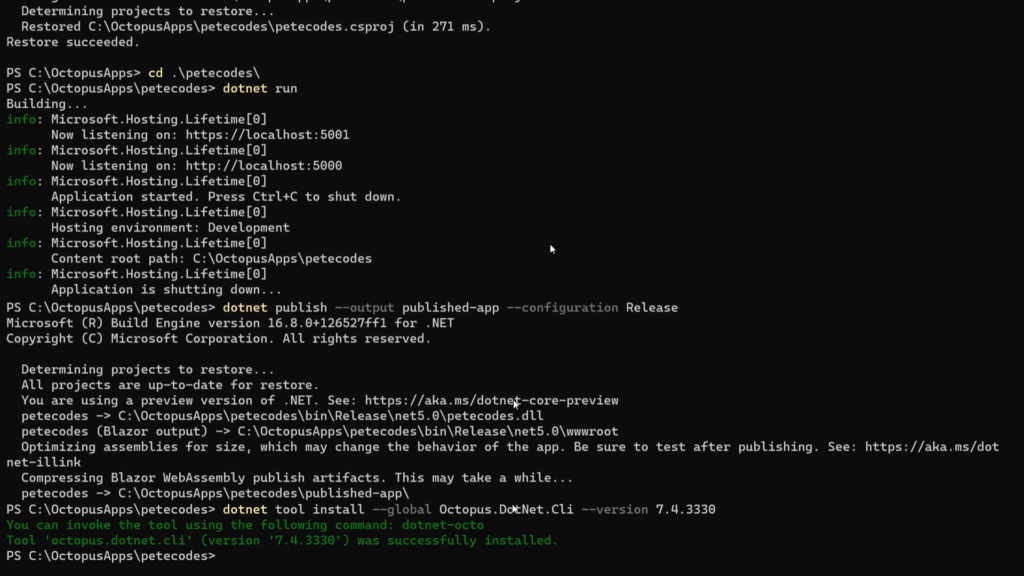
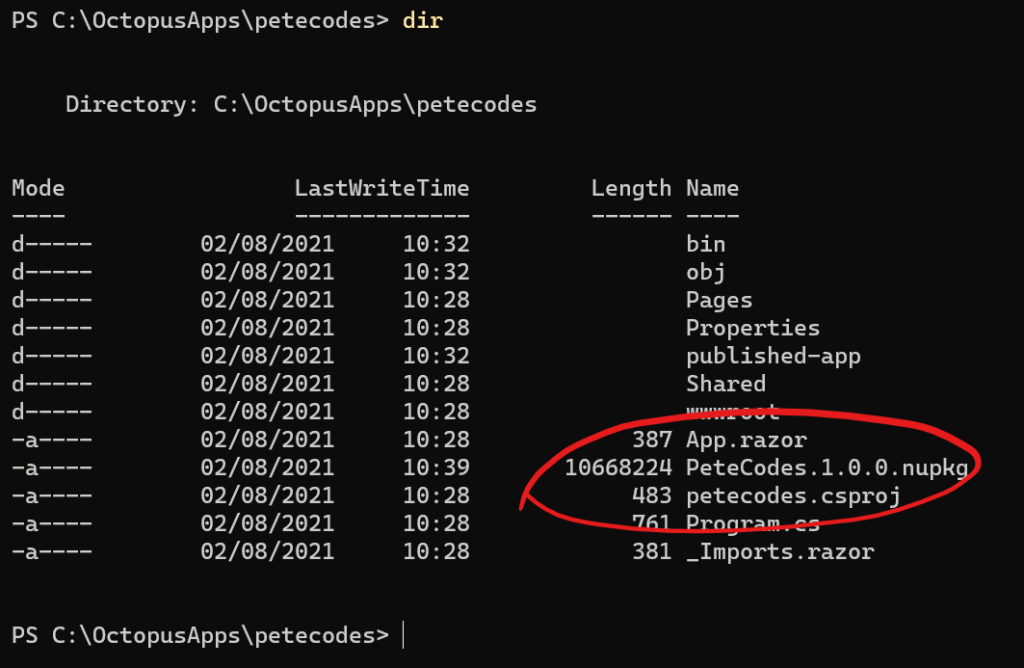
With the tool installed, we can now use it to package up our app with the following command;
dotnet octo pack --id PeteCodes --version 1.0.0 --basePath published-appThis will create a nuget package with an ID of “PeteCodes”, a Version of “1.0.0” using the files from the “published-app” directory;
Next Time…
In the next post we’ll upload our Package to Octopus Deploy, configure a Project and some variables ready to begin creating a Release.


