
This is part 5 of a (at least) 5 part blog series on Dot Net Core on the Raspberry Pi….
You can see Part 1 – Installation and Hello World – right here…
You can see Part 2 – GPIO – right here…
You can see Part 3 – Sending Azure IoT Hub Messages – right here…
You can see Part 4 – Receiving Azure IoT Hub Messages – right here…
On September 25th 2019, the Dot Net Team released version 3.0 of the Dot Net Core Framework at .Net Conf.
To join in the fun, I held a special with Notts IoT, the IoT group I organise in Nottingham, where I gave a talk on Dot Net Core 3.0 on the Raspberry Pi.
This blog post series is what I learnt along the way to preparing for the talk as well as afterwards…!
Previously on Pete Codes…
In the last blog post we’d updated our Console app so that it could receive a message from an Azure IoT Hub and display that message in the console.
In this post we’ll setup VS Code and our Pi to allow for Remote Deployment and Debugging, so that we don’t need to edit and build on the Pi and also we can debug the app from VS Code.
Going Remote
If you’ve followed along with the previous blog, you’ll already have installed the Dot Net Core 3.0 binaries and runtimes, have a console app running that flashes an LED, sends a message to an IoT Hub when you press a button and receives a message from the IoT Hub.
Our next step is to allow us to begin coding on our far more powerful PC, deploy the built binaries to the Pi and Debug that code remotely.
I did try using the Remote Development Extension but it didn’t do everything I wanted to do… Primarily to develop code on my local machine, then deploy and debug directly from VS Code.
I will go back that extension and give it another go, but in the mean time… This should work just fine!
Moving Parts
There’s quite a few individual pieces of prep we need to do to achieve this;
- Activate the Windows Sub System for Linux (WSL) feature on our Windows Installation
- Install Debian on WSL
- Setup a Debian on WSL Username and Password
- Update and Upgrade Debian on WSL
- Install RSync OpenSSH on Debian on WSL
- Enable Root User Login on the Pi and set a Password
- Install the Visual Studio Debugger on the Pi
- Authenticate Putty’s PLink to the Pi
- Authenticate WSL’s SSH to the Pi
- Setup the VS Code Launch Task
- Setup the VS Code Build and Deploy Tasks
- Build, Deploy and Run the code
- BreakPoints and Variable Inspection
Activate the Windows Subsystem for Linux Windows Feature
The first thing we’re going to do is activate the WIndows Subsystem for Linux feature.
We’ll be using WSL for some Linux commands to help us move files around and start debugging sessions.
I did try to get this all to work directly from Windows, but couldn’t manage it, so this was a fair compromise.
Hitting the Windows Start button and typing “Windows Features” will show the “Turn Windows features on or off” option, so go ahead and click that.
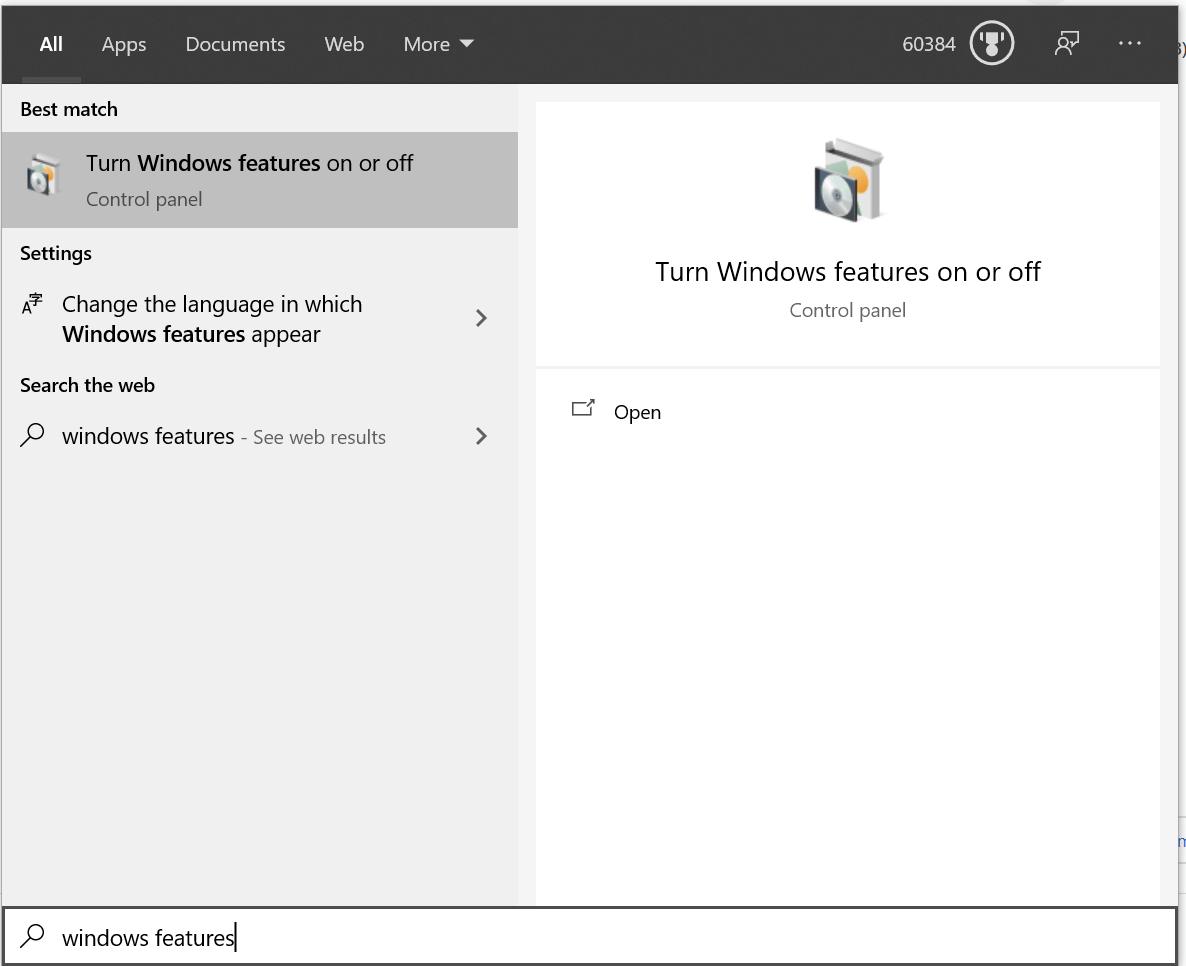
Scrolling down to the bottom, you’ll find the “Windows Subsystem for Linux” option. Select that and press the OK Button.

Install Debian on WSL
Next up, we need a Linux distro installing in our Linux Subsystem. We can do that from the Windows Store;
Crack open the Microsoft Store and search for Debian;

Clicking on the Debian Item will take you to the details and install page;
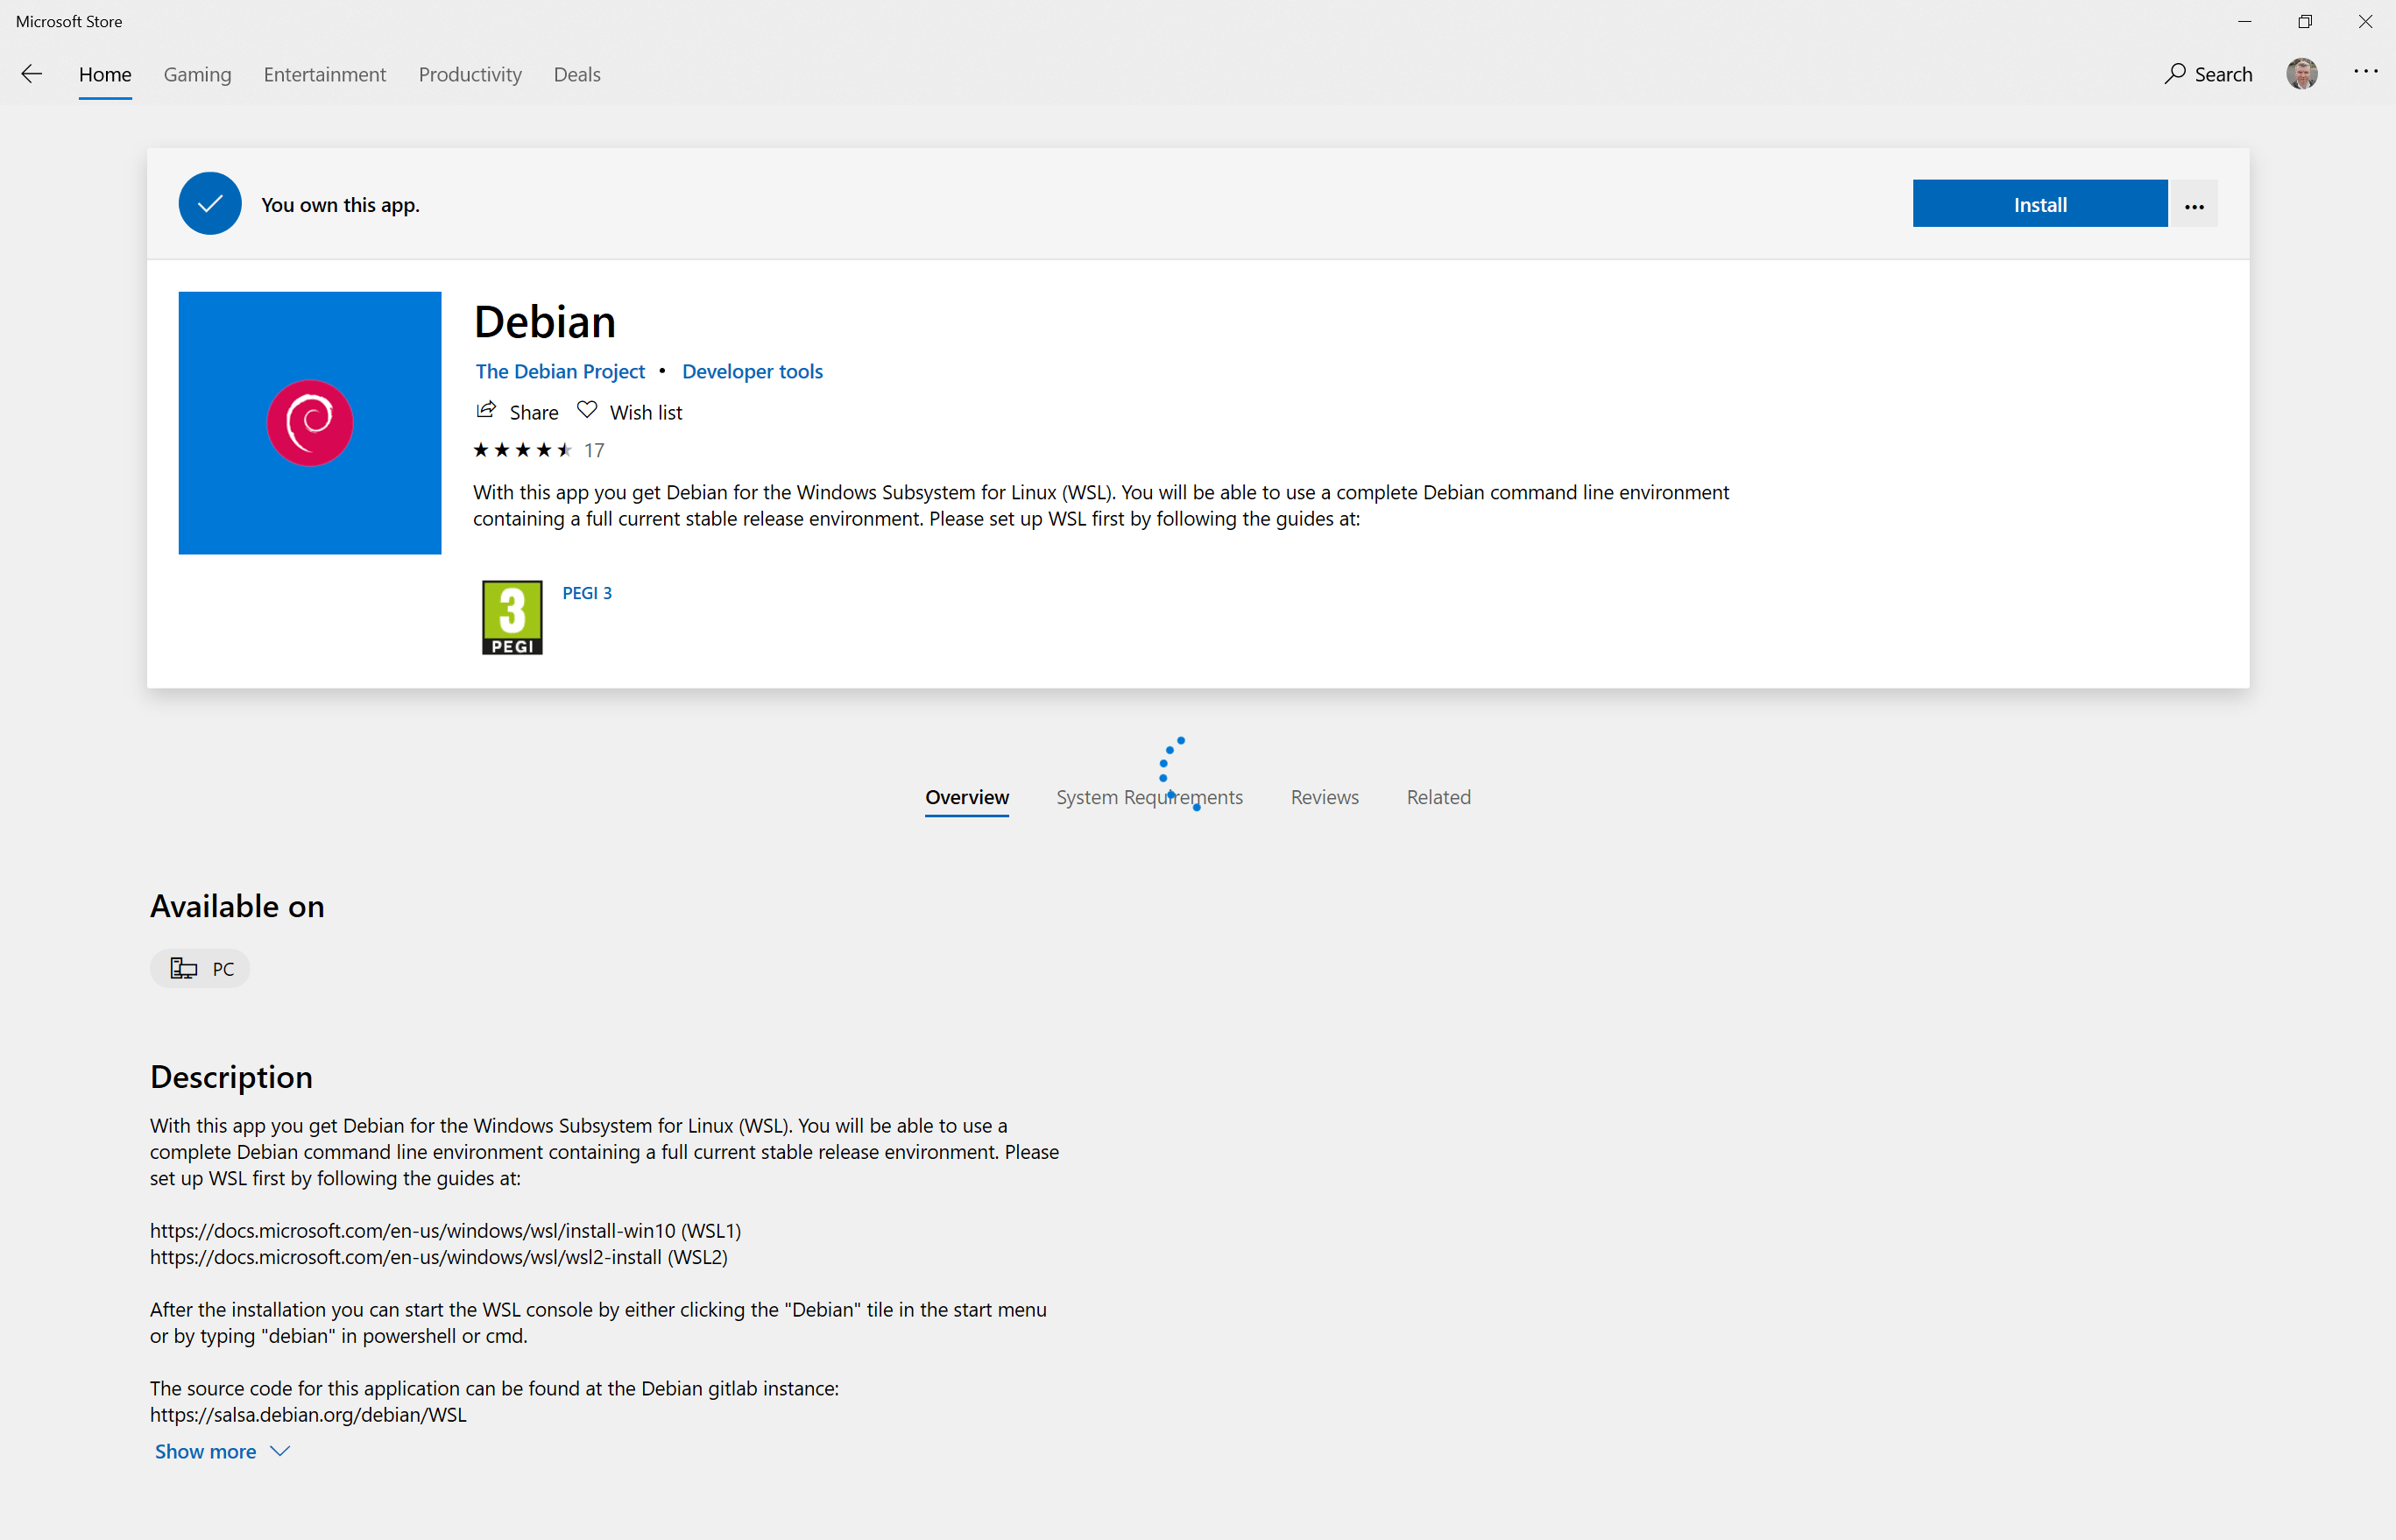
Hit the blue “Install” button and get that installed. You’ll see a console window pop up telling you how it’s getting on along the way.
Setup Debian Username and Password
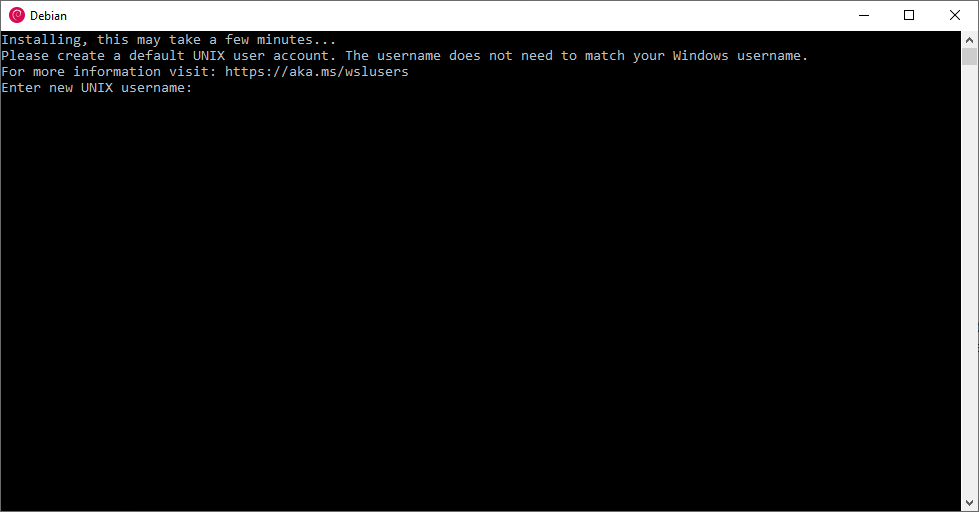
Once the installation is complete, you’ll be asked to Enter a Username for the installation, so enter a username and hit enter;
Next it’ll ask you to choose and then confirm a password;
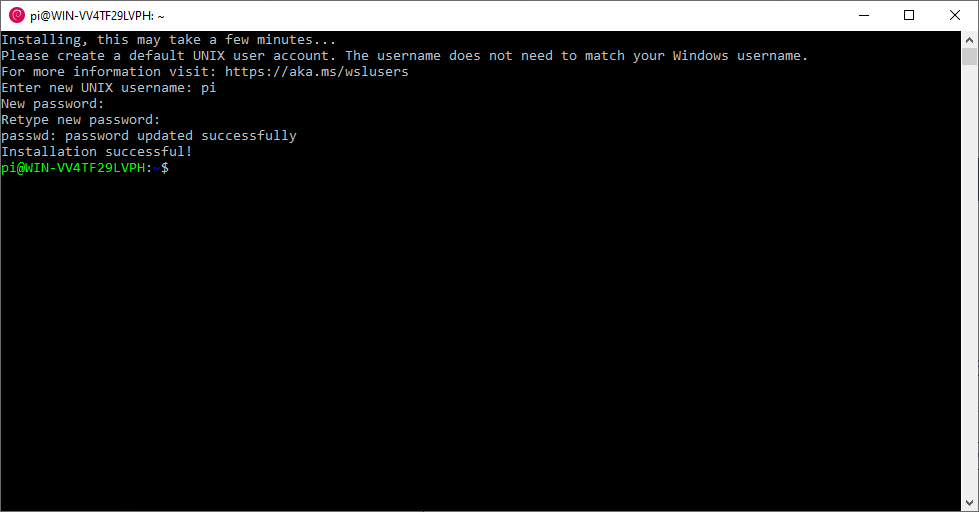
Once you’ve done that, the installation will be successful.
Update and Upgrade Debian
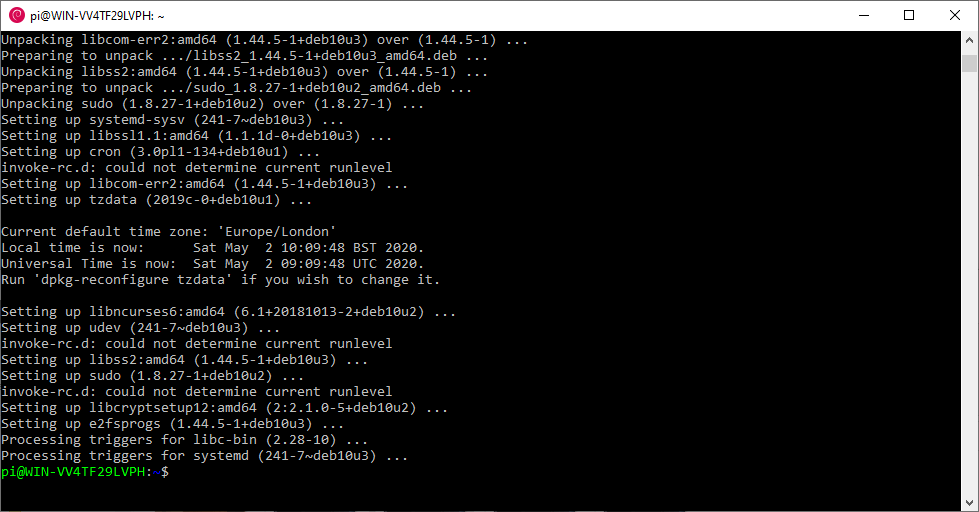
Next up we need update and upgrade our fresh Debian install. Run the following command;
sudo apt update && sudo apt upgradeThis will prompt part way through for you to complete the process;
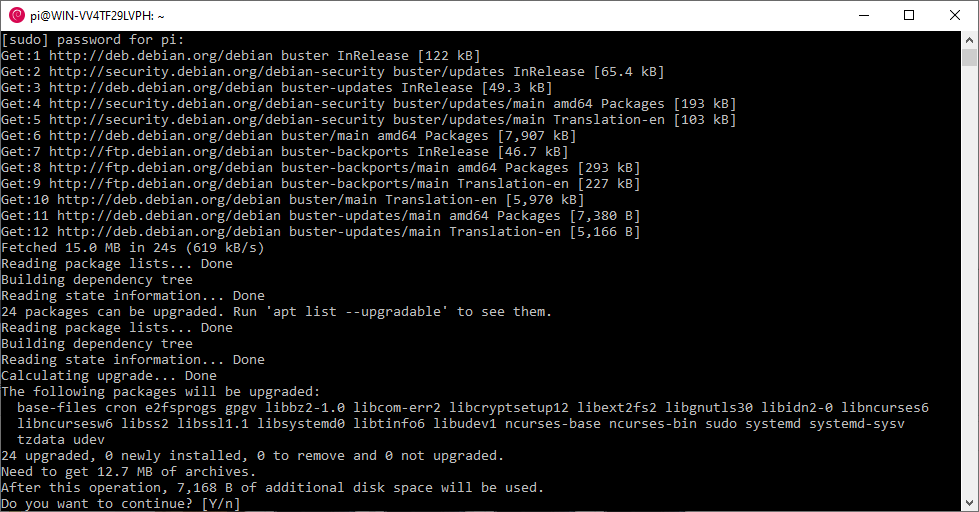
After a couple of minutes the process will complete;
Install RSync, OpenSSH and SSHPass on Debian on WSL
We’re going to be using a tool called rsync to transfer files from our development PC to the Raspberry Pi. This tool allows us to not only copy files between our windows development machine and the Raspberry Pi, but it will also compare the exiting files on the Pi to the new ones and only copy the files that are new or updated. This saves on deployment time considerably, as we only need to deploy the new and updated files each time we want to run or debug the code.
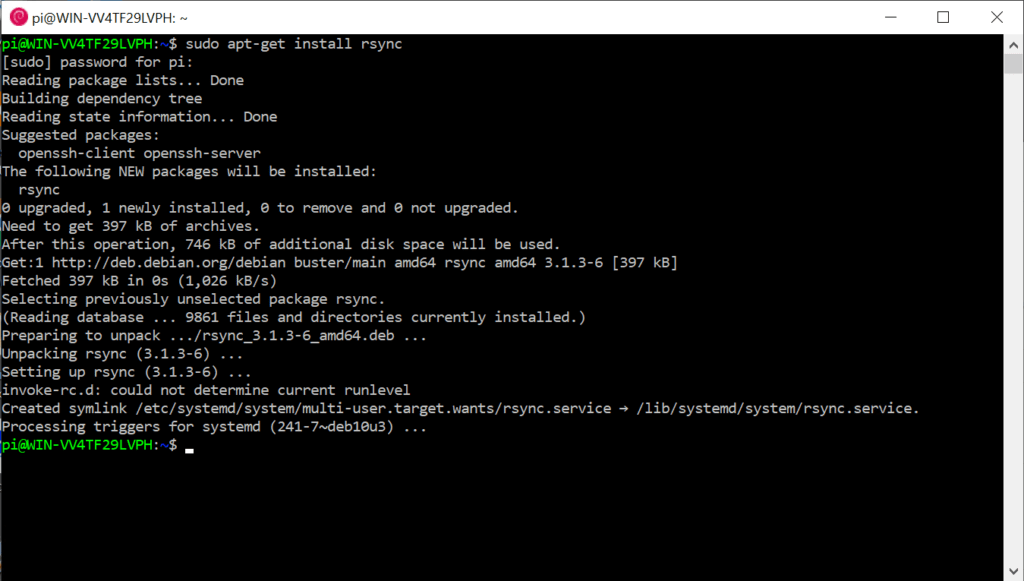
Install RSync using the following command;
sudo apt-get install rsyncEnter your password when Debian prompts for it, and RSync will be installed;
Next, we’re going to be using SSH to connect to the pi from Debian, so we need to install OpenSSH.
Execute the following command to get that installed;
sudo apt-get install openssh-client
Finally, install SSHPass using the following command;
sudo apt-get install sshpassIf you’ve installed something like Docker, you may find that you need to set Debian as your default Bash shell. Open Powershell and run the following command;
wsl --setdefault DebianEnable Root User Login on the Pi and set a Password
In order for VS Code to attach to the VS Debugger running on the Pi, we’re going to be using PuTTY’s PLink. Plink is a SSH tool used for non-interactive automated sessions, and comes bundled along with PuTTY.
PLink will be SSH-ing into our Pi, but all the commands need to be executed as the root user. Using “Sudo” won’t work here, so the whole session will need to be run as root.
To allow this, we’ll make some changes to the Pi and set a password for the root user.
Using PuTTY, dial into your Pi and execute the following command;
sudo nano /etc/ssh/sshd_configThis will show the SSH Deamon configuration in nano. about a quarter of the way through that configuration document find the following line;
#PermitRootLogin prohibit-passwordRemove the leading “#” from the above line and change “prohibit-password” to “yes”
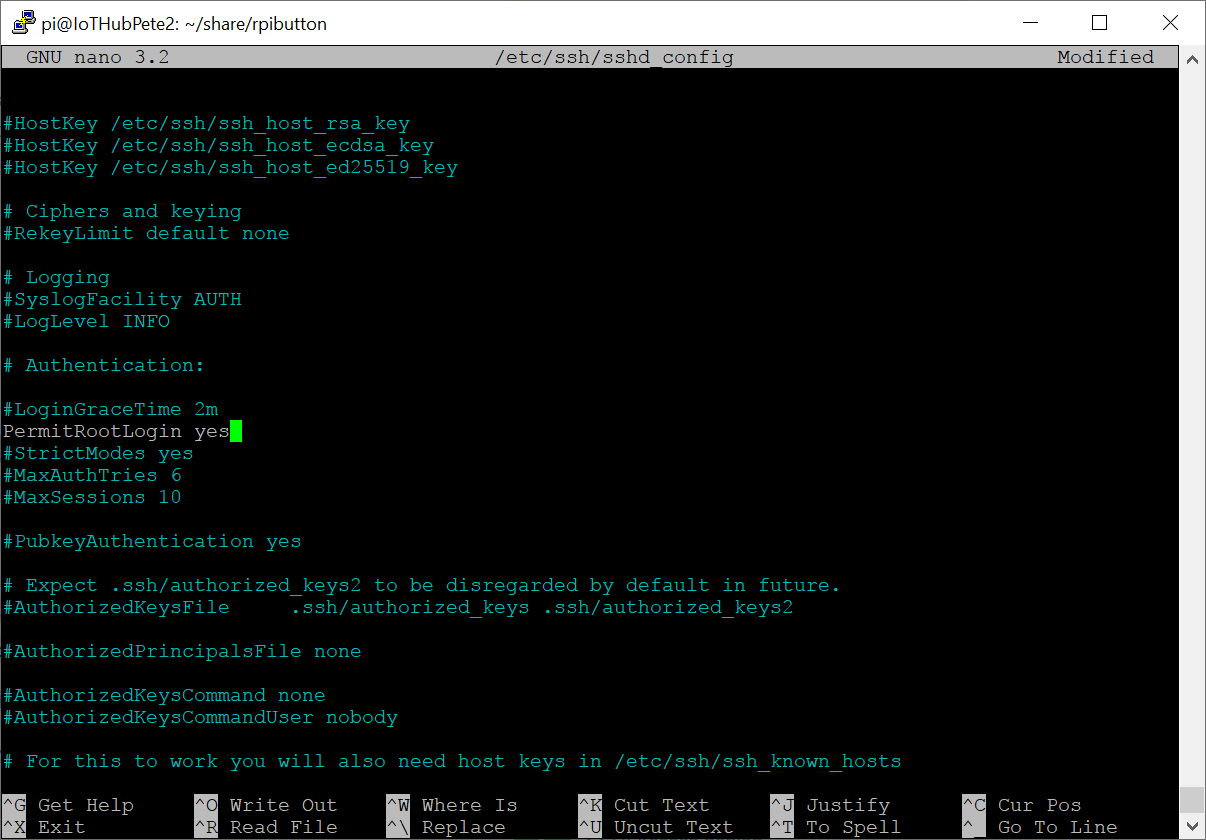
Save and exit using “ctrl+x” and pressing “y” to save.
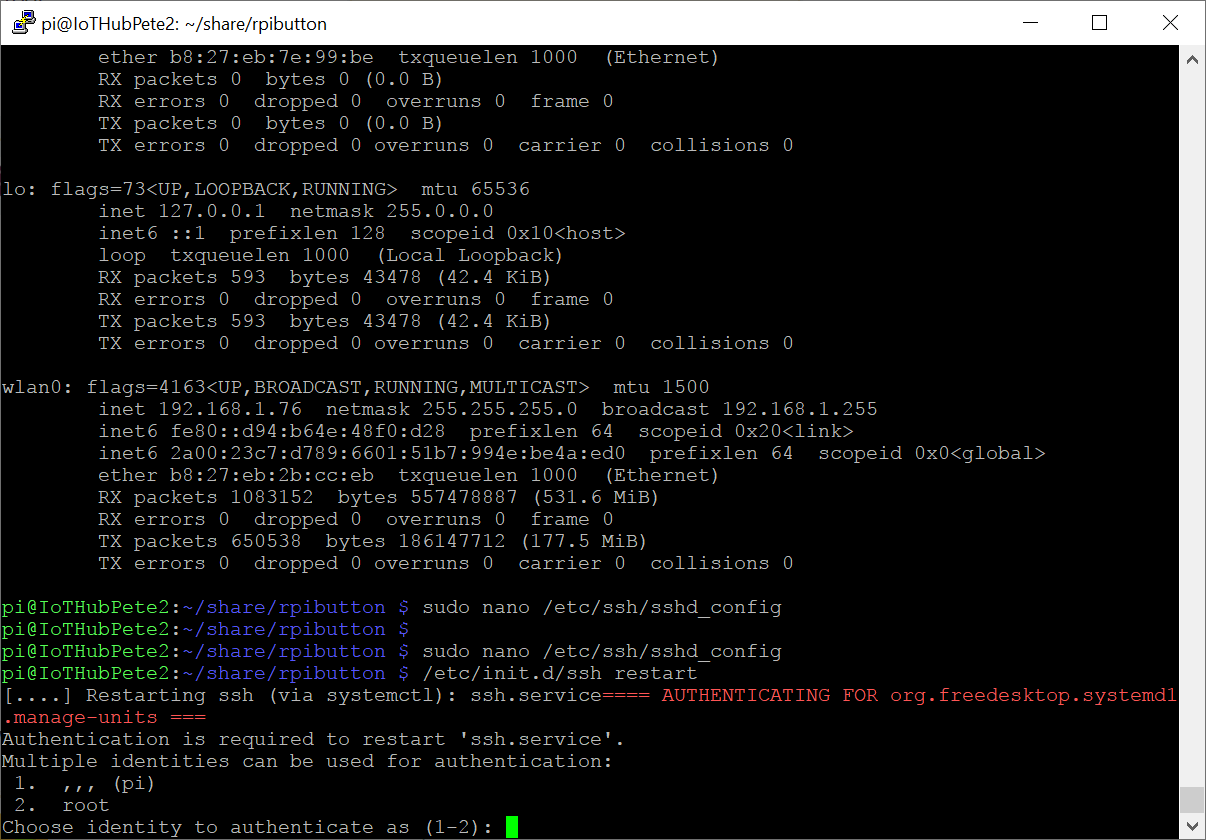
Restart the SSH Deamon using;
/etc/init.d/ssh restartThis will prompt which user to use… Press “1” for “pi” and hit enter;
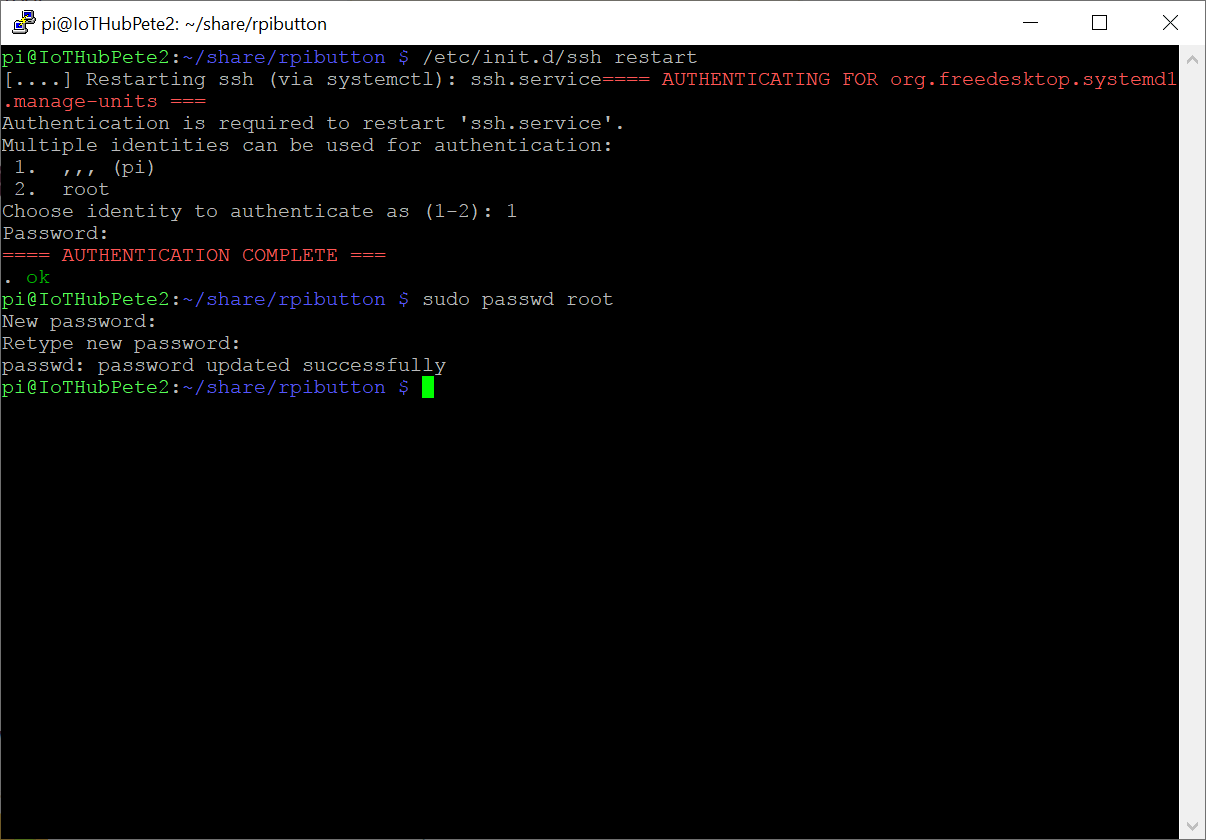
We now need to set a password for the Root user so PLink can connect. Run the following;
sudo passwd rootEnter and confirm your password to complete the process;
Install the Visual Studio Debugger on the Pi
When we’re debugging from VS Code, we’ll be using the Microsoft Visual Studio Debugger Package to carry out the debugging on the Pi. The VS Debugger will run the code on the pi through an SSH session, and VS code will connect remotely to the debug session allowing us to interact with that session on our local machine.
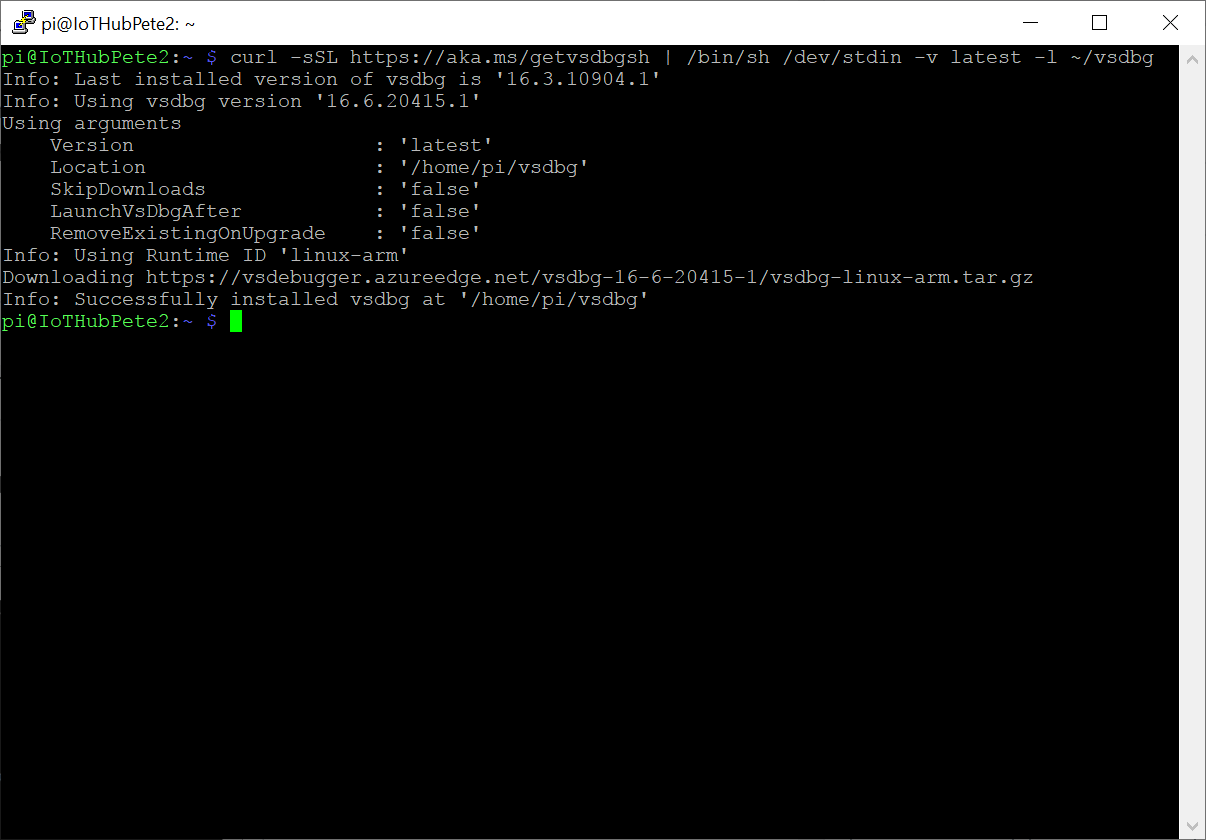
To install the VS Debugger, run the following commands;
cd ~/
curl -sSL https://aka.ms/getvsdbgsh | /bin/sh /dev/stdin -v latest -l ~/vsdbg
That will begin the process of downloading and installing the VS Debugger;
Authenticate Putty’s PLink to the Pi
Now that we’ve setup the root user, we need to authenticate our PC to the PLink SSH Session.
Open up a command prompt and execute the following command;
"c:\program files\putty\plink.exe" -pw raspberry root@[Your Raspberry Pi Host Name].localReplace the [Your Raspberry Pi Host Name] section with the Host Name of your Raspberry Pi. For a vanilla install of Raspbian, that will just be “RasperryPi”. Make sure to remove the square brackets too!
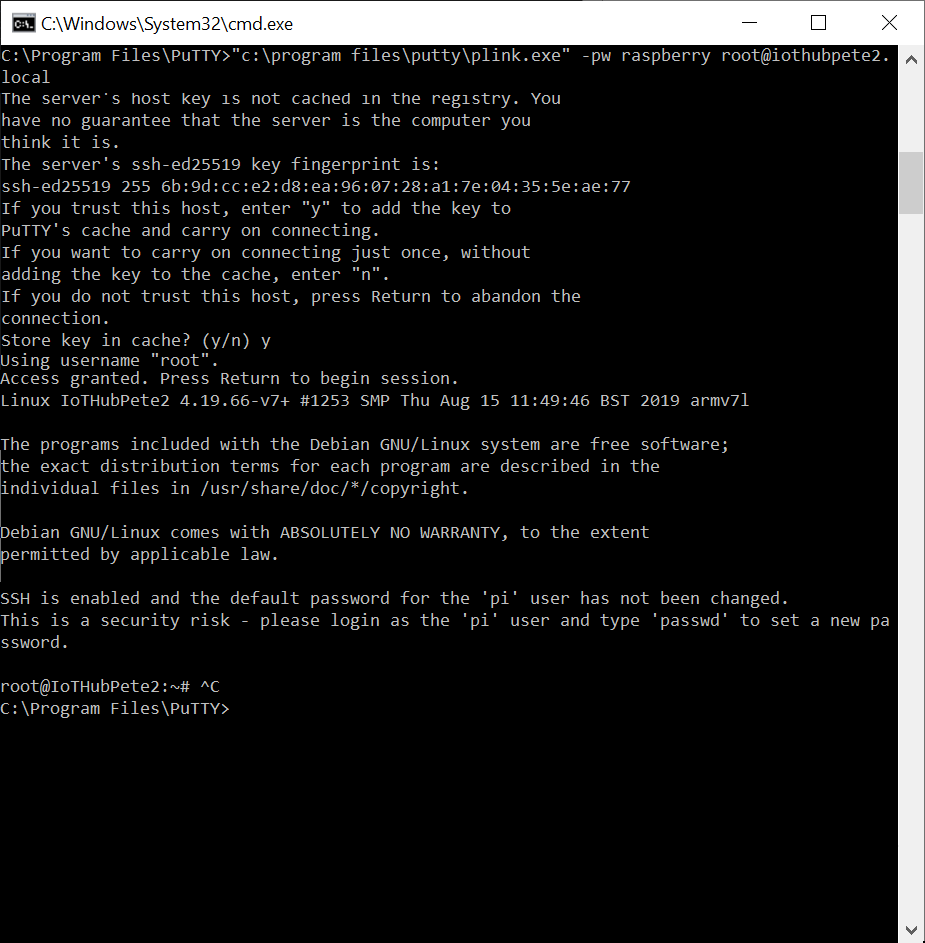
When you run this command it will prompt you to trust the host, to which you can answer yes.
This step will allow VS Code to connect using PLink every time, otherwise it’ll fail expecting us to trust it.
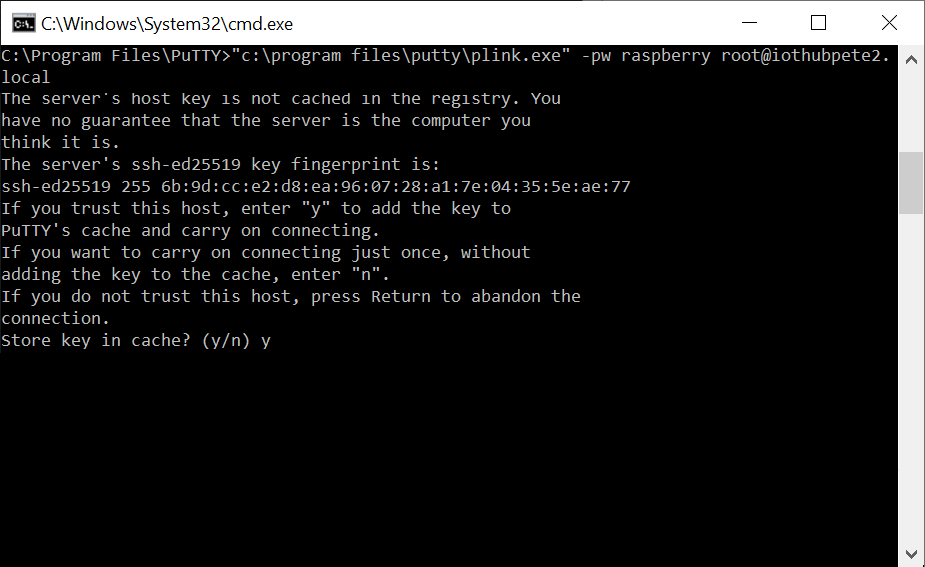
You should then be granted access and an SSH session will begin. Hit “ctrl+c” to exit.
Authenticate WSL’s SSH to the Pi
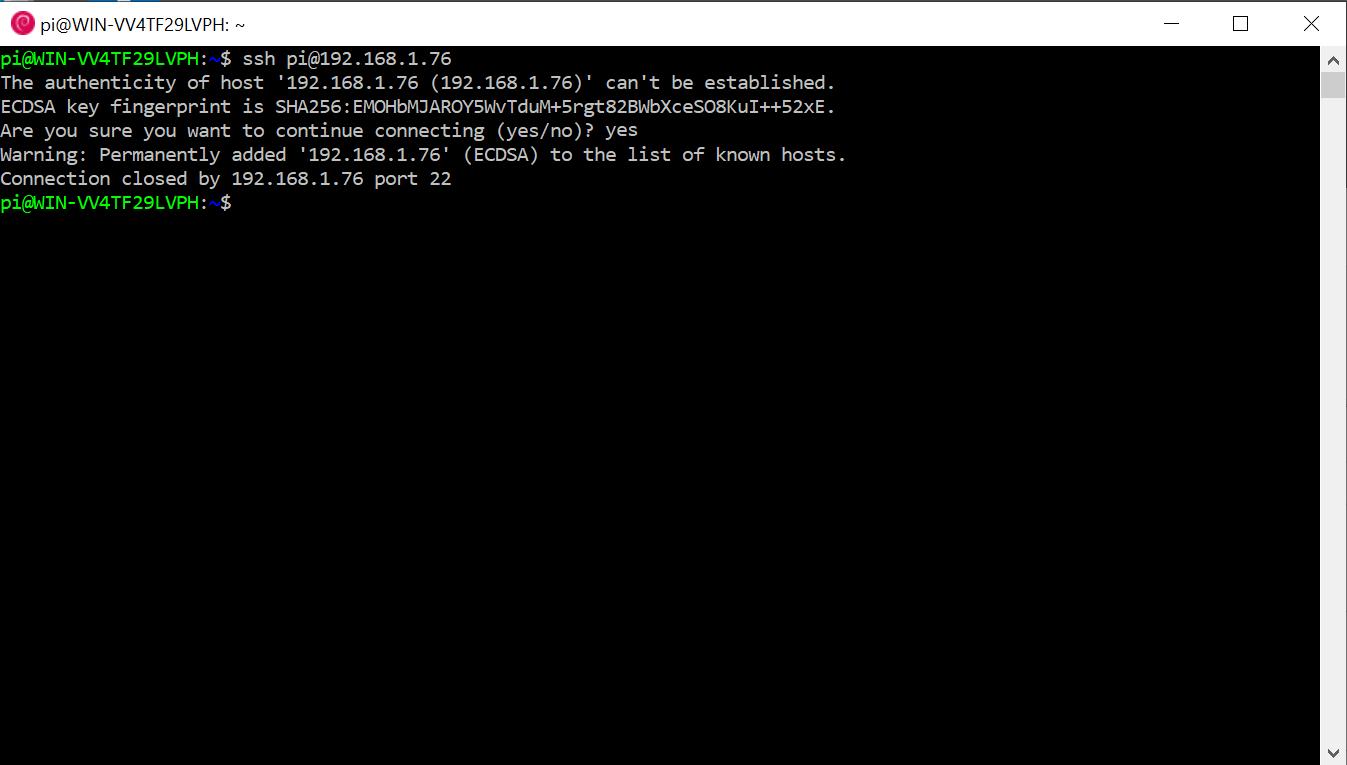
We now need to also authenticate the WSL SSH to the Pi as we did for PLink above.
Get your WSL session back open again and run the following command;
ssh pi@[Your Pi IP Address]Replace the “[Your Pi IP Address]” section (including the square brackets) above with the actual IP address of your Pi. You can find this by running “ifconfig” on the pi;

Running the ssh command will then prompt for you to trust the connection, types “yes” and press enter;
Setup the VS Code Launch Task
We now need to create a Launch task in VS Code. This task will kick the whole process of deploying and debugging the code on the Pi.
We’re going to be creating a Dot NET Console app on our PC at this stage. So, you’ll need the Dot NET Core SDK Installed… You can grab that from here.
Next, we need to create a project on our development machine.
Create a new directory and run;
dotnet new consoleNext, open the solution in VS Code by running;
code .Next, we need to generate the launch.json etc files to allow us to create the debugging tasks etc.
Either go to View>Command Palette from the menu, or use “ctrl+shift+p” to open the Command Palette.
Run the following;
.NET: Generate Assets for Build and DebugChoose the .NET Core option from the dropdown;
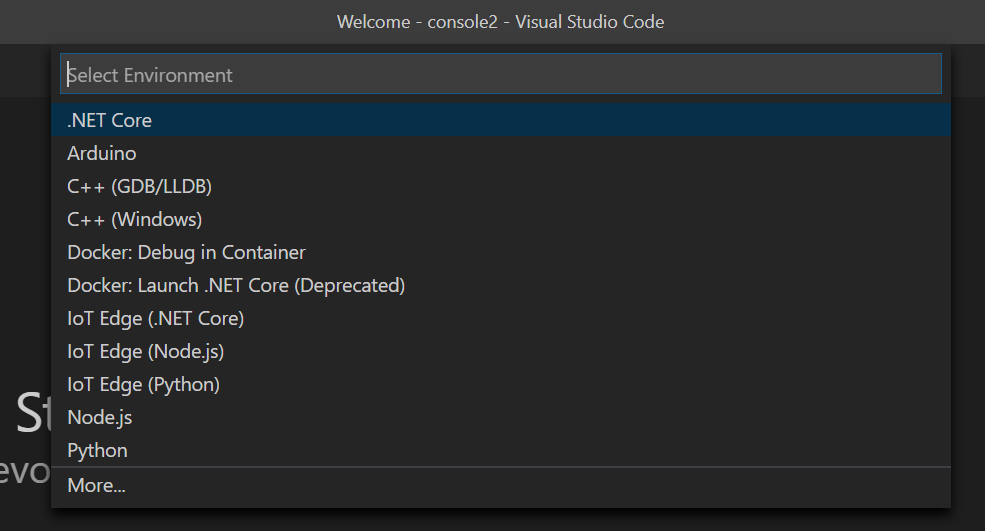
VS Code will scaffold new launch.json and tasks.json files in the .vscode directory, open up the launch.json file;
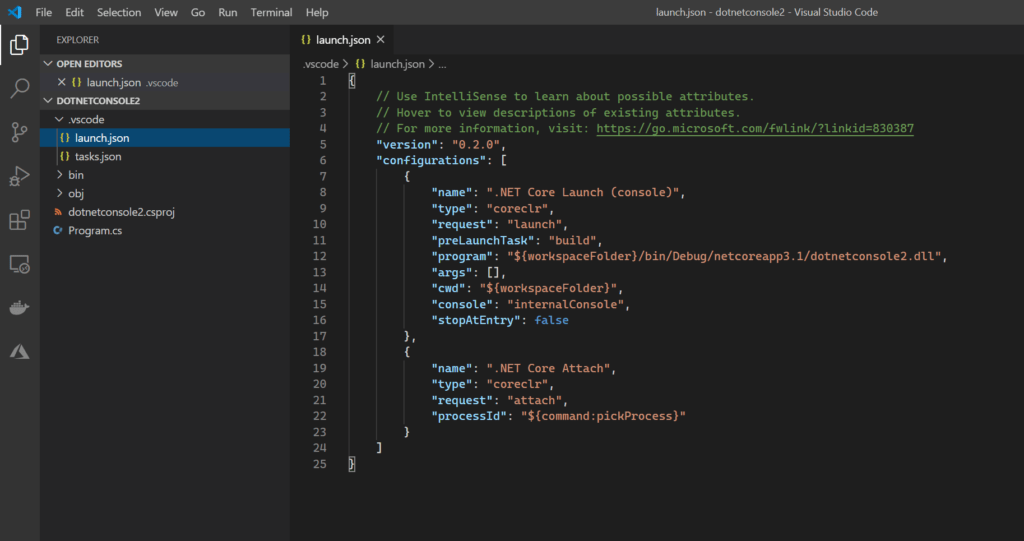
Add the following Launch Profile below the .NET Core Attach Task;
,
{
    "name": ".NET Core Launch (remote console)",
    "type": "coreclr",
    "request": "launch",
    "preLaunchTask": "RaspberryDeployWSL",
    "program": "dotnet",
    "args": ["/home/pi/share/${workspaceFolderBasename}/${workspaceFolderBasename}.dll"],
    "cwd": "/home/pi/share/${workspaceFolderBasename}",
    "stopAtEntry": false,
    "console": "internalConsole",
    "pipeTransport": {
        "pipeCwd": "${workspaceFolder}",
        "pipeProgram": "C:\\Program Files\\PuTTY\\plink.exe",
        "pipeArgs": [
            "-pw",
            "raspberry",
            "root@[Your Pi Host Name].local"
        ],
        "debuggerPath": "/home/pi/vsdbg/vsdbg"
    }
}
Your completed file should look like;

A few things to note from the Launch Profile above.
Firstly, it as a “preLaunchTask” of “RaspberryDeployWSL”. We’ll go into this in more detail later on, but this will launch the Build and Deploy Tasks.
Next the “args” are pointing to the build dll file;
/home/pi/share/${workspaceFolderBasename}/${workspaceFolderBasename}.dllThis is where we’ll be deploying the application later.. It’s important to make sure you update this location if you change where we’re deploying to later.
Finally, the “pipeArgs” section is passing in the Pi Password and also the Pi Host Name. You’ll need to replace the “[Your Pi Host Name]” section with the actual Host name of your Pi (Replace the Square Brackets too!)
Setup the VS Code Build and Deploy Tasks
Next up we need to create the Build and Deploy tasks to Build the Code for an ARM processor and Deploy the code to the Pi.
Open up the “tasks.json” file and add the following after the “watch” task;
,
{
    "label": "RaspberryPublishWSL",
    "command": "sh",
    "type": "shell",
    "dependsOn": "build",
    "windows": {
        "command": "cmd",
        "args": [
            "/c",
            "\"dotnet publish -r linux-arm -o bin\\linux-arm\\publish\""
        ],
        "problemMatcher": []
    }

},
{
    "label": "RaspberryDeployWSL",
    "type": "shell",
    "dependsOn": "RaspberryPublishWSL",
    "presentation": {
        "reveal": "always",
        "panel": "new"
    },
    "command": "bash",
        "args": [
            "-c",
            "'sshpass -p \"raspberry\" rsync -rvuz $(wslpath '\"'${workspaceFolder}'\"')/bin/linux-arm/publish/ pi@[Your Pi IP Address]:share/${workspaceFolderBasename}/'"
        ],
        "problemMatcher": []

}
Starting with the “RaspberryDeployWSL” task… This task is using a Bash command (hence why we needed WSL) to initiate an RSync file Transfer.
Once again, you’ll need to replace the “[You Pi IP Address]” section with the actual IP Address of your Pi (Remember to replace the square brackets too!).
We can also see that we’re using the “sshpass” command to pass in the password for our Pi user… If you’ve changed the password, you’ll need to change that too.
Next, you can see that this “RaspberryDeployWSL” task relies on the “RaspberryPublishWSL” task above.
The “RaspberryPublishWSL” task builds our project with the “-r linux-arm” switch, meaning it’ll build binaries targetted at an ARM Processor, which our Pi Uses.
Build, Deploy and Run the Code
On the left side of the VS Code window, click the Run Button.
From the Run menu, choose our new “Dot NET Core Launch (Remote Console) item;

Now hit the green play button. You’ll see all the action happening in the Terminal window at the bottom of the VS Code window.
First the code will be build, then each of the files will be deployed to your pi, before the PLink session begins at attaches the debugger, starting the code and showing the “Hello World” console line;

Breakpoints and Variable Inspection
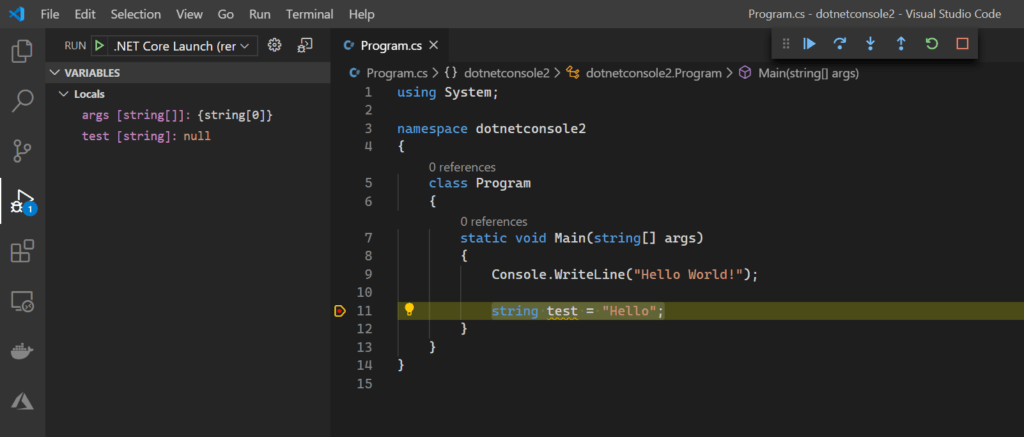
Now that we have the debugger working, let’s try adding a little extra code and trying out breakpoints.
Add the following line after the console.writeline;
string test = "Hello"; Click to the left of the line numbering to add a breakpoint to the new line;

Re run the code now, and once it’s started, the code will stop at our new line. You’ll also see on the left handside a “Variables” toolbox window has opened which contains our variables and their values.
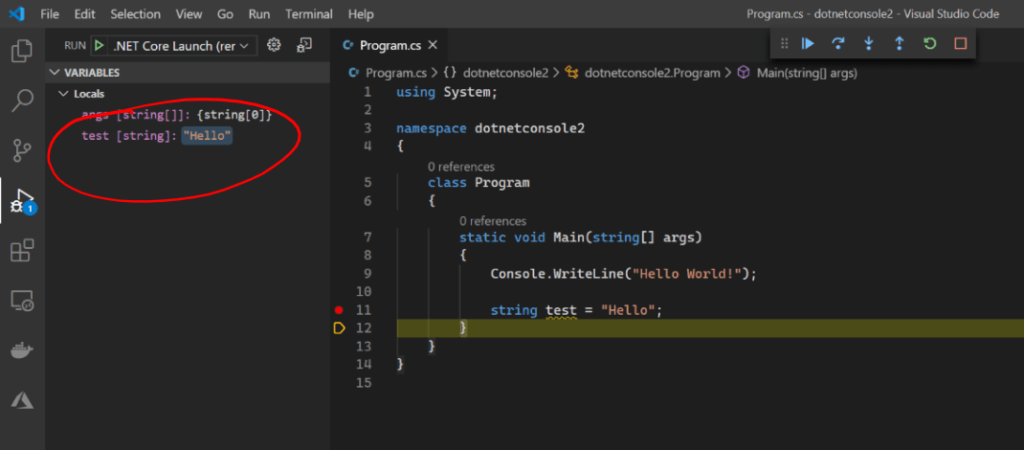
Pressing F10 will step over the next instruction to set our “test” variable. Checking the Variables panel, you’ll see the value has been updated to “Hello”;
That’s it for now!
Go ahead now and have fun with Dot NET Core on the Raspberry Pi!