
There are a plethora of different ways to upload files to blob storage. One of the most convenient is to use the HTTP REST API provided.
For this example, I’ll be using Postman to complete the operation, but you could very easily use any other method capable of making HTTP requests.
Prepare Blob Storage Access
The first thing we need to do is to allow access to Postman to be able to upload the file.
We’ll be making us of the Shared Access Signature or SAS Method of authorisation here.
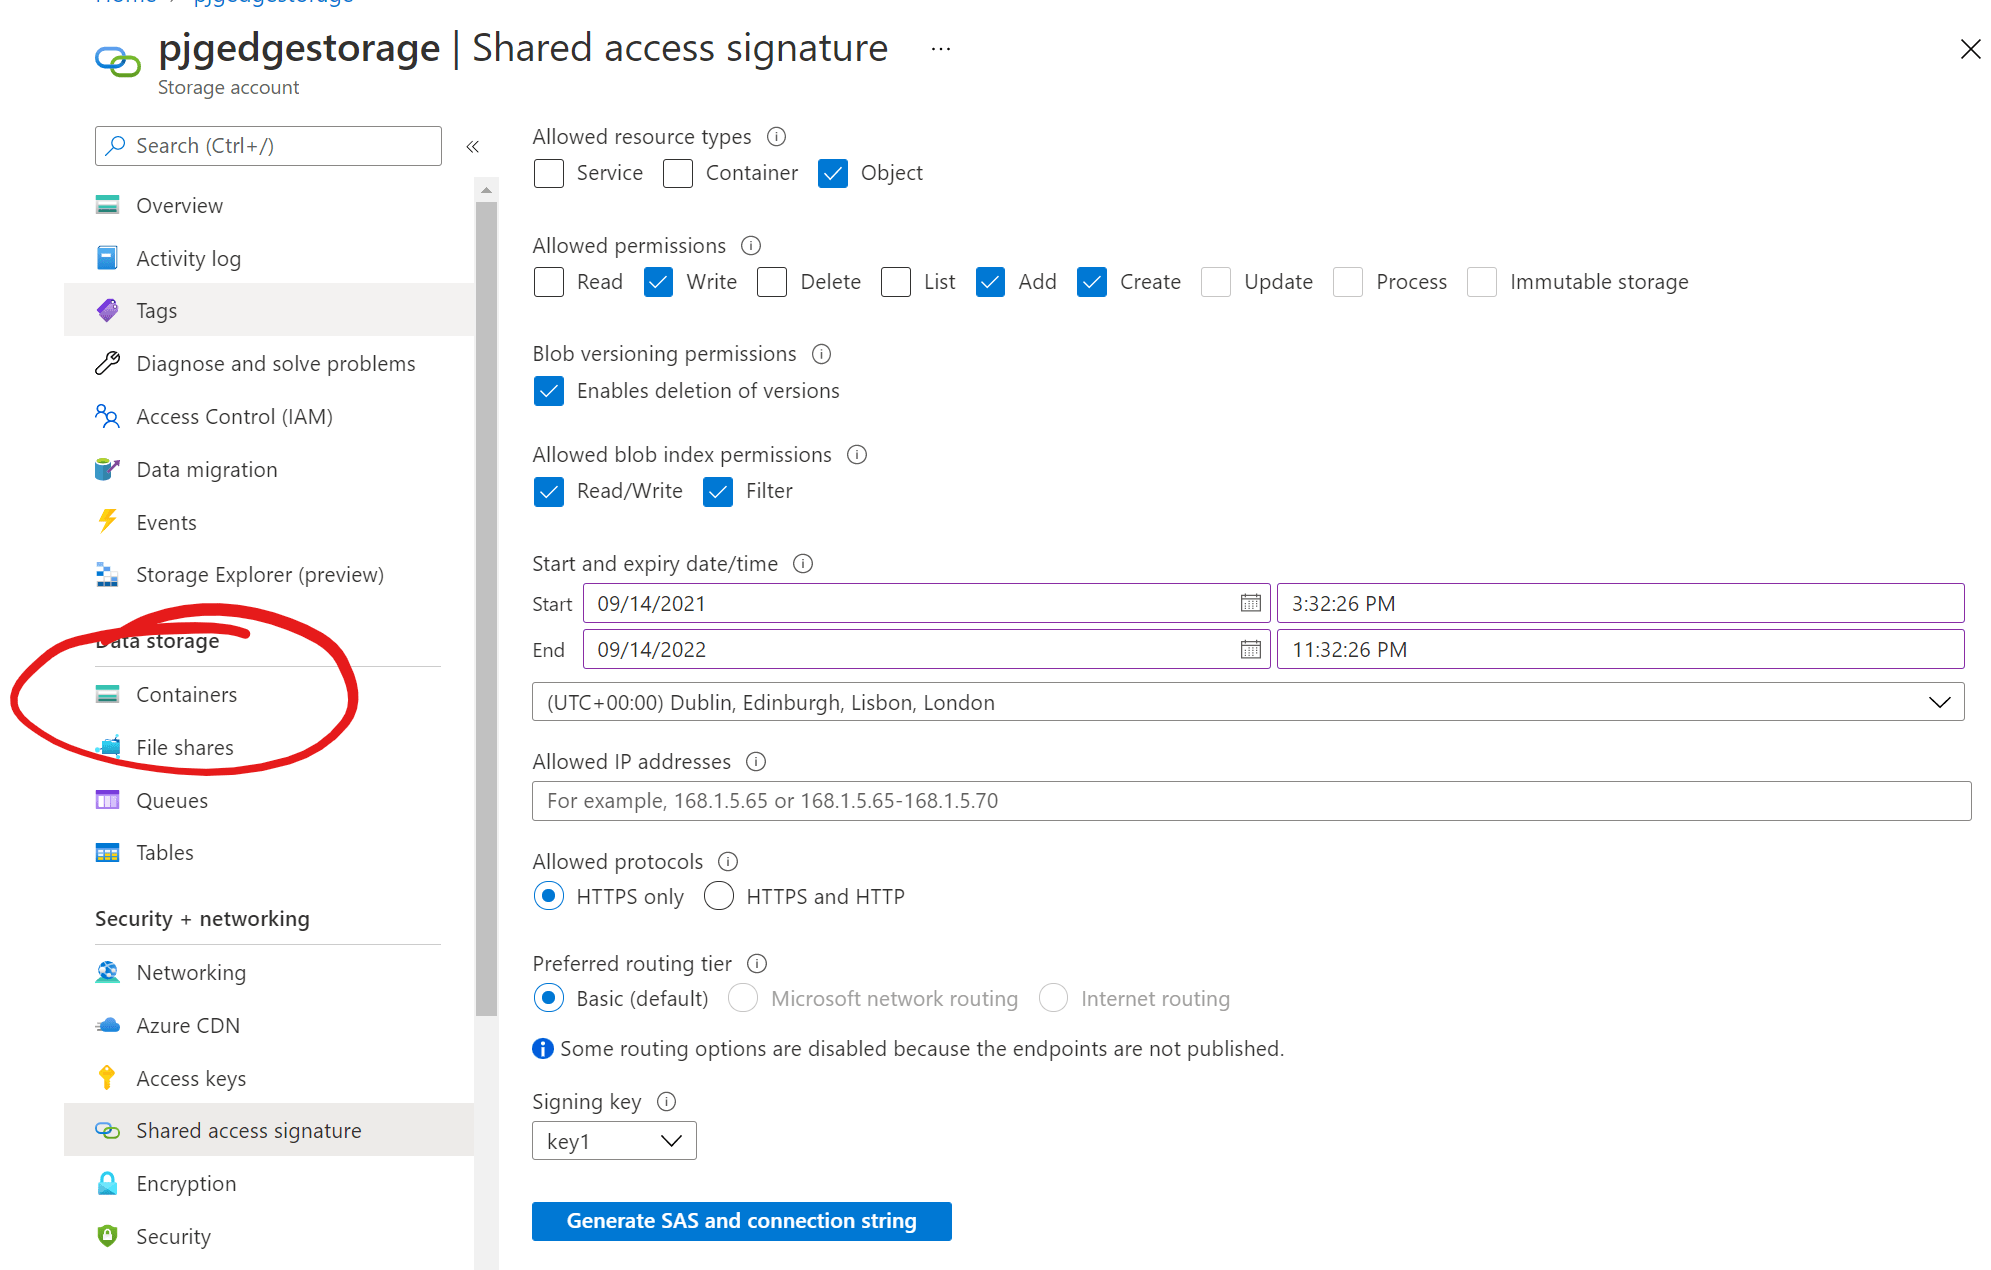
From your Storage Account page in the portal, click the “Shared access signature” menu item;
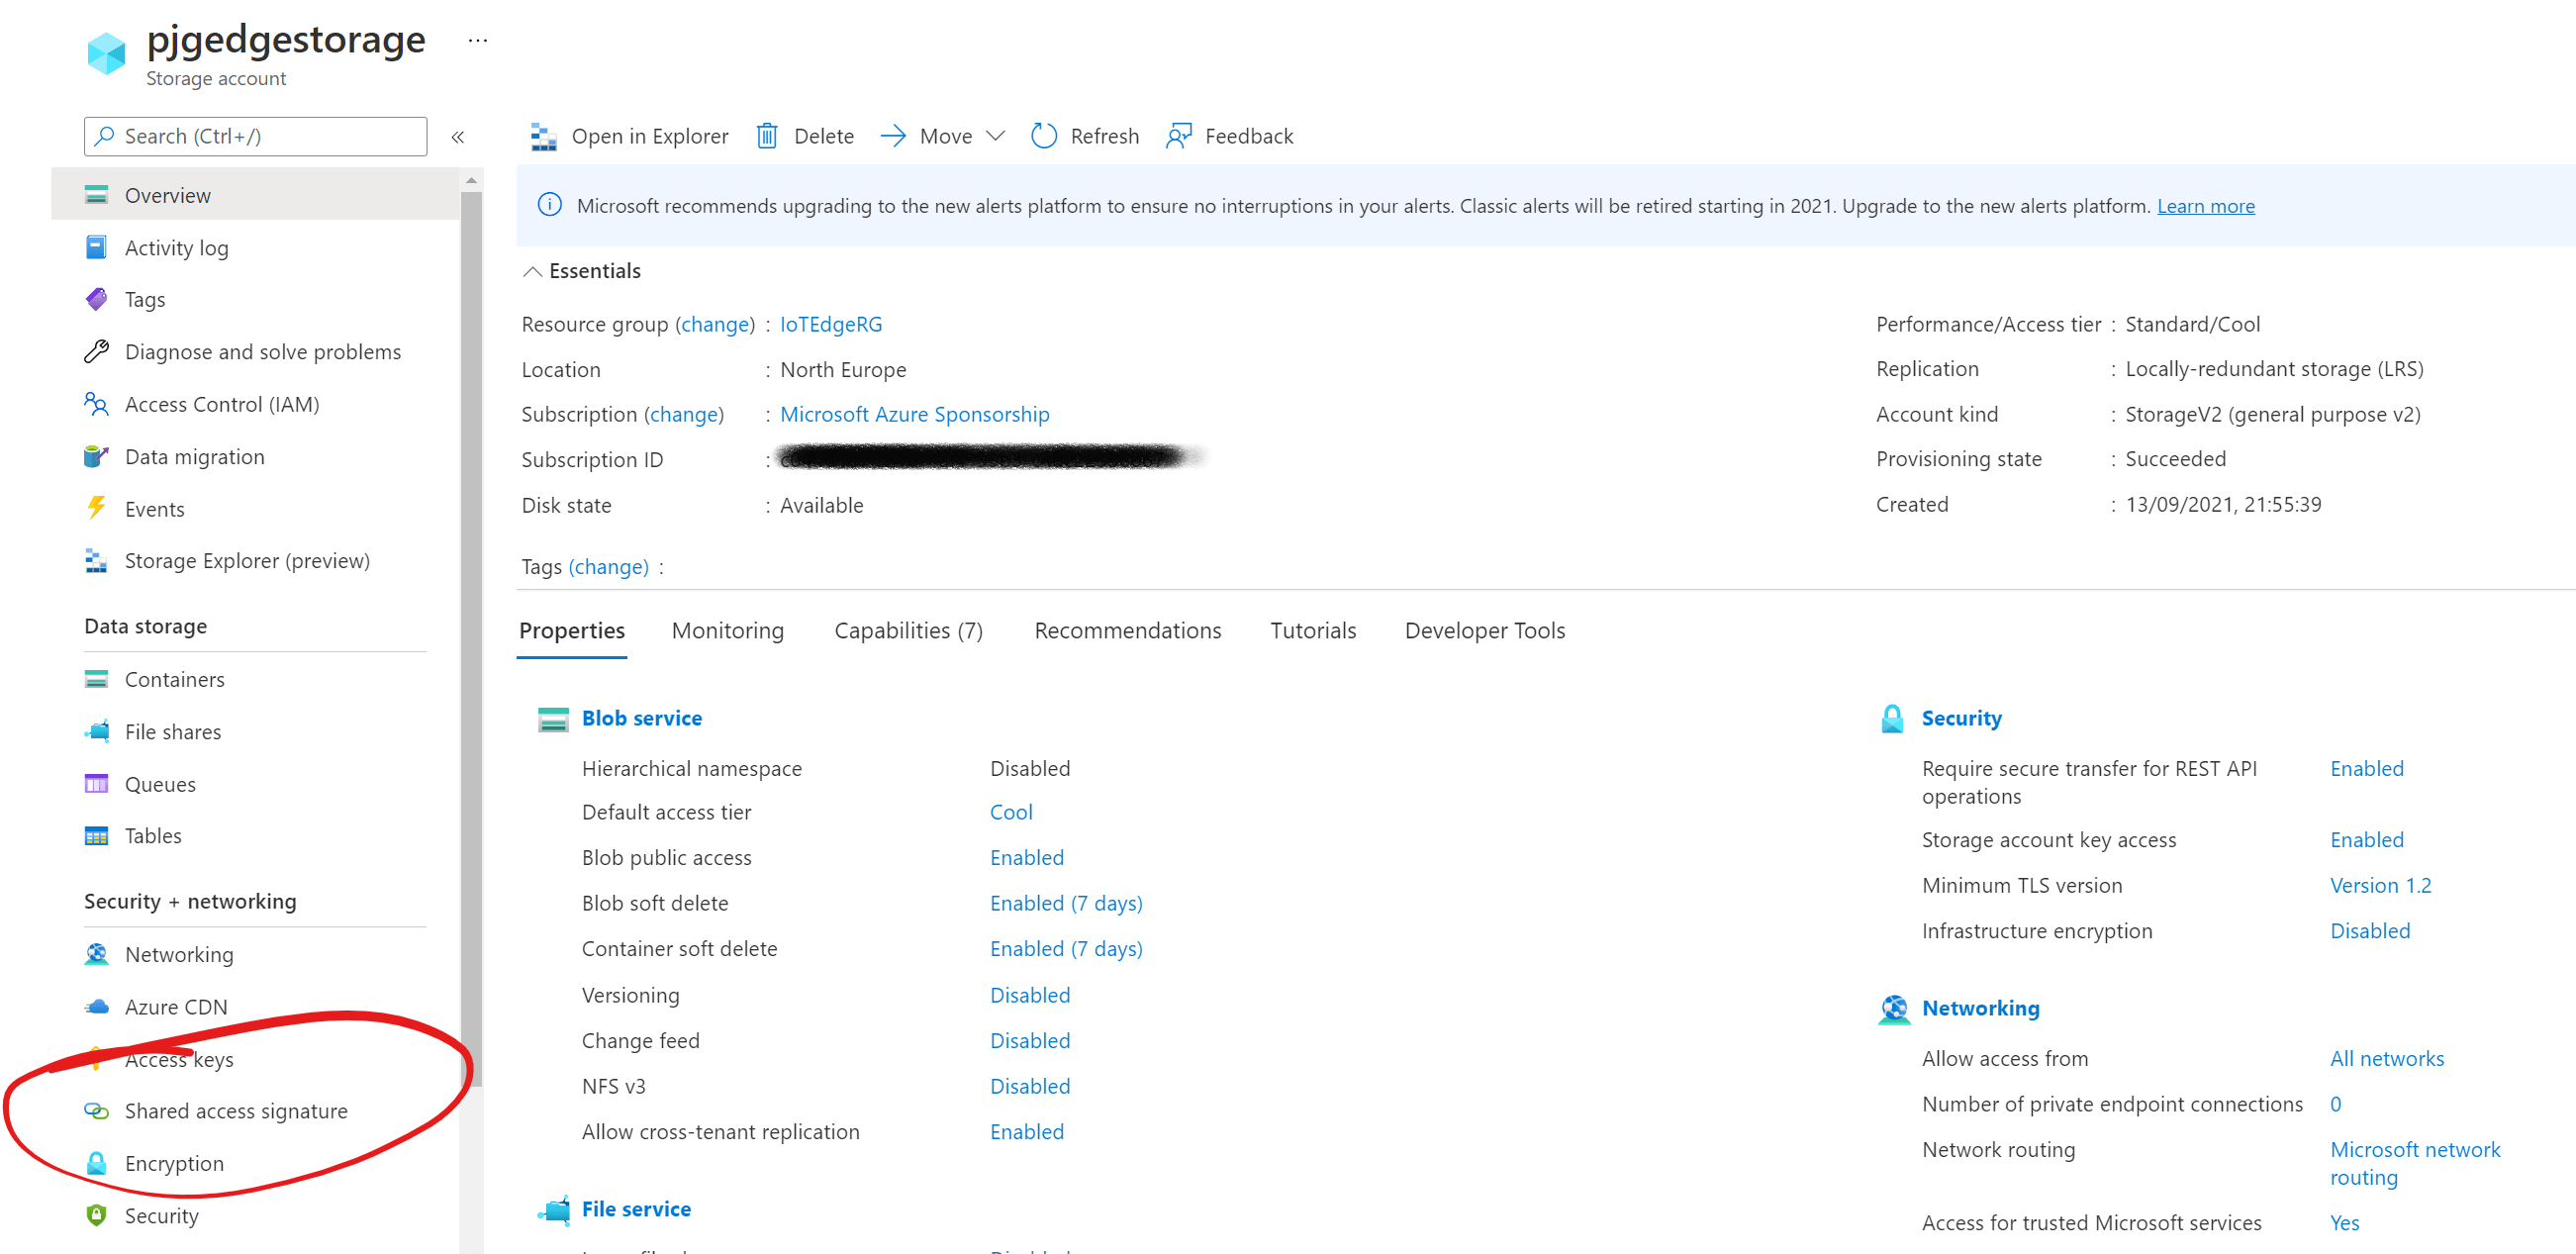
From here we can create a new Shared Access Signature Key;
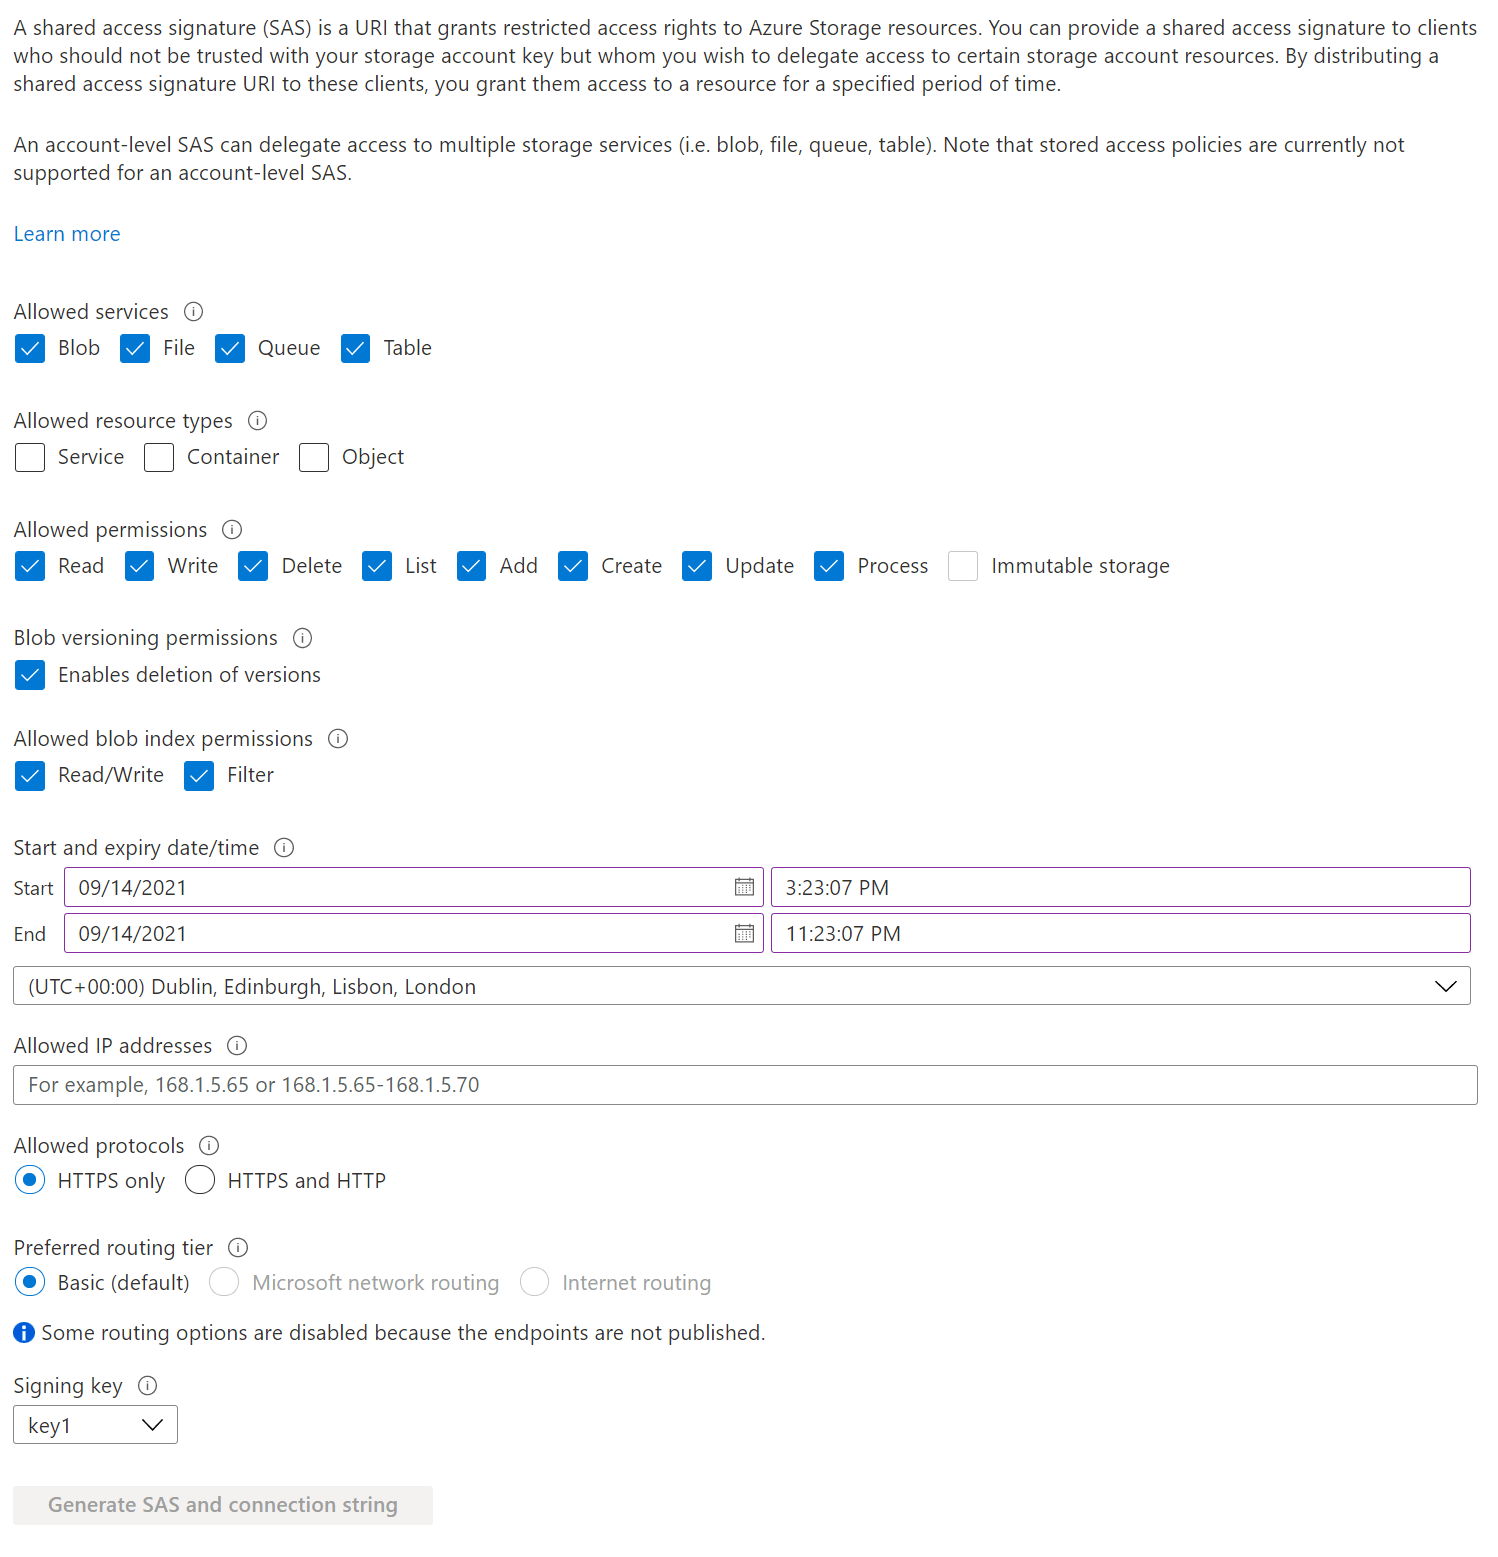
We want to give Postman enough privileges to be able to and and create blobs within containers.
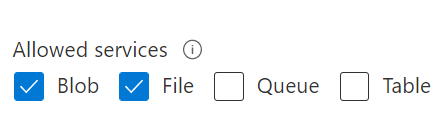
For “Allowed Services”, deselect “Queue” and “Table” from the options, leaving “Blob” and “File” selected;
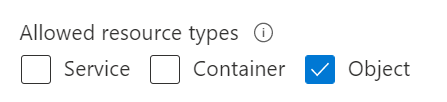
For “Allowed Resource Types”, selected just “Object”;
For “Allowed Permissions”, select only “Write”, “Add” and “Create”;

We can leave “Blob Versioning Permissions” and “Allowed Blog Index Permissions” at their default of selected for this example.
For “Start and expiry date/time”, I’ve chosen to set this SAS to be valid for one year by setting the expiry to be one year from the start date;

Leave the “IP addresses”, “Allowed Protocols”, “Preferred Routing Tier” and Signing Key at their defaults.
We can now hit the blue “Generate SAS and Connection String” button to generate our authorization values;
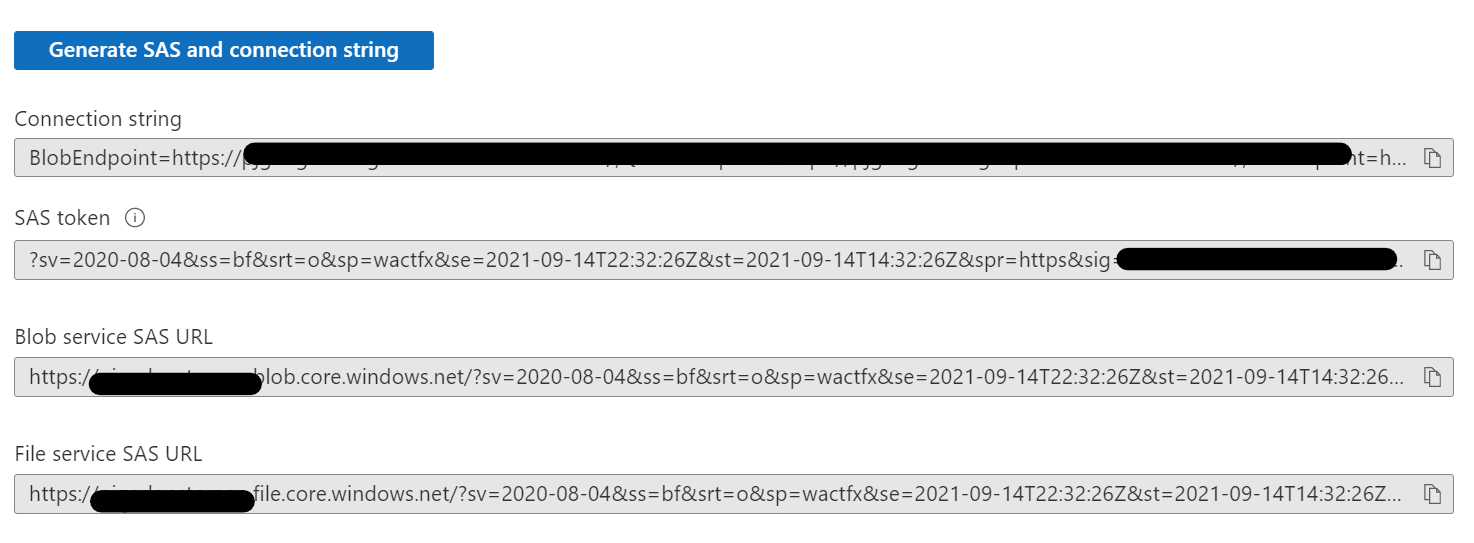
We’ll be copying the “Blob service SAS URL”, so hit the copy button to the right of that box;

Create a Container
Next we need a container to house our file when we upload it.
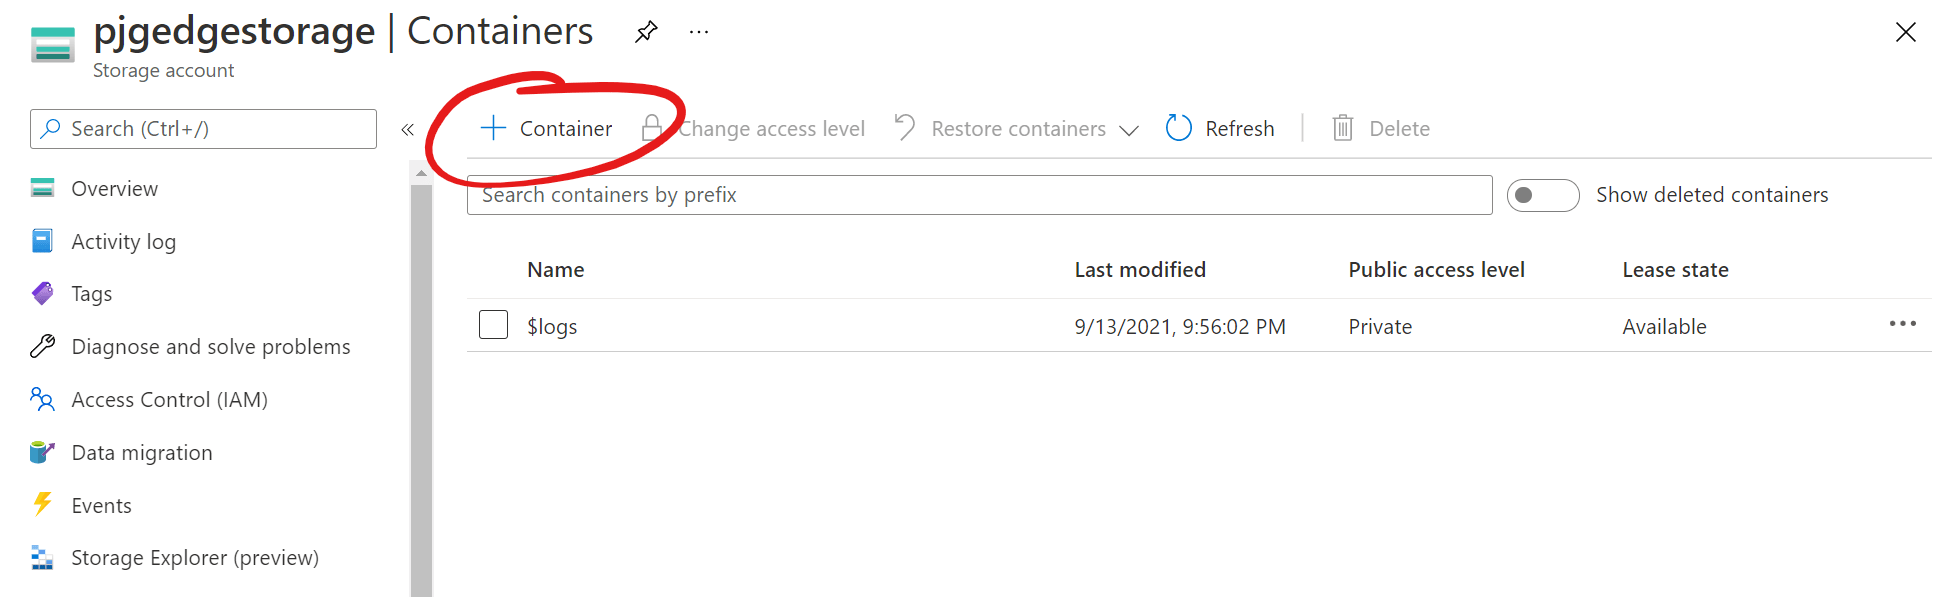
Click on the “Containers” menu item on the left;
Click the “+ Container” button;
Give your container a name, I’ve chosen “fileuploads”;
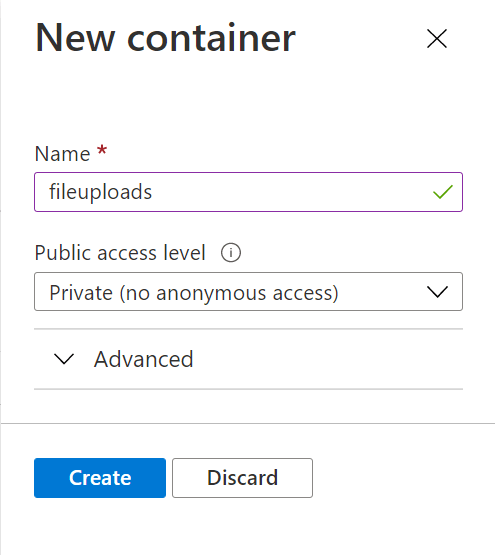
Hit the blue “Create” button to create your container.
Sending a PUT request using Postman
We can now use Postman to upload our file to our new container using the SAS key we’ve generated.
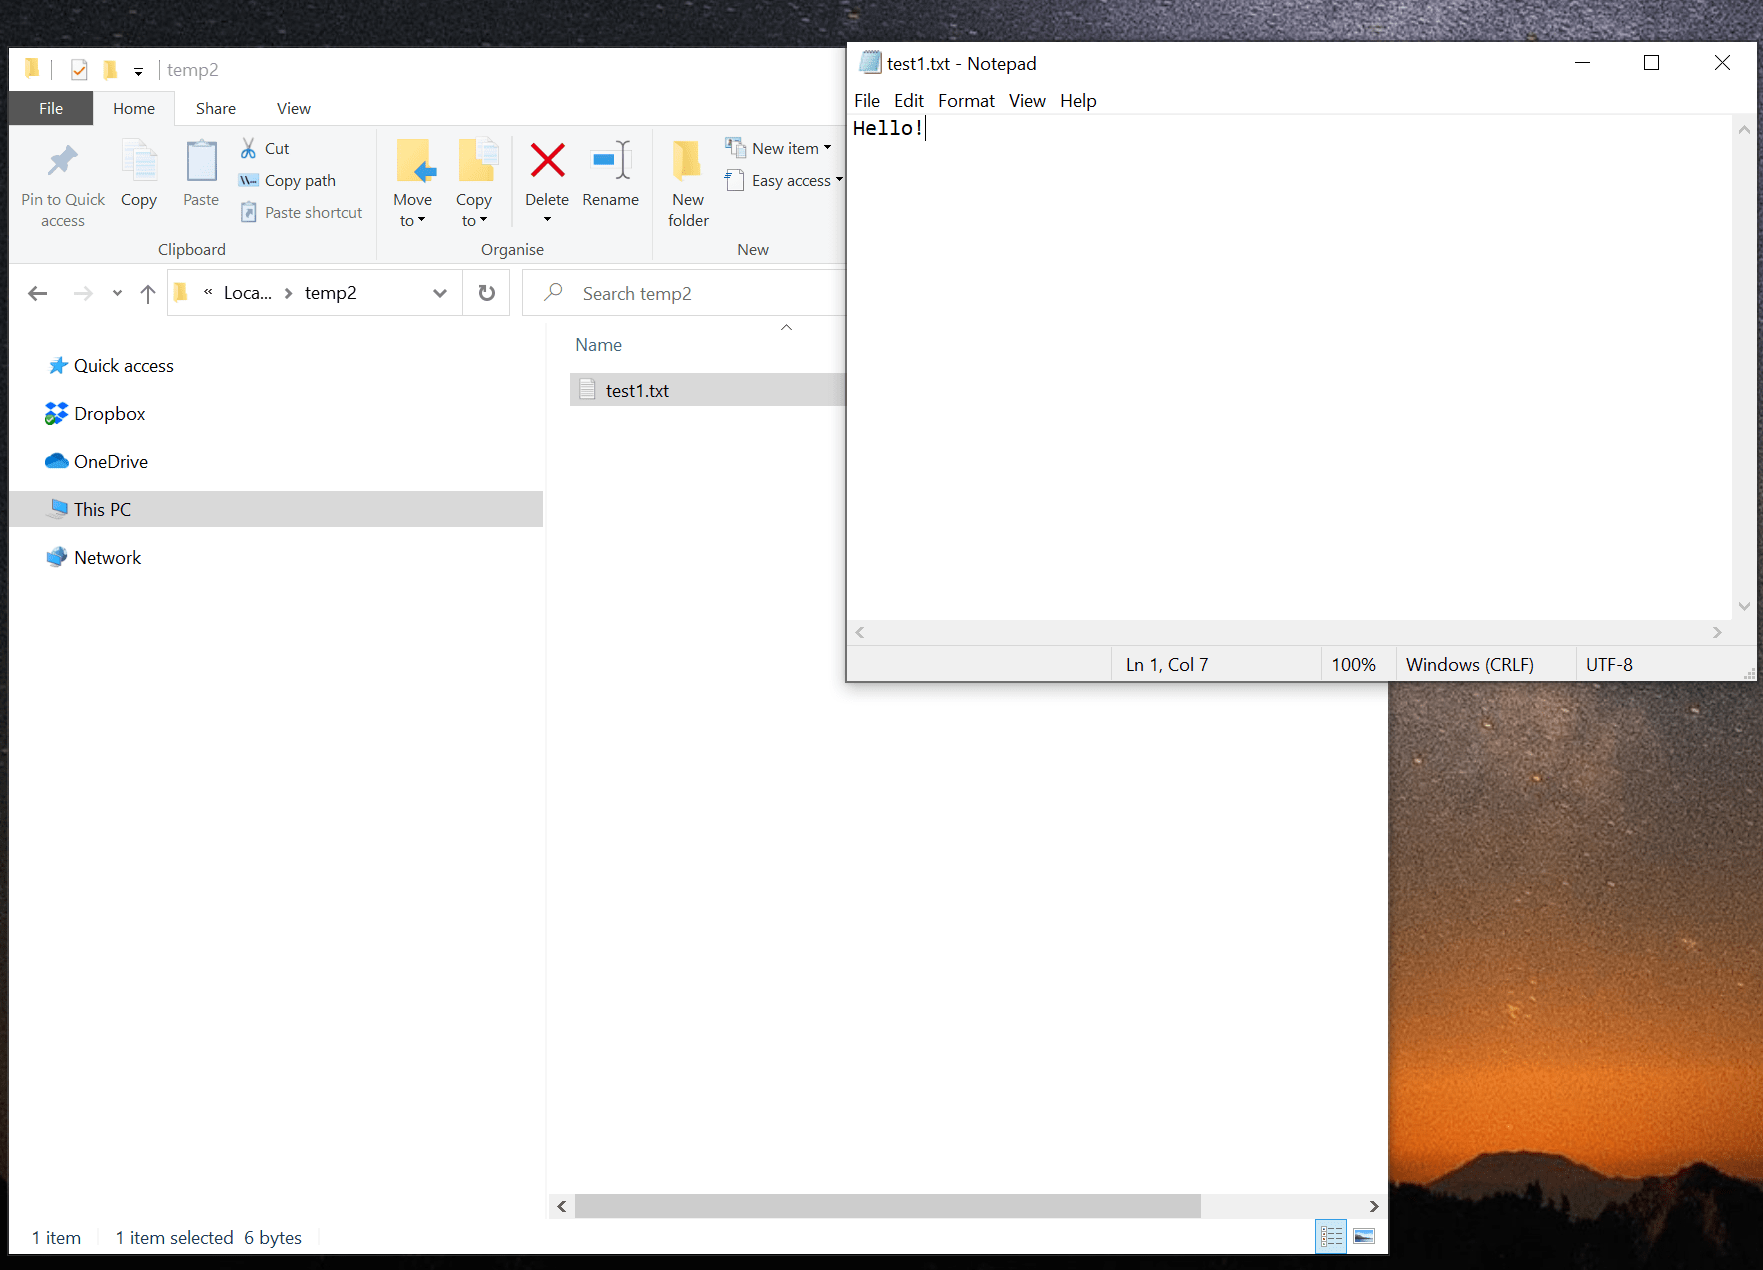
First, create yourself a simple text file somewhere on your hard drive… I created a file called “test1.txt”. Stick some simple text in it… I added “Hello!” to my file.
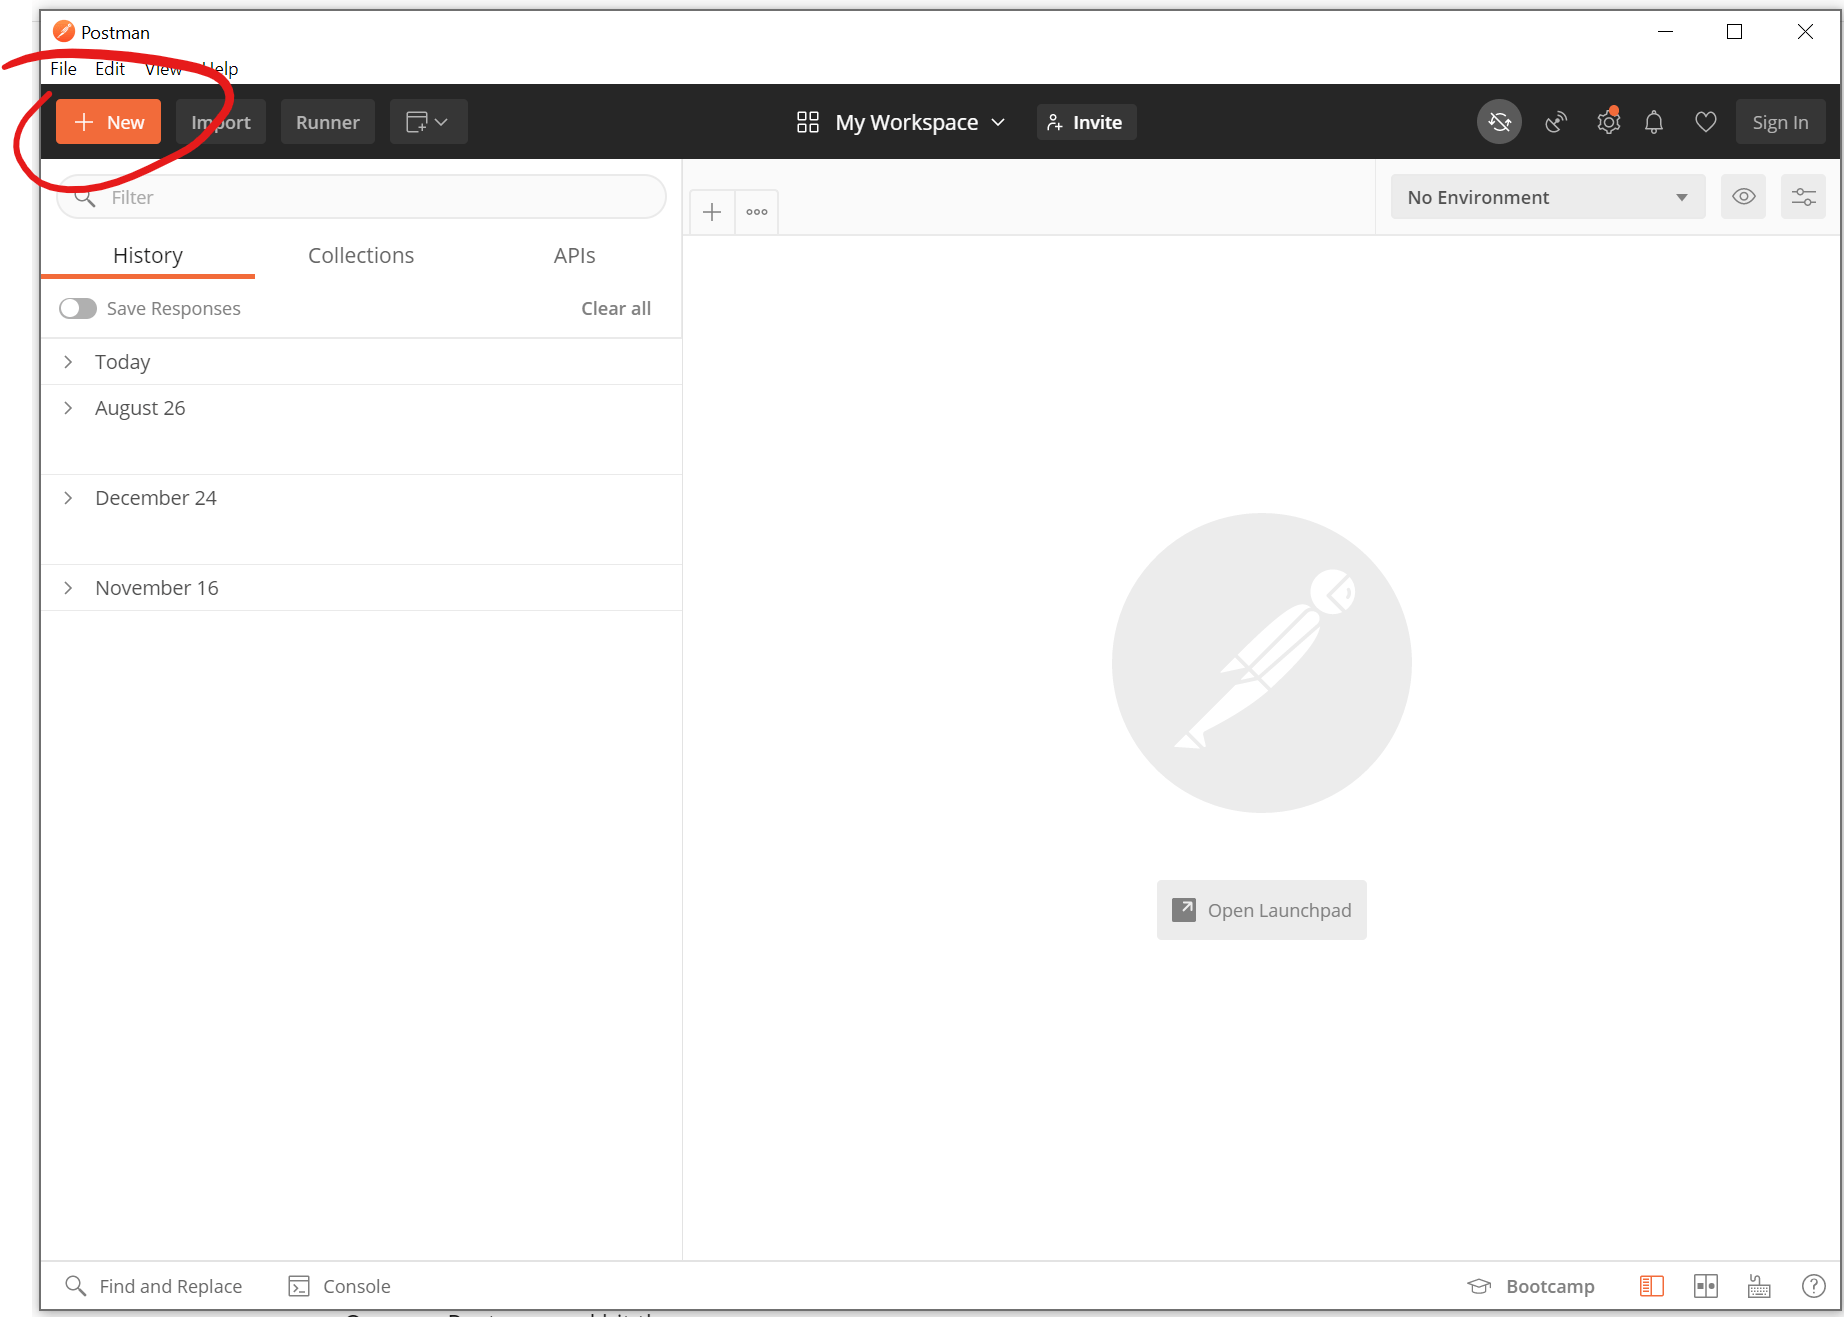
Open up Postman and hit the “+ New” button;
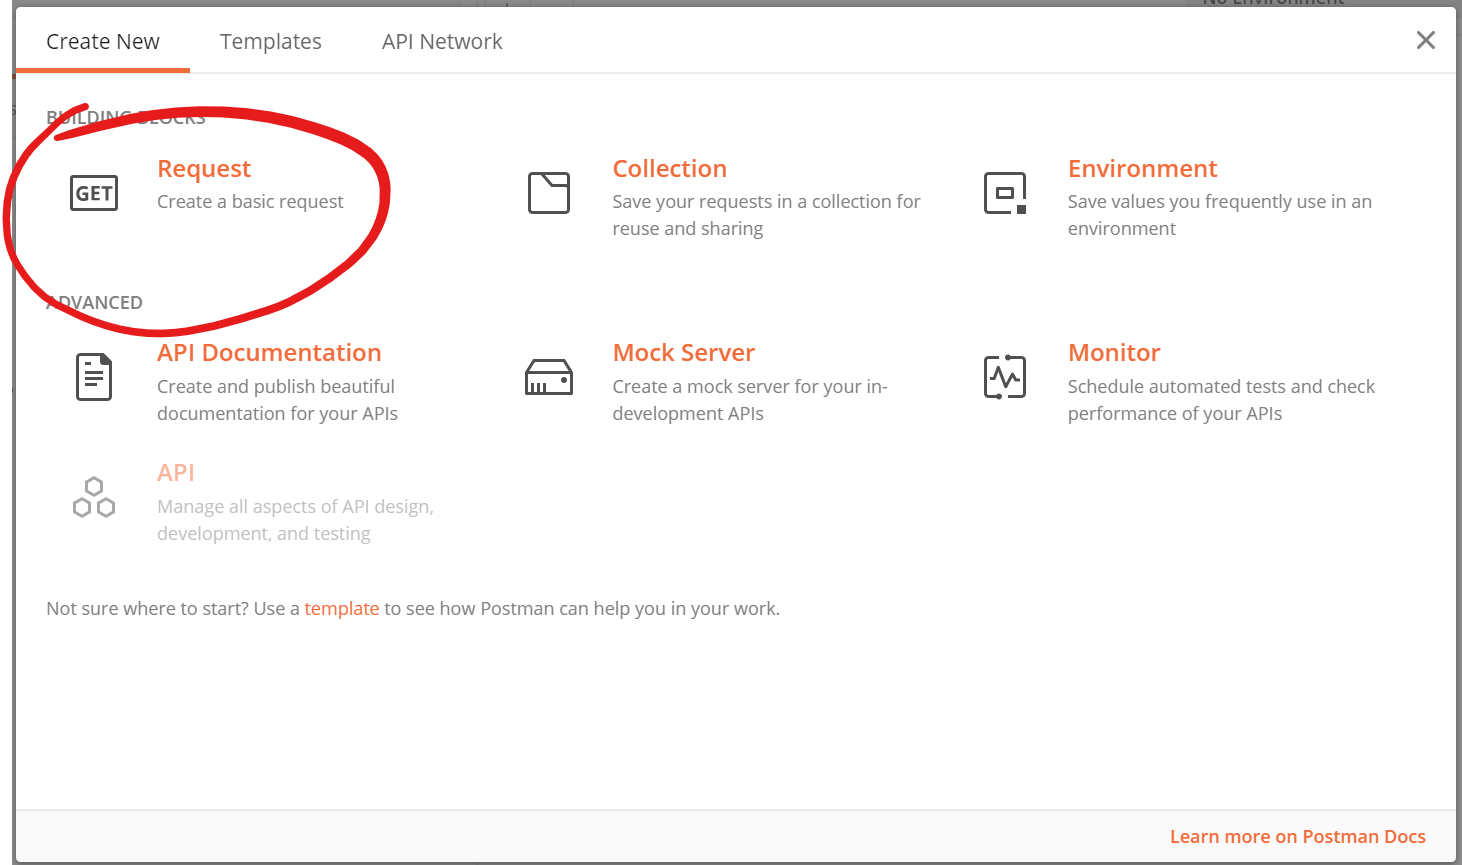
Choose the “Request” option;
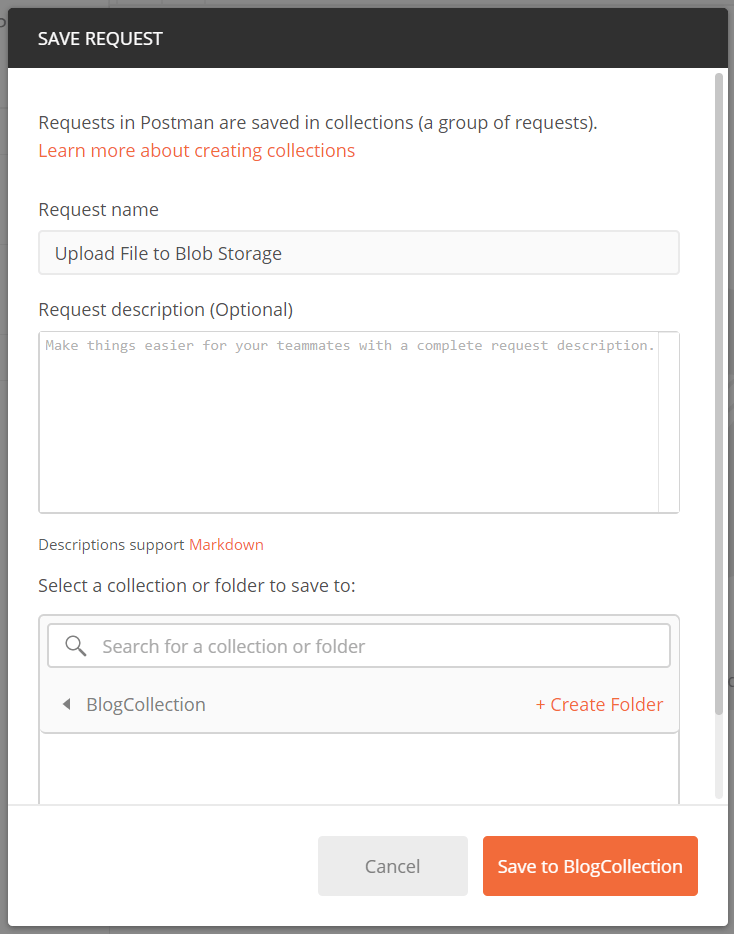
Give your request a name, I chose “Upload File to Blob Storage”, and select an existing collection, or click the “+ Create Folder” link and create a new collection. Then hit the “Save to xxx” button to save the request;
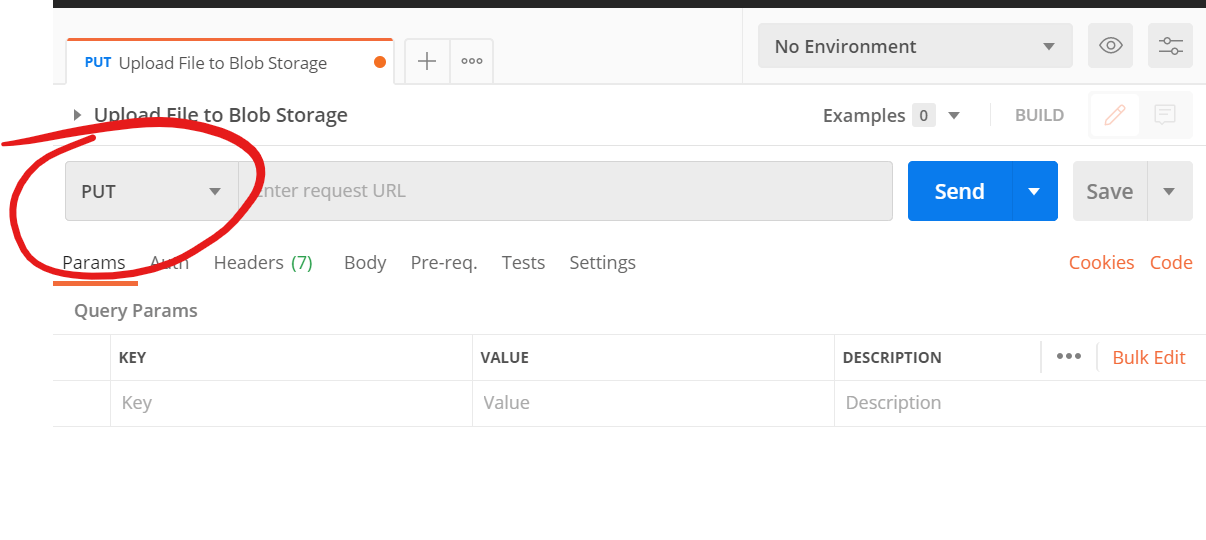
From the “Method” drop down select the “PUT” Method;
Select the “Auth” tab below the “Method” drop down. From here, select “API Key” as the Type, then add a “Key” of “x-ms-blob-type” and a value of “BlockBlob”;

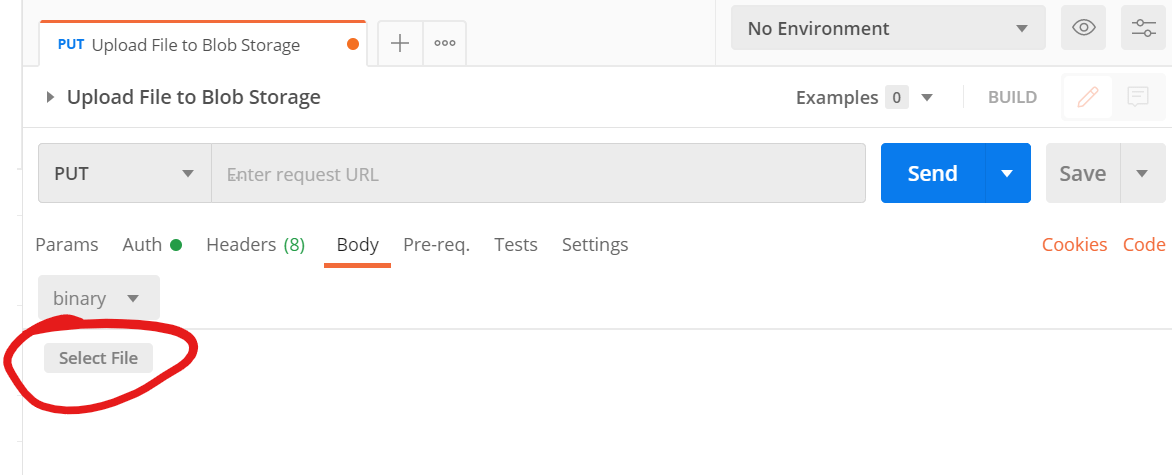
Click the “Body” tab. Select “binary” as the type, which will show us a “Select File” button;
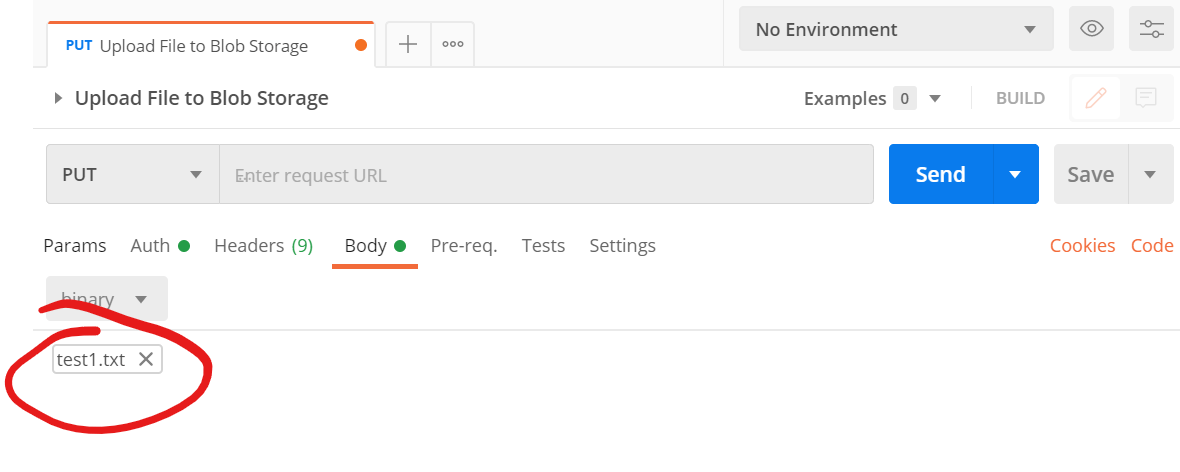
Click the “Select File” button and choose the text file you created earlier. the “Select File” button will be replaced with the name of your file;
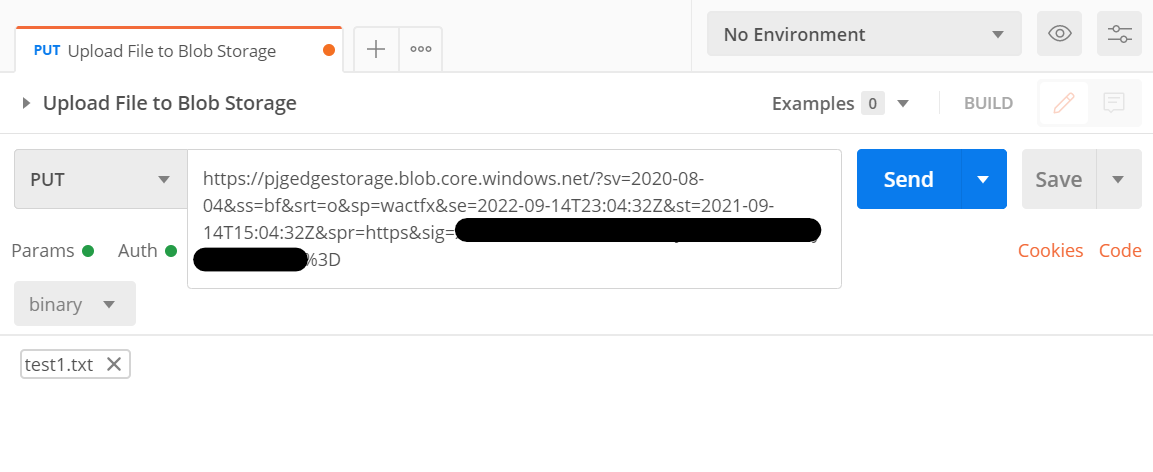
Next, paste in the “Blob Service SAS URL” value you copied earlier into the “Enter request URL” box;
We now need to add in some information into the “Blob Service SAS URL” value we in order to select the container we’d like to upload our file into, and also give our uploaded file a name.
Our copied value will look something like this (I’ve randomised some values here of course;
https://mystorageaccount.blob.core.windows.net/?sv=2020-08-04&ss=bf&srt=o&sp=wactfx&se=2022-09-14T23:04:32Z&st=2021-09-14T15:04:32Z&spr=https&sig=xhfdhfhdfjkhfiufhuiHKJHrehuierhf%3DAfter the “blob.core.windows.net/” section, add in the name of your container (I chose “fileuploads”), and the filename you’d like to give your file (I chose “test1.txt”);
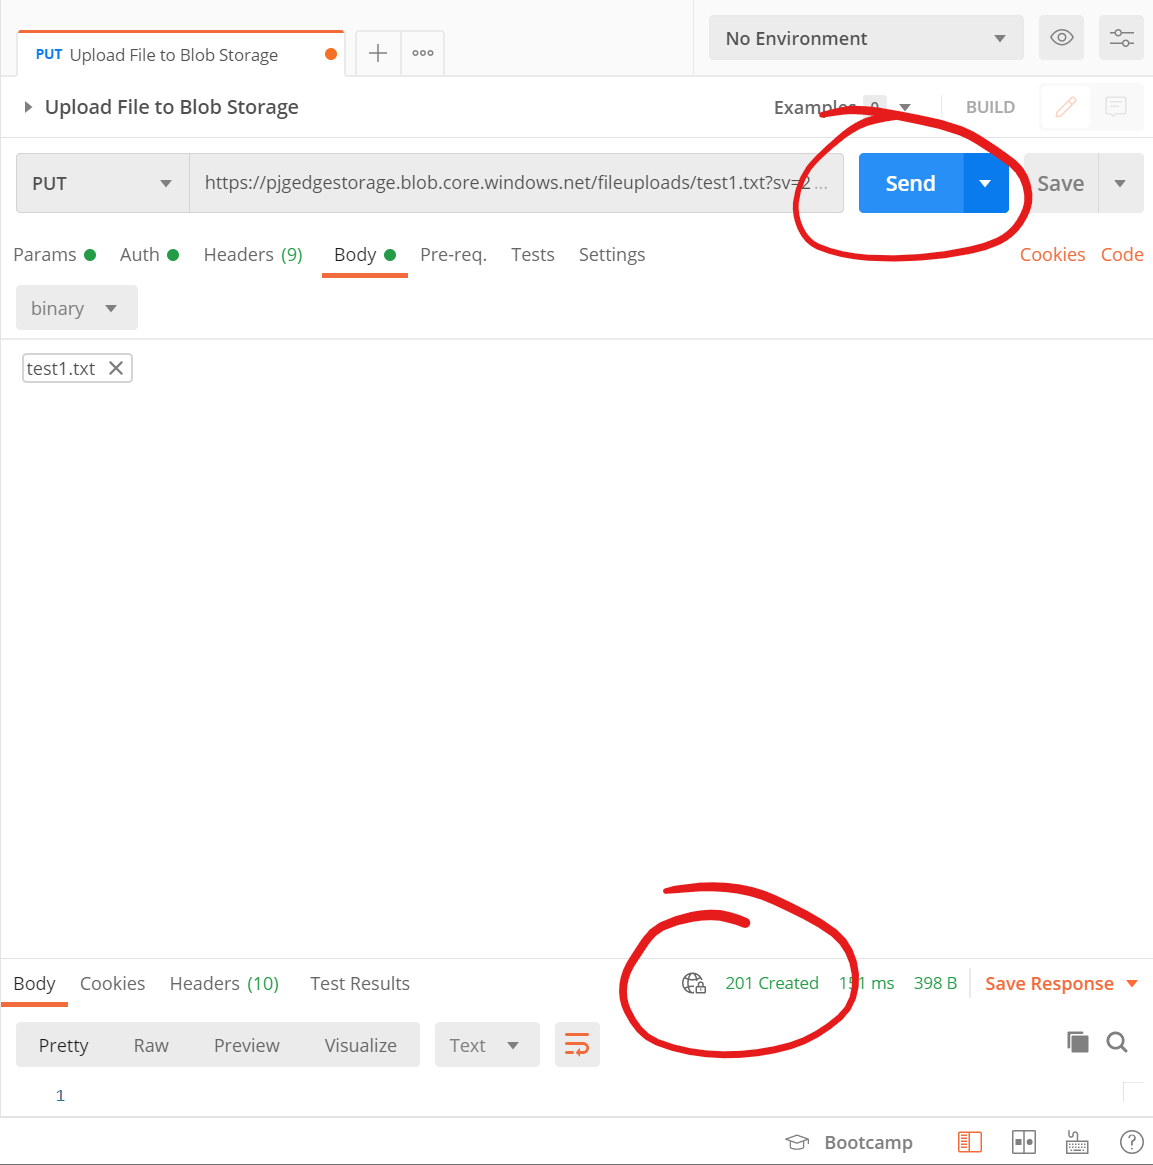
https://mystorageaccount.blob.core.windows.net/fileuploads/test1.txt?sv=2020-08-04&ss=bf&srt=o&sp=wactfx&se=2022-09-14T23:04:32Z&st=2021-09-14T15:04:32Z&spr=https&sig=xhfdhfhdfjkhfiufhuiHKJHrehuierhf%3DWith that, you should now be able to hit the “SEND” button to upload your file, all being well, you should see a “201 Created” response in green at the bottom of the Postman window;
Checking that our file was uploaded
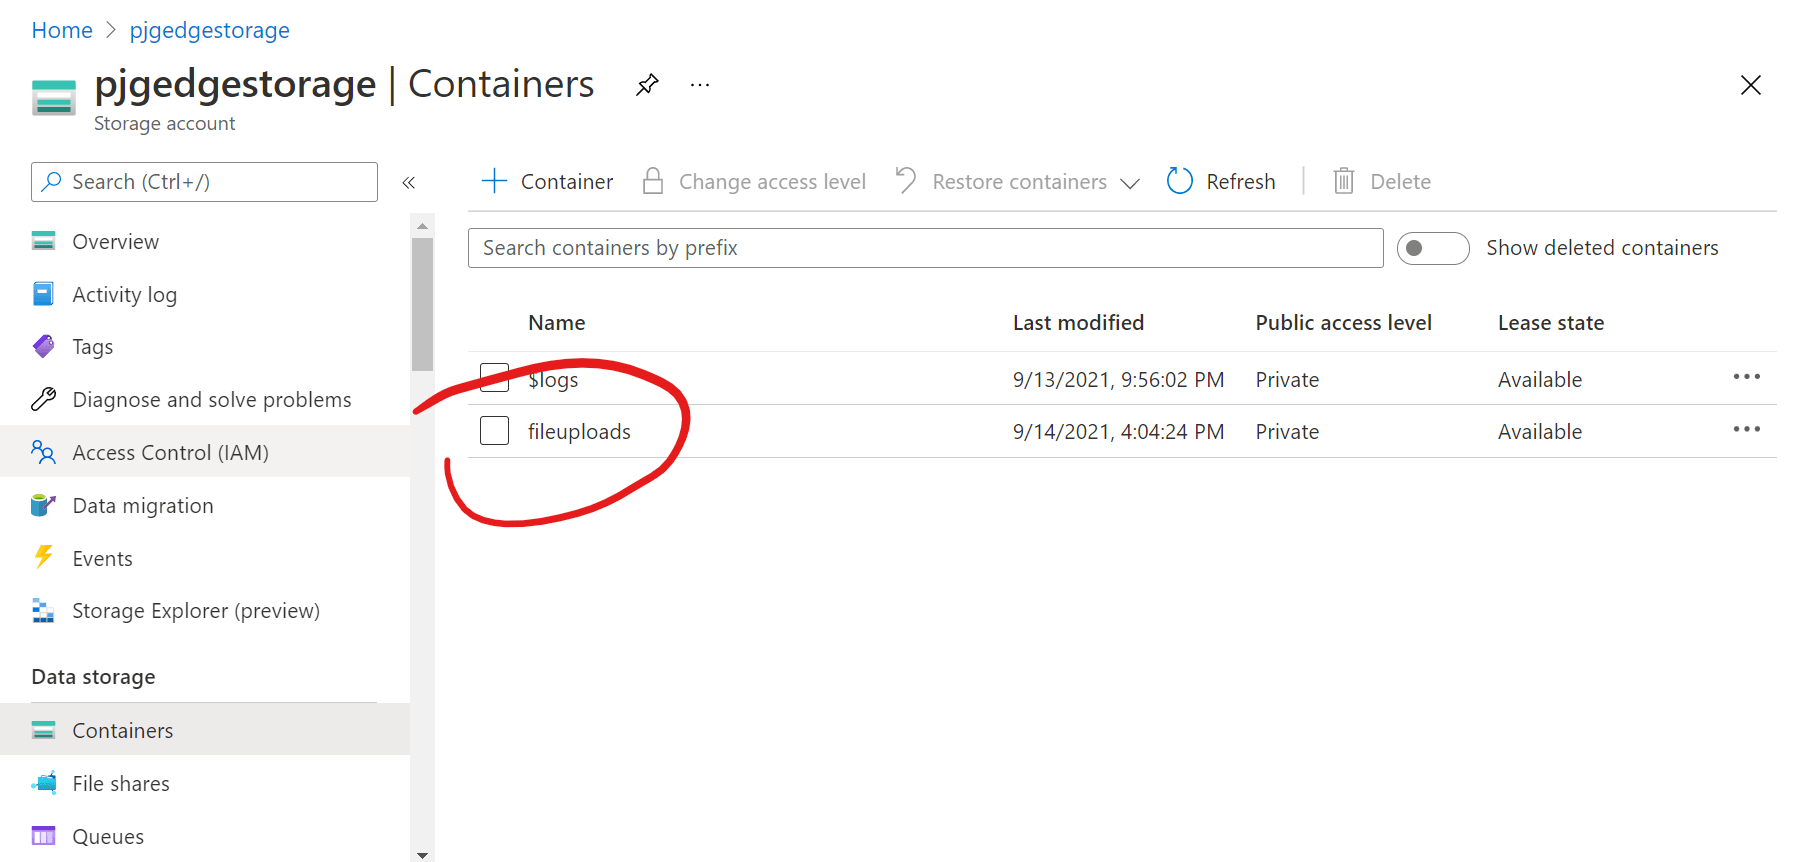
If we head back to the portal and our “Containers” page, we can click on our “fileuploads” container;
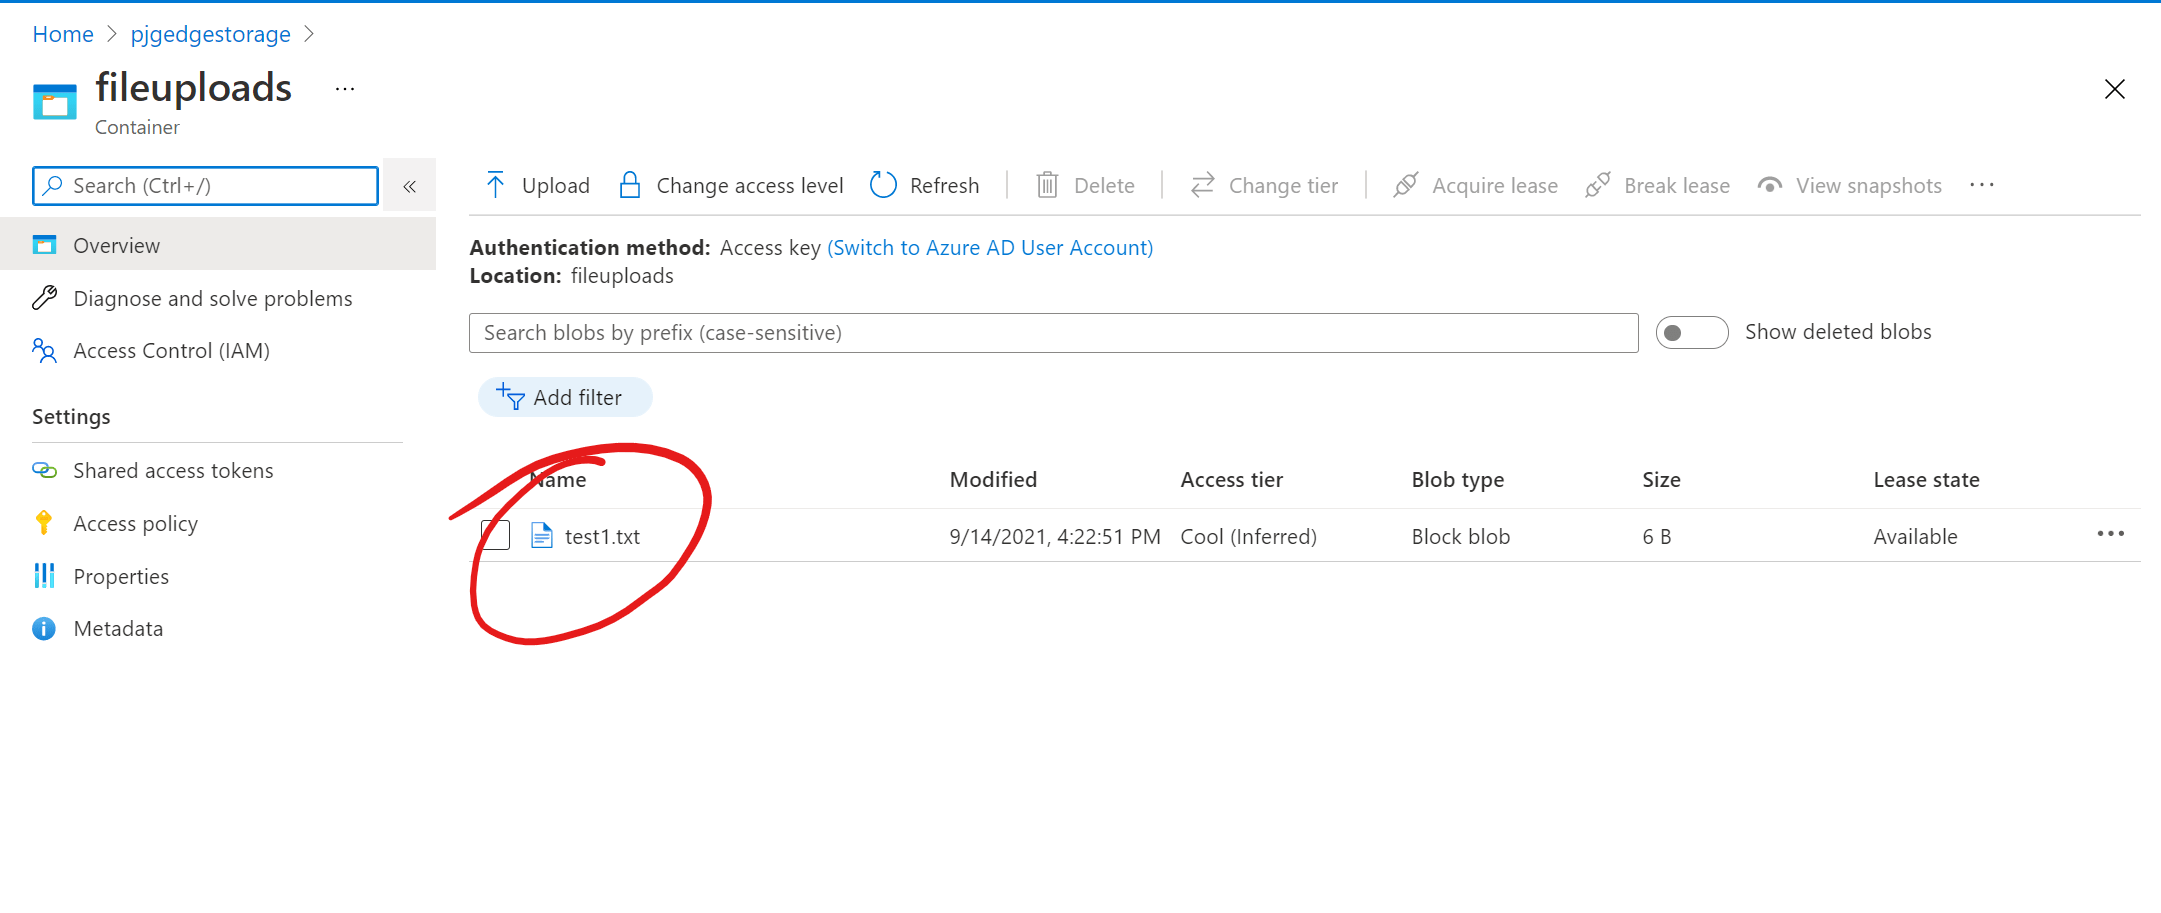
We should then see our newly uploaded “test1.txt” file;
If we click on that file, we can click the “Edit” tab to view it’s contents;
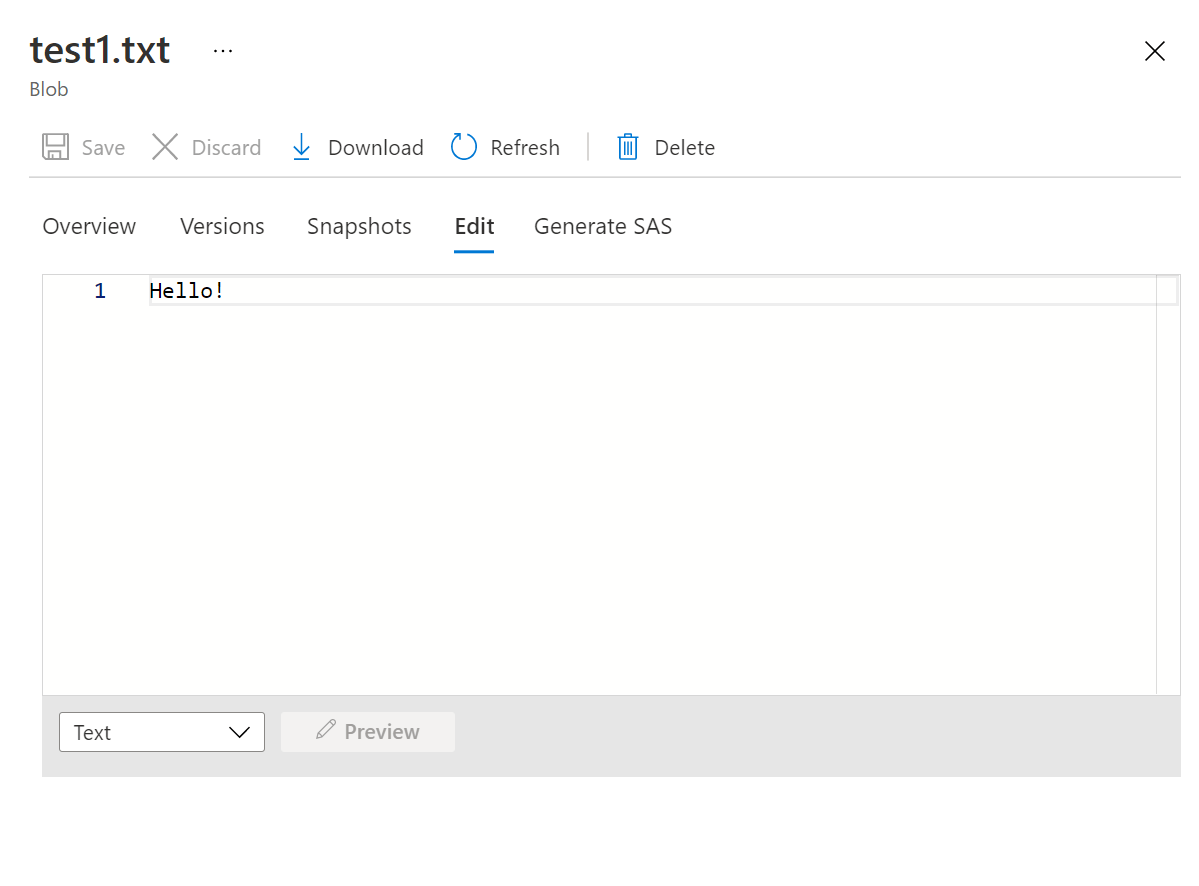
And with that, we’ve uploaded a file to blob storage using the REST API and Postman.