This post is a series of posts in which I detail my journey to bring OctoPrint to the Seeed Studio reTerminal.
Day 1
In today’s post we’ll be going through my initial plans, cloning repos, Looking at Plugins and getting the VS Code OctoPrint Development Environment Setup.
Contents
Day 1 – 05–09–22 – Getting Started:
- Getting Started – 05/09/2022
- My Initial Plans
- Cloning the Repos
- A pointer in the right direction from the folks at OctoPrint3D – Plugins
- OctoPrint Plugin Mixin Development Docs
- Getting the Development Environment setup
- Installing Python
- Checking out the OctoPrint Sources
- Creating and Activating a Virtual Environment
- Build Tools for Visual Studio 2019
- Setting up VirtualEnv
- Adding VirtualEnv to the Windows Path
- Upgrading Pip
- Setting up the Virtual Environment
Day 2 – 06–09–22 – Setting up the Environment:
- OctoEverywhere – 06-09-22
- Continuing with VirtualEnv
- Activating the Virtual Environment
- Setting up the Virtual Environment
- Installing Microsoft Visual C++ 14.0
- Using pip to install packages in the Virtual Environment
- Git Pre-Commit
- Git Changes, Blame and Ignore
- Configuring VS Code
- Running OctoPrint for the first time
- Changing the Python Interpreter
- Running the OctoPrint from VS Code
Day 3 – 07–09–22 – Setup Wizard:
- Setting up OctoPrint in the Debug Environment – 07-09-22
- Setup Wizard – Access Control
- Setup Wizard – Online Connectivity
- Setup Wizard – Usage Tracking
- Setup Wizard – Plugin Blacklist
- Setup Wizard – Printer Profile
- Setup Wizard – Please Reload
- Setup Wizard – Setup Printer (Again)
- Setup Wizard – Server Commands
- Setup Wizard – Webcam and Timelapse Recordings
- Setup Wizard – Finish
- Virtual 3d Printer Plugin
- Beginning Plugin Development
Getting Started – 05/09/2022
The first thing I expected I’d need to do was to fork the GitHub Repos for OctoPrint and OctoPi, which I’ve done here;
OctoPrint: https://github.com/pjgpetecodes/OctoPrint-reTerminal
OctoPi: https://github.com/pjgpetecodes/OctoPi-reTerminal
Next up, it’s time to start searching for docs for how to get started developing OctoPrint…
Nicely, the docs for OctoPrint are fantastic, and I quickly find a section on how to get started with the Development, which details how to get everything including the IDE setup.
Happily, there’s even a guide for setting up my favourite editor, VS Code!
Something really cool I’ve just spotted too… There’s even a “Virtual Printer” that you can set up, to save having to connect to a real printer.
My Initial Plans
Initially, I plan on the following features for what I’m doing;
- OctoPrint up and running on the reTerminal
- Modify the Server files to show a customised view of the OctoPrint Server
- Add functionality to allow the reTerminal User Buttons to interact with the Server somehow – perhaps paging through views?
- Add the OctoPi stuff to allow for the Raspberry Pi Camera to be used too.
For the first few steps I see the following as where I start;
- Get OctoPrint cloned onto my local machine
- Figure out where the Server Files are and how they’re served
- Understand how I can get OctoPrint running on my local machine so I can start working on getting the files modified
- Get a test version installed and working on the reTerminal.
Cloning the Repos
I’ve gone ahead and cloned the OctoPrint and OctoPi repos onto my local machine here and started nosing around.
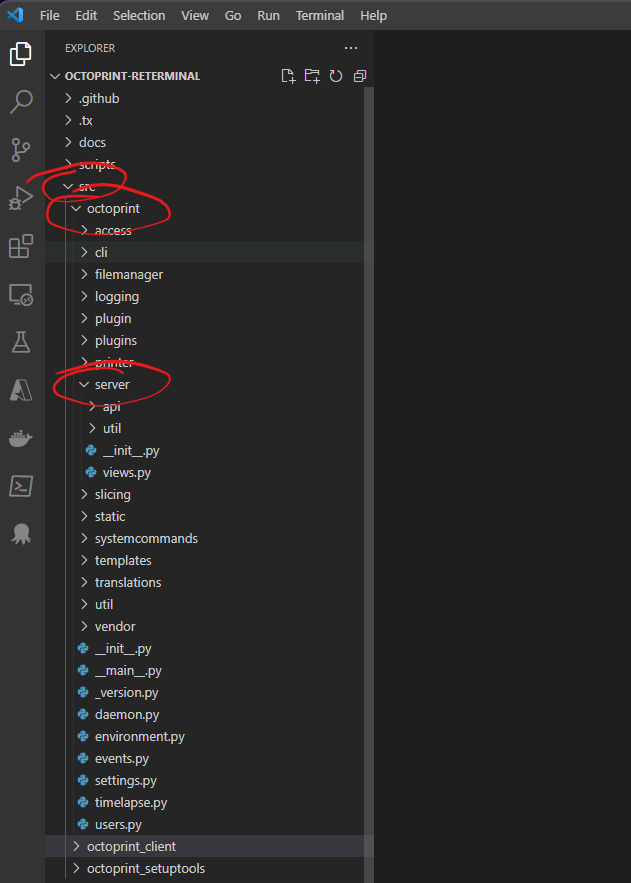
I can see in the OctoPrint repo that there’s a src folder and within there we have an octoprint folder containing a server folder;
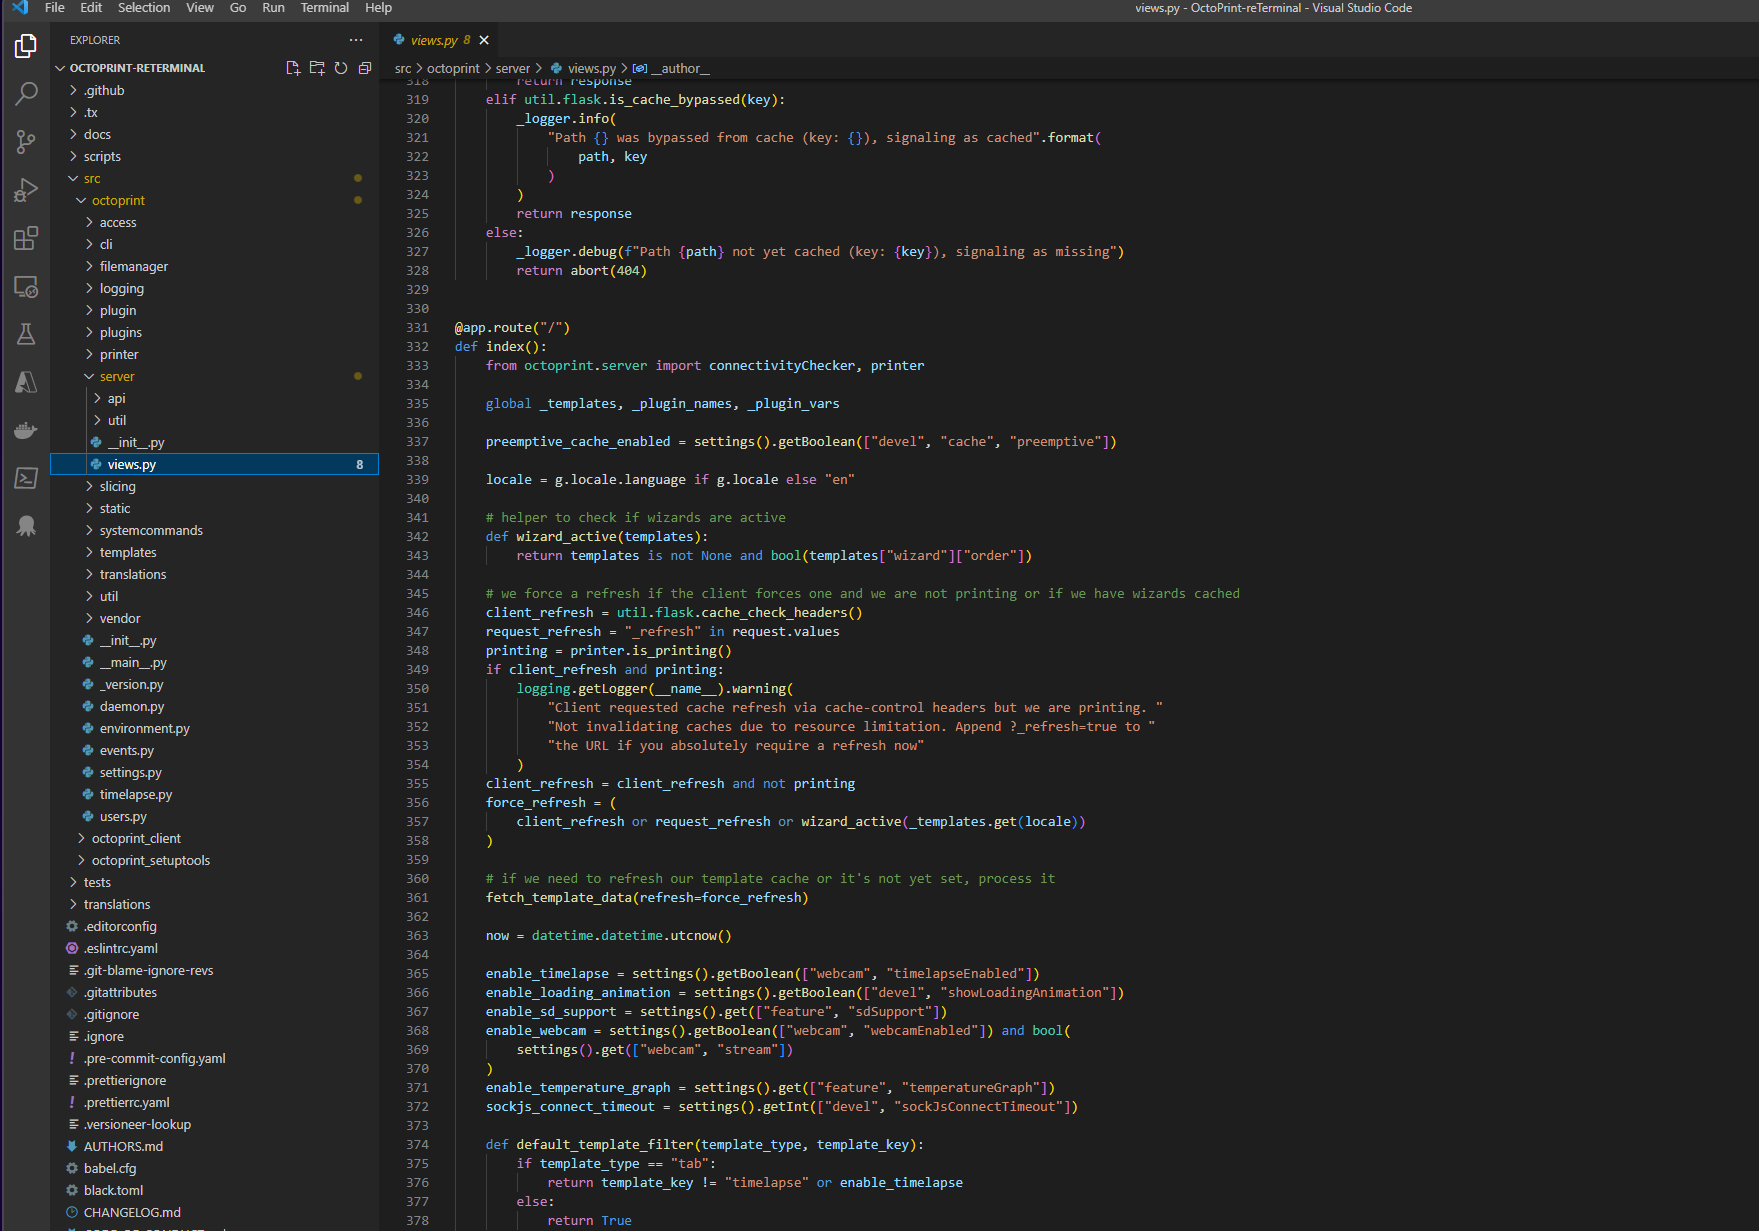
Looking at the view.py file, I can see this is where the routes for the Web Interface;
A pointer in the right direction from the folks at OctoPrint3D – Plugins
So, over lunch (and before a tonne of meetings), I got a timely reply to this morning’s tweet from the lovely folks over on the OctoPrint3D Twitter account;
A really good point is made about my original direction of forking the repos;
The suggestion of using plugins to modify the existing code rather than forking the repo seems like a hugely better idea.
For the UI elements, we can use the either the TemplatePlugin or the UIPlugin and for the buttons, the StartupPlugin;
So, thanks very much to the folks over on the OctoPrint3D twitter feed for those pointers!
it also turns out there’s a fabulous Discord Community available, and I’ve been welcomed by “foosel” who wrote the tweets above… As a note, this is a personal account… Any OctoPrint related questions should be directed at the official OctoPrint3D account.
You can join the Discord community using the Invite Link here.
OctoPrint Plugin Mixin Development Docs
So, I immediately went off and had a look at the link to the OctoPrint Plugins Mixins Documentation.
There’s a heap of really cool docs here to look through, and I can see the sections that the folks at OctoPrint suggested;

Looking around a bit, there’s some great docs on getting started making OctoPrint Plugins available too;
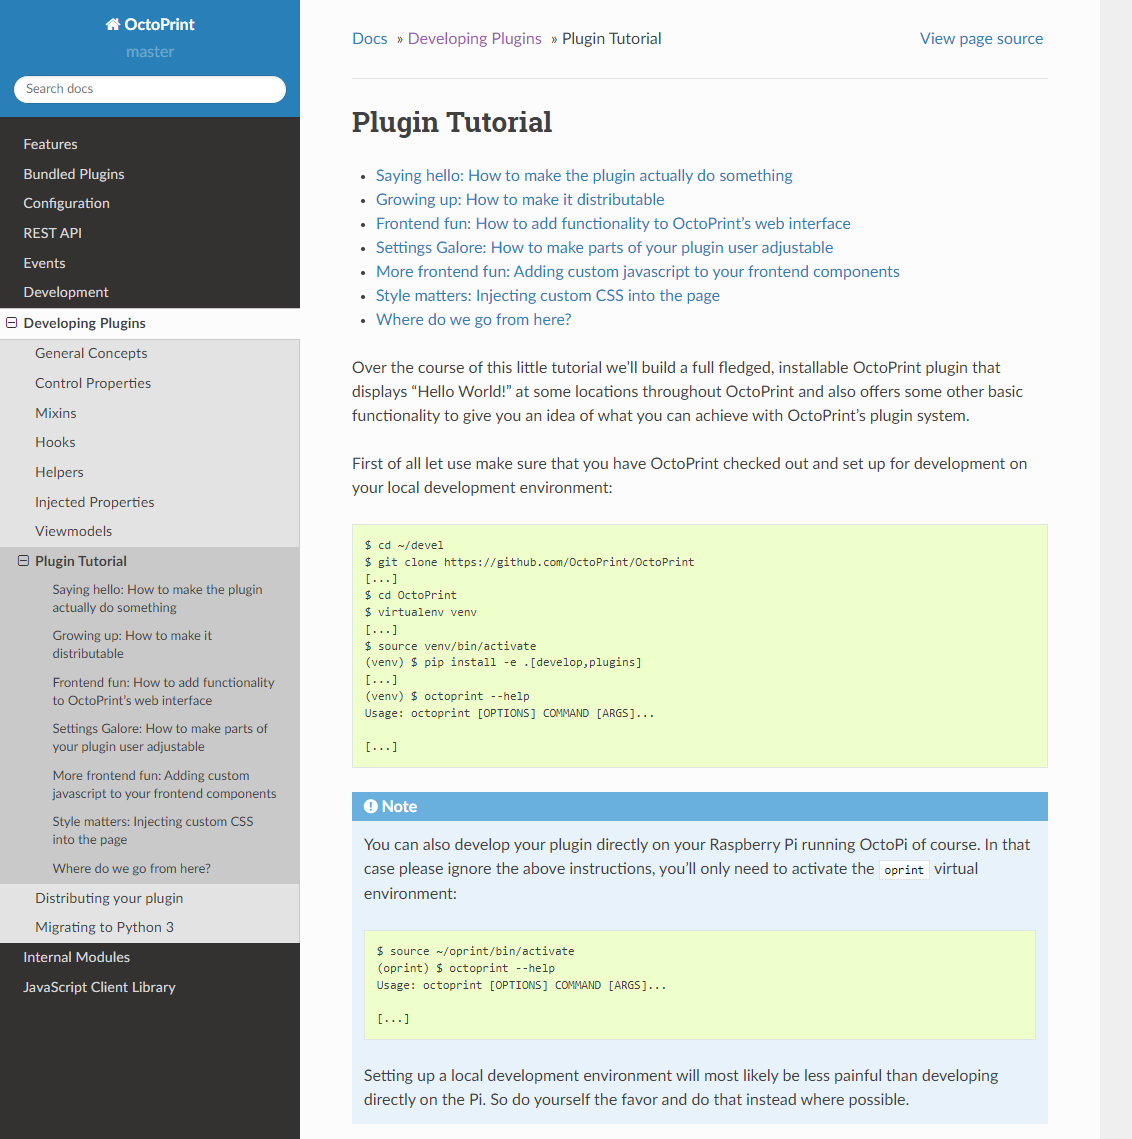
I can see the first thing it says to do is;
“First of all let use make sure that you have OctoPrint checked out and set up for development on your local development environment:”
So this will help me get setup developing too… !
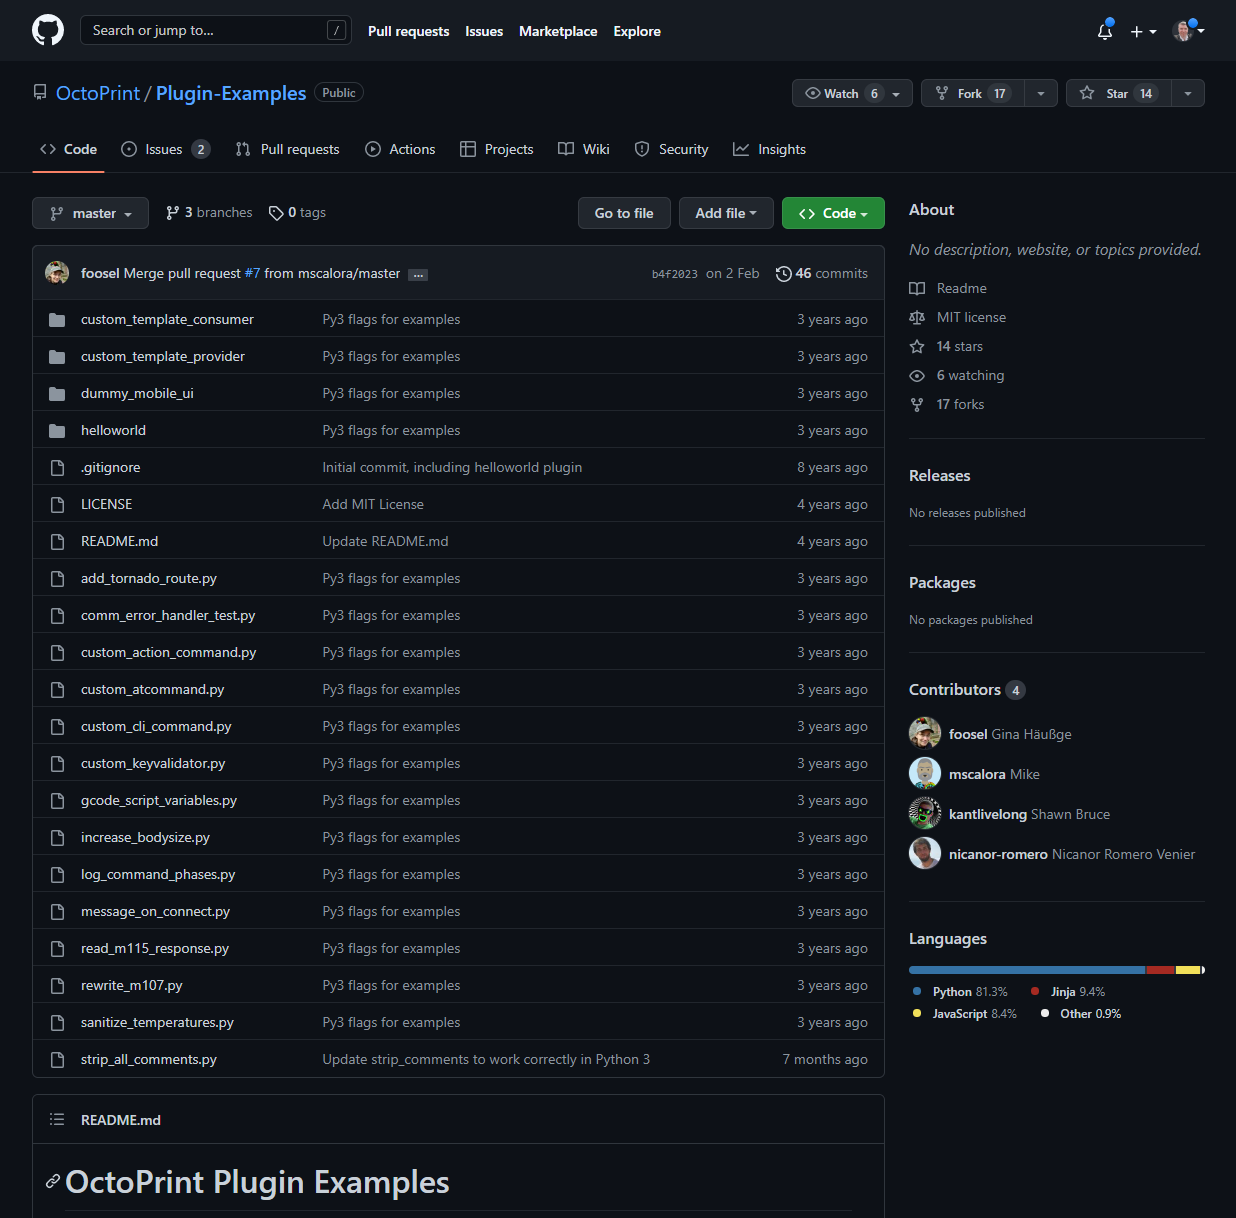
It also looks like there’s a bunch of Plugin Samples available in a GitHub repo too, so this should help a lot;
Looking at the three sections above, the UiPlugin, the TemplatePlugin and the StartupPluginPlugin Mixins…
The UiPlugin Mixin
The docs for the UiPlugin Mixin start with…
The
UiPluginmixin allows plugins to completely replace the UI served by OctoPrint when requesting the main page hosted at /.
The TemplatePlugin Mixin
The docs for the TemplatePlugin Mixin start with…
Using the
TemplatePluginmixin plugins may inject their own components into the OctoPrint web interface.
The StartupPlugin Mixin
The docs for the StartupPlugin Mixin start with…
The
StartupPluginallows hooking into the startup of OctoPrint. It can be used to start up additional services on or just after the startup of the server.
So these definitely look like the right places to start to me.
Getting the Development Environment setup
As we saw above, there’s some nice instructions for us to get started with OctoPrint plugin Development, and we know we can also use VS Code… So let’s see if I can get that working.
Ideally here I’d like to do all of my development on my main Windows PC rather than trying to develop on the reTerminal itself, so that’s where I’ll start out.
Looking back at the Plugin Tutorial Docs we saw above, there’s a set of commands to clone the OctoPrint repo and set up a Virtual Environment;
$ cd ~/devel
$ git clone https://github.com/OctoPrint/OctoPrint
[...]
$ cd OctoPrint
$ virtualenv venv
[...]
$ source venv/bin/activate
(venv) $ pip install -e .[develop,plugins]
[...]
(venv) $ octoprint --help
Usage: octoprint [OPTIONS] COMMAND [ARGS]...

[...]
So it looks like I need to make sure I have a few things setup before I get going…
Looking back at the “Setting up a Development environment” docs, we have a couple of prerequistes;
- Latest stable Python 3 including
pip,setuptoolsandvirtualenv - Git
I already have Git installed… Let’s see what version of Python I have installed by running python --version;
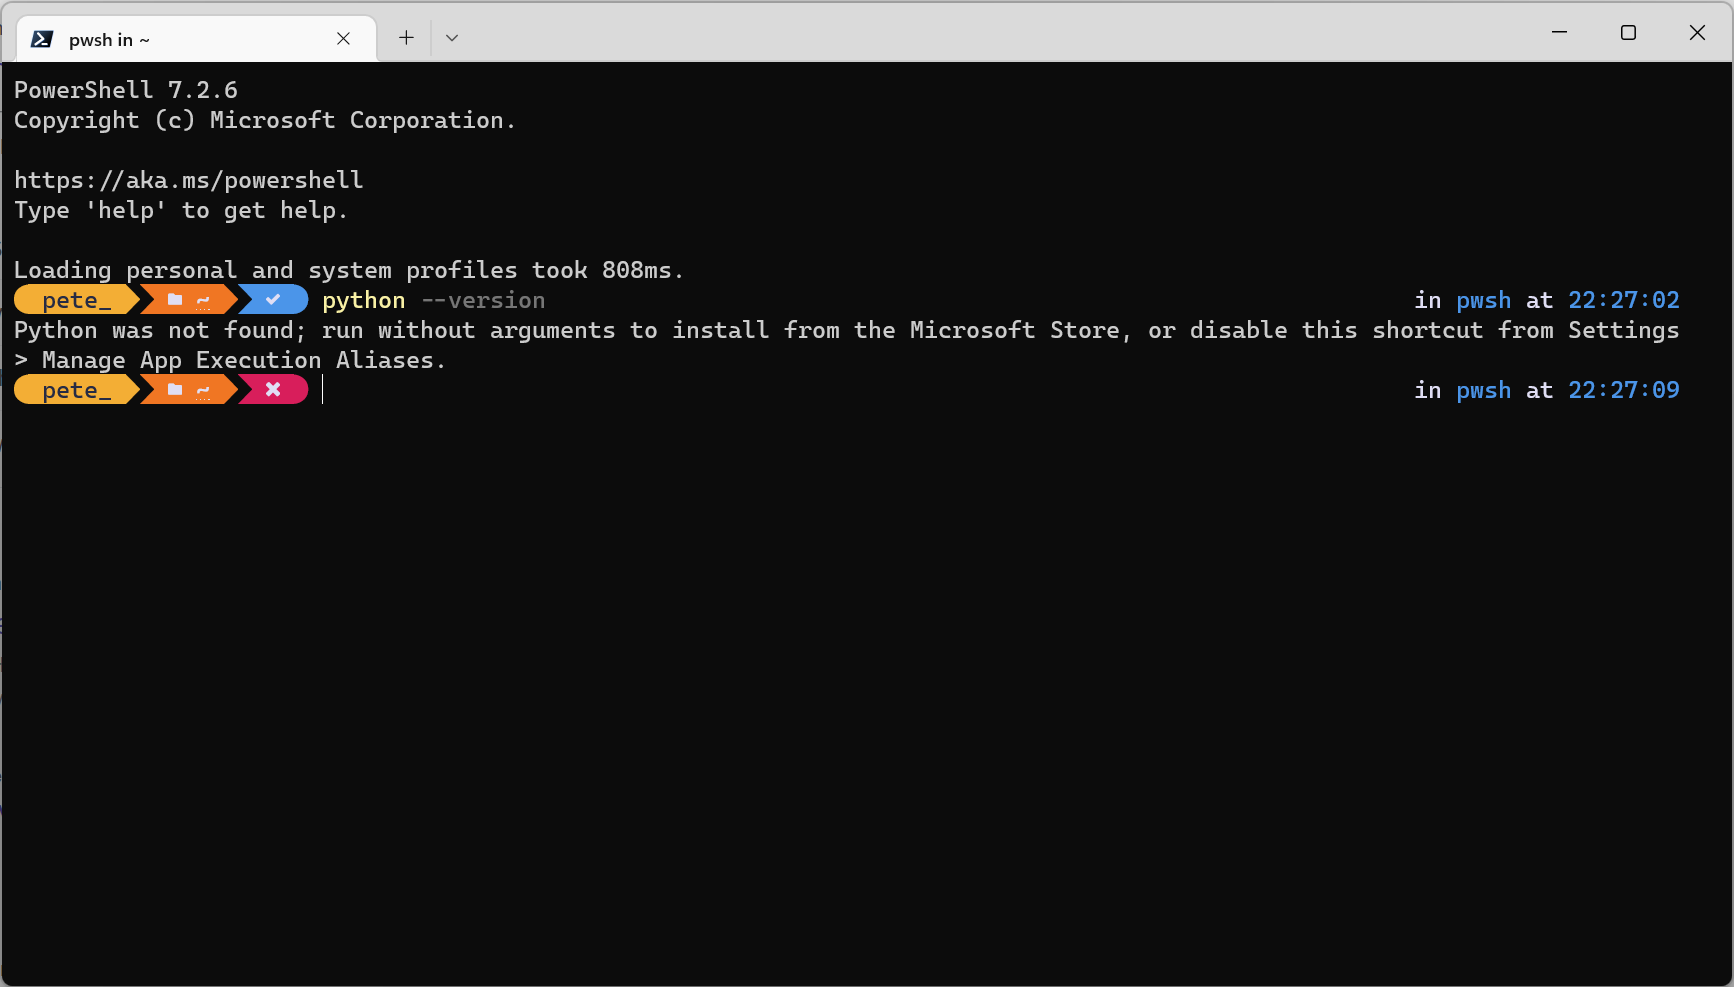
Installing Python
So, turns out I don’t have Python installed… Time to get that installed. Interestingly, I didn’t know this before, but I’m prompted to install Python from the Microsoft tore by running the command without variables… So that’s pretty neat… Let’s give it a go and see what happens;
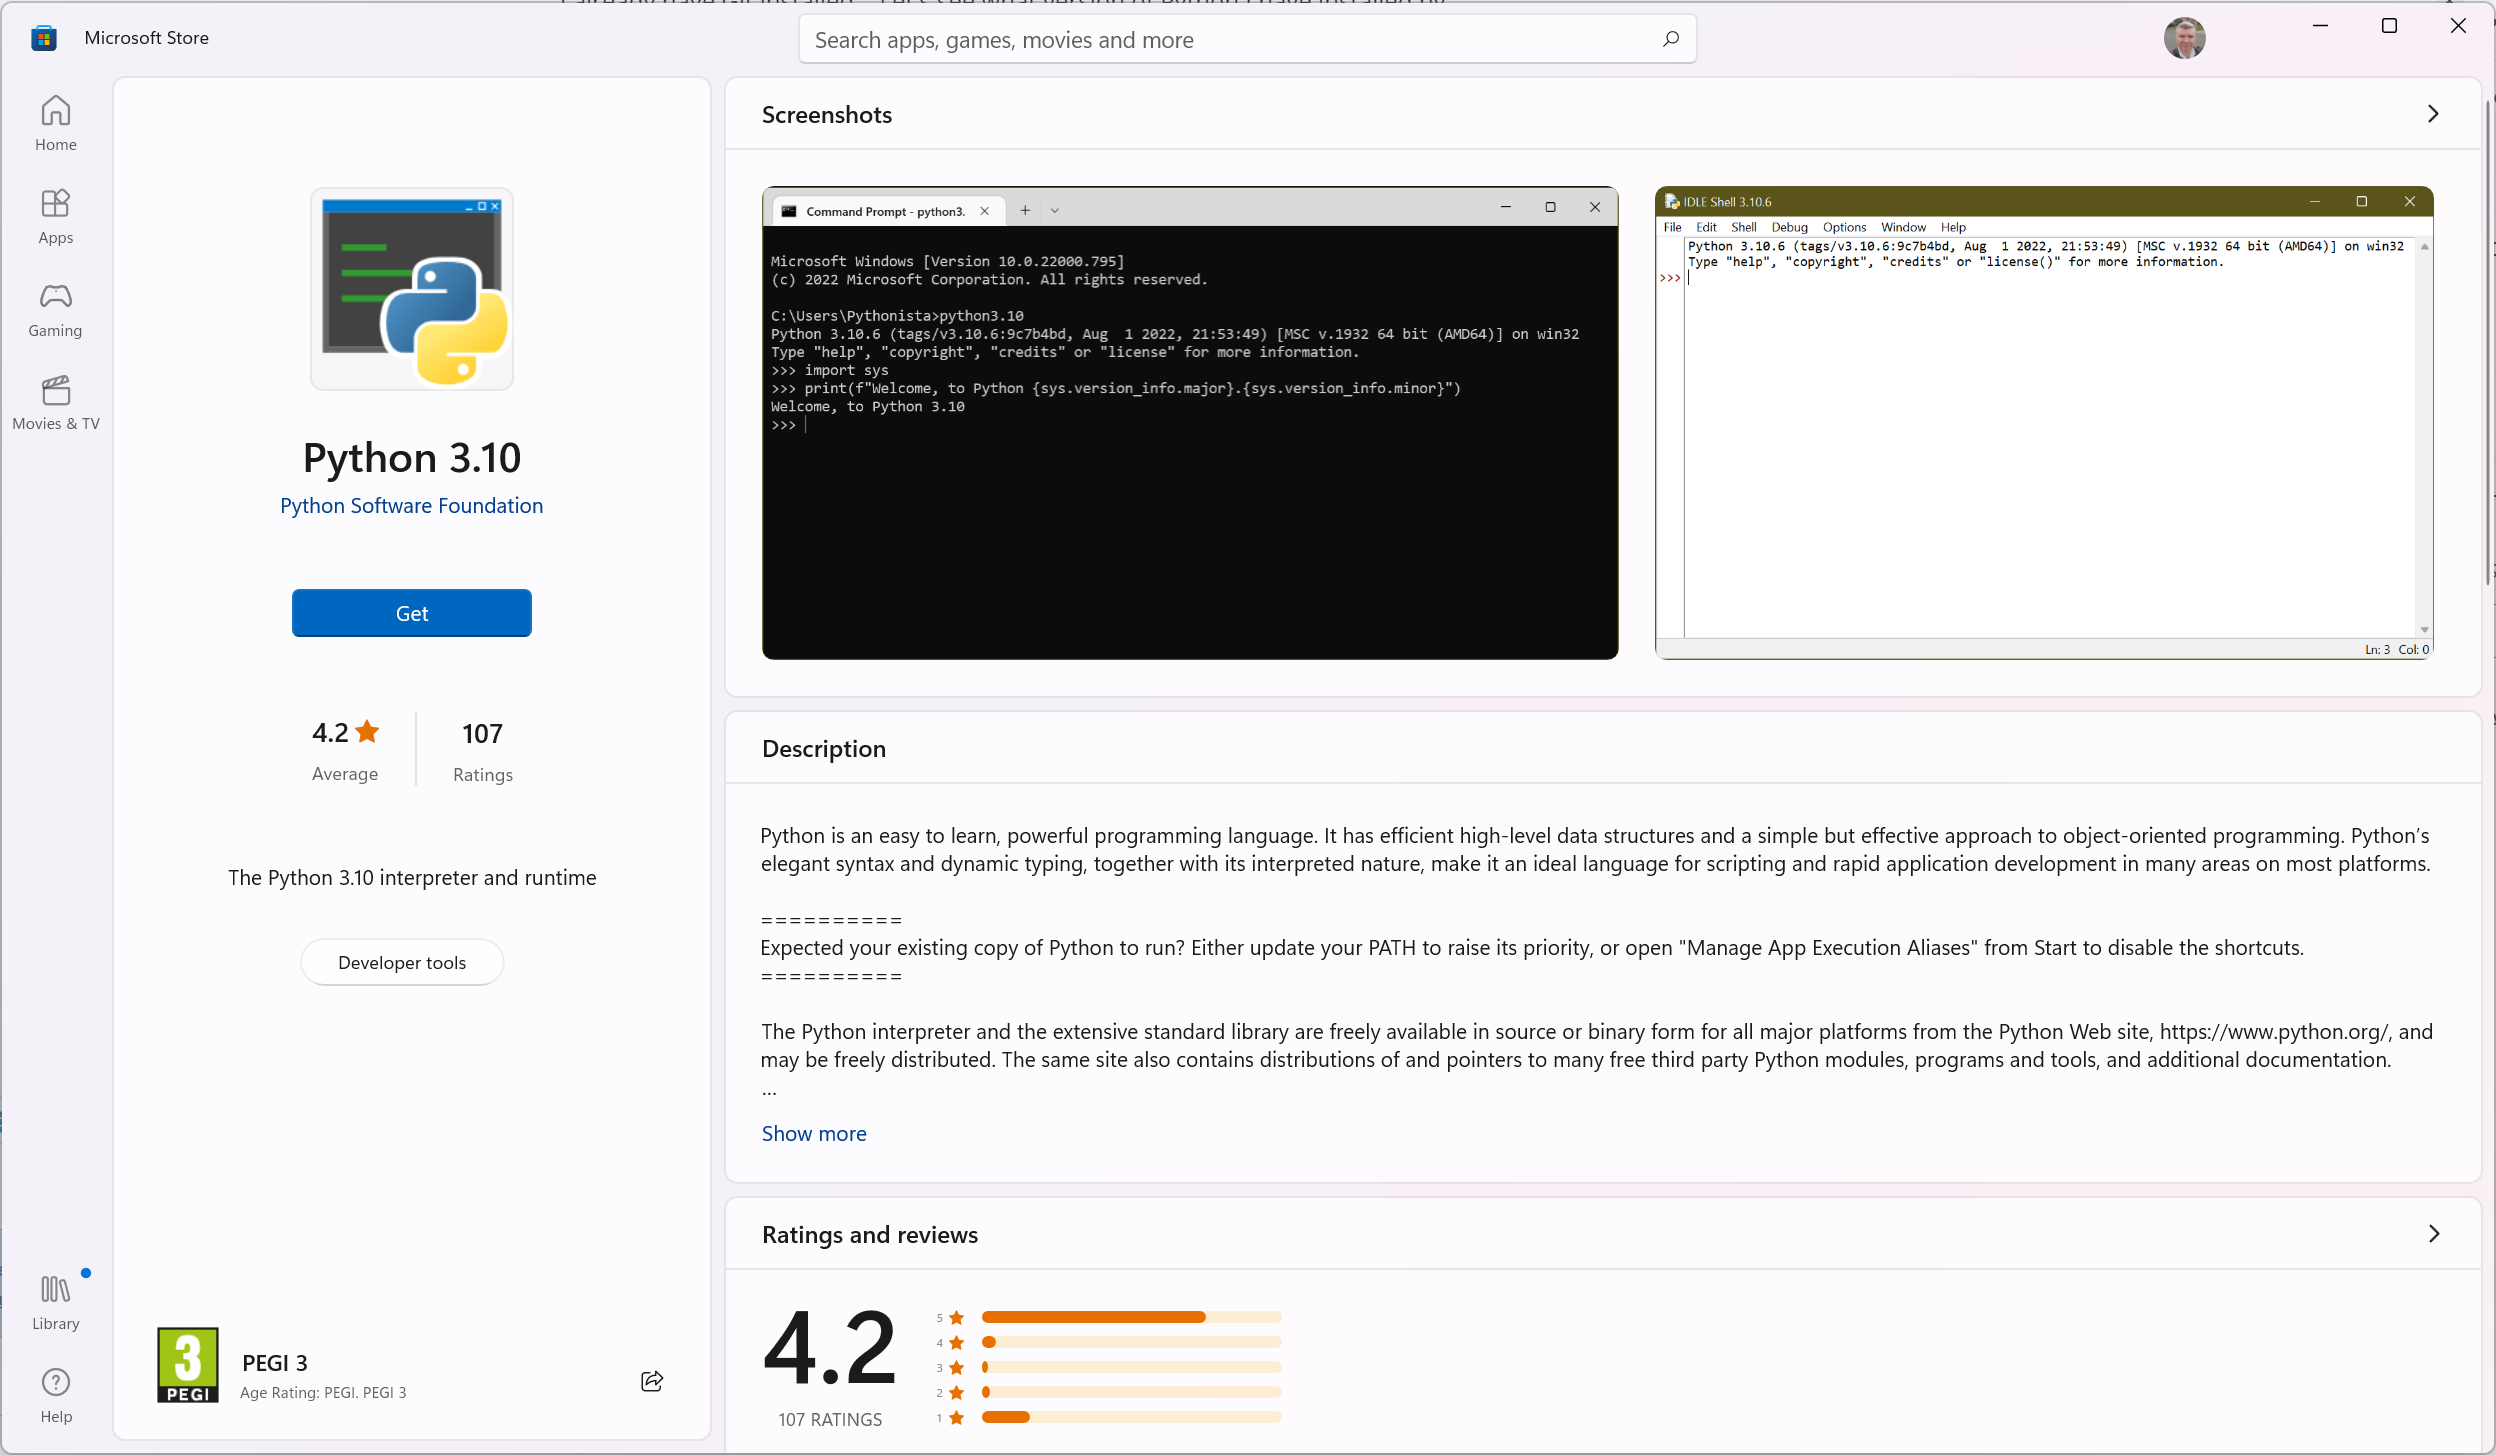
So we can now install Python 3.10 direct from the store… That;’s ace!
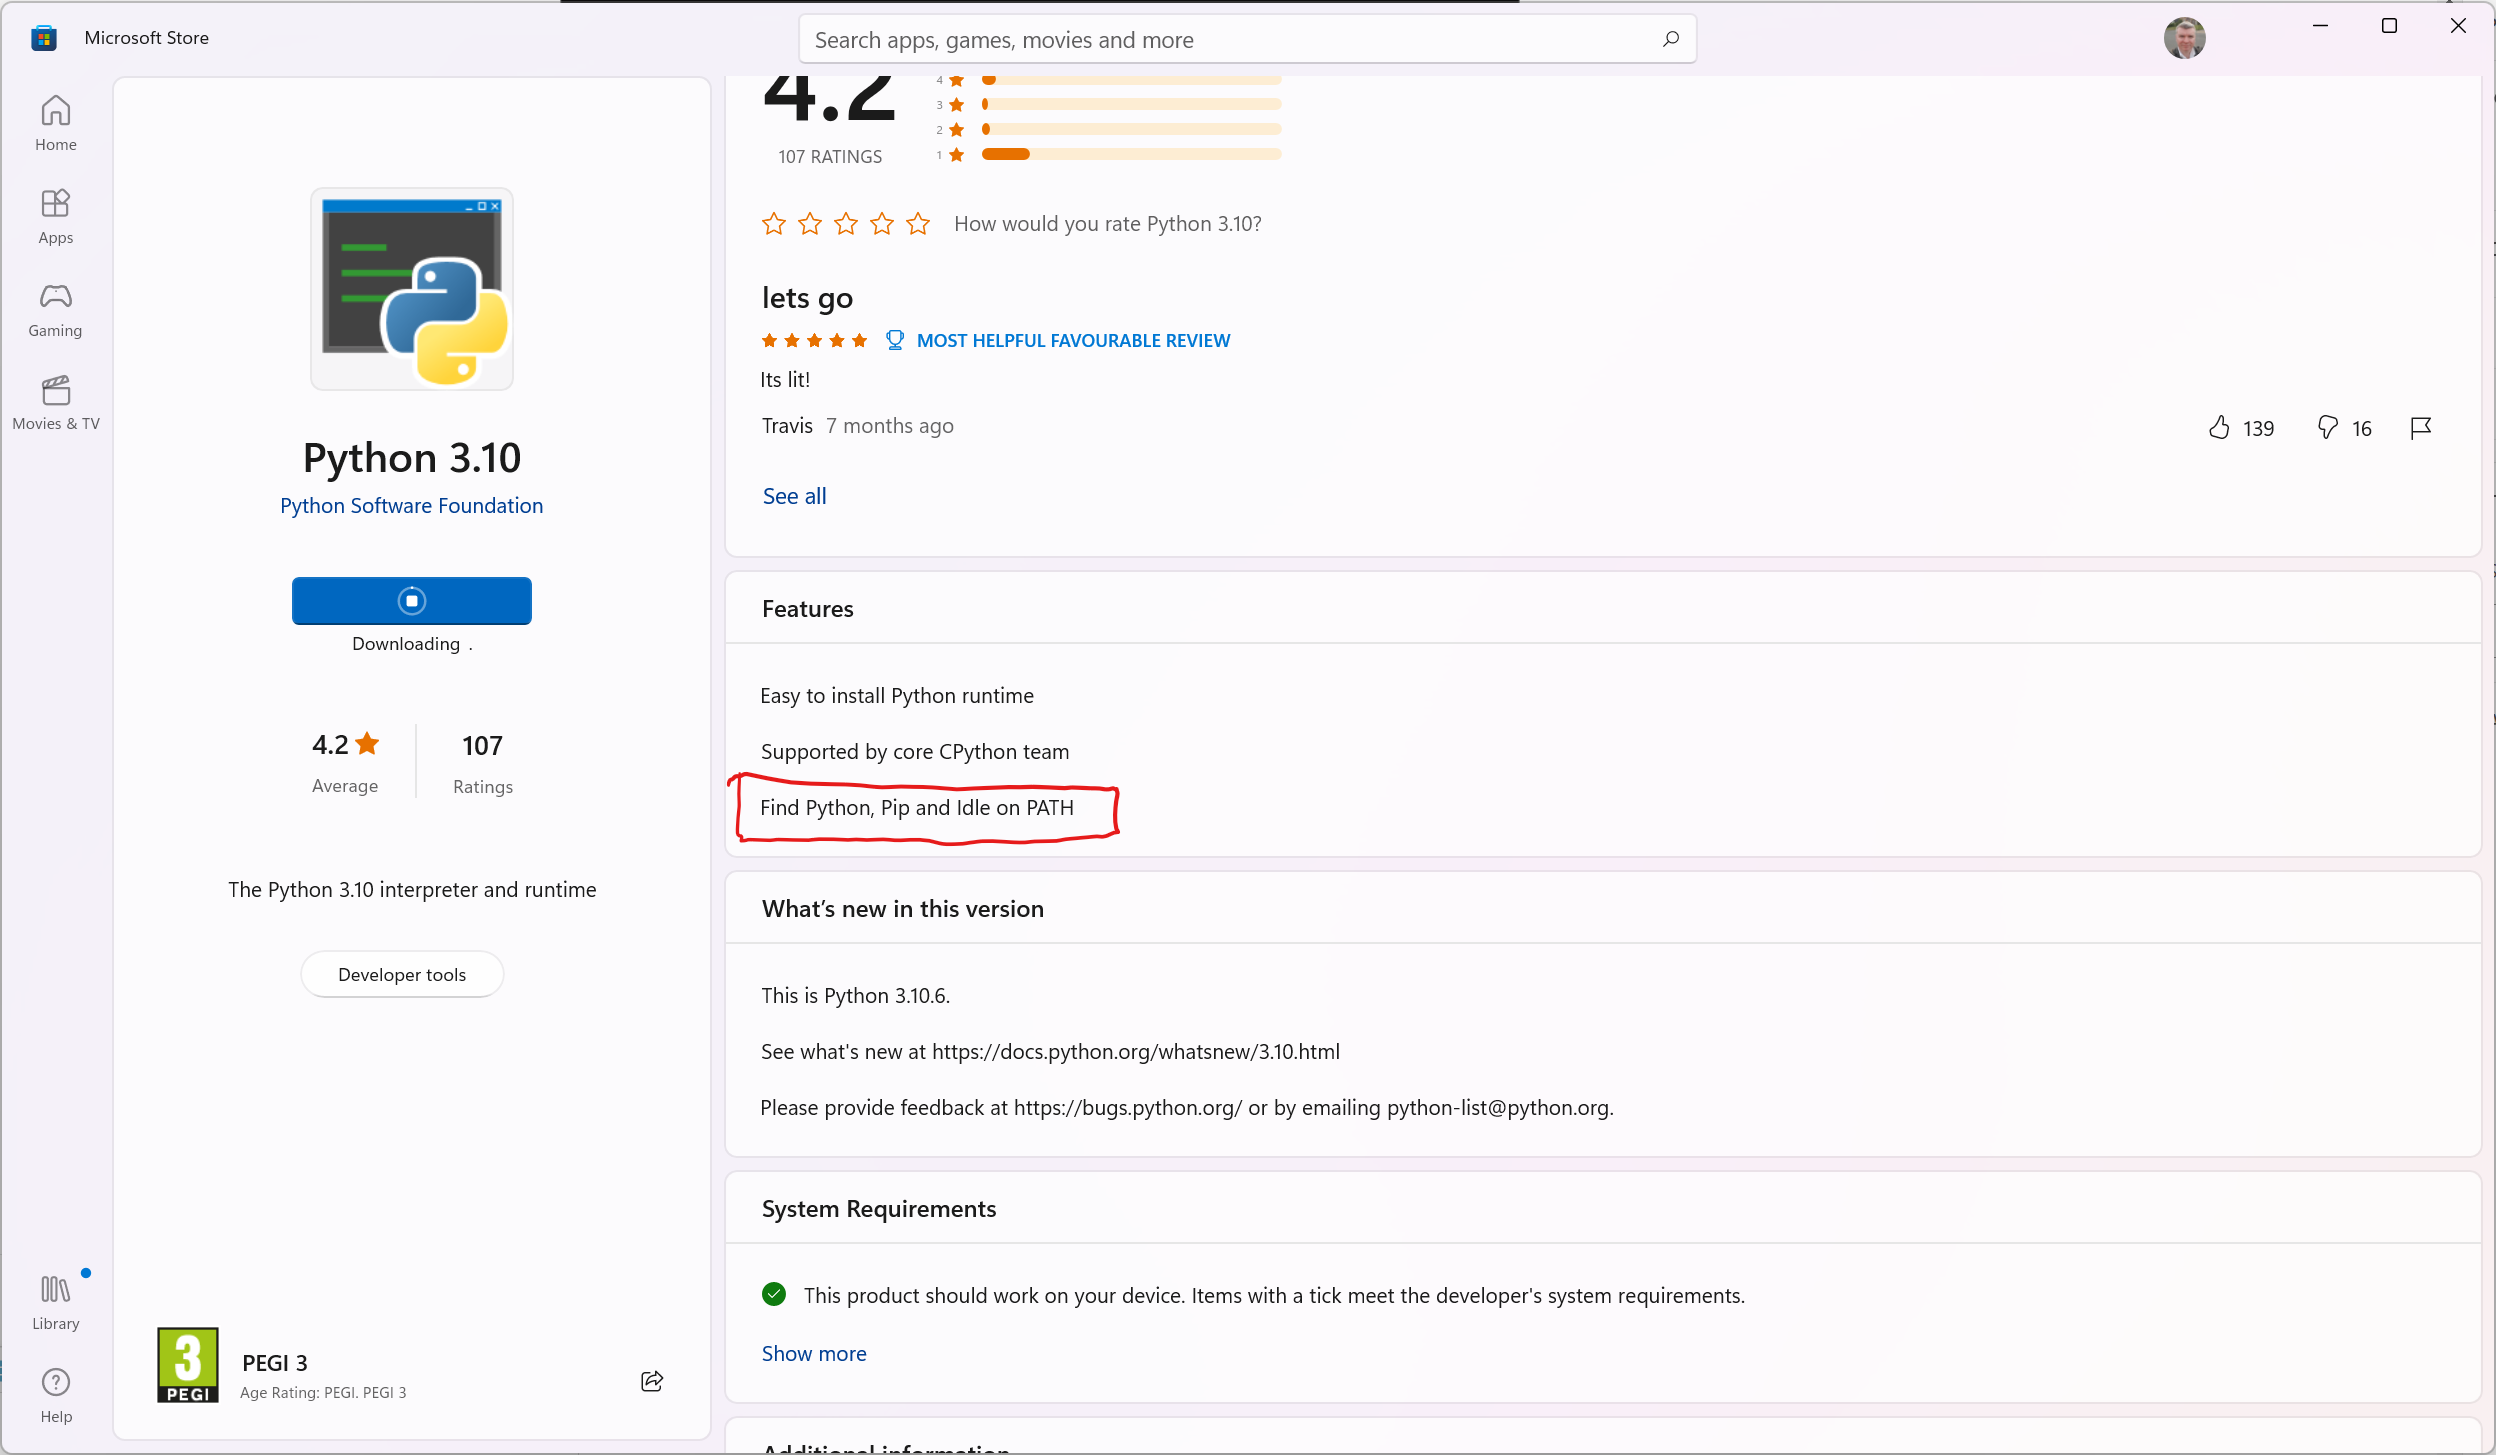
While it’s installing, scrolling down on the Store Page, we can see that this also installs pip which is required according to the docs;
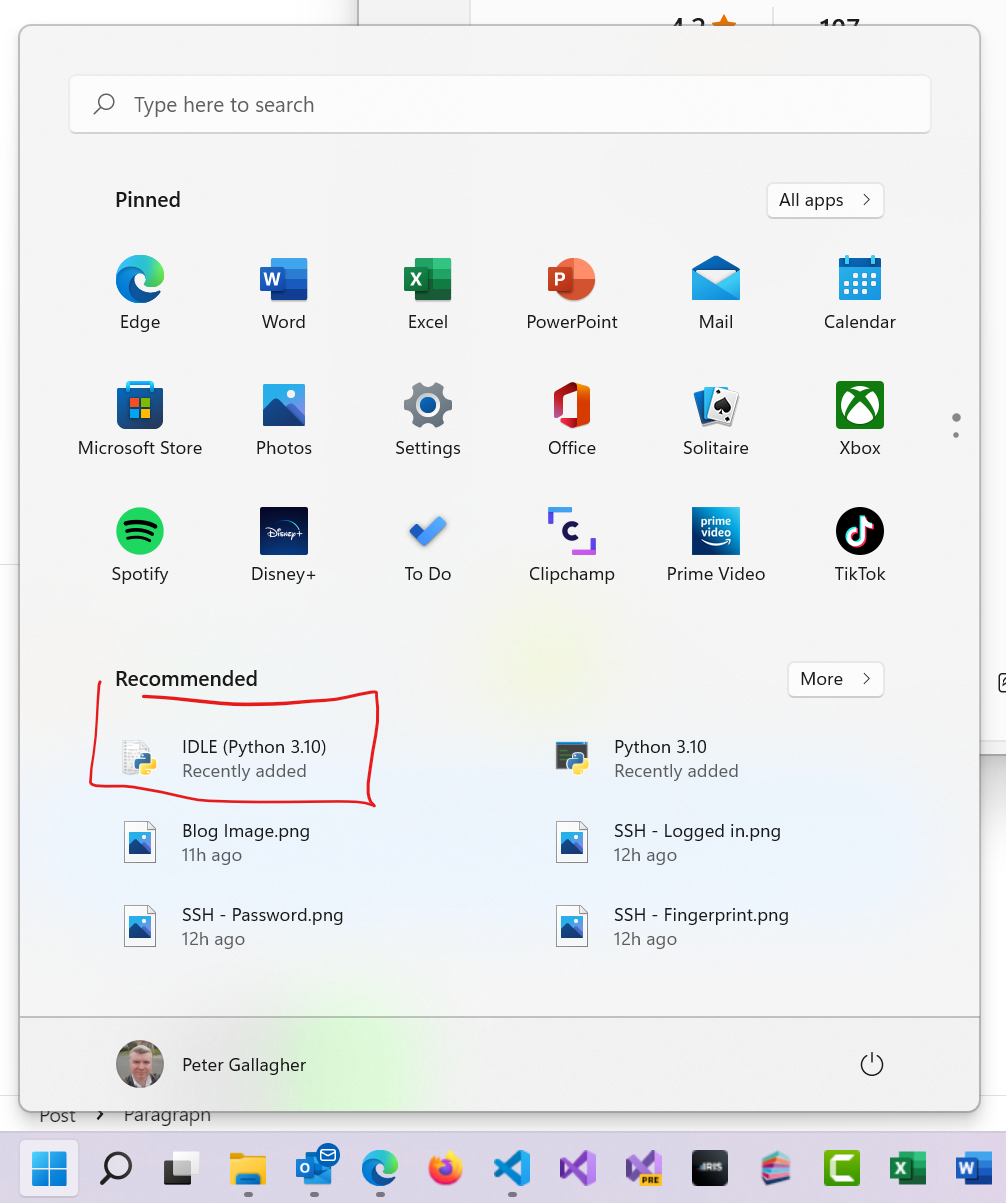
The installation is complete, and checking my start menu, I can see the Python IDE Idle shown;
Let’s close down the existing Terminal window, open a new one and try the python --version command again;
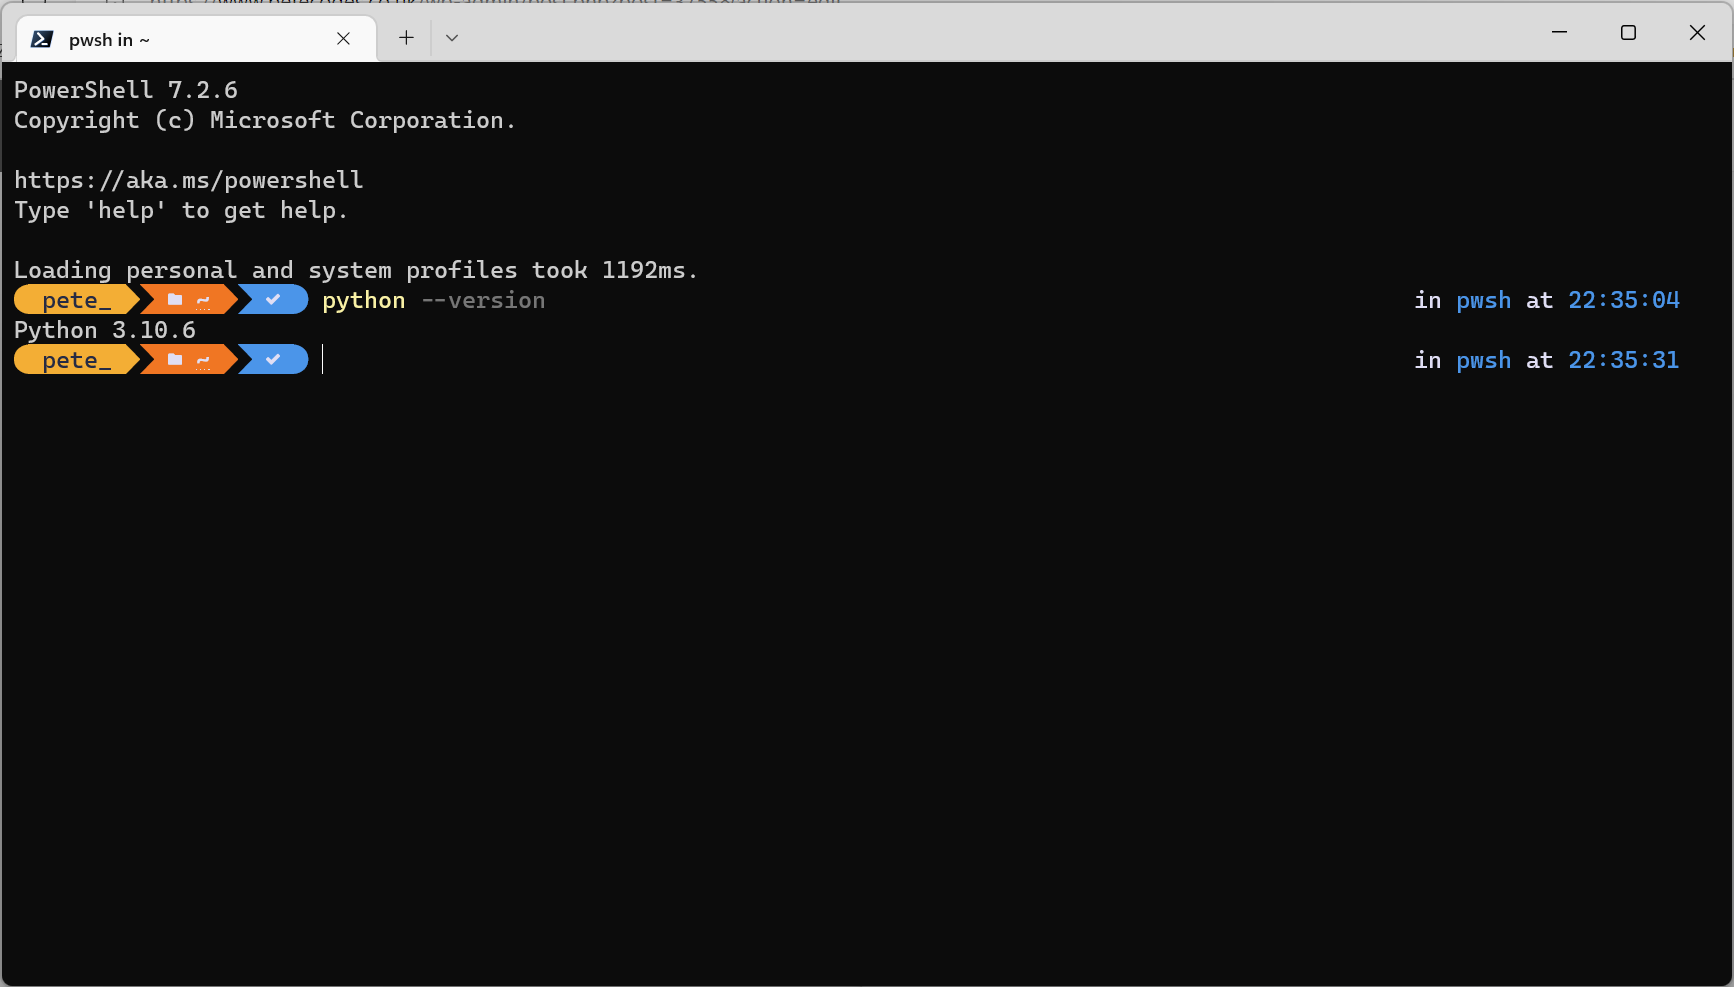
Success, we now have Python 3.10.6 installed on our machine. We know we need pip now too, so let’s check it’s version too;
Success again, we have pip version 22.2.1 installed successfully.
Checking out the OctoPrint Sources
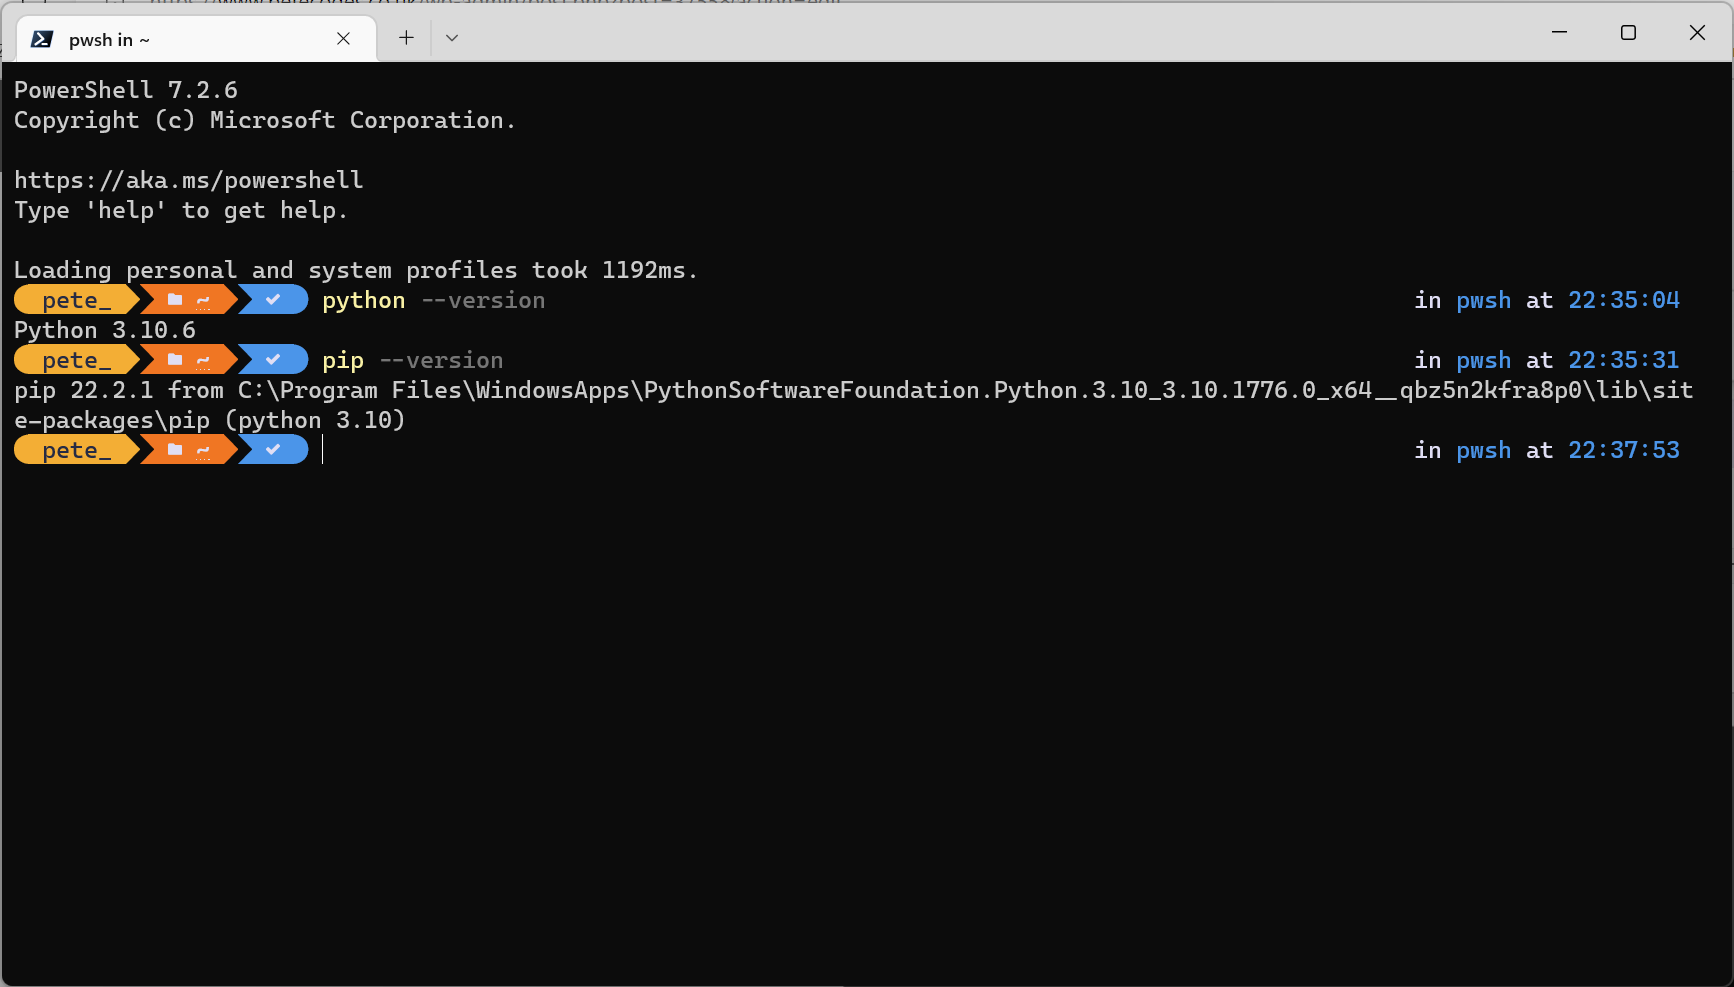
Next up in the tutorial is to check out the OctoPrint sources from GitHub using;
git clone https://github.com/OctoPrint/OctoPrint.gitI’ll check this out into my repos directory;
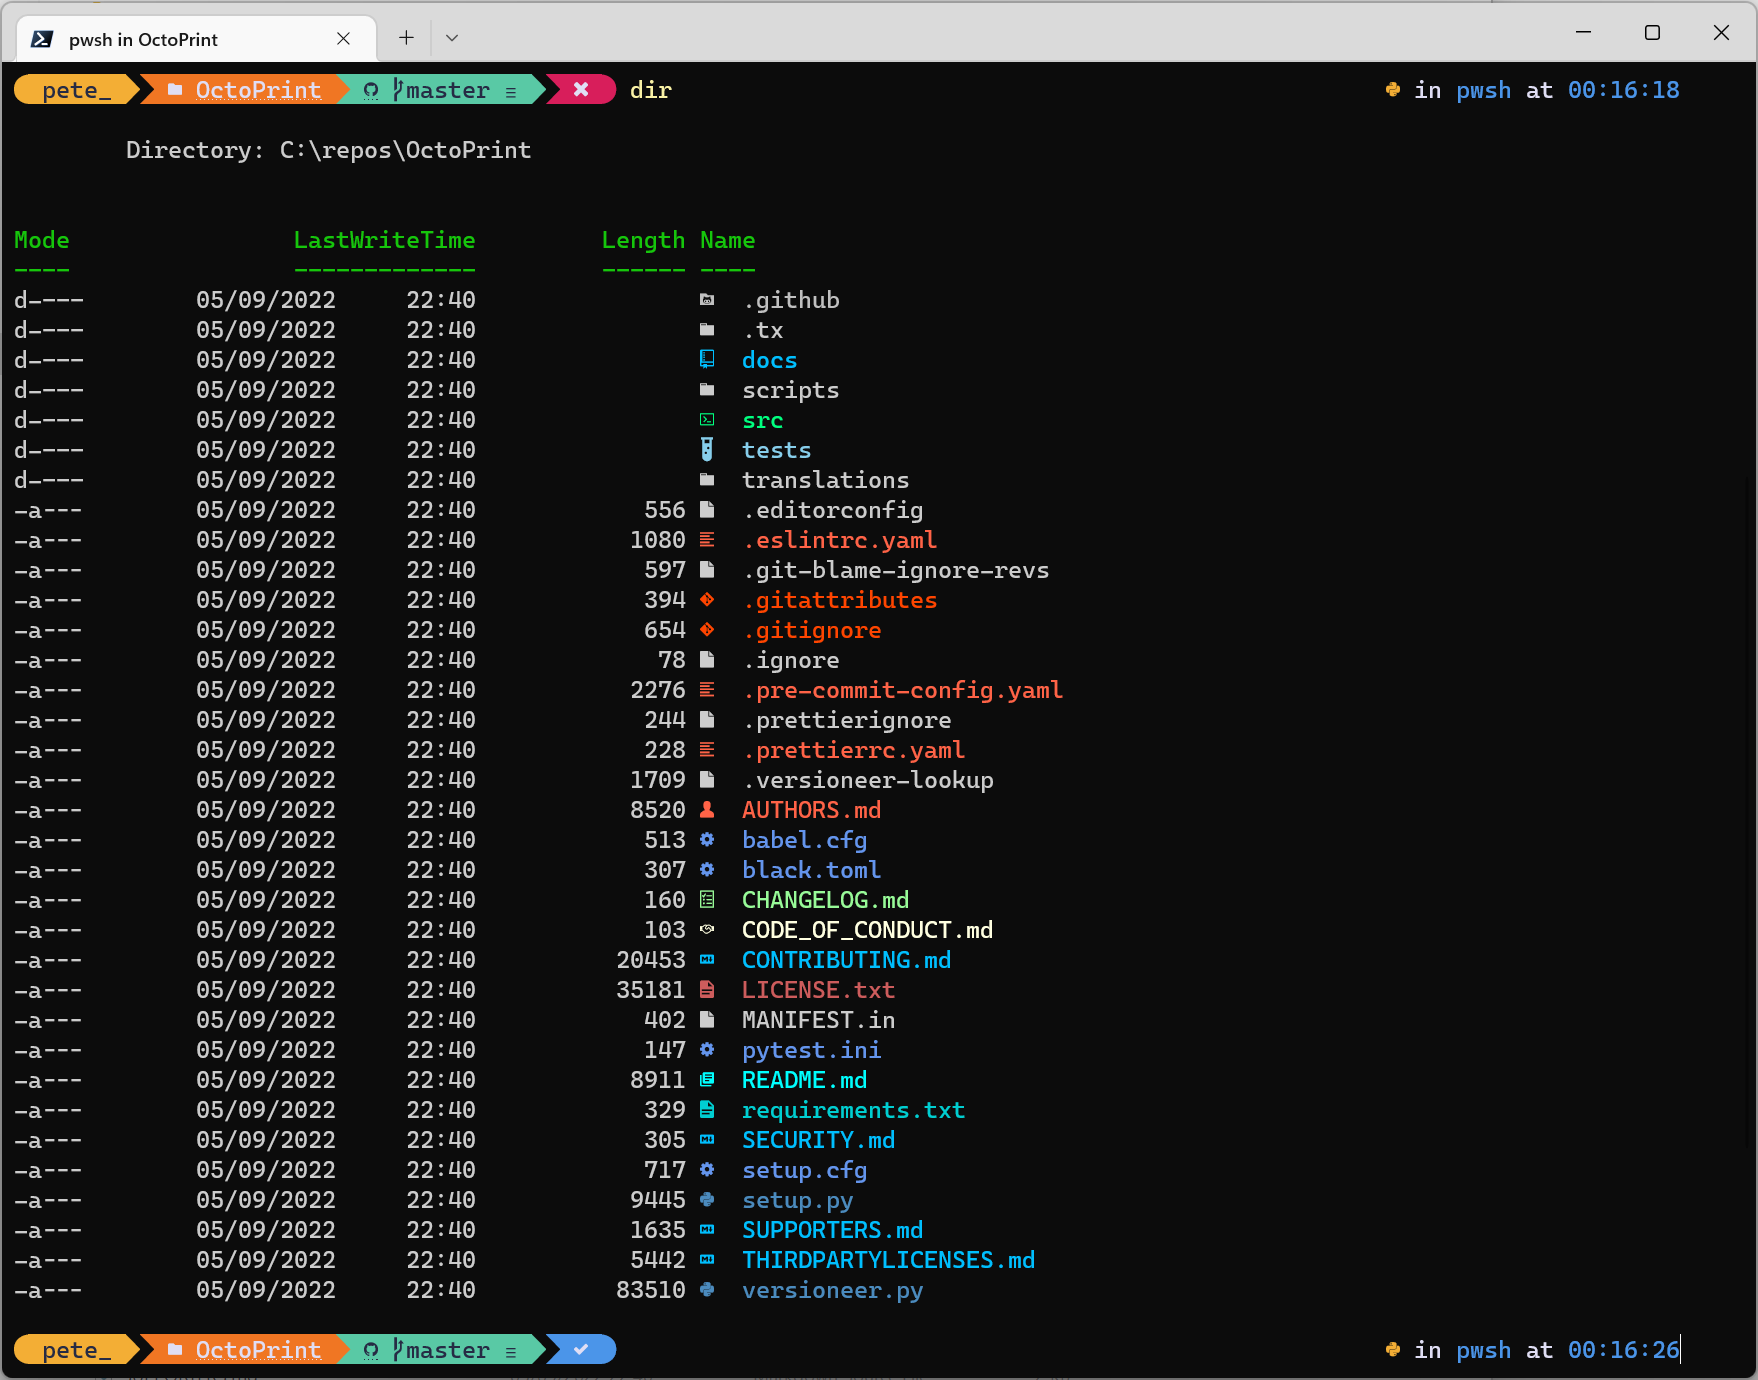
Navigating into the new OctoPrint directory, we can see our files are ready for us;
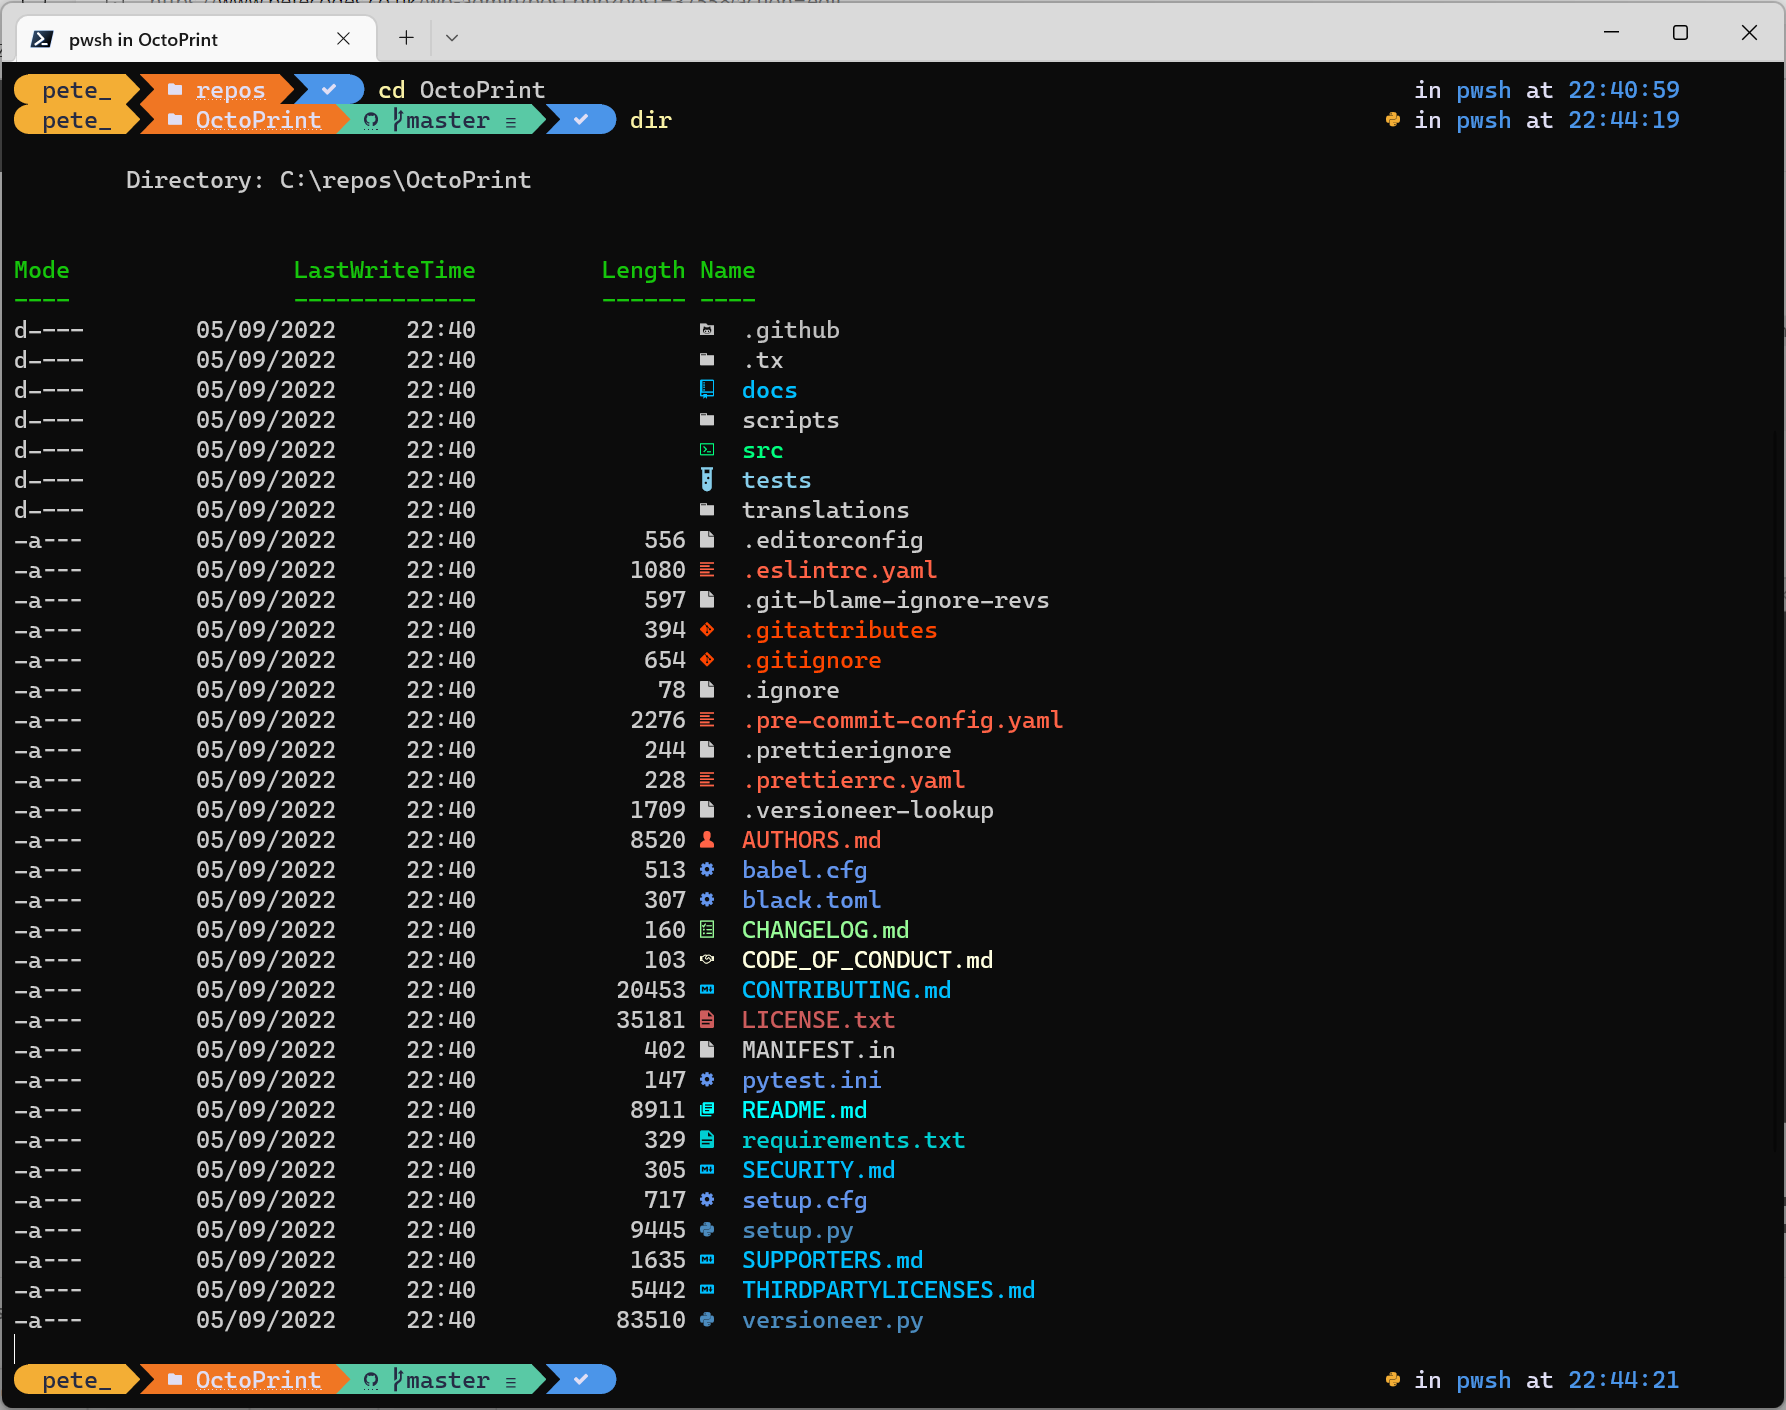
By the way, you may have noticed I’m using OhMyPosh here to give my terminal some context… I highly recommend it!
Creating and Activating a Virtual Environment
Next in the docs, we need to create and activate a virtual environment
Reading from the docs;
Creating virtual environments avoids potential versioning issues for the dependencies with system wide installed instances
To create and activate the virtual environment, we run the following commands from the OctoPrint directory;
virtualenv --python=python3 venv
source venv/Scripts/activate
Looking at the docs, it actually states that the source command is meant to be run in Git Bash;

I’m gunna see if this actually works in the regular Terminal, but I may live to regret it;
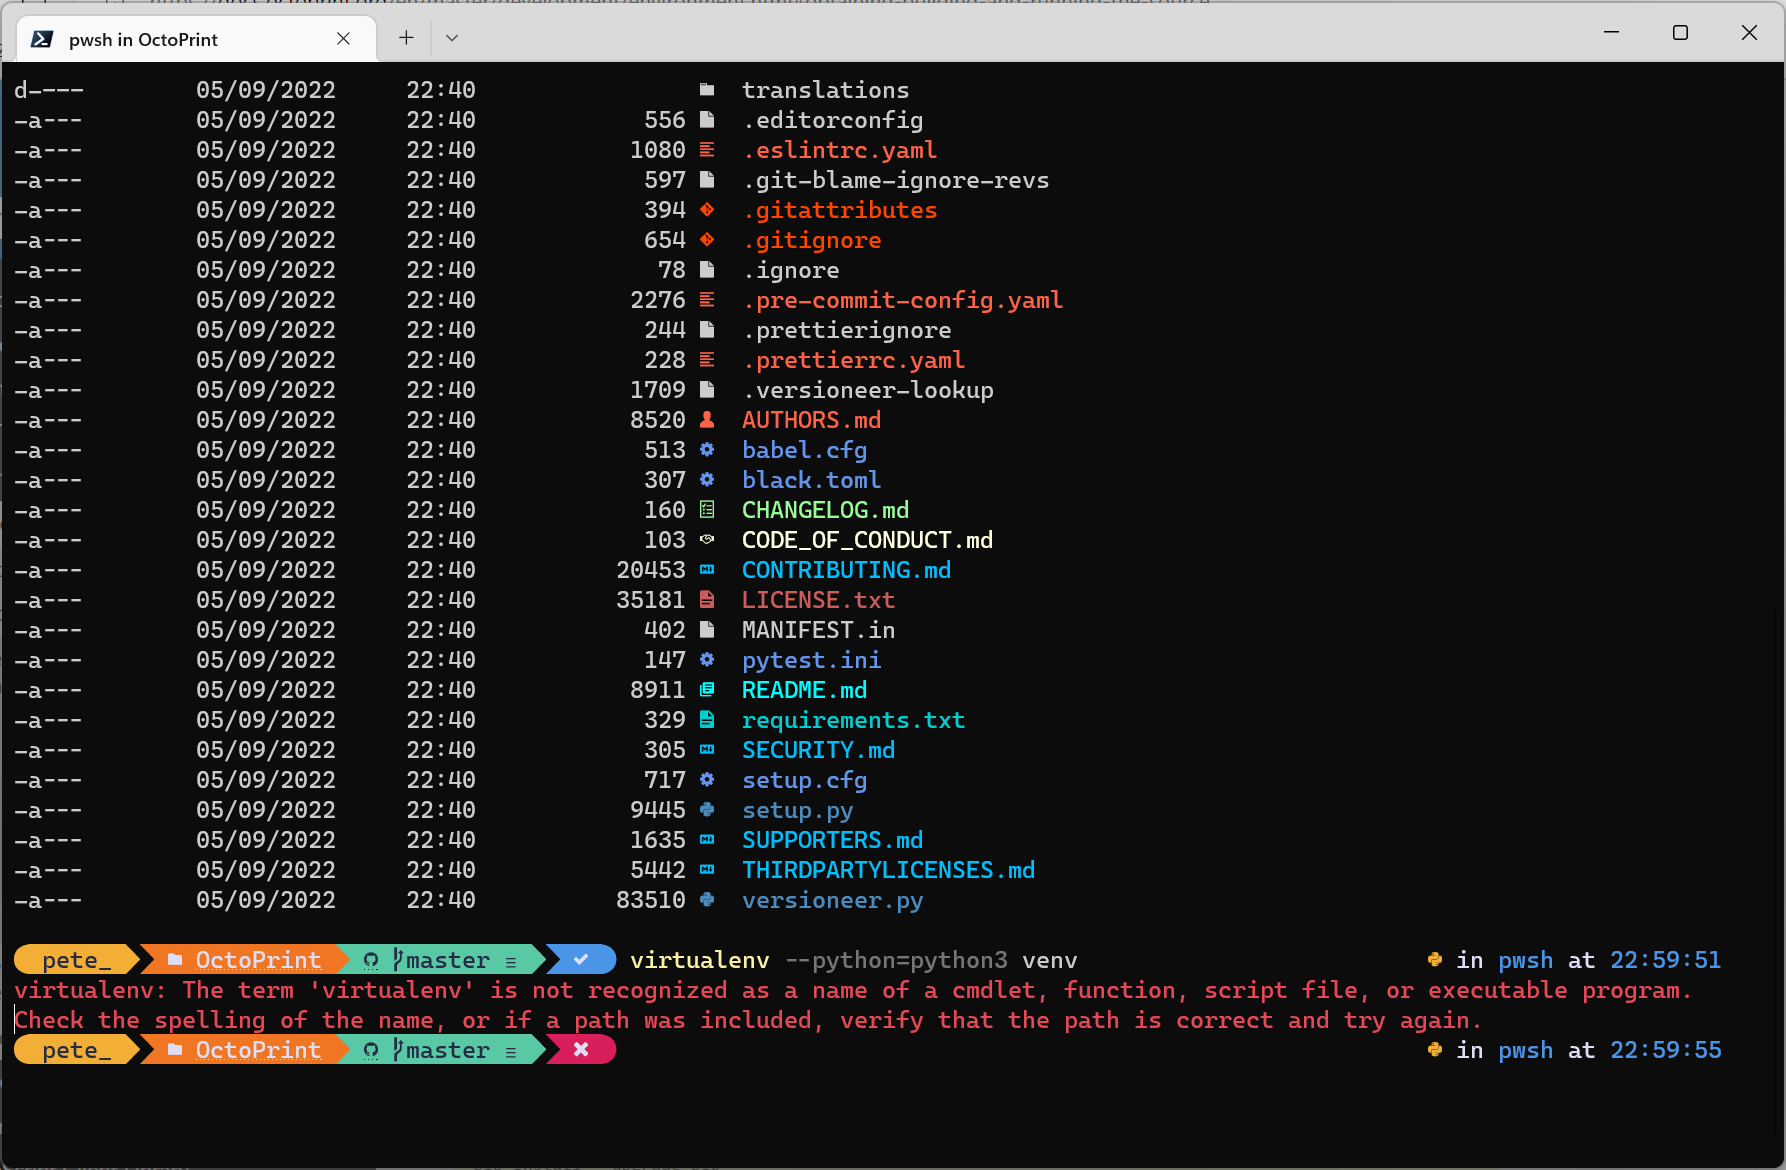
Ah, ok… So that didn’t work… The virtualenv command wasn’t found… Looking at the docs, it says the top section is general instructions, with the platform specific instructions being further down
So, scrolling down in the docs a little, we find the Windows Instructions;
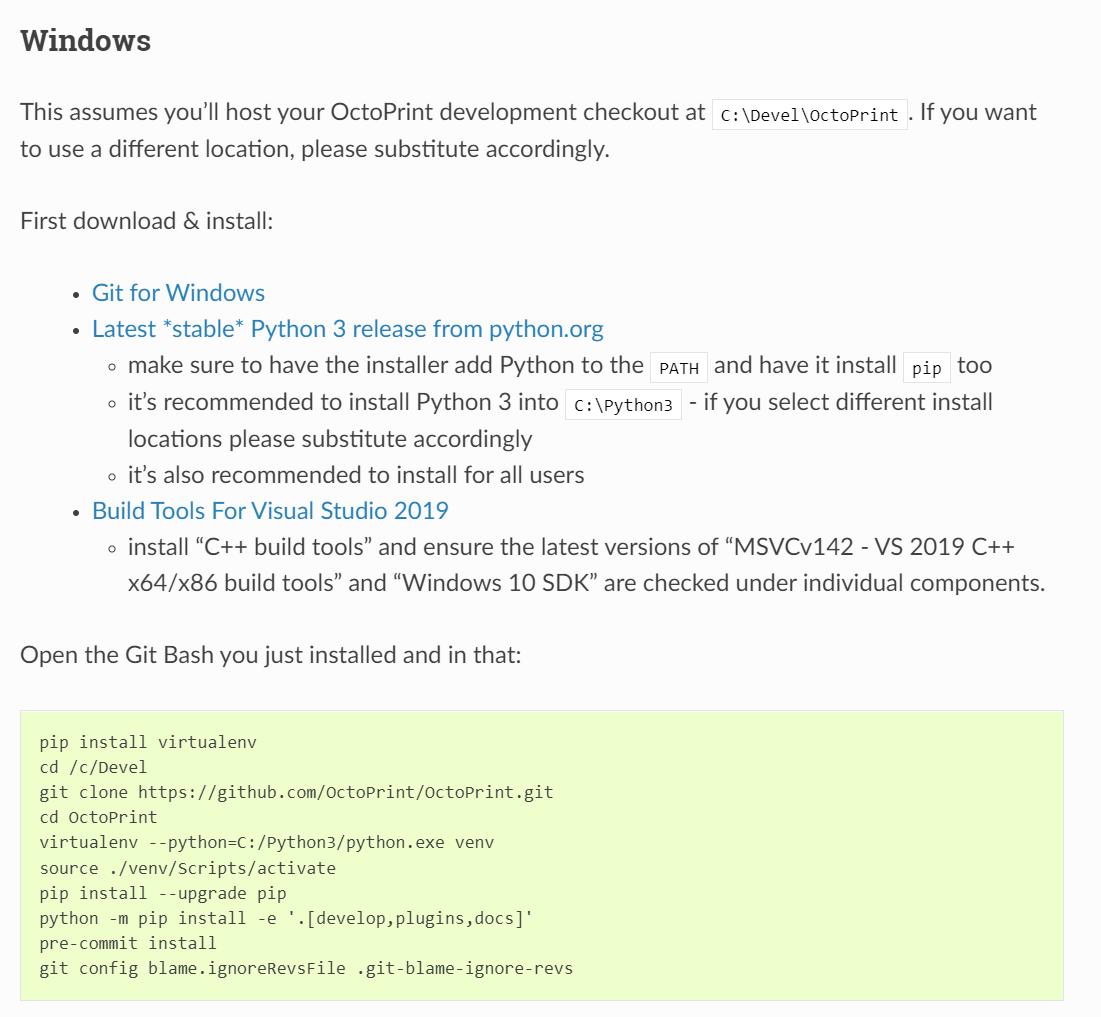
Build Tools for Visual Studio 2019
We can see we’re going to need the Build Tools for Visual Studio 2019 here too, so let’s get them downloaded.
Looking at the page were taken to, there’s nothing immediately obvious for the Build Tools;
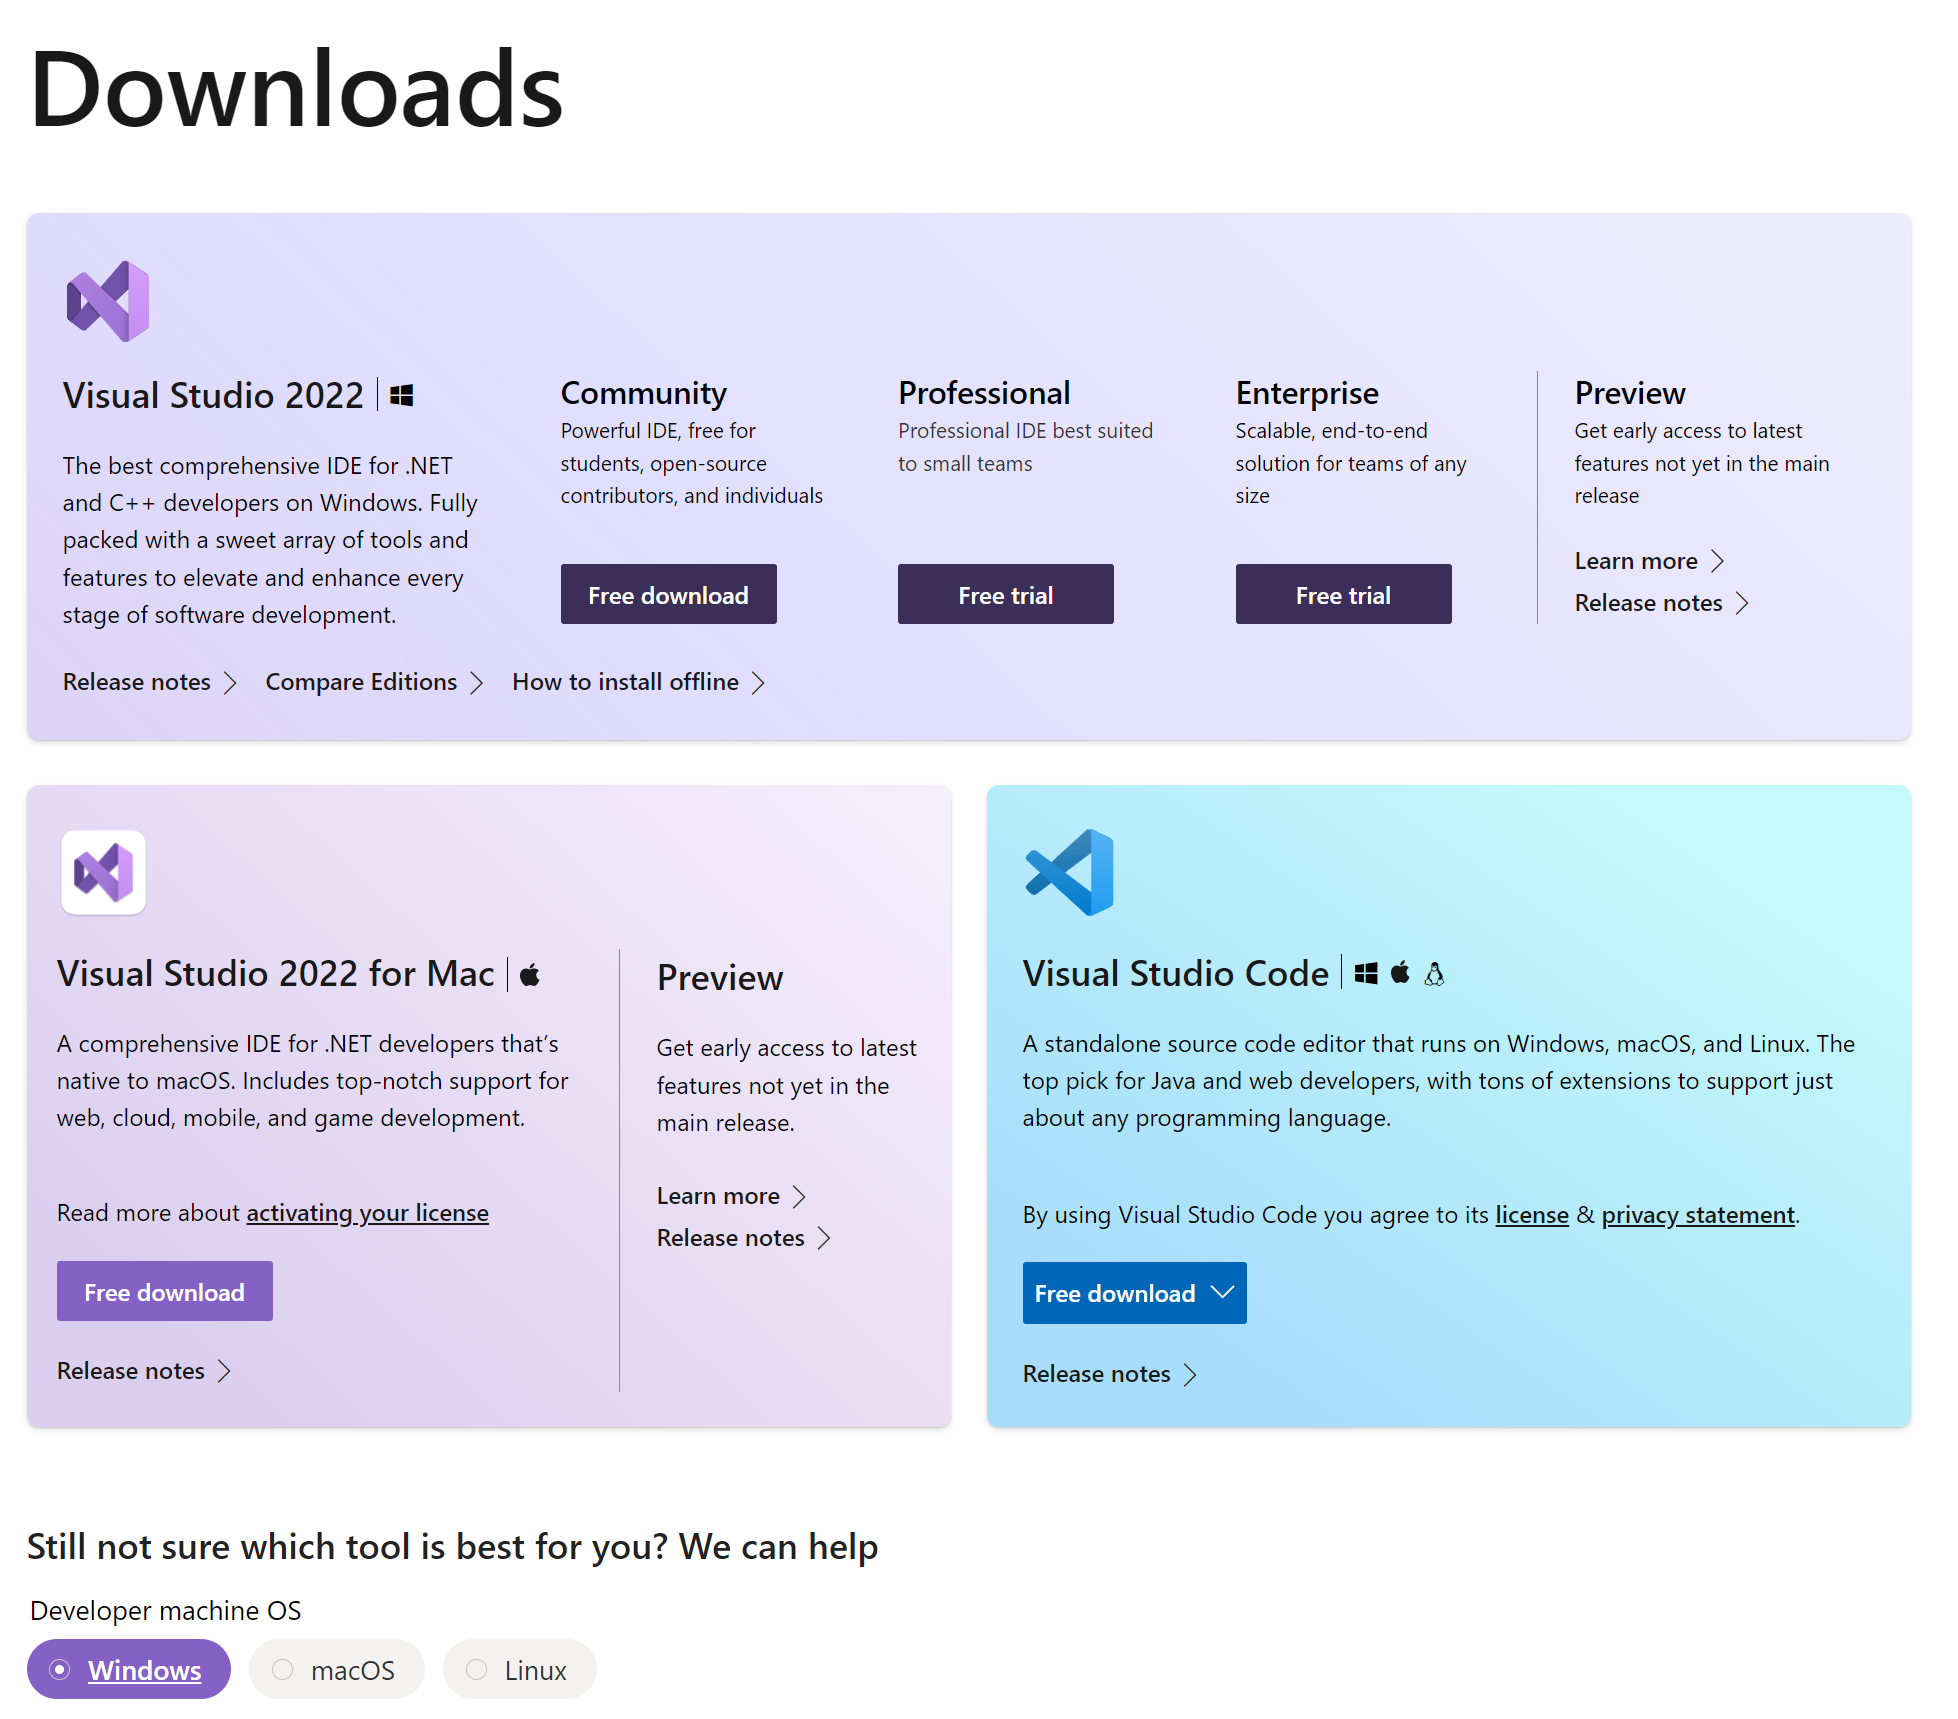
Scrolling down and expanding the Tools for Visual Studio section under All Downloads, we can see a “Build Tools for Visual Studio 2022” link;
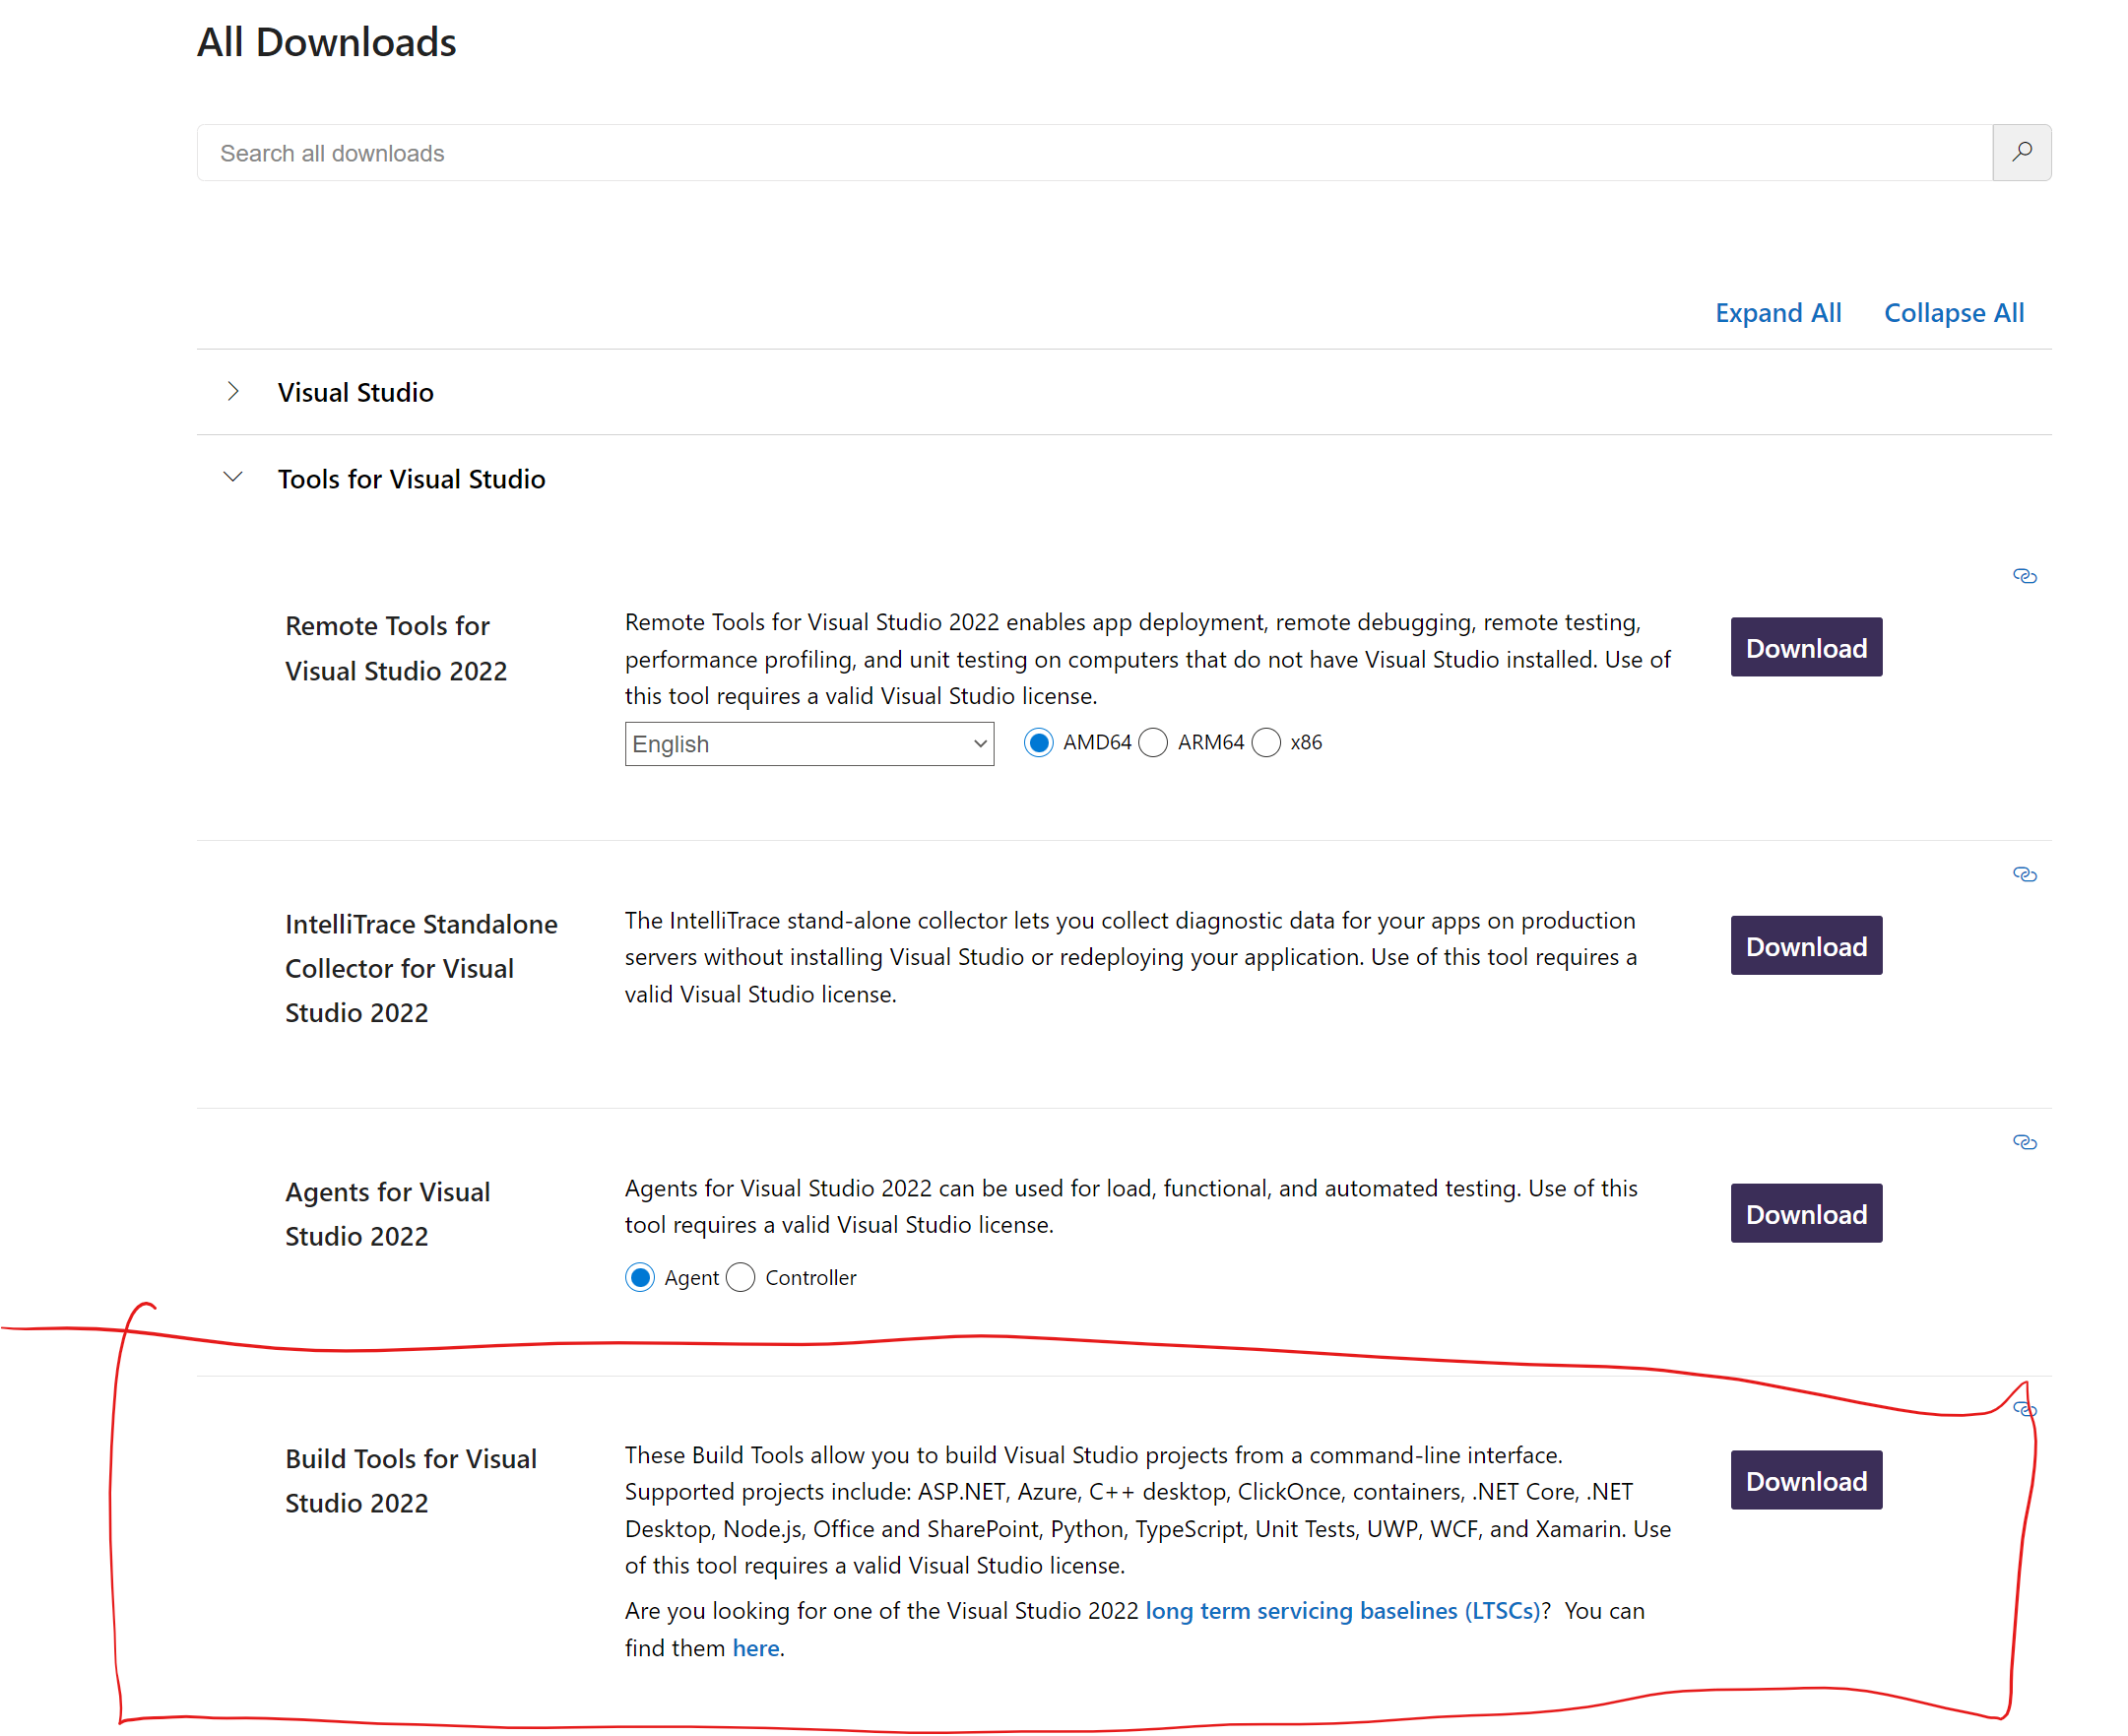
I wonder if this version will work just the same as the 2019 version?
I’m not going to risk it, so scrolling down a little further, there’s a link to Older Downloads;

Here, expanding the “2019” section, we can see we can download the Build Tools for Visual Studio 2019 still;
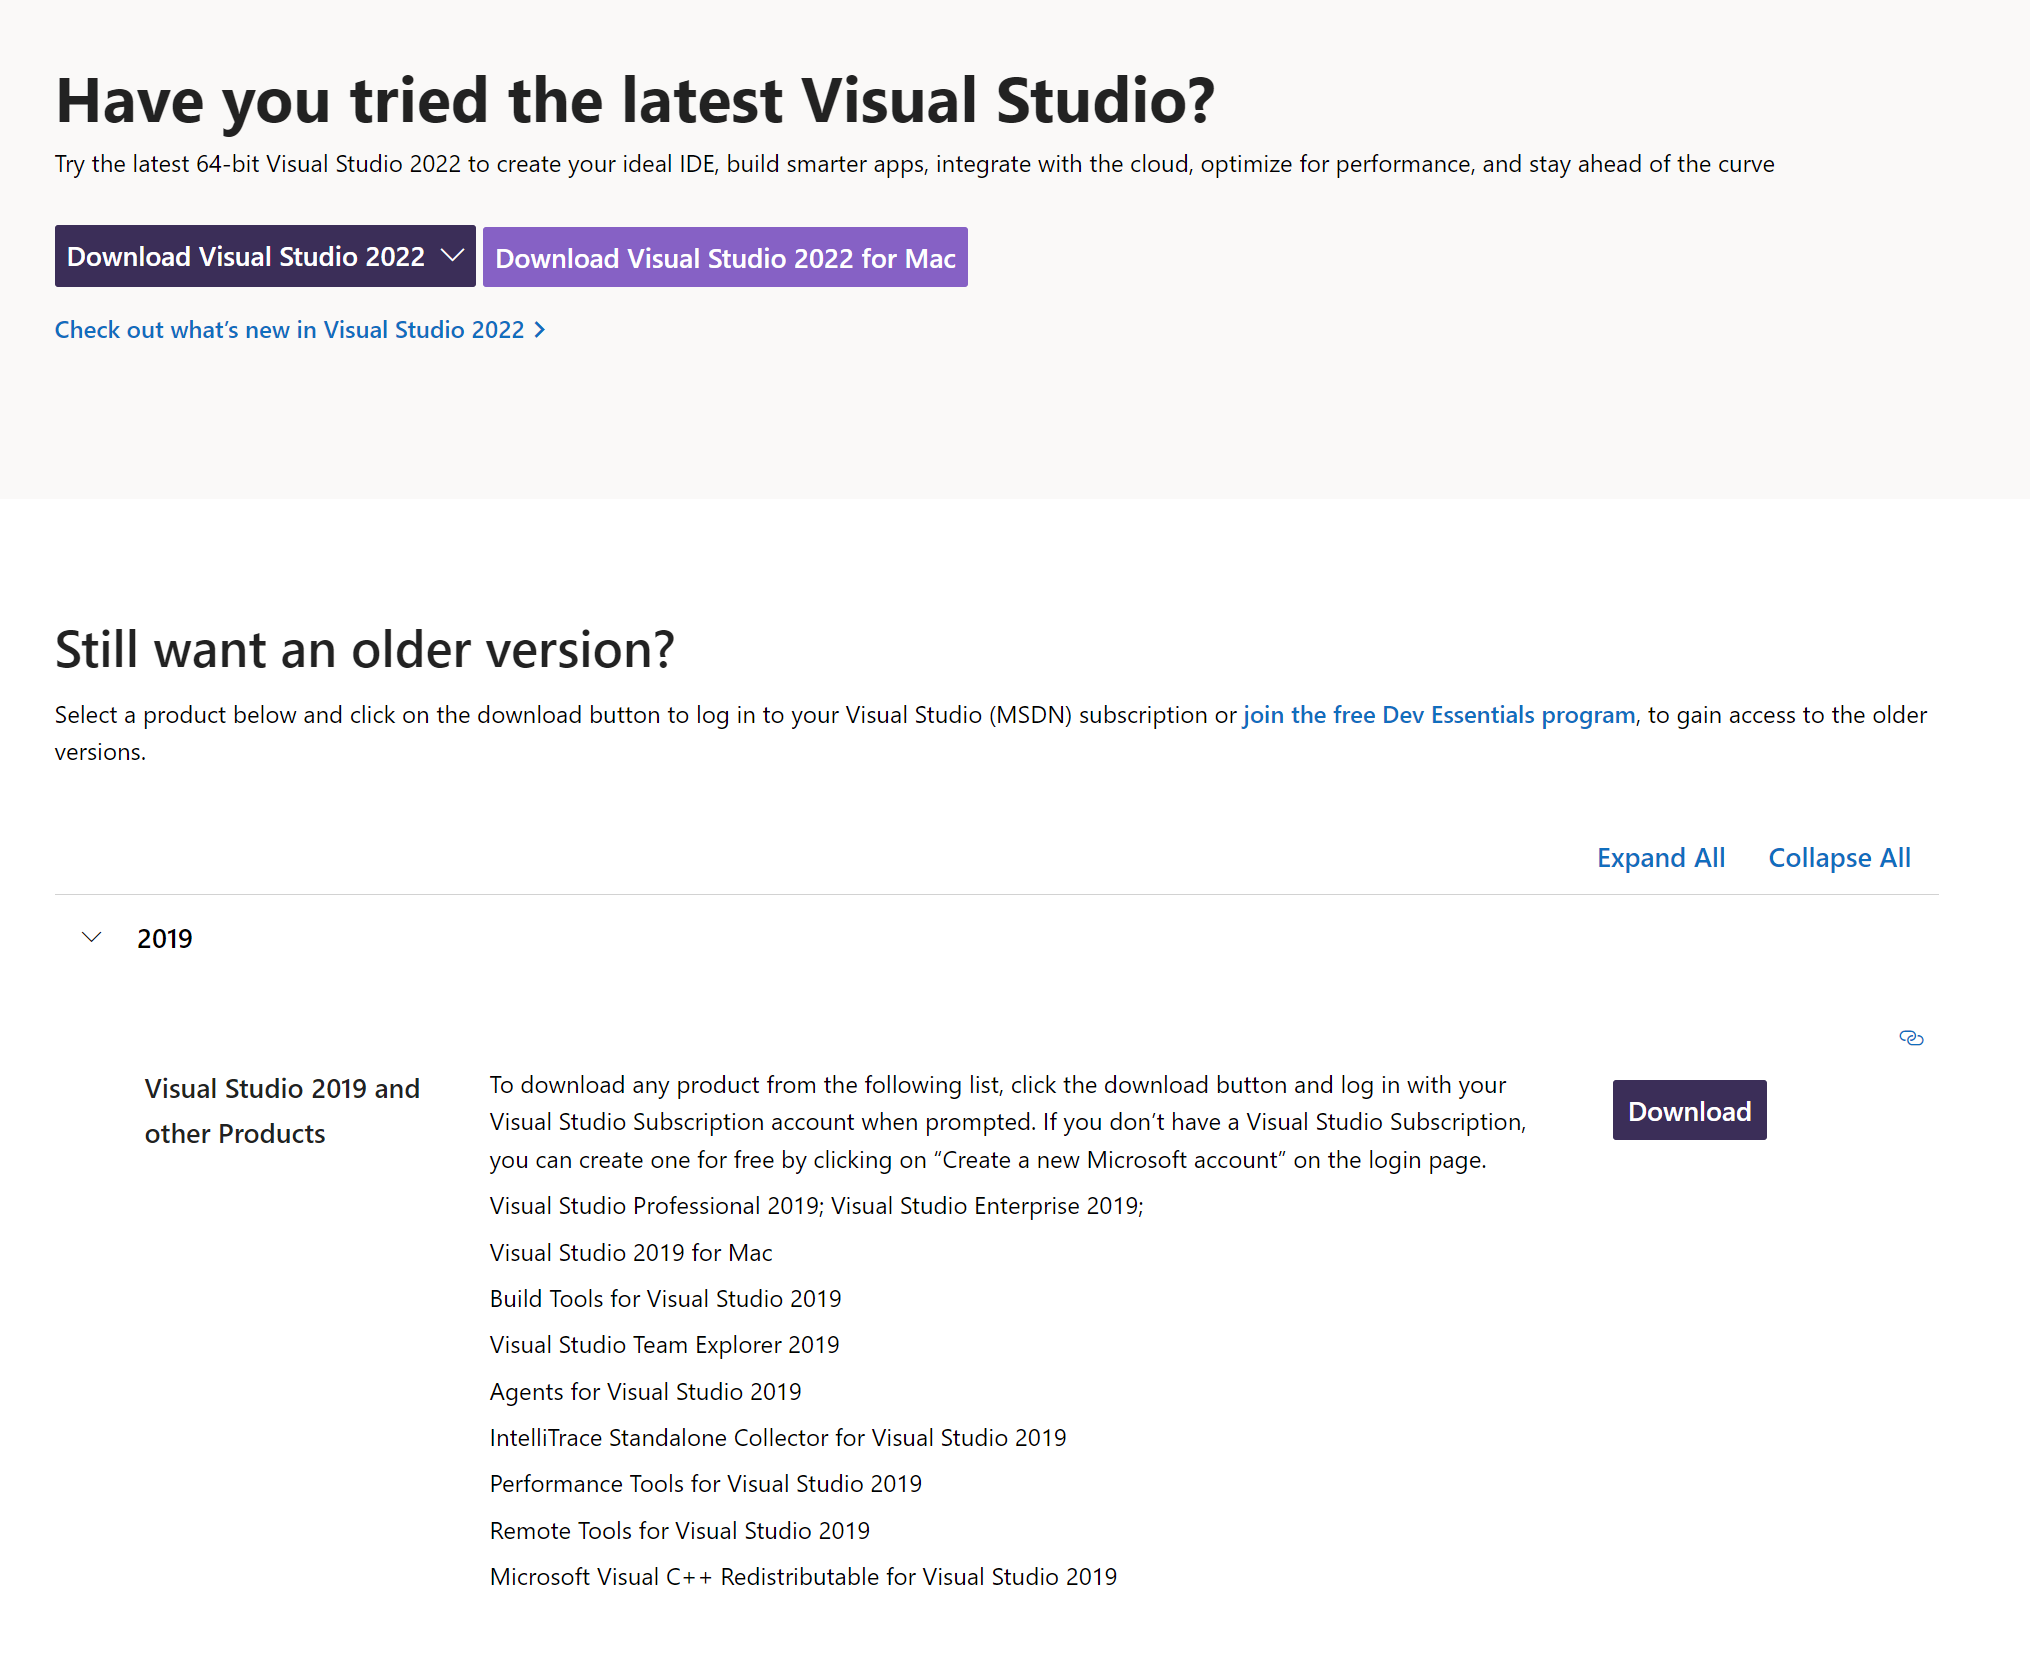
Clicking the Download link, we’re taken to my.visualstudio.com to download the file we need;

Clicking the download link next to the Build Tools, downloads the installer.
Let’s kick off the installation;
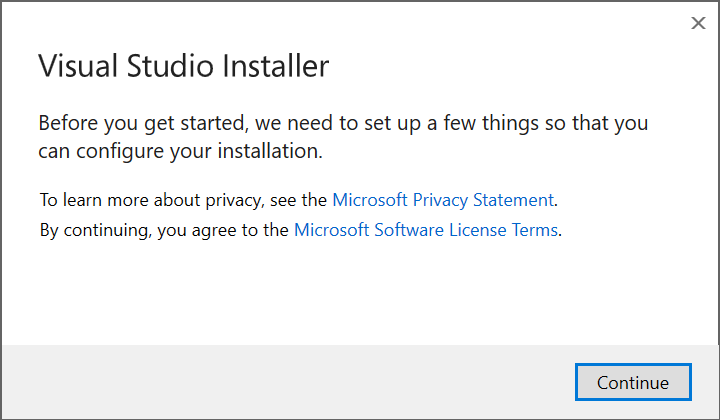
Clicking Continue begins the installation;
That was pretty quick… There’s a good chance I already had that installed.
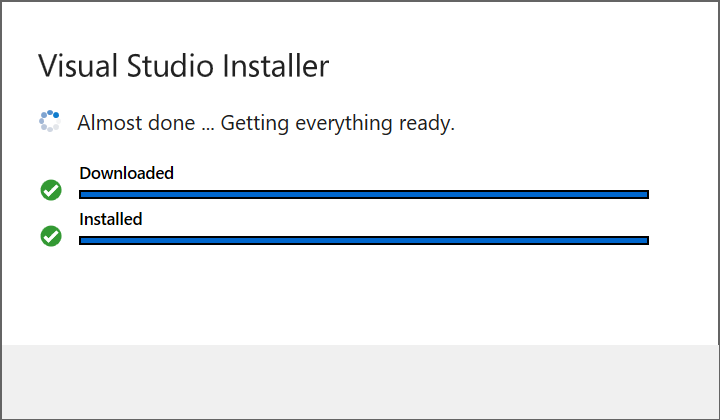
We’re now shown the Visual Studio installer where the installer is already setup to install the build tools by the looks of it;
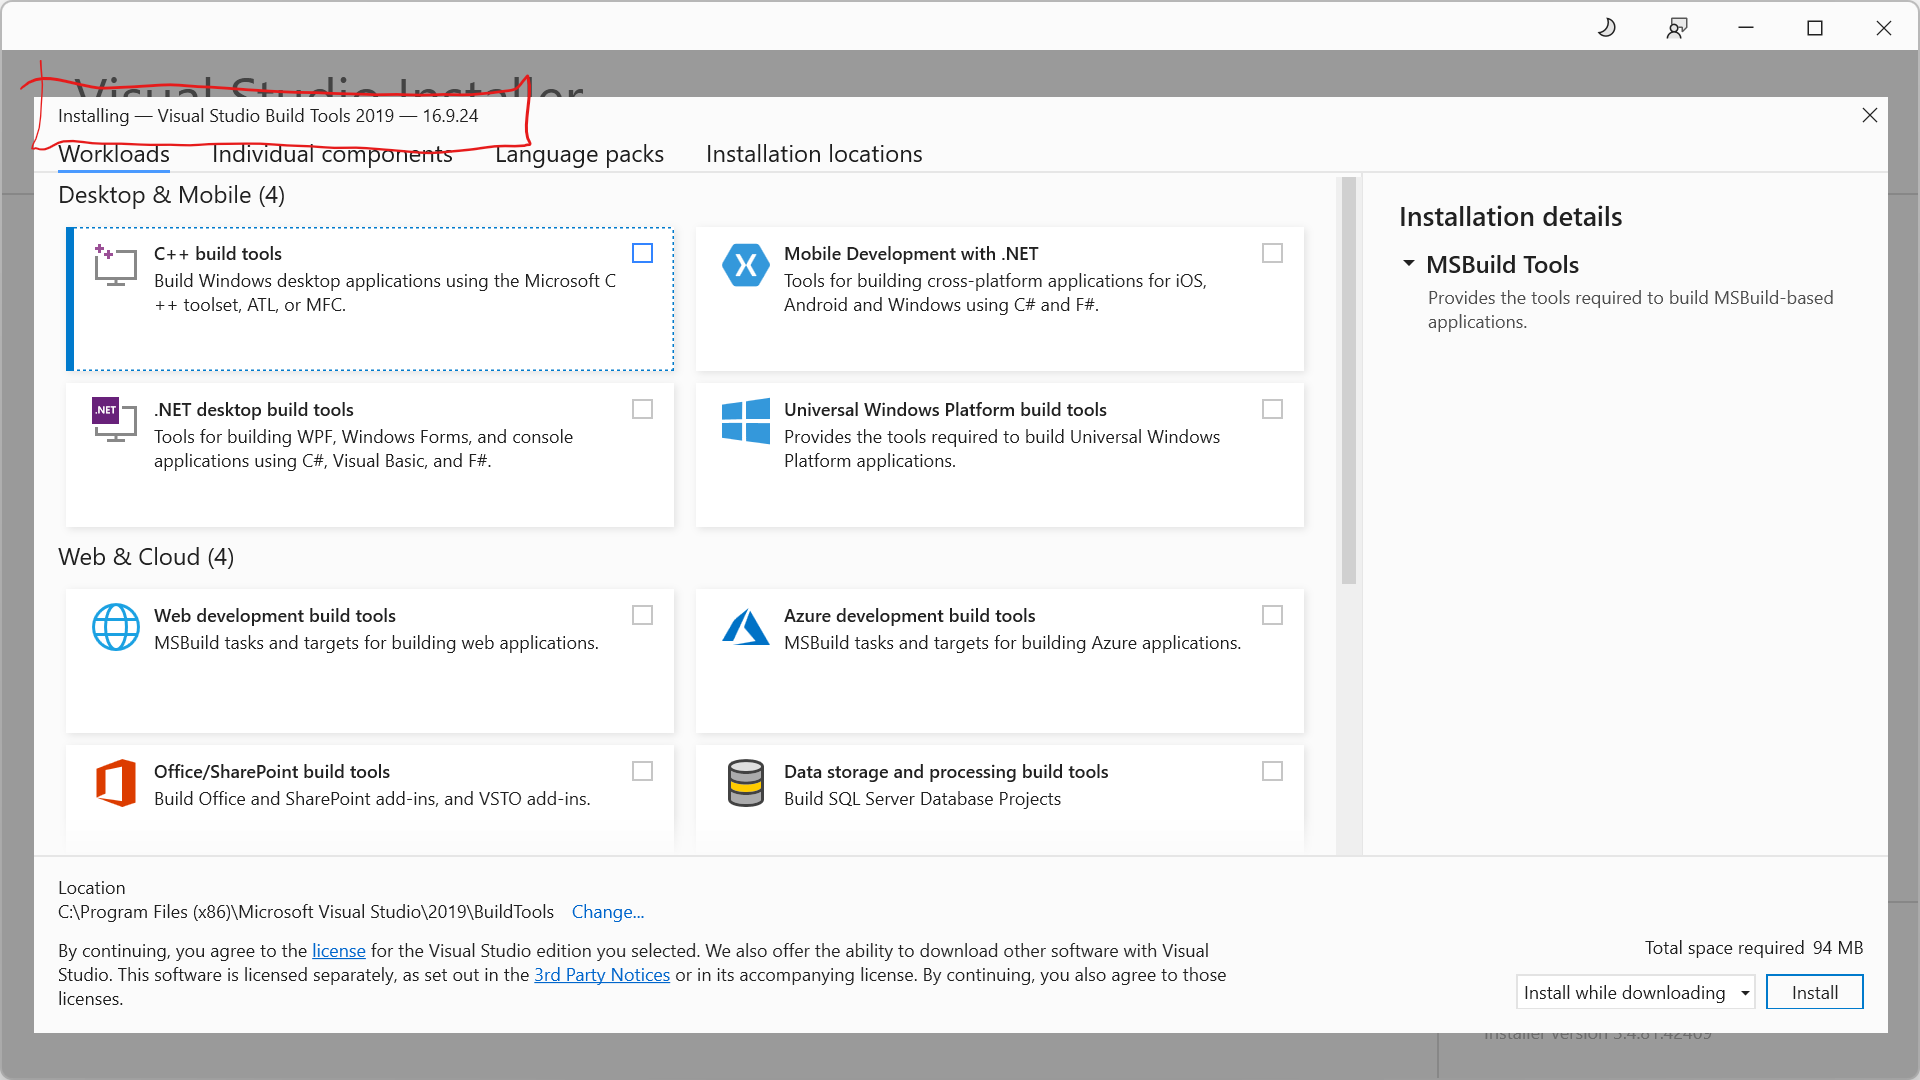
So we can go ahead and hit the “Install” button, which begins downloading and installing;
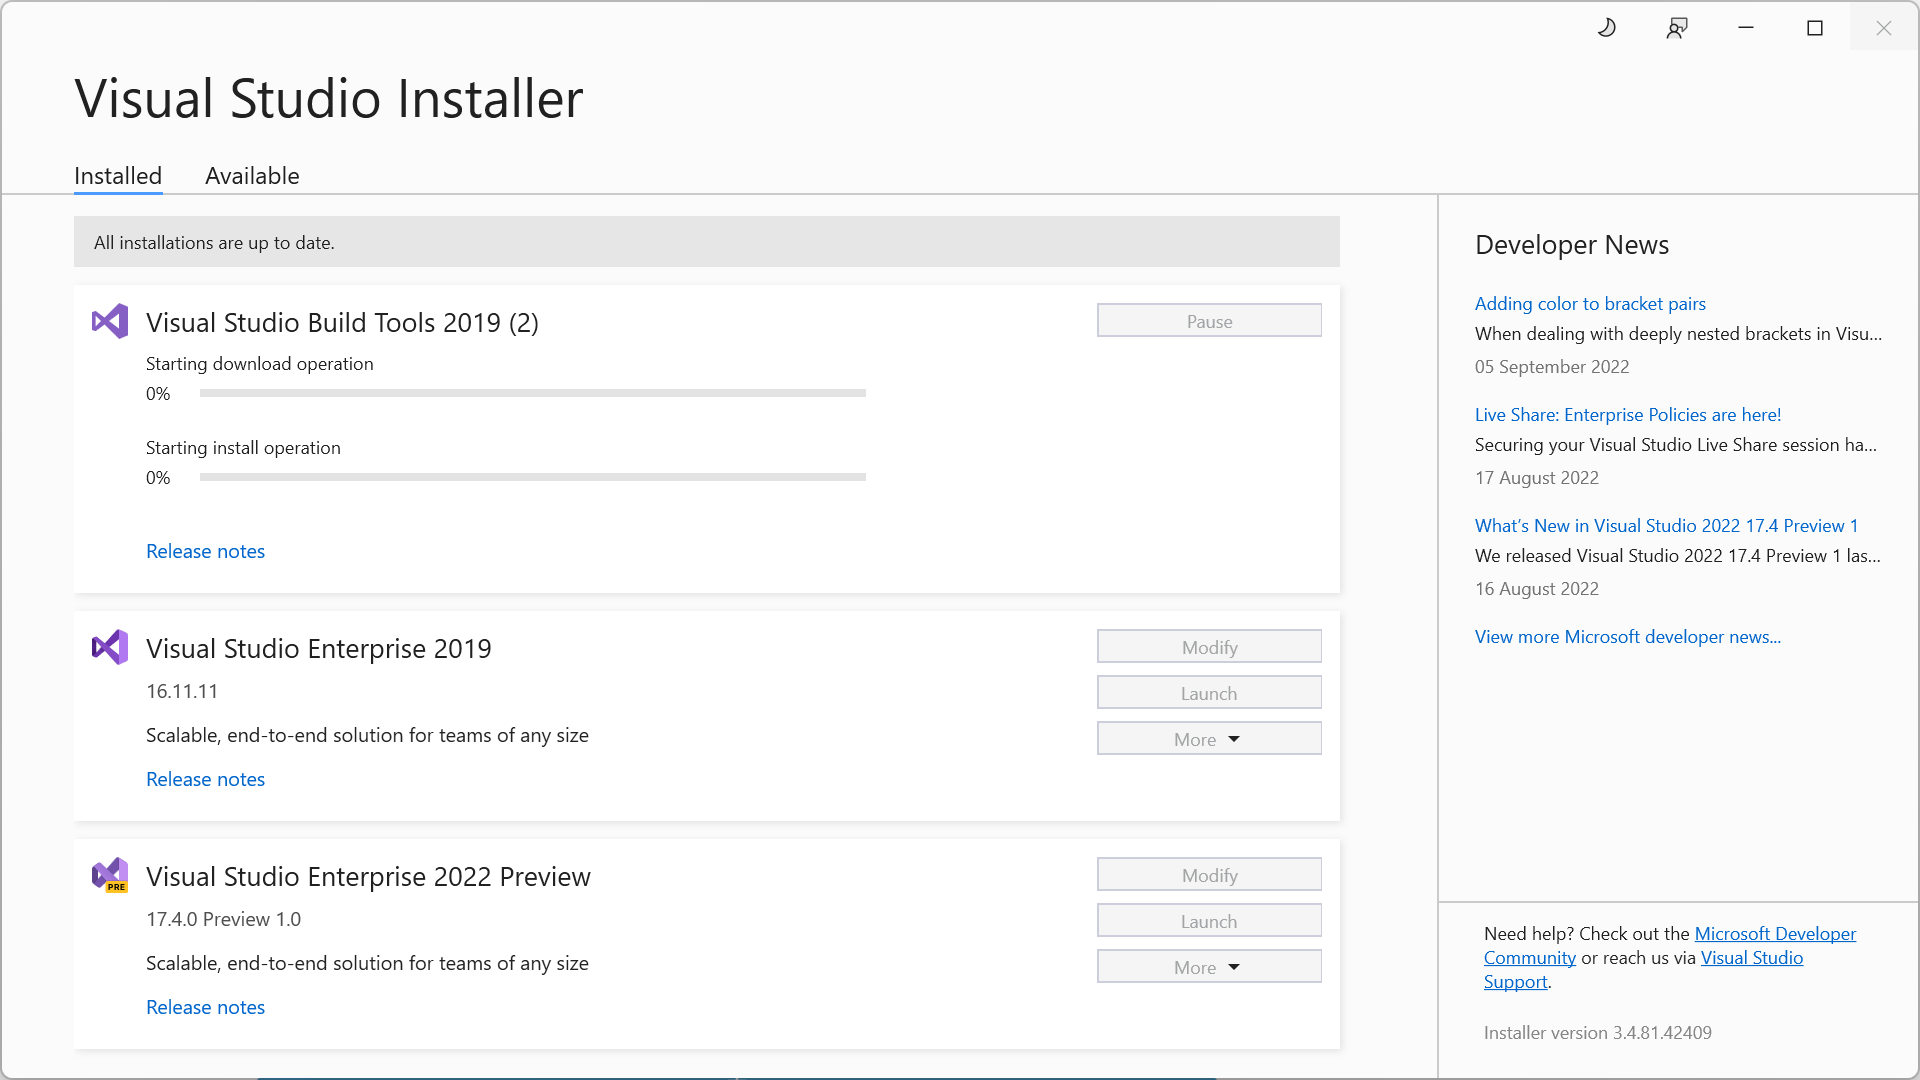
With that complete, we can see the Build Tools are installed;
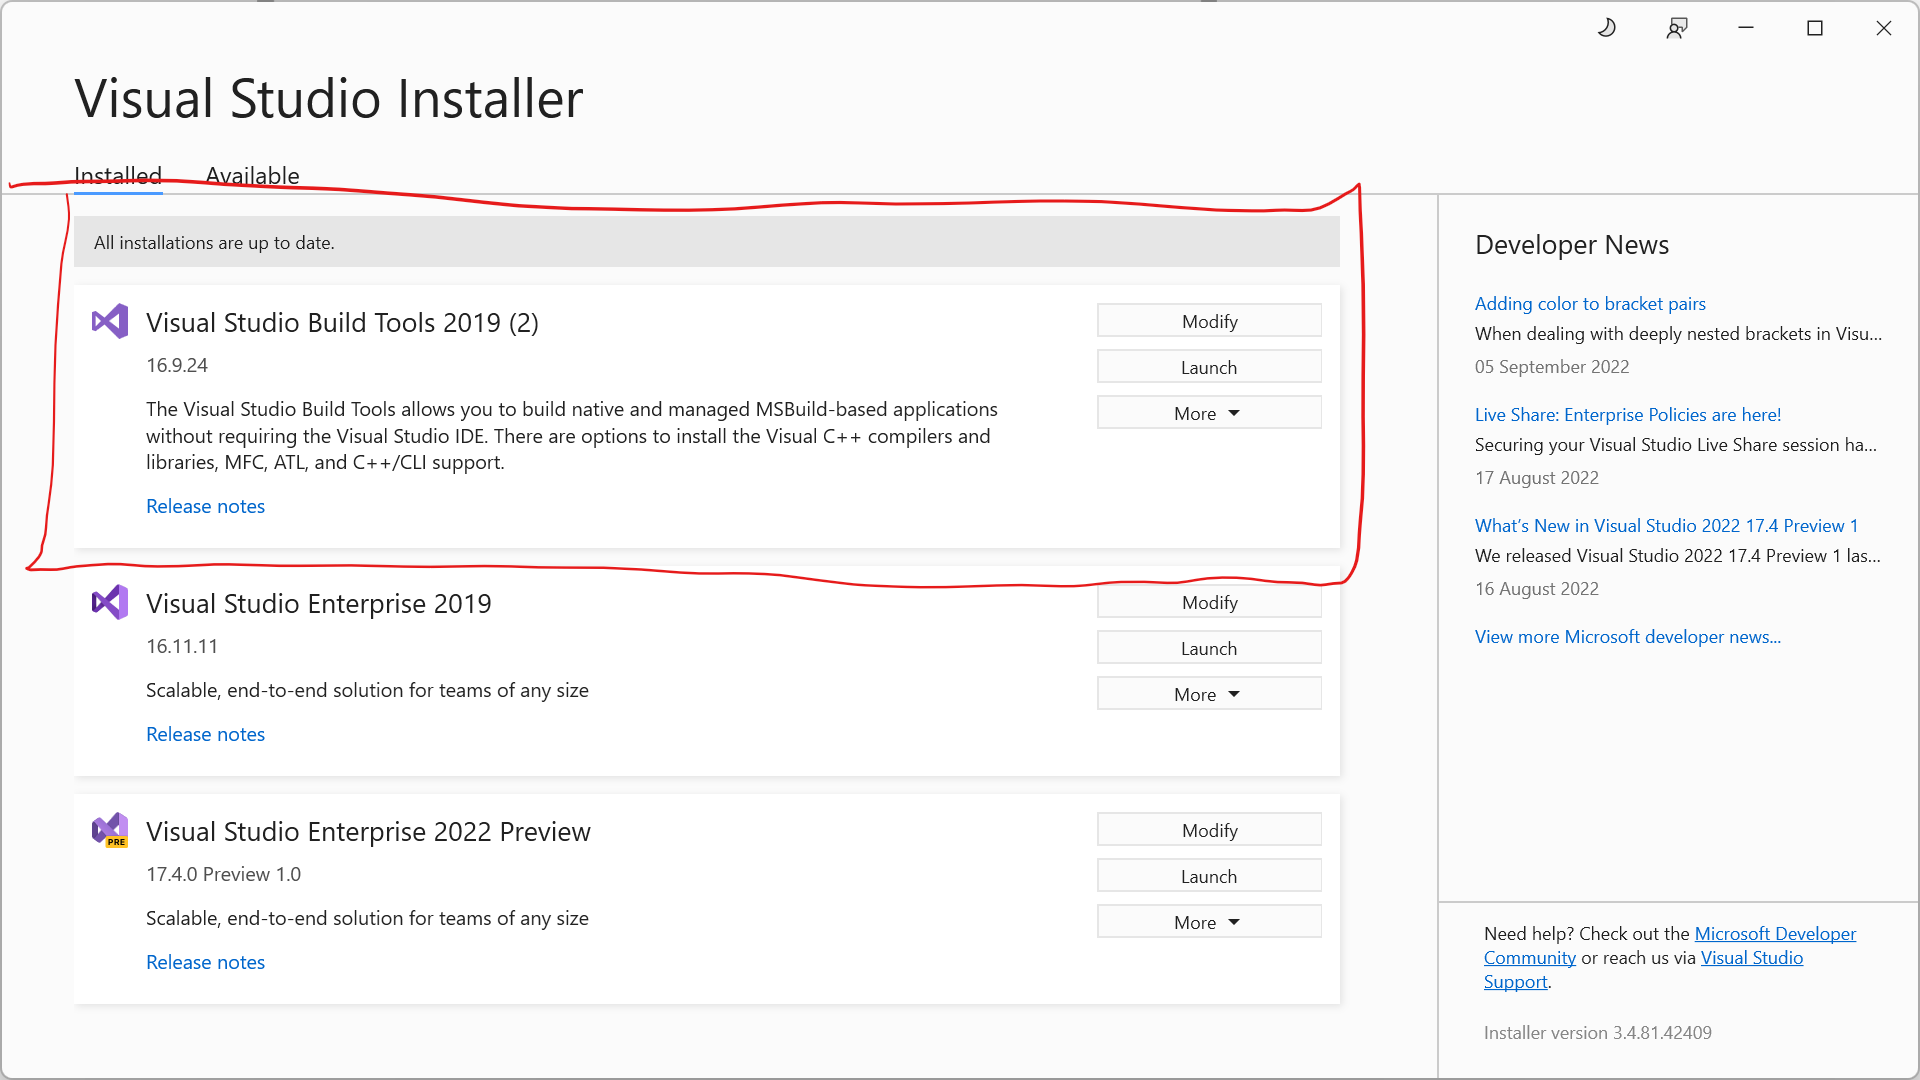
I’m not sure what the (2) signifies, apart from perhaps I already have it installed.
Setting up VirtualEnv
Closing the Installer and getting back to the Windows Instructions, the docs now call out;
Open the Git Bash you just installed and in that:
Where we need to run the following command;
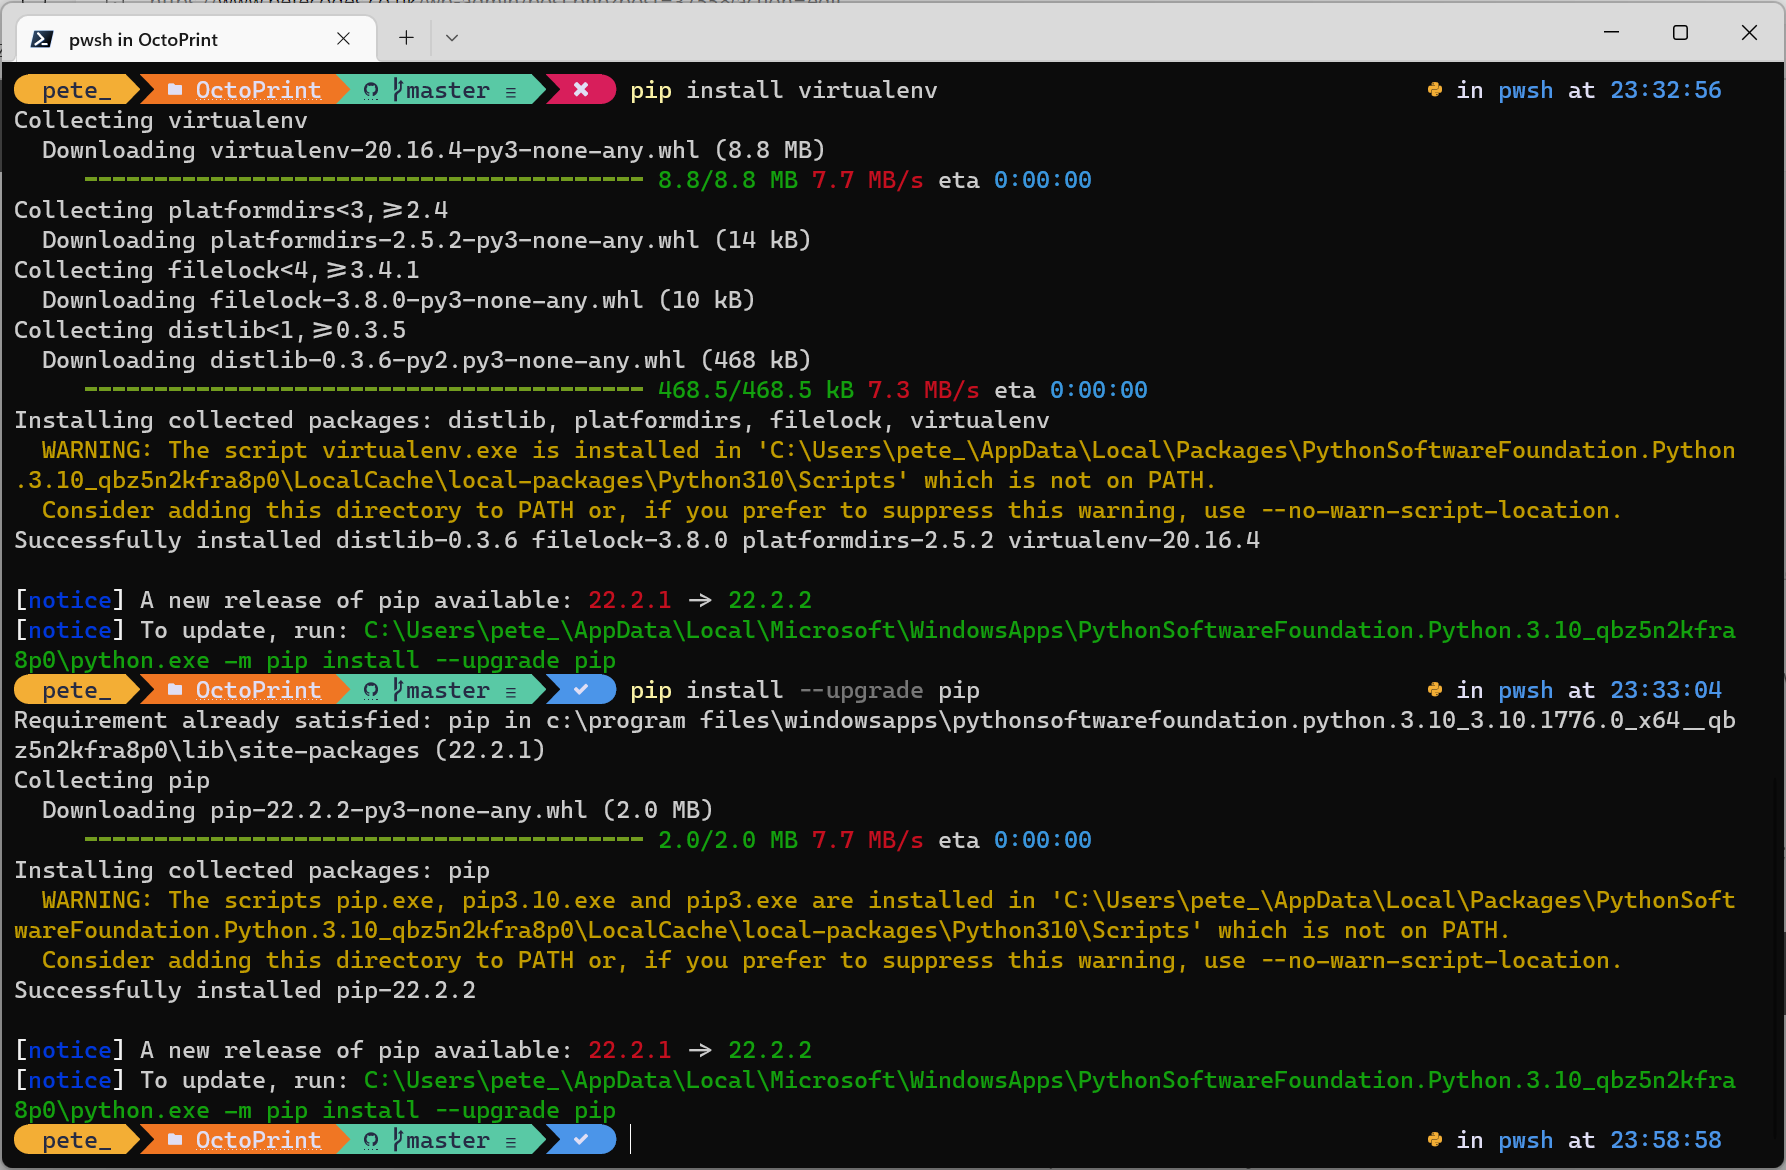
pip install virtualenvLet’s just see if this works in Terminal before I try that… Again, I may regret this;
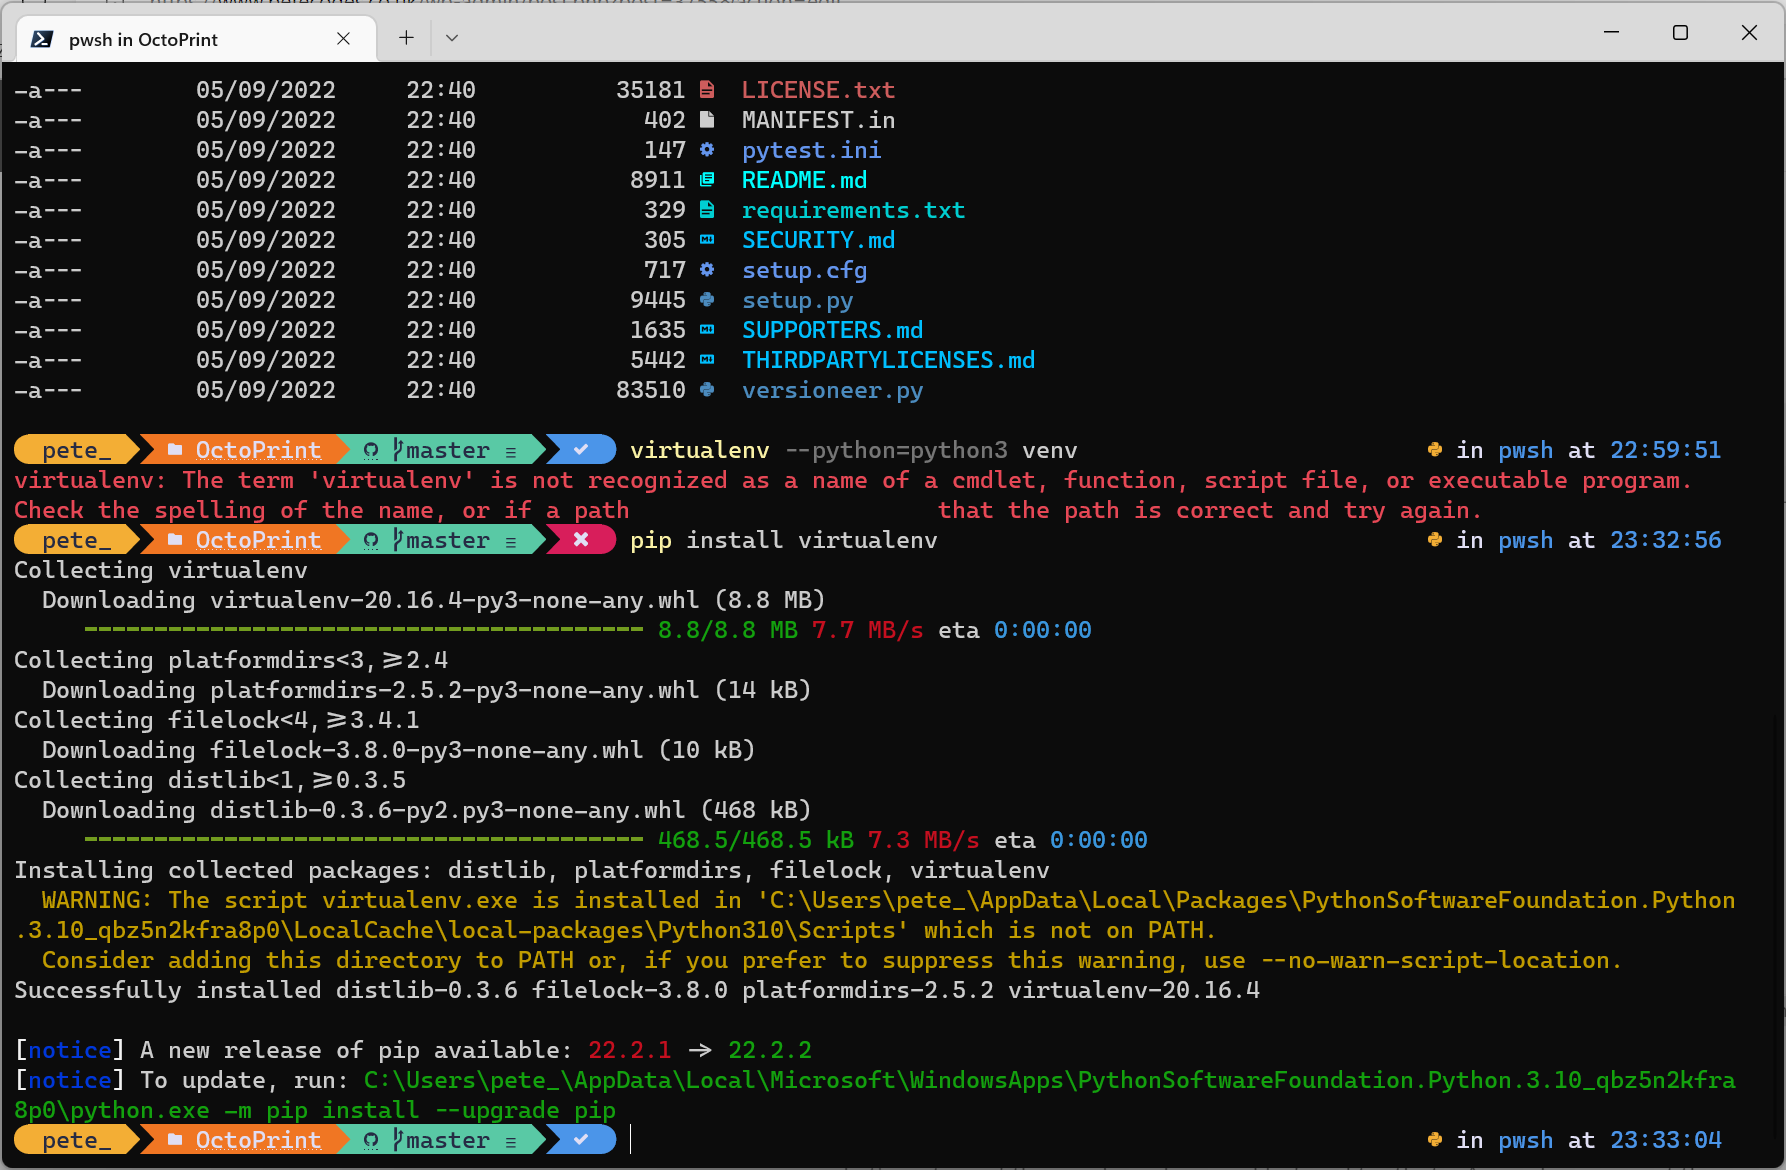
Well, that looked to run just fine, and we have VirtualEnv installed, but we do have a couple of things to see here…
Adding VirtualEnv to the Windows Path
Firstly, the installer has told us that virtualenv isn’t in our PATH, which might hinder it’s usage;
WARNING: The script virtualenv.exe is installed in ‘C:\Users\pete_\AppData\Local\Packages\PythonSoftwareFoundation.Python.3.10_qbz5n2kfra8p0\LocalCache\local-packages\Python310\Scripts’ which is not on PATH.
Consider adding this directory to PATH or, if you prefer to suppress this warning, use –no-warn-script-location.
So let’s remedy that by adding that to our PATH just to be sure… If we hit the Start button and type env;
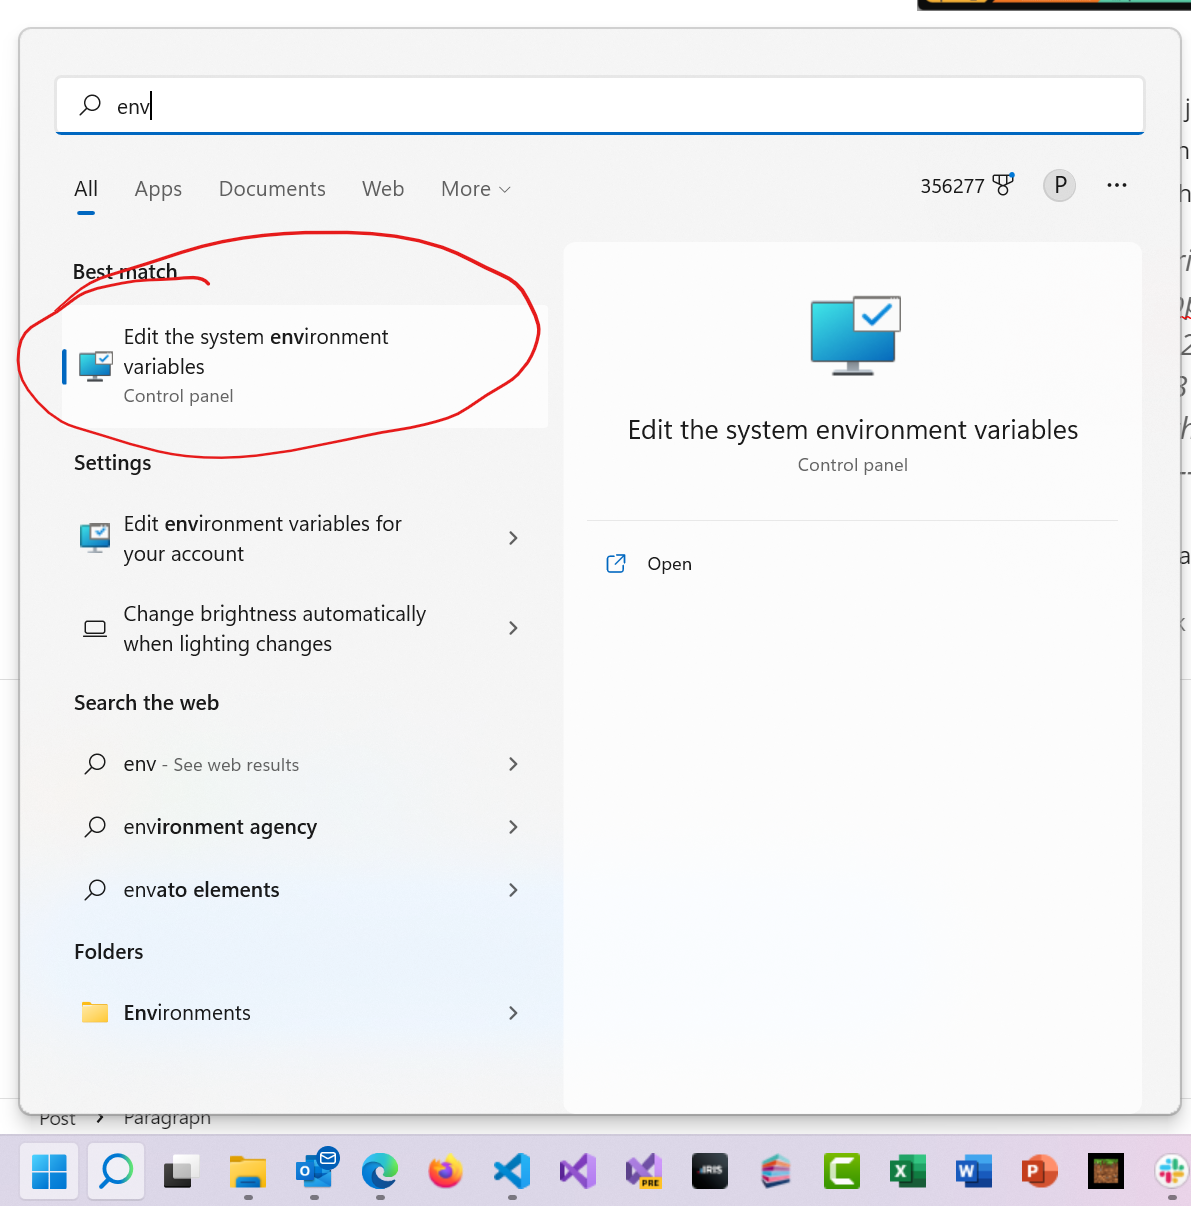
We can then open the System Properties app and hit the “Environment Variables” button;
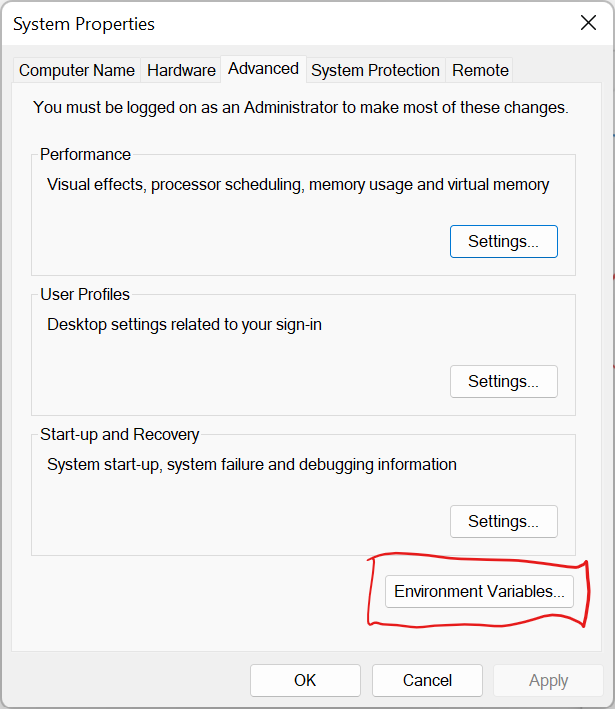
Here we can then see the Windows Environment Variables;
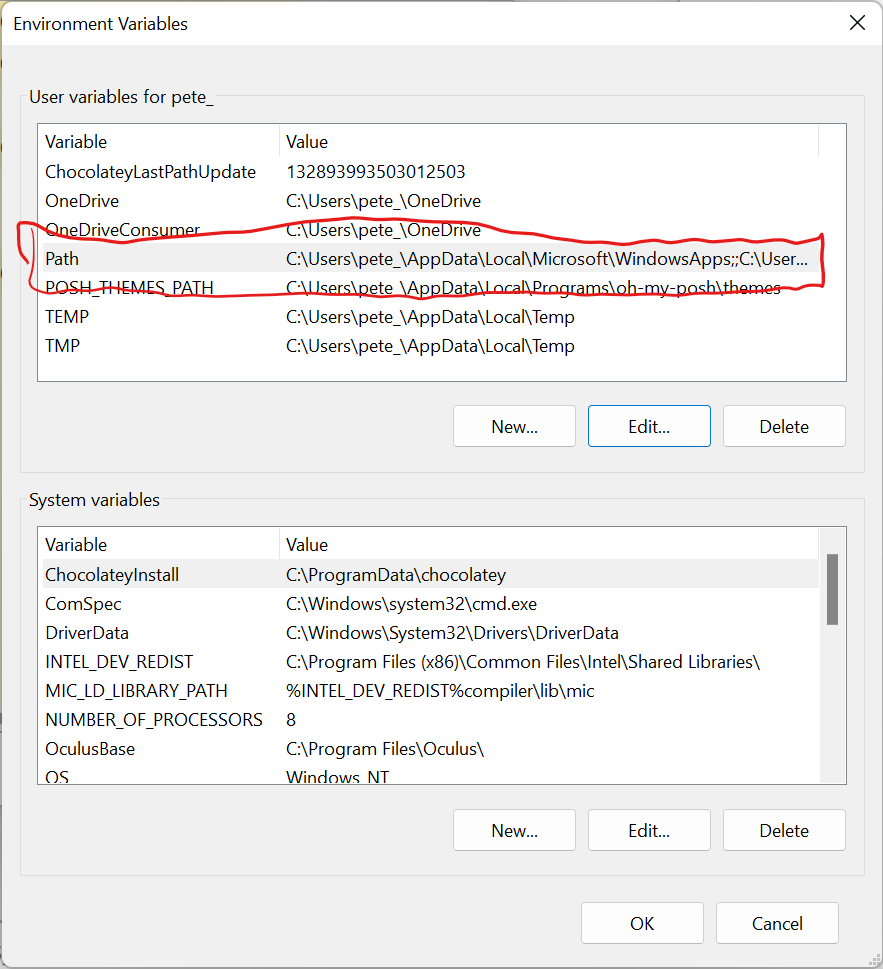
Double clicking on the “Path” item will allow us to add the path of the virtualenv command by hitting the “New” button, pasting in our path from above and hitting the OK button;
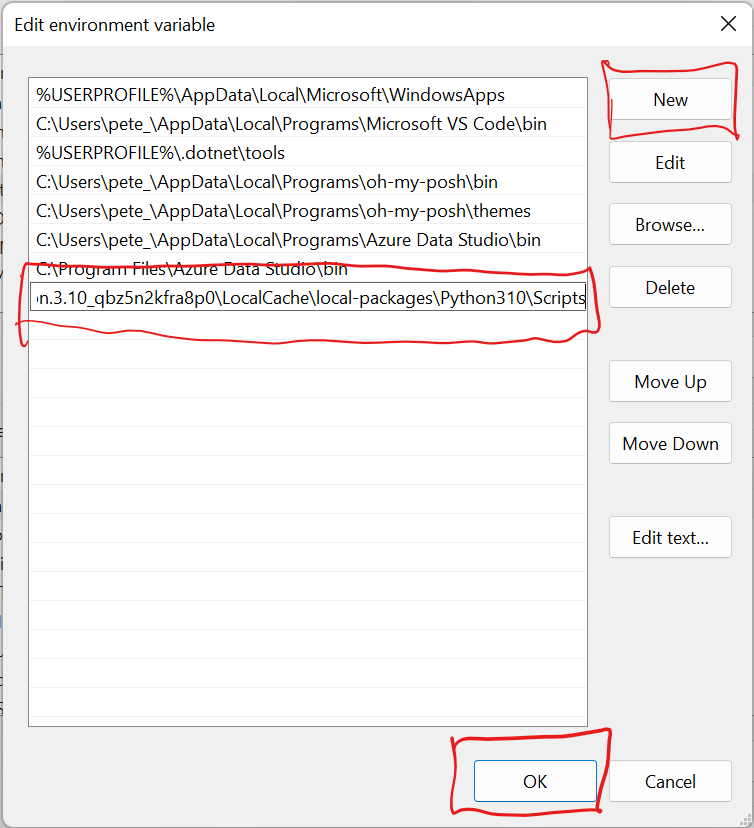
We can then ok the Environment Variables Dialog and the System properties Window to clear all of that of the screen.
Upgrading Pip
Next up we can see we need to upgrade our version of Pip as it’s already out of date;

So let’s go ahead and run the command to upgrade Pip… I get the feeling that I can miss out all of the path etc so let’s try it like this;
pip install --upgrade pipRunning that command tells us that we still have the same version of pip installed;
Now, is this because I didn’t use the full command, or because I need to close this Terminal Window and open a new one?
Let’s take a copy of the full command just in case, close this Terminal Window, open a new one, navigate back to our OctoPrint repo directory and check our pip version;
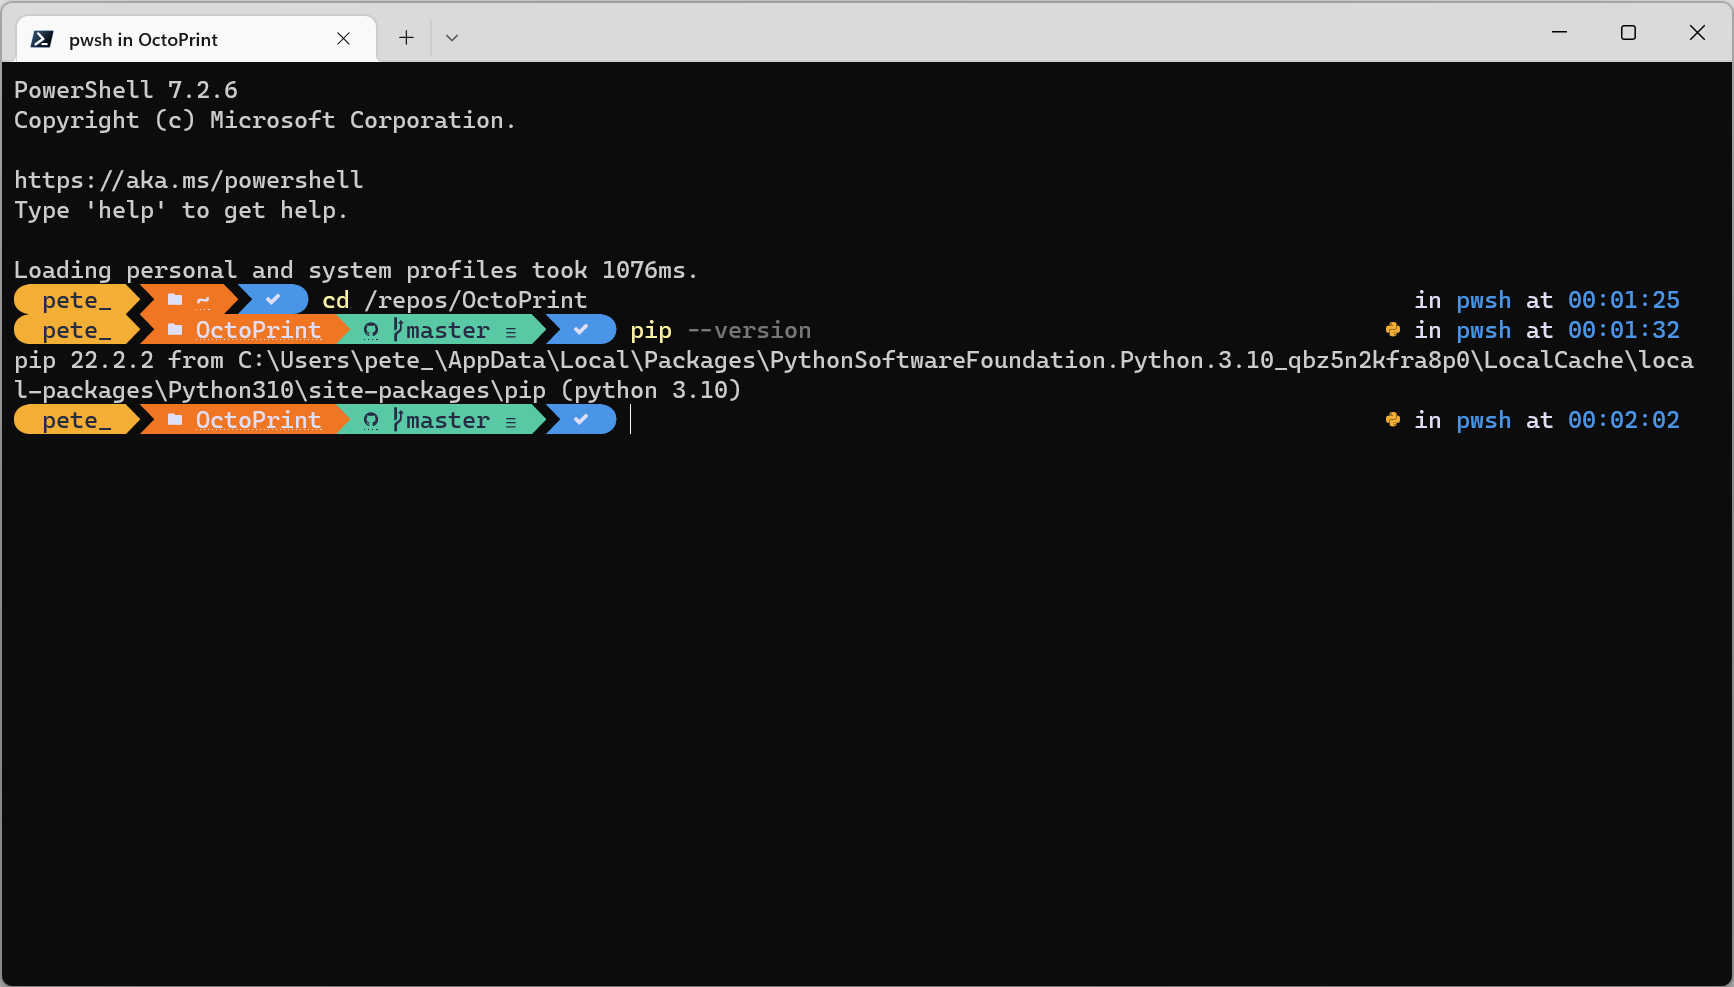
Our pip is now up to date… Whoop!
Setting up the Virtual Environment
The next step in the instructions is to clone the OctoPrint repo… We’ve already done that, so we can skip ahead.
The next command allows us to set up the Virtual Environment;
virtualenv --python=C:/Python3/python.exe venvThis command seems to want to refer to the Python3 directory in the root of our C drive… Checking out our C drive… We can see we don’t have Python installed at that location, this command won’t work eh;
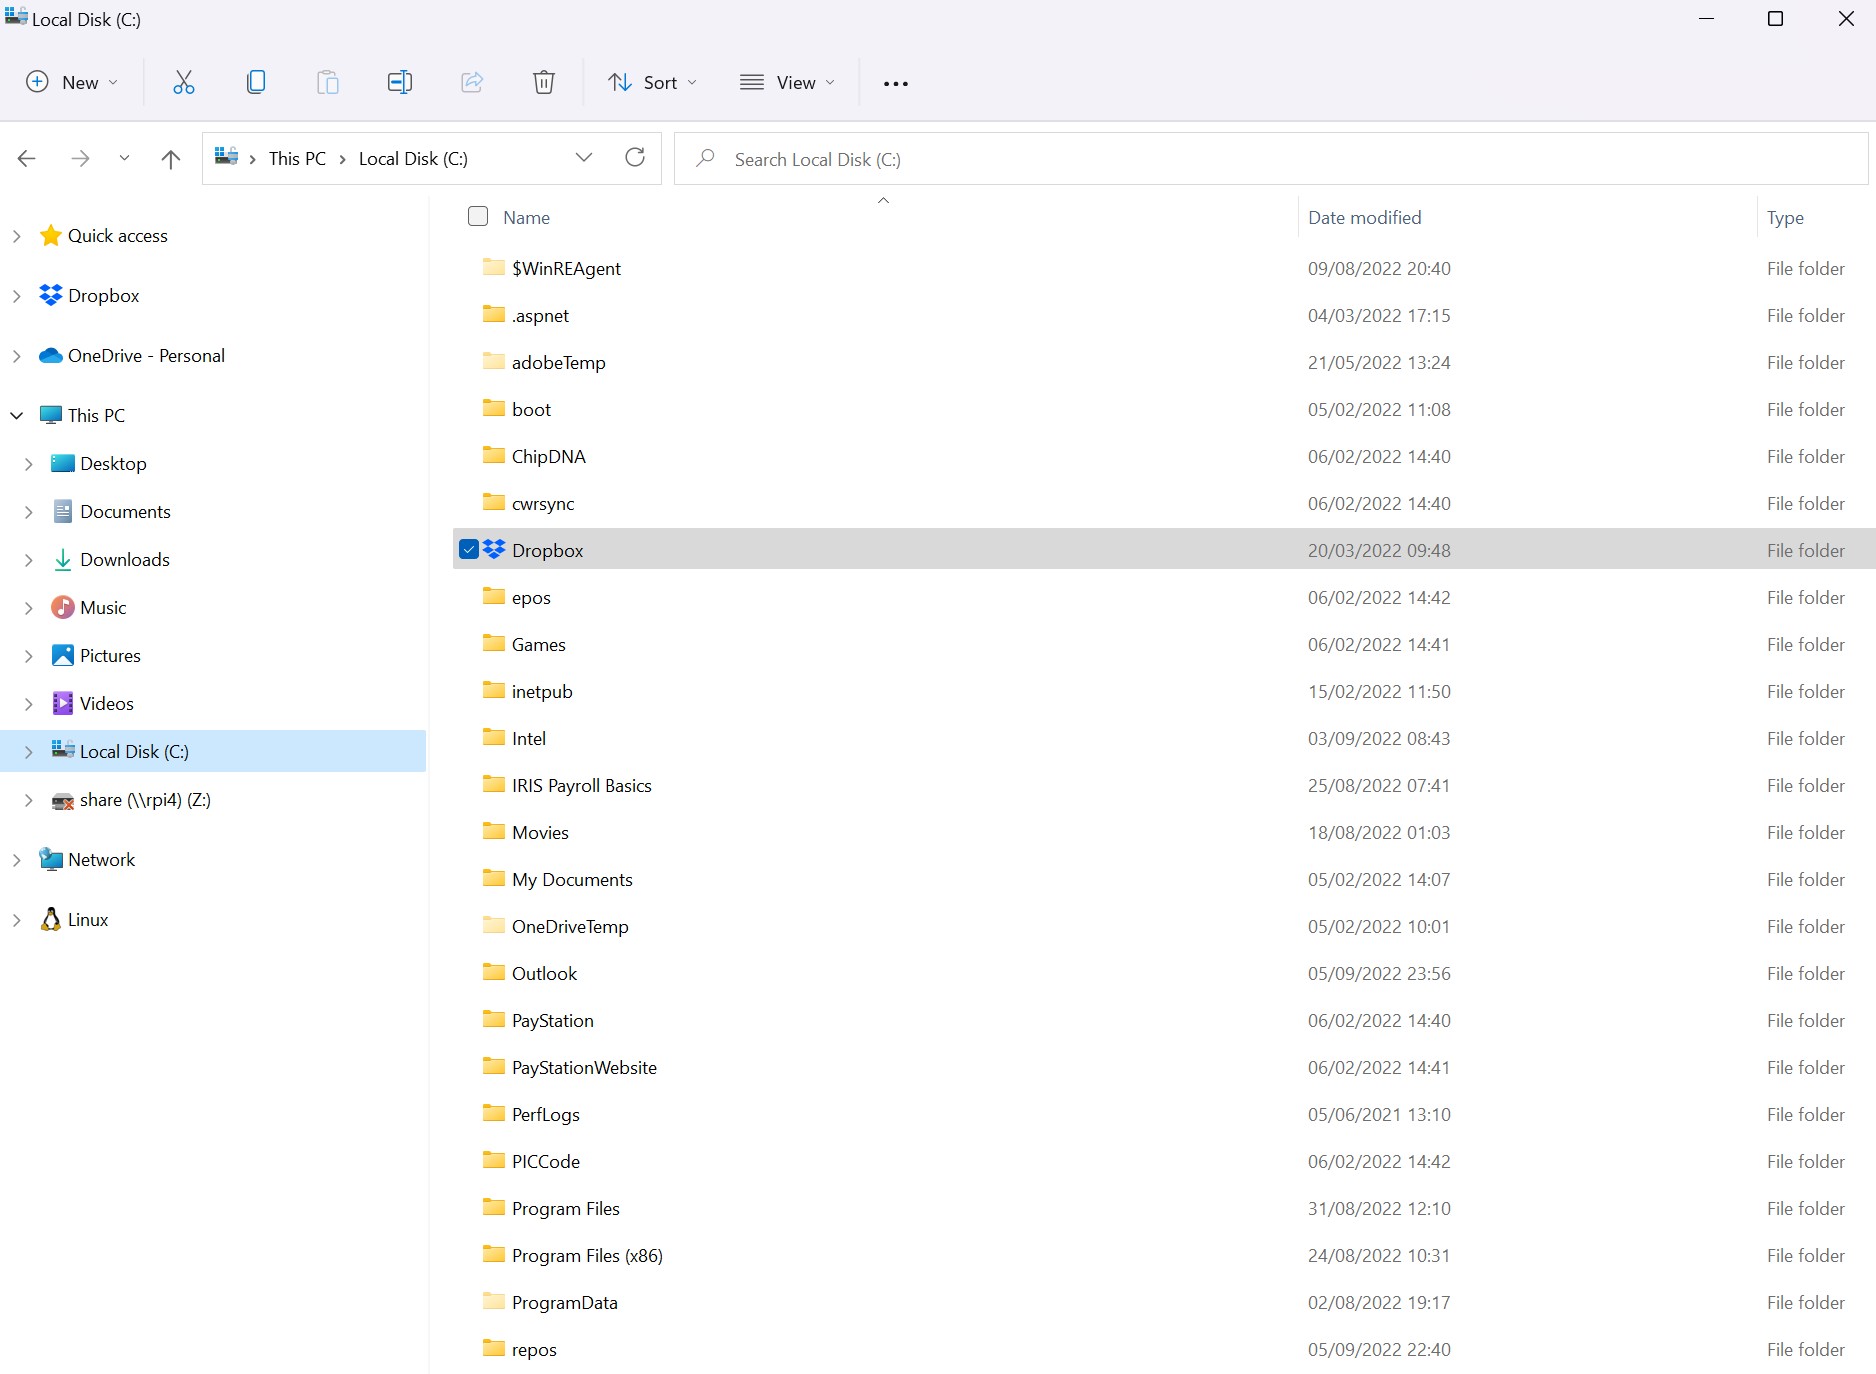
I guess this has to do with the fact we installed Python using the Windows Store rather than the full installer.
From the Terminal earlier, we copied the actual path to Python;
C:\Users\pete_\AppData\Local\Microsoft\WindowsApps\PythonSoftwareFoundation.Python.3.10_qbz5n2kfra8p0\python.exeThat would make our full command;
virtualenv --python= C:\Users\pete_\AppData\Local\Microsoft\WindowsApps\PythonSoftwareFoundation.Python.3.10_qbz5n2kfra8p0\python.exe venvLet’s give that a go and see what happens eh;
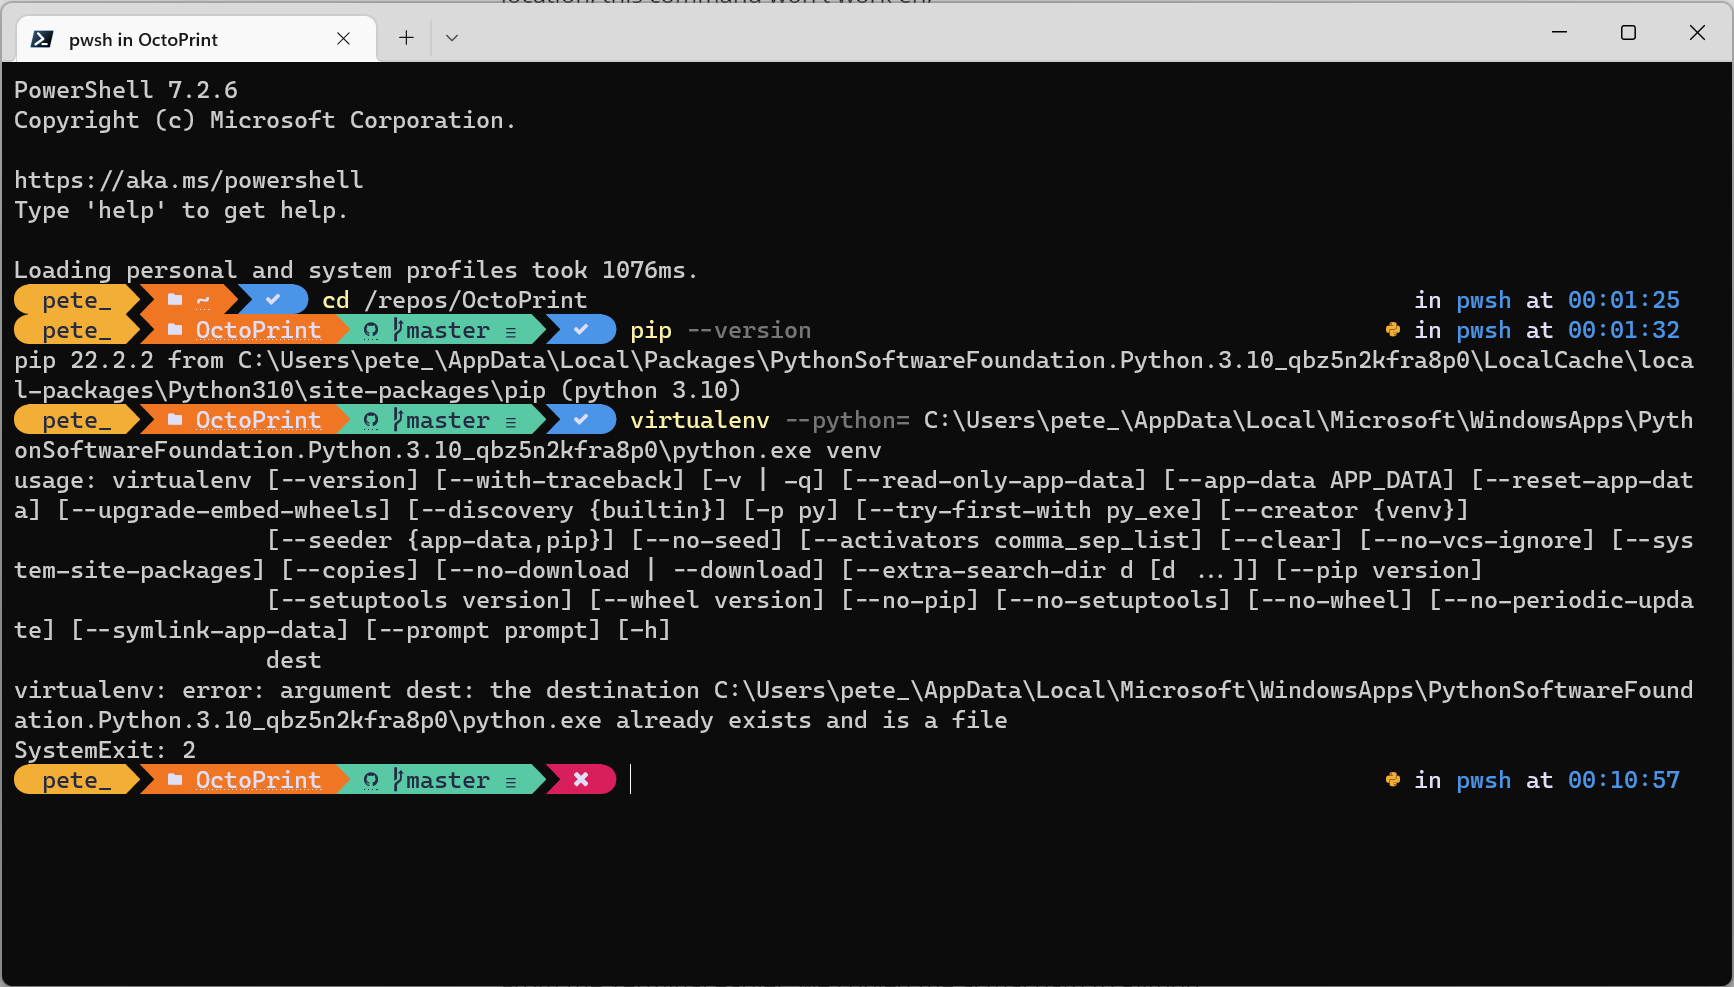
Ah… Perhaps I misunderstood how this command works?
According to the docs, the –python parameter sets the location of the Python Executable we want to use in our virtual environment.
The final venv parameter specifies the name of the environment we’re setting up…
Perhaps there’s already one created? Let’s check the directory again perhaps;
So, there’s no actual venv file here… I wonder does it actually create anything in the filesystem here?
Perhaps I’ve previously created a virtual environment called venv… Let’s try renaming this to something else;

Ah… So… I think perhaps it’s just that the paramaters need to be defined in the correct order!
Let’s run the command as;
virtualenv venv --python= C:\Users\pete_\AppData\Local\Microsoft\WindowsApps\PythonSoftwareFoundation.Python.3.10_qbz5n2kfra8p0\python.exeAh… That didn’t work either, where it’s complaining about unrecognized arguments;
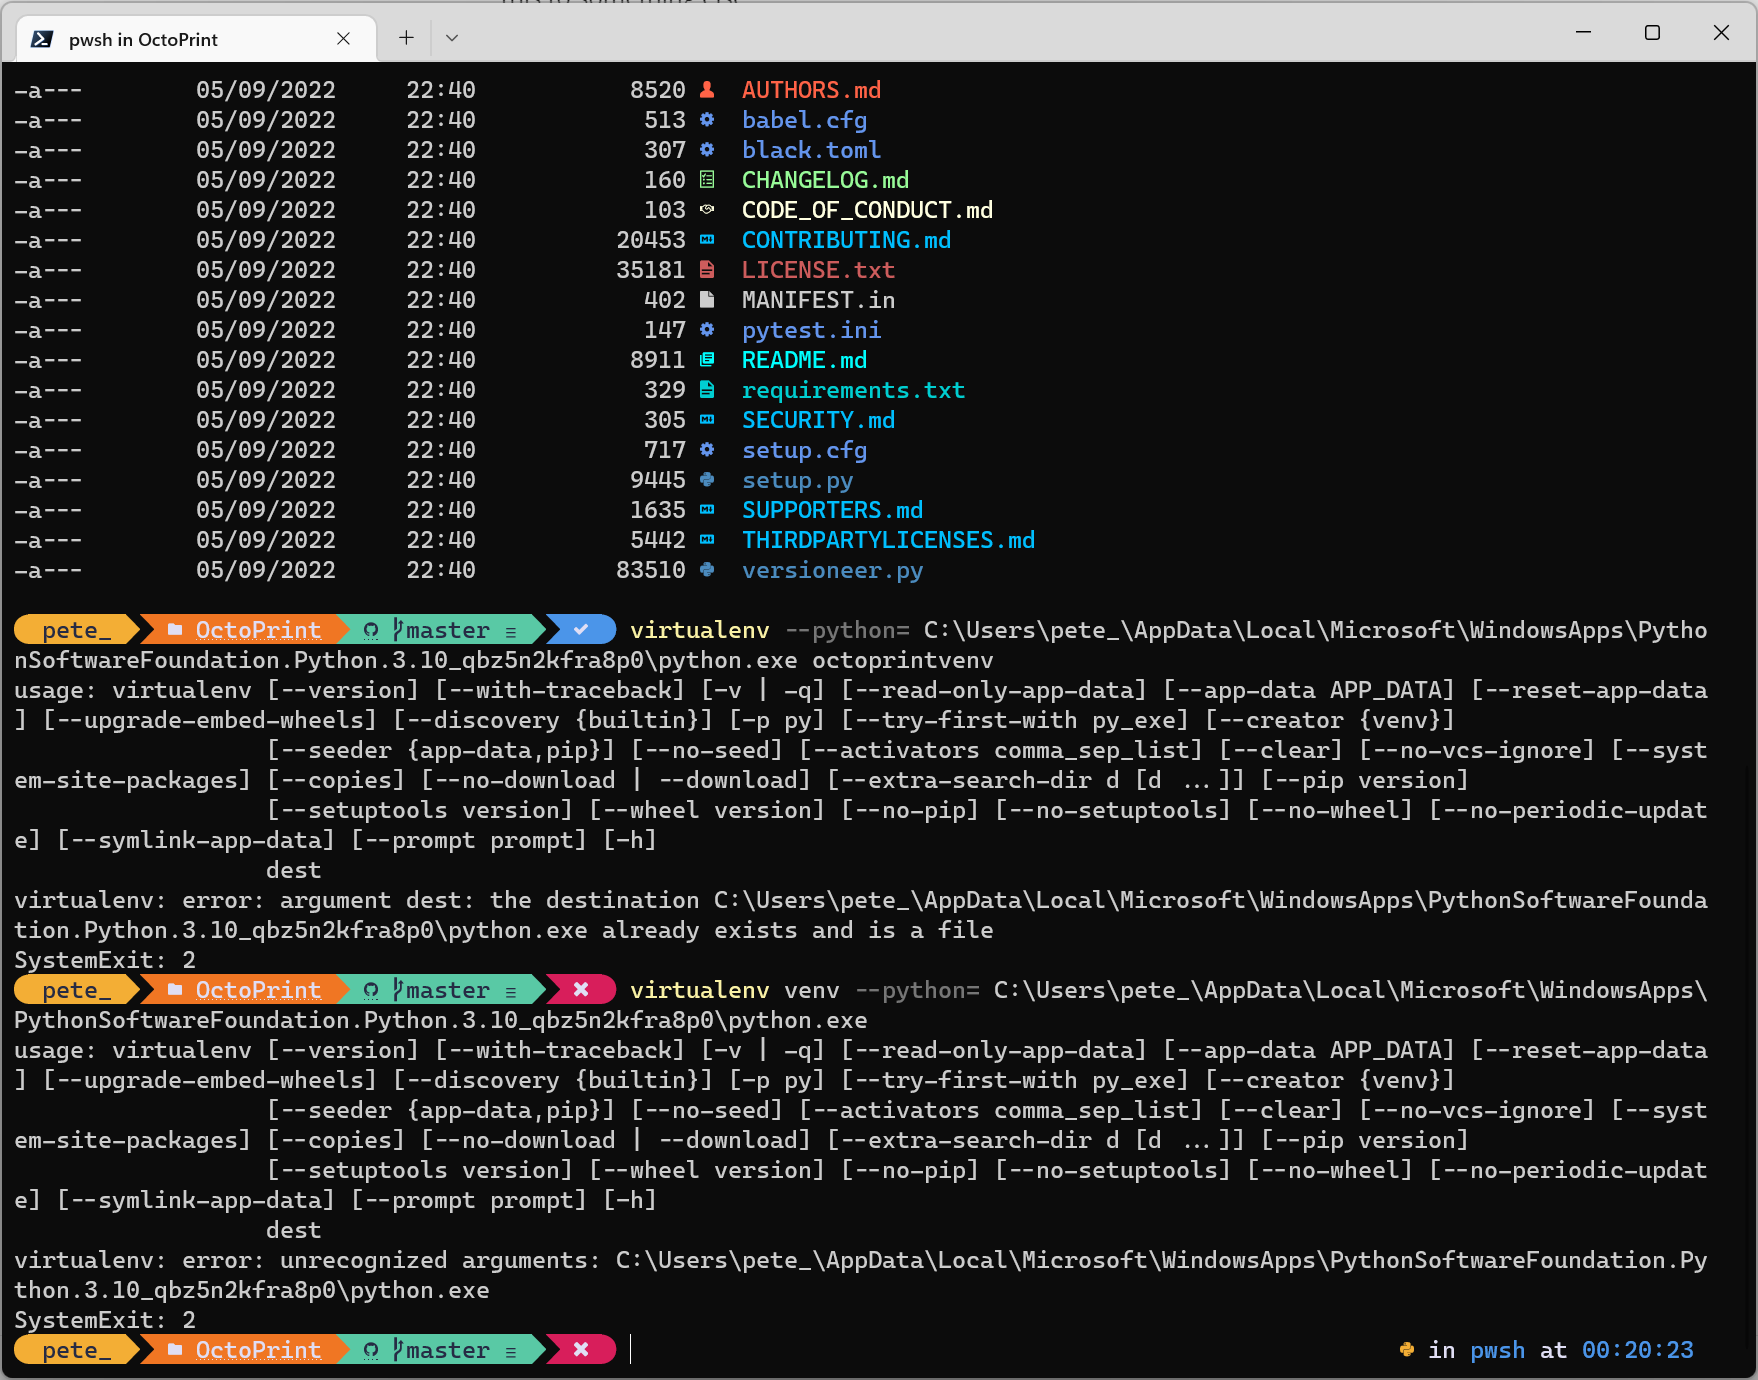
I’m beginning to wonder if this would’ve all worked straight away in the Git Bash terminal that the docs told me to use… Ah well… I’ll push on!
Doing a quick search on Google, turns up a result from infoworld which has the command as follows;
python -m venv c:\repos\OctoPrint\Where they’re using Python directly instead of the virtualenv command.
It’s now getting late, so I’m gunna call it a night and carry on tomorrow… Thanks for following along folks!