
This post is a series of posts in which I detail my journey to bring OctoPrint to the Seeed Studio reTerminal.
Day 5
In today’s post we’ll be continuing the Hello World Plugin Development and also adding a Front End to it.
Contents
Day 1 – 05–09–22 – Getting Started:
- Getting Started – 05/09/2022
- My Initial Plans
- Cloning the Repos
- A pointer in the right direction from the folks at OctoPrint3D – Plugins
- OctoPrint Plugin Mixin Development Docs
- Getting the Development Environment setup
- Installing Python
- Checking out the OctoPrint Sources
- Creating and Activating a Virtual Environment
- Build Tools for Visual Studio 2019
- Setting up VirtualEnv
- Adding VirtualEnv to the Windows Path
- Upgrading Pip
- Setting up the Virtual Environment
Day 2 – 06–09–22 – Setting up the Environment:
- OctoEverywhere – 06-09-22
- Continuing with VirtualEnv
- Activating the Virtual Environment
- Setting up the Virtual Environment
- Installing Microsoft Visual C++ 14.0
- Using pip to install packages in the Virtual Environment
- Git Pre-Commit
- Git Changes, Blame and Ignore
- Configuring VS Code
- Running OctoPrint for the first time
- Changing the Python Interpreter
- Running the OctoPrint from VS Code
Day 3 – 07–09–22 – Setup Wizard:
- Setting up OctoPrint in the Debug Environment – 07-09-22
- Setup Wizard – Access Control
- Setup Wizard – Online Connectivity
- Setup Wizard – Usage Tracking
- Setup Wizard – Plugin Blacklist
- Setup Wizard – Printer Profile
- Setup Wizard – Please Reload
- Setup Wizard – Setup Printer (Again)
- Setup Wizard – Server Commands
- Setup Wizard – Webcam and Timelapse Recordings
- Setup Wizard – Finish
- Virtual 3d Printer Plugin
- Beginning Plugin Development
Continuing The Hello World Plugin – 09-09-2022
We left off yesterday where we needed to copy our original helloworld.py plugin to our new Plugin Directory.
Cutting the helloworld.py file from the OctoPrint repo of c:\repos\OctoPrint\src\plugins and pasting it into our plugin directory at C:\repos\OctoPrint-Helloworld\octoprint_helloworld.
There is of course already a file in this directory – __init__.py;
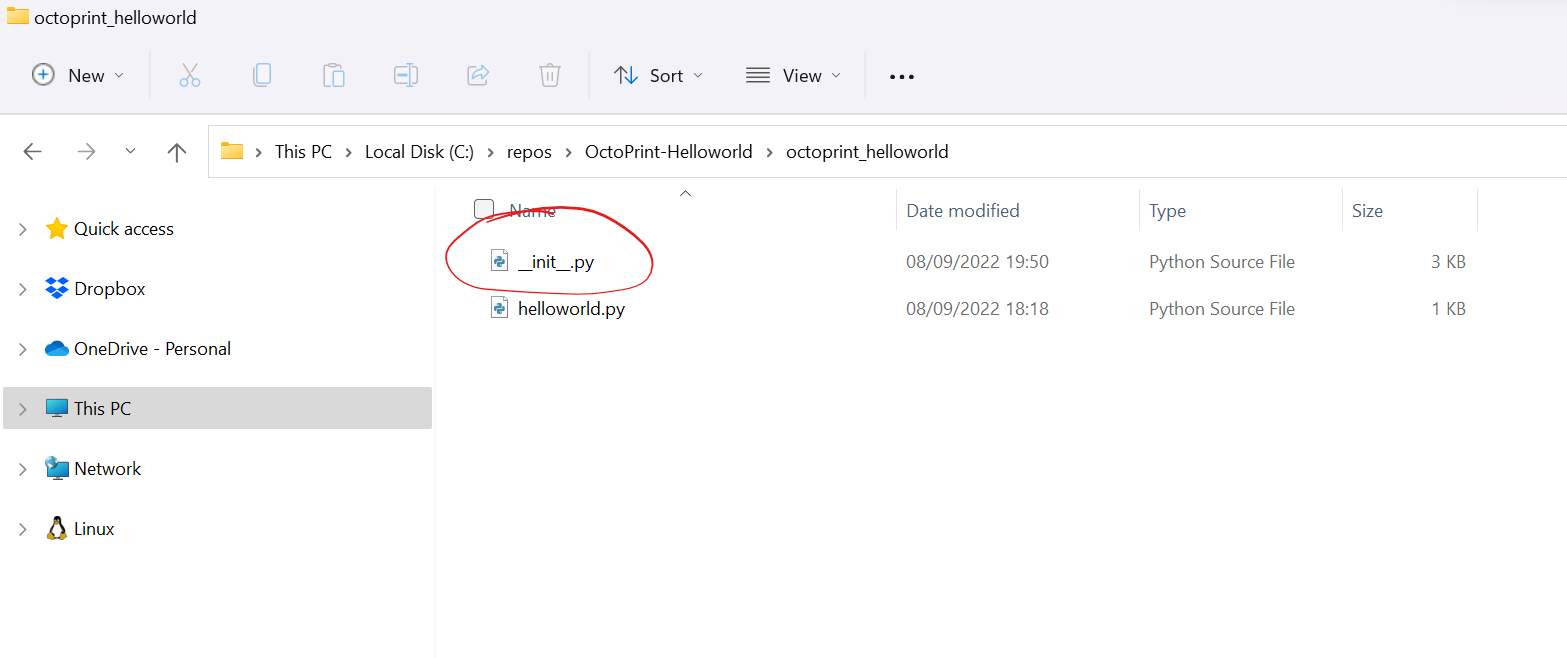
Opening our new PLugin Project in VS Code and taking a look at the existing __init__.py file contents;

We can see that the comments suggest we remove this file, as much as the plugin documentation actually says.
There’s some existing skeleton for our plugin scaffolded here, including the settings, css/js assets, update and plugin load functions.
The documentation states we should essentially replace this file, so let’s copy the contents from our original helloworld.py file, paste them into the scaffolded __init__.py file, then delete the helloworld.py file;
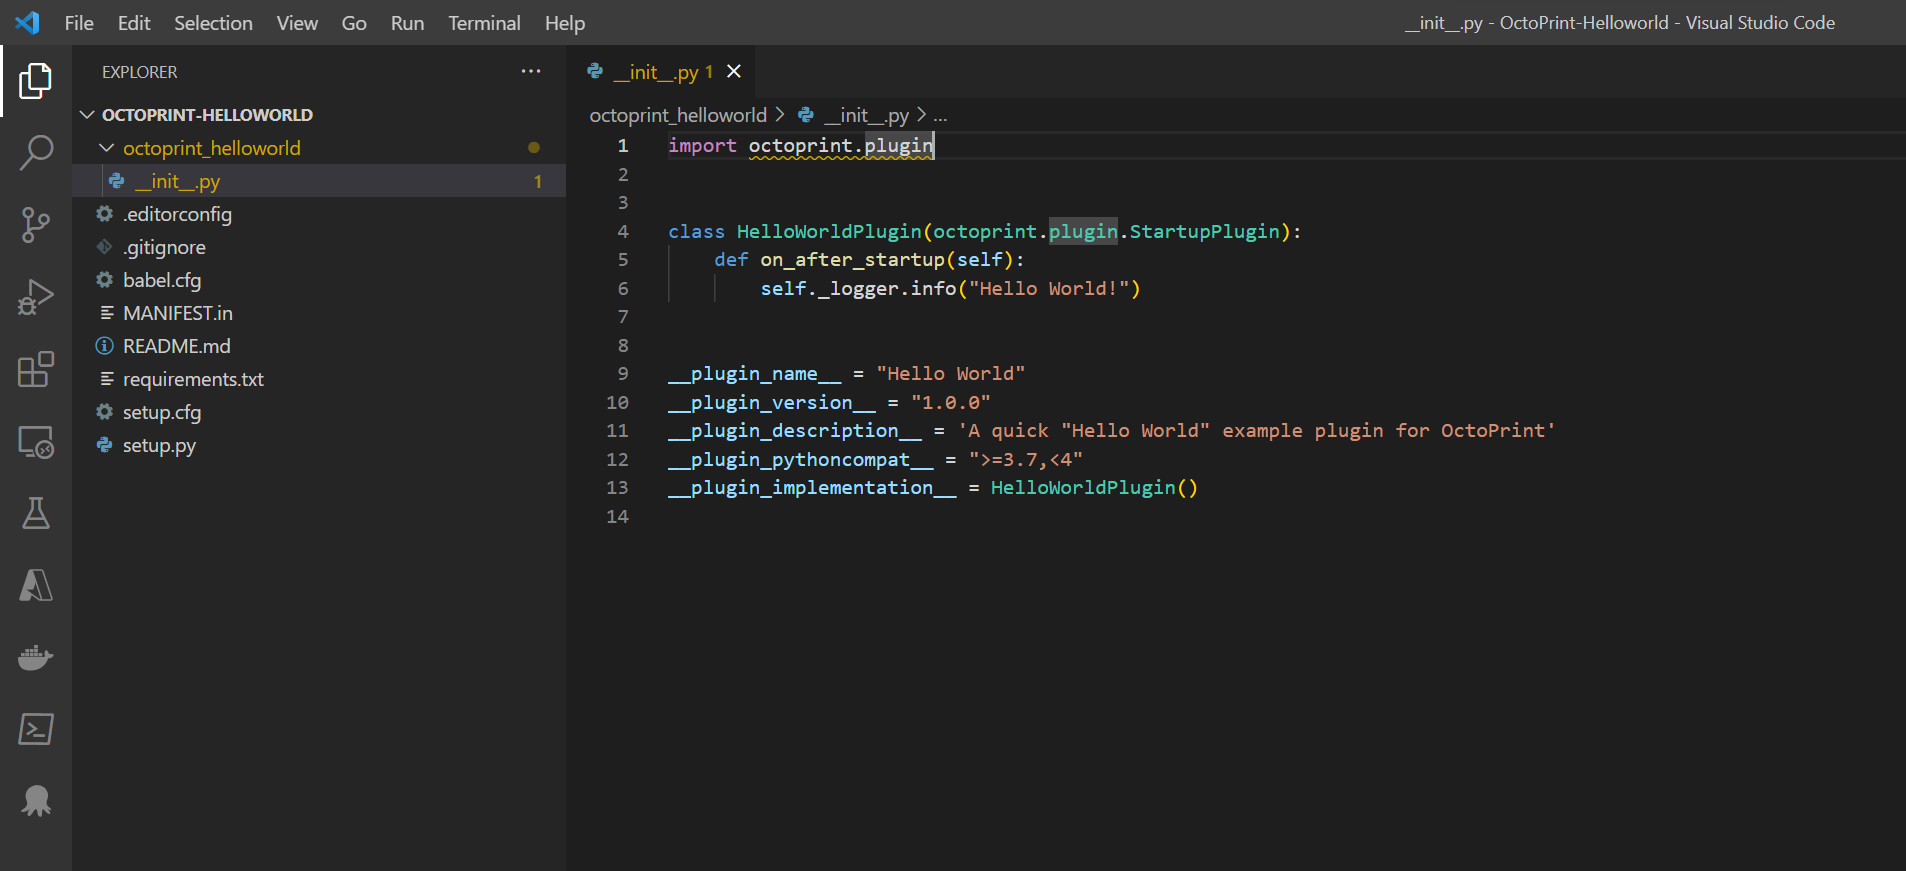
Interestingly, we can see that VS Code is complaining that it can’t resolve the octoprint.plugin import at the top of our file;

Looking around on Google, I’m reminded that we normally operate OctoPrint from within a virtual environment, so likely that VS Code can’t access the pip packages we installed in that environment, leading to the orange squiggly we see above.
I now can’t remember if we had to activate the virtual environment in the VS Code terminal or not… Looking back over this post, I can see I asked myself that same question when I was struggling to get the Dev Environment set up…
Looking back at the documentation, the plugin is now ready to install with;
python setup.py installHowever, we’re developing our plugin still, so the docs call out that instead of just installing our plugin using the above command, we can make our plugin discoverable by OctoPrint as well as not needing to reinstall the plugin each time we update it with;
python setup.py developThe Docs then go on to say that there’s another command we can issue which includes the above command but ensures that the command uses the same OctoPrint binary as our installation;
octoprint dev plugin:installWe can go ahead and run this command in the VS Code Terminal, but looking at the docs, it looks like we should activate the virtual environment before we do that too;
.\venv\Scripts\activate
octoprint dev plugin:install
However, we can’t do that from the folder we’re in of course, as there’s no venv directory, that’s over in the OctoPrint repo;

So, let’s refer to that instead;
c:\repos\OctoPrint\venv\Scripts\activate
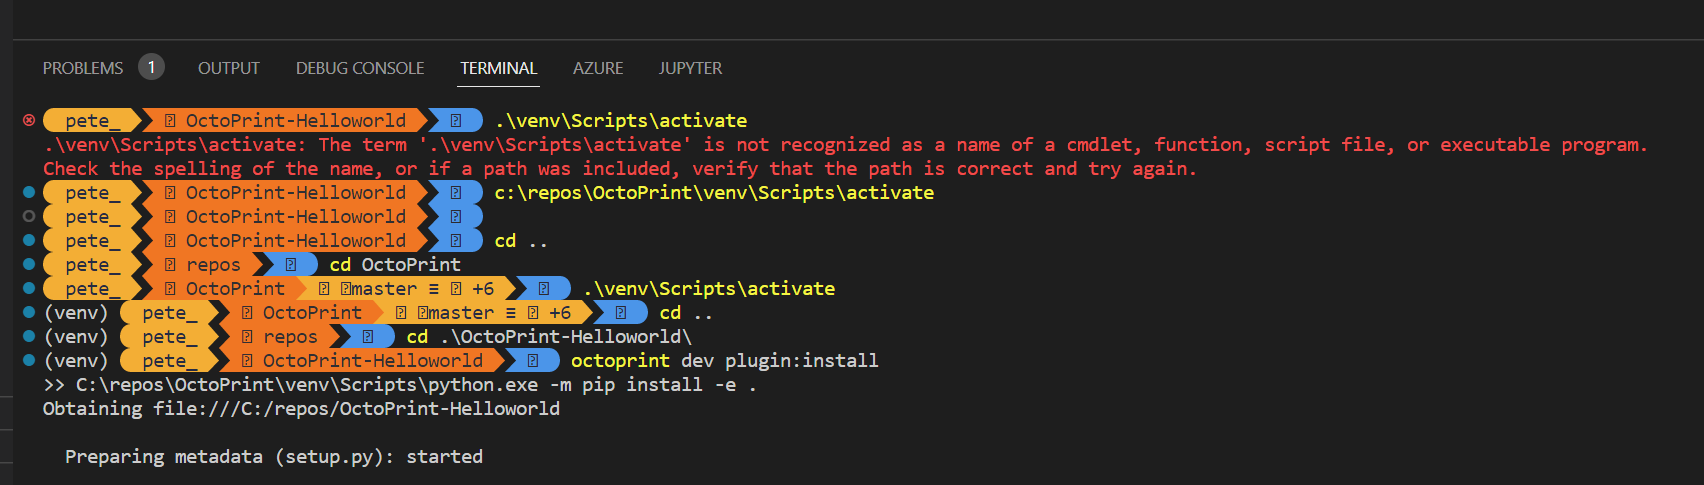
octoprint dev plugin:installHmmm… I briefly saw a new terminal window appear then immediately disappear, and I notice that the (venv) prefix isn’t showing in my terminal either… Do I need that dot? But, if we fully qualify the name, where does that dot go?
I think perhaps the best idea would be to cd into the OctoPrint directory, activate the virtual environment, then cd back to our plug directory… A pain, and there must be a better way?
cd c:\repos\OctoPrint
.\venv\Scripts\activate
cd c:\repos\OctoPrint-HelloWorld
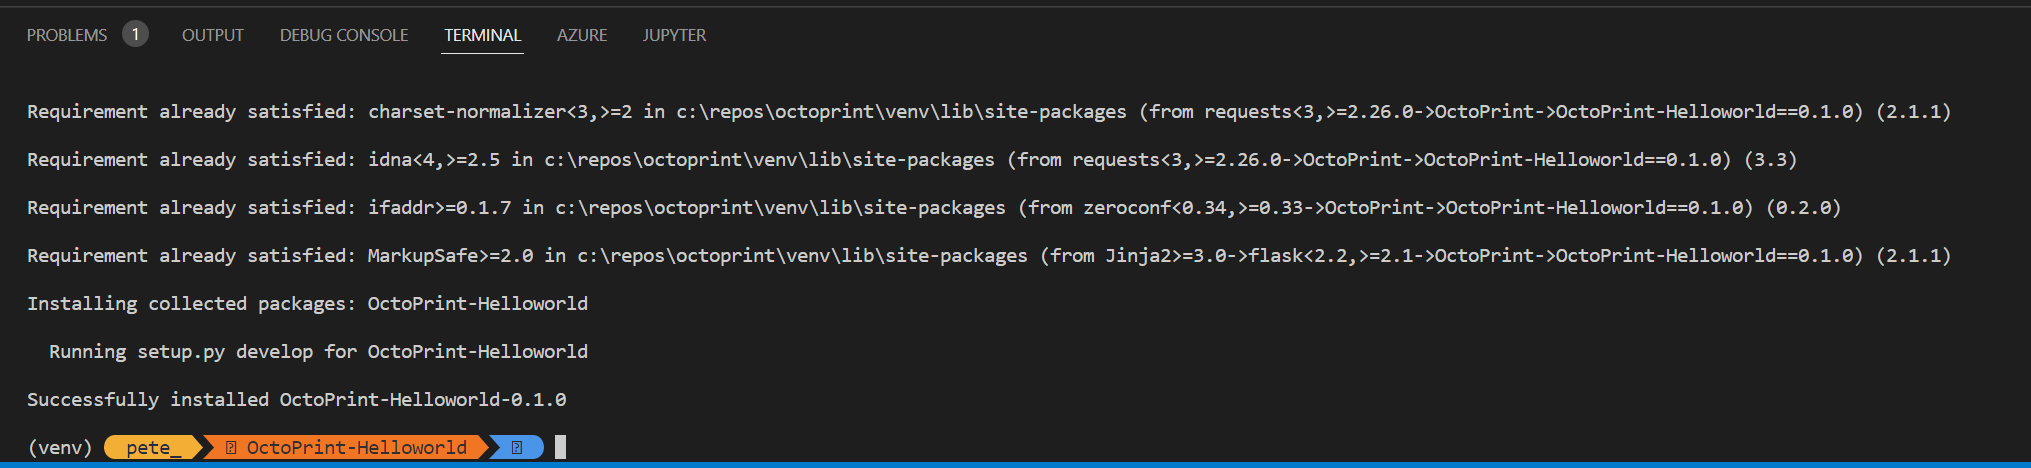
octoprint dev plugin:installAll of this appears to run;
After a few seconds, the process looks to have completed successfully, but with lots of Requirement already satisfied console messages;
Next up, we can restart the OctoPrint Server from our other VS Code window;
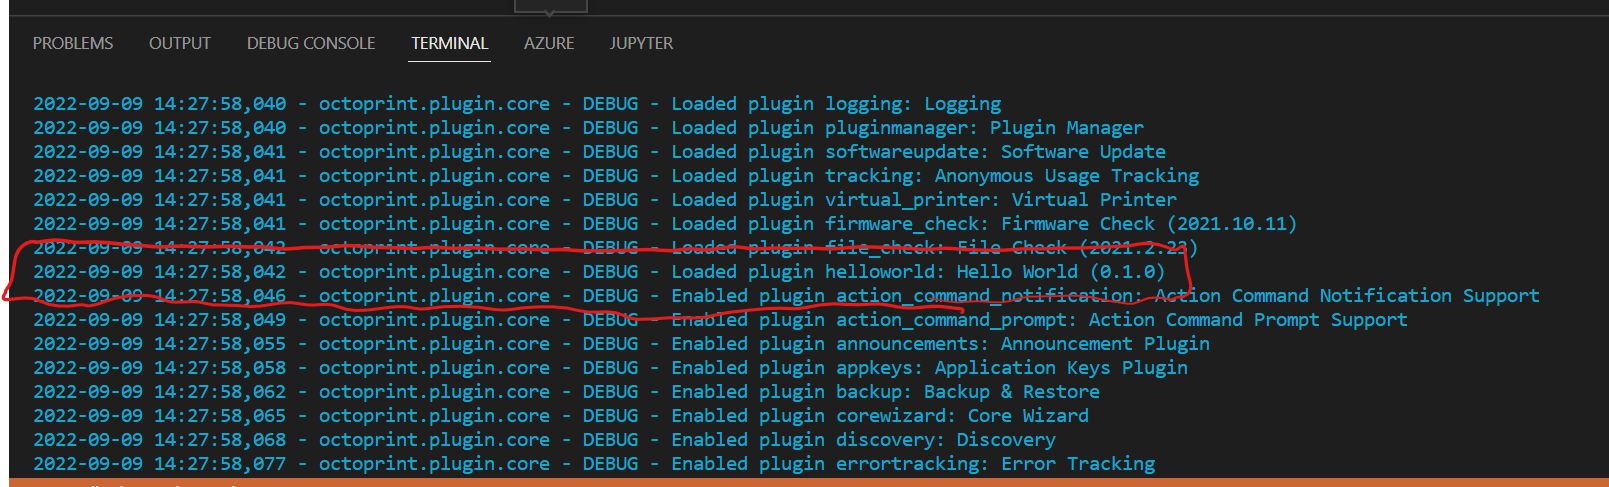
We can see that our plugin is loaded during the OctoPrint startup routine, and scrolling down we can see our message is successfully shown;

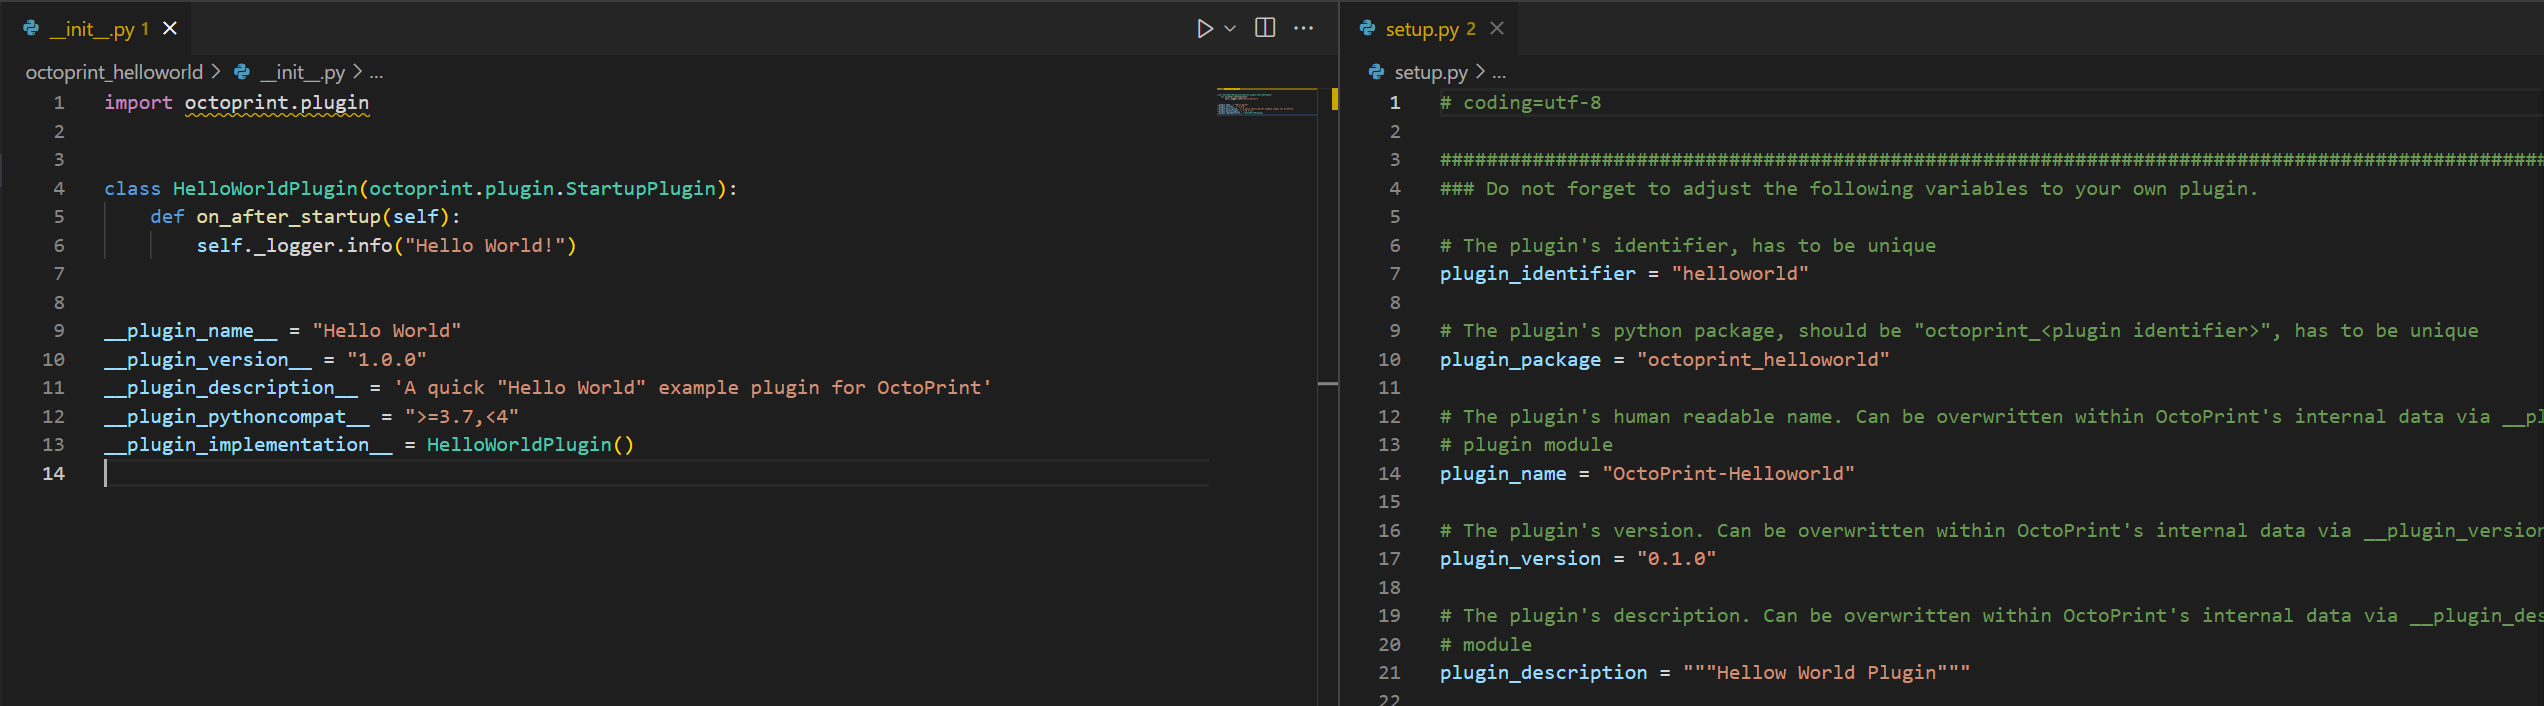
Next up the docs call out that we have some duplication between __init__.py in the octoprint_helloworld folder and setup.py in the plugin root folder;
So we can remove some of this duplication from our __init__.py file, by removing;
__plugin_version____plugin_description__
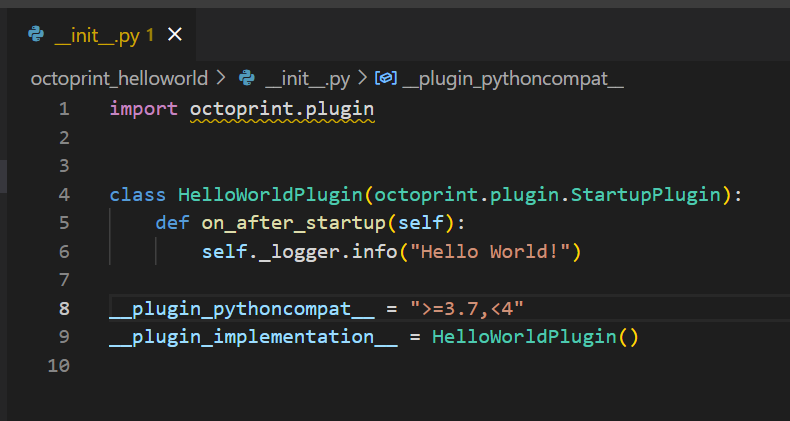
We could’ve removed __plugin_name__ too, but then we’d get a less friendly name in the console log entries.
So, essentially we’re overriding values from setup.py in our __init__.py file.
The docs now call out the OctoPrint Plugin Skeleton readme file, which we can find in the GitHub repo.
Where it looks like we can clone this repo into a new location and use it as a basis for our own plugins using;
git clone https://github.com/OctoPrint/OctoPrint-PluginSkeleton OctoPrint-MyNewPlugin
cd OctoPrint-MyNewPlugin
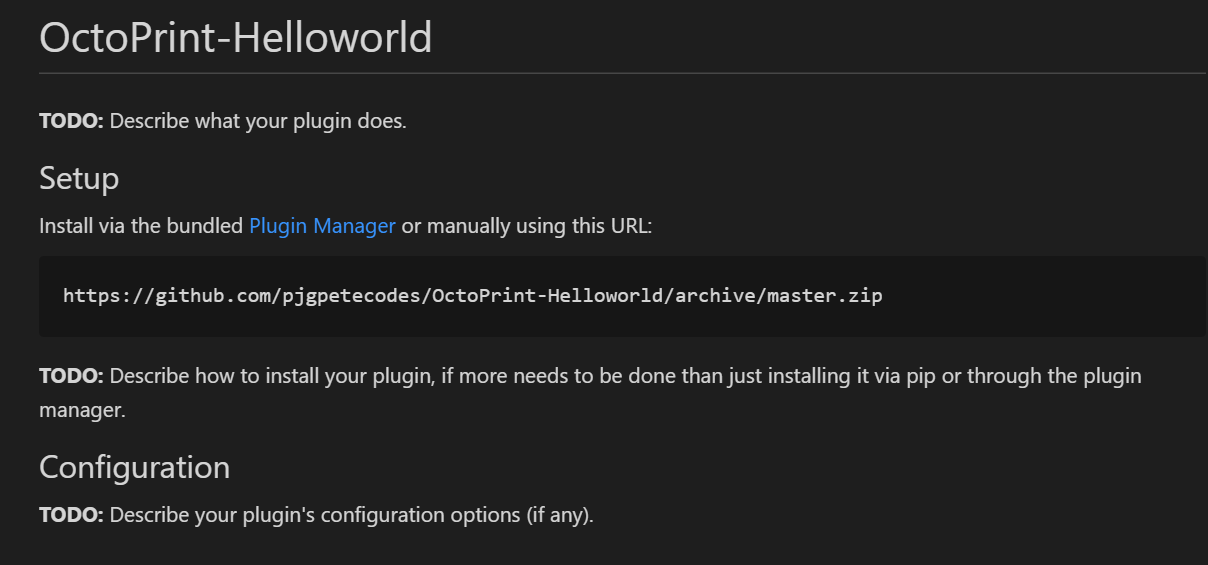
mv octoprint_skeleton octoprint_mynewpluginInterestingly, the README in the plugin we created using the command earlier doesn’t have very much information in it all compared to this repo;
The docs say that we can install this plugin now using;
pip install https://github.com/yourGithubName/OctoPrint-HelloWorld/archive/master.zipBut, I can’t find this in that GitHub repo, I also guess I’d need to check in my repo, and I’d also need to create a zip file of it before I did?
Double checking the plugin folder, none of what I’ve done yet seems to have produced a zip file.
Adding a Front End to the Hello World Plugin
The docs now lead on to teaching us how to add a Front End to our Hello World Plugin.
Here we’ll be using the Templateplugin Plugin Mixin. If we remember from earlier;
The TemplatePlugin Mixin
The docs for the TemplatePlugin Mixin start with…
Using the
TemplatePluginmixin plugins may inject their own components into the OctoPrint web interface.
What we’ll be doing here first adding a link to the main OctoPrint NavBar, so this Plugin Mixin makes sense for this.
The first thing we need to do is add an extra parameter to the plugin initialiser, where we add octoprint.plugin.TemplatePlugin to the class HelloWorldPlugin line;
class HelloWorldPlugin(octoprint.plugin.StartupPlugin,
                       octoprint.plugin.TemplatePlugin):
Next up we need to create templates folder in our octoprint_helloworld folder and create a file named helloworld_navbar.jinja2 in there. We then paste the following line into our new file;
<a href="https://en.wikipedia.org/wiki/Hello_world">Hello World!</a>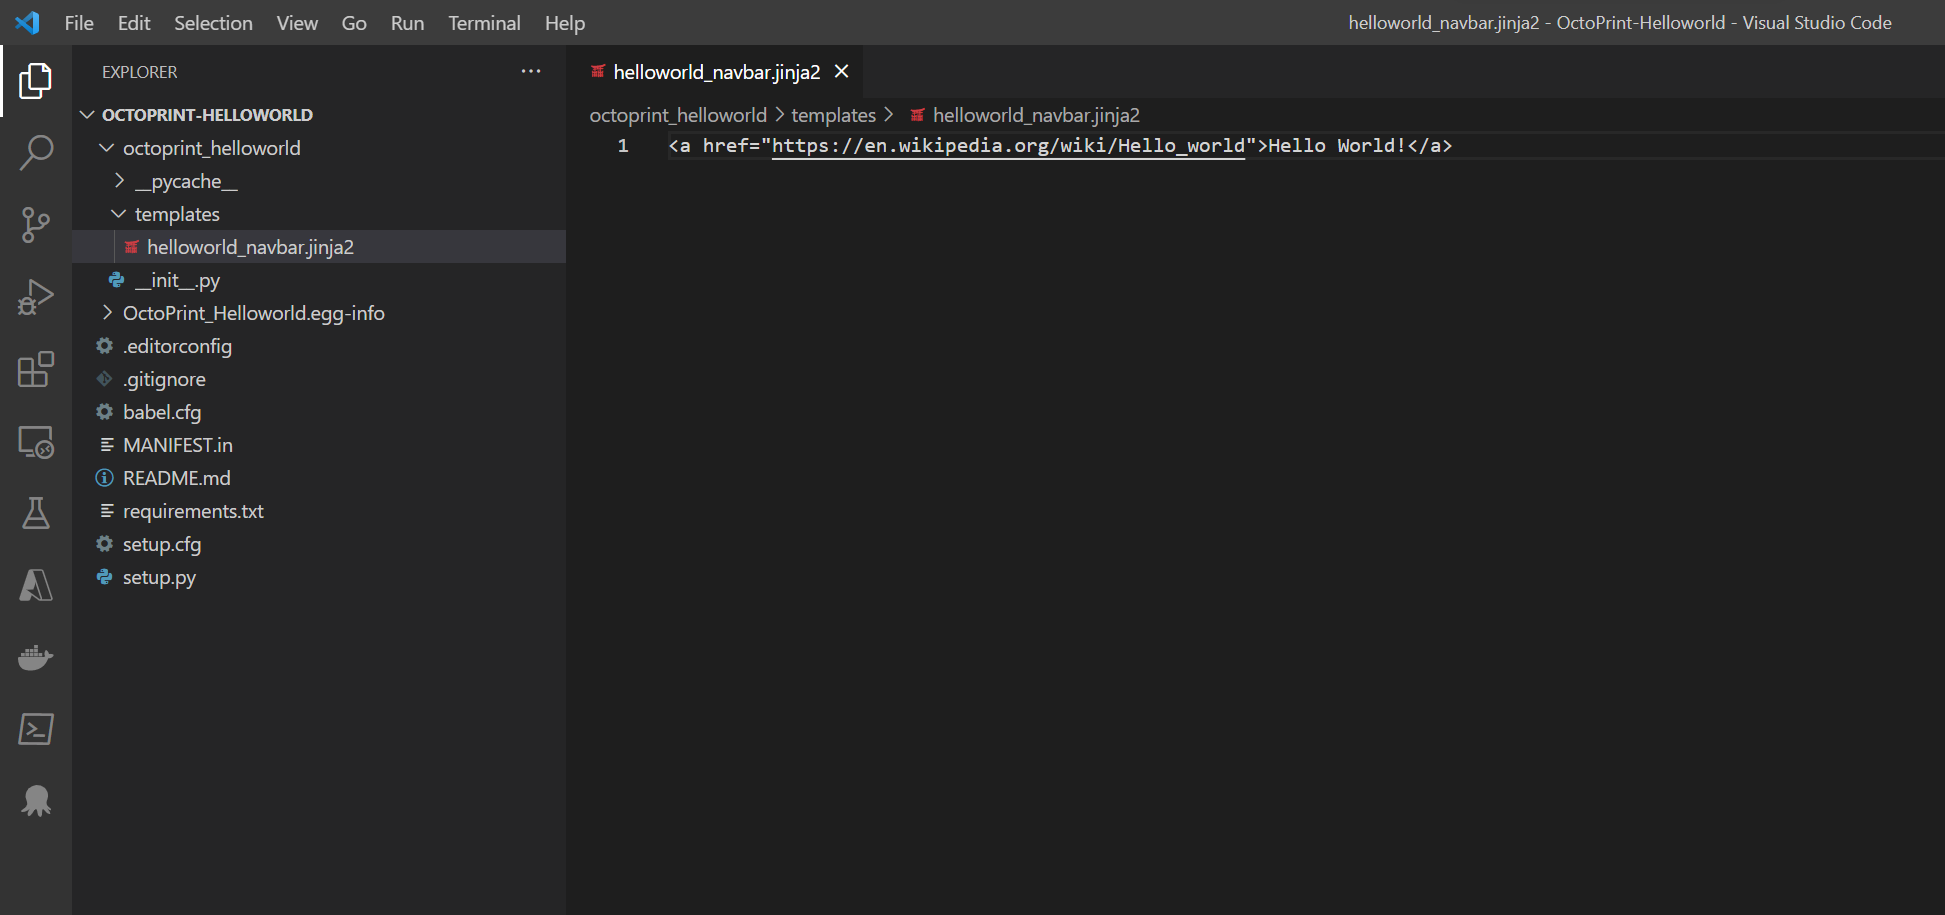
If we now restart the OctoPrint Server, we can look for our new NavBar element;
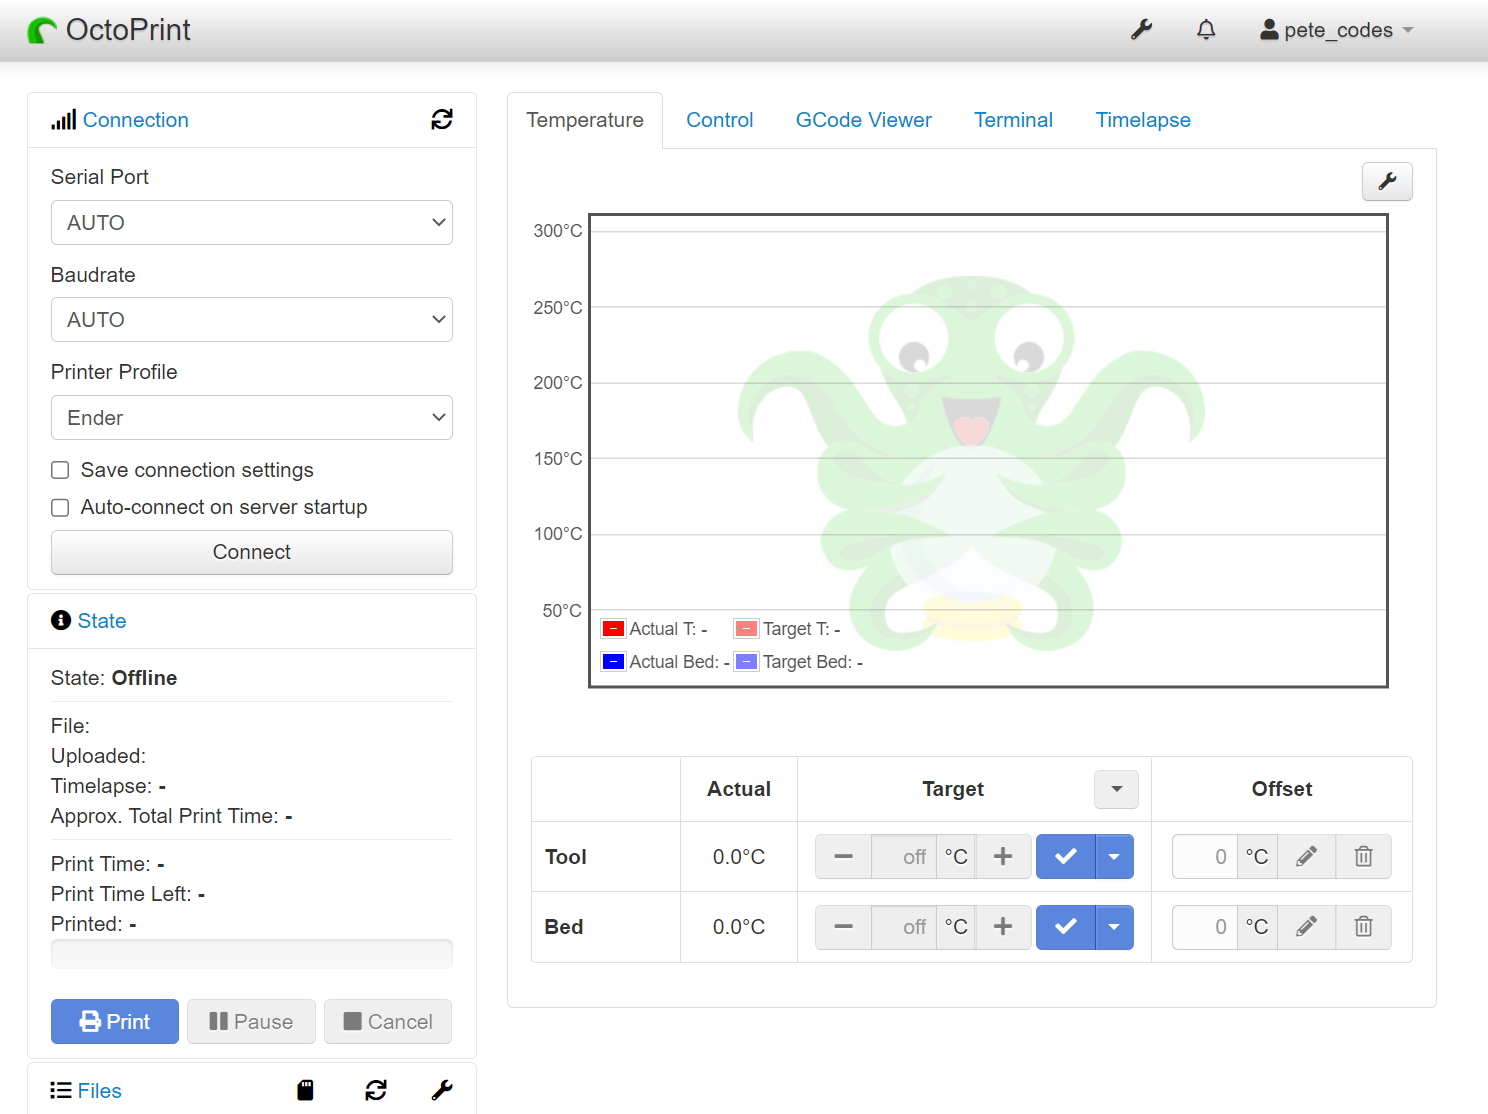
Sadly… I don’t see our new element… Checking the console log, our plugin is still loading and spitting out to the console log from the on_after_startup;
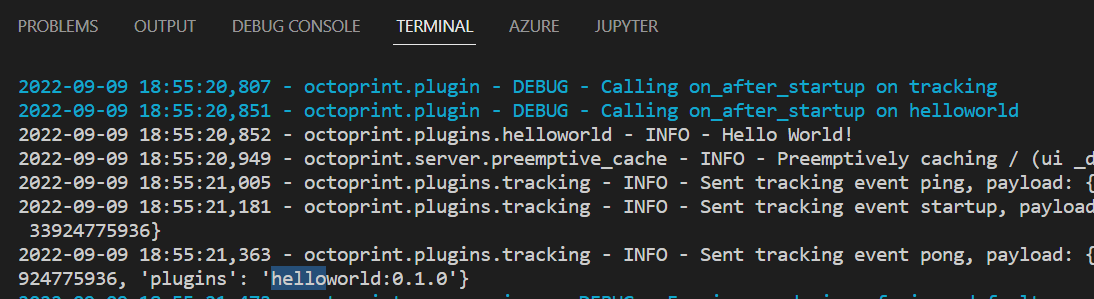
I wonder can we find the hook we’ve just added?
It doesn’t look like it no… So, what’s wrong here? I’ve done the normal crtl+f5 to force the cache to clear, but no luck. Time to start digging around.
Oh… That was easy (I think).. Spot what’s missing from this file;
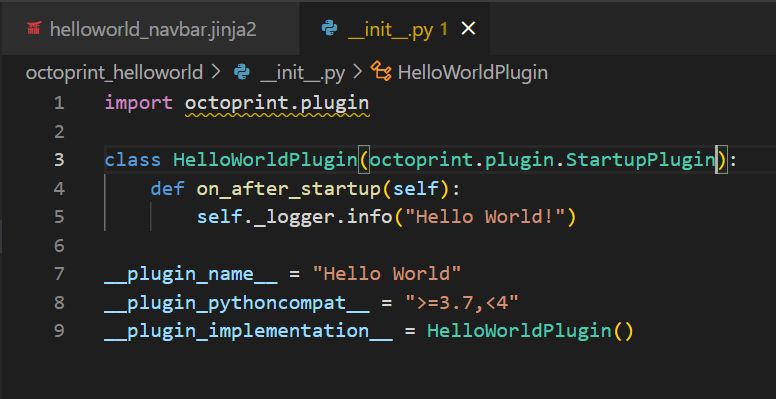
Yup… I didn’t add the octoprint.plugin.TemplatePlugin parameter to the Plugin Initialiser!
Let’s try again with that added now…
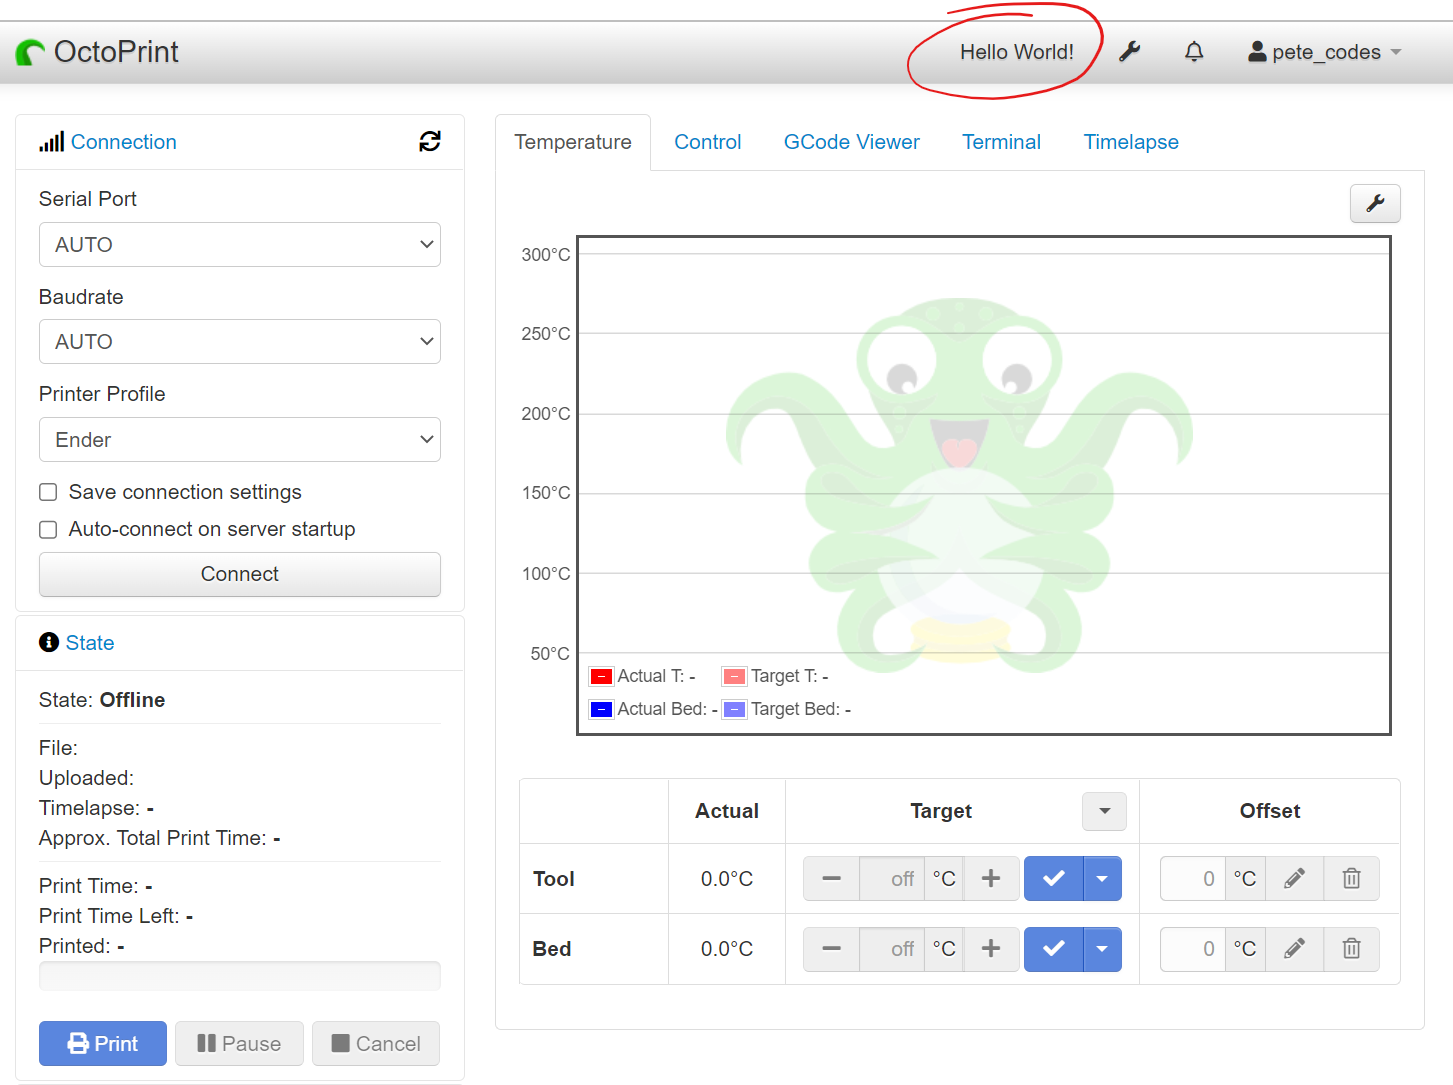
Success… Let’s have a quick look at the Console Log in VS Code and see if we can see where the hook is being called.
Interestingly, there’s no mention of TemplatePlugin in the console log… Perhaps it only gets logged if there’s a handler for the event in the plugin?
Clicking the link takes us, as expected, to Wikipedia to the Hello World Page.