This post is a series of posts in which I detail my journey to bring OctoPrint to the Seeed Studio reTerminal.
Day 10
In today’s post we’ll be looking in some more detail at the TouchUI plugin to see what we might need to change to suit how I want the Interface to look on the reTerminal.
I’ve also spent some time splitting the single long post up into separate days, as my WordPress Installation on CloudWays was struggling to cope! I do wonder if maybe I need to vertically scale my hosting at that stage?
Contents
Day 1 – 05–09–22 – Getting Started:
- Getting Started – 05/09/2022
- My Initial Plans
- Cloning the Repos
- A pointer in the right direction from the folks at OctoPrint3D – Plugins
- OctoPrint Plugin Mixin Development Docs
- Getting the Development Environment setup
- Installing Python
- Checking out the OctoPrint Sources
- Creating and Activating a Virtual Environment
- Build Tools for Visual Studio 2019
- Setting up VirtualEnv
- Adding VirtualEnv to the Windows Path
- Upgrading Pip
- Setting up the Virtual Environment
Day 2 – 06–09–22 – Setting up the Environment:
- OctoEverywhere – 06-09-22
- Continuing with VirtualEnv
- Activating the Virtual Environment
- Setting up the Virtual Environment
- Installing Microsoft Visual C++ 14.0
- Using pip to install packages in the Virtual Environment
- Git Pre-Commit
- Git Changes, Blame and Ignore
- Configuring VS Code
- Running OctoPrint for the first time
- Changing the Python Interpreter
- Running the OctoPrint from VS Code
Day 3 – 07–09–22 – Setup Wizard:
- Setting up OctoPrint in the Debug Environment – 07-09-22
- Setup Wizard – Access Control
- Setup Wizard – Online Connectivity
- Setup Wizard – Usage Tracking
- Setup Wizard – Plugin Blacklist
- Setup Wizard – Printer Profile
- Setup Wizard – Please Reload
- Setup Wizard – Setup Printer (Again)
- Setup Wizard – Server Commands
- Setup Wizard – Webcam and Timelapse Recordings
- Setup Wizard – Finish
- Virtual 3d Printer Plugin
- Beginning Plugin Development
Digging into the TouchUI Plugin – 15-09-2022
So, after rejigging this whole post into a series of posts (You’re looking at the result of course!), I’m free to carry on!
Today I’m going to take a look at the TouchUI plugin in a bit more detail to see what I might need to do to change the interface to work with the reTerminal.
I also want to make use of the user buttons on the reTerminal too, so I need to figure out how I interface to them.
I’ll definitely need a plugin of some sort, I don’t know at the minute whether I would need to fork the TouchUI plugin, or somehow override parts of it.
We saw in the Hello World Plugin Tutorial, that we were able to add extra tabs, and inject our content, so it’s possible we can use that approach to add or modify tabs in the TouchUI interface.
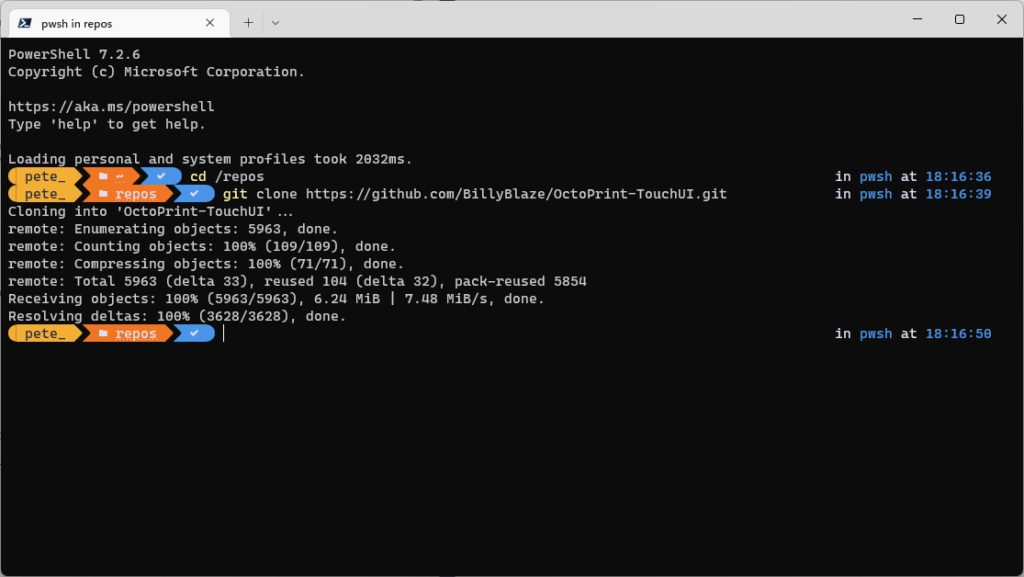
The first thing I’m going to do is navigate to the TouchUI GitHub repo and clone the code to my local machine;
Next up actually, I’ll install the plugin on my local Dev OctoPrint instance.
Navigating to the Settings and then to the Plugin Manager, we can click the + Get More button and search for touchui;
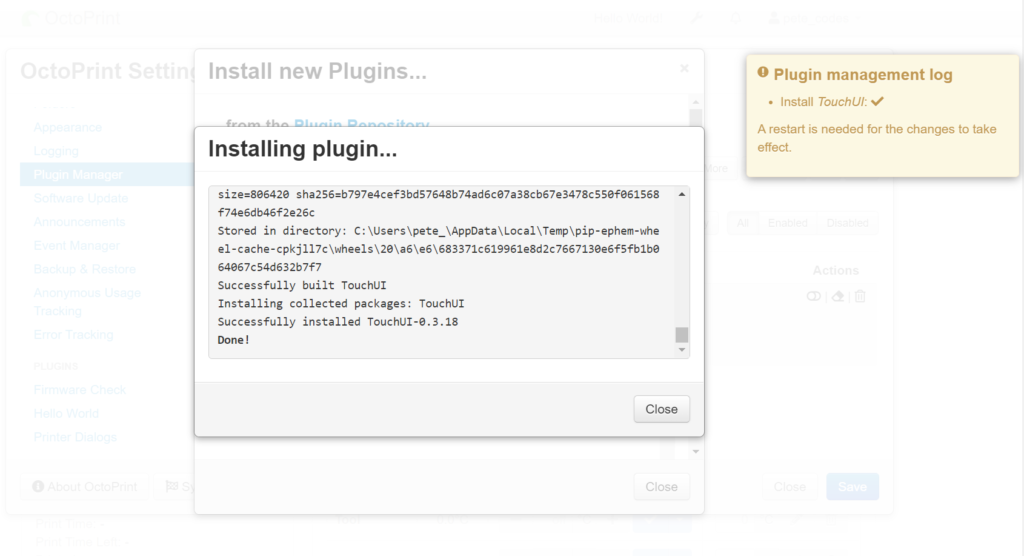
Clicking the Install button begins the installation;
Interestingly, it does some building as it installs, which I guess makes sense. Shortly afterwards, TouchUI is installed successfully;
Closing all the open dialogs, I can now restart the server and see if it automatically switches to TouchUI mode;
We can see that it does indeed switch to the TouchUI Plugin mode, which is handy.
I remember seeing a setting in the TouchUI Plugin options where we can have it detect the screen res to determine if it starts in TouchUI mode or not. I may activate this later so I can switch between the two modes using the Edge dev tools.
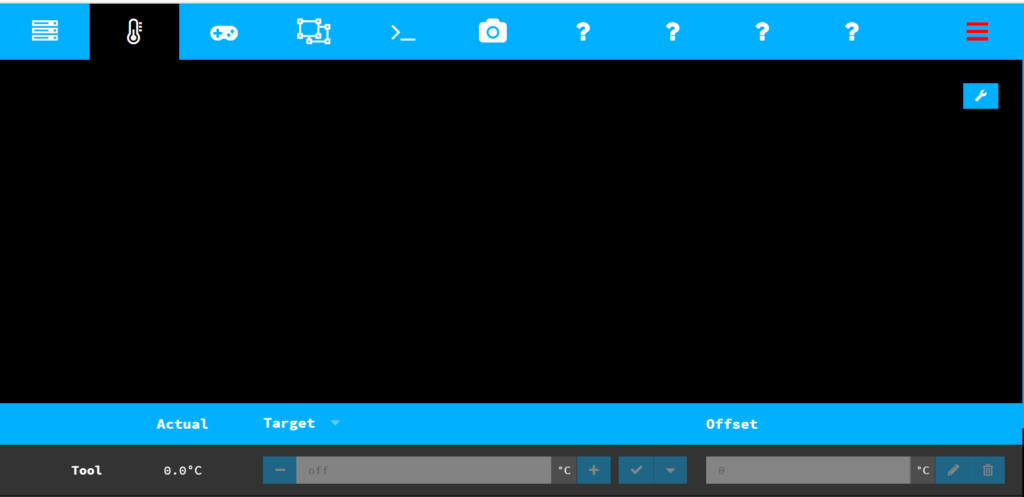
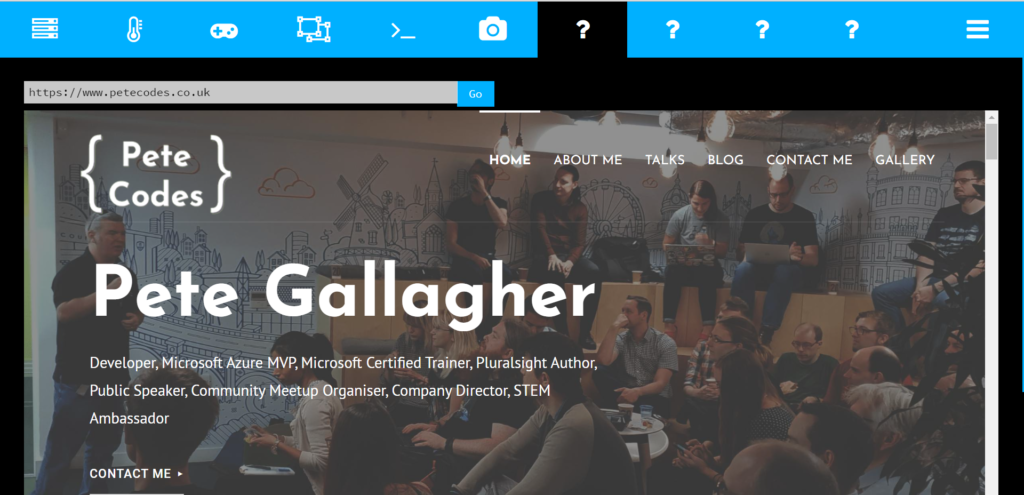
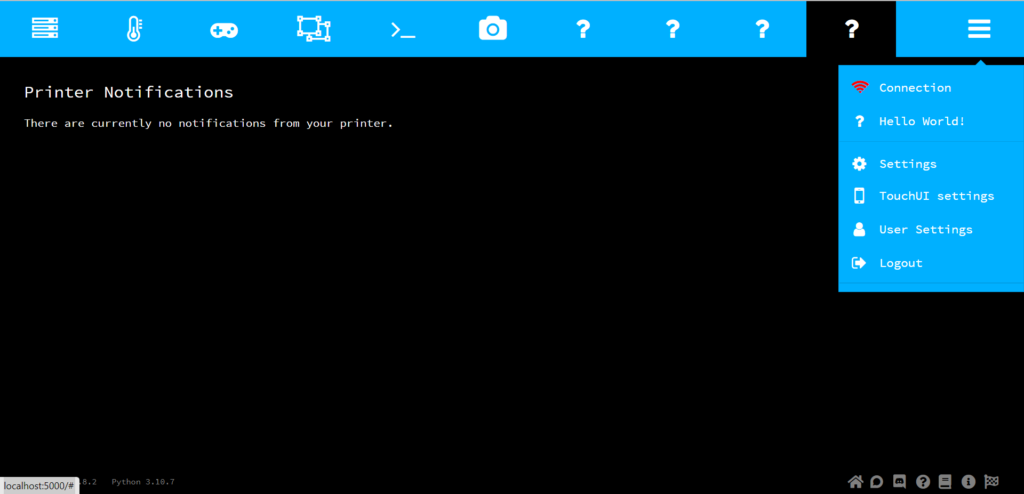
I see there’s a set of tabs at the top of the interface… I wonder if any of them are my Hello World Plugin?
Indeed one is! Well, this is good news indeed… Means I may have a chance of modifying the interface this way.
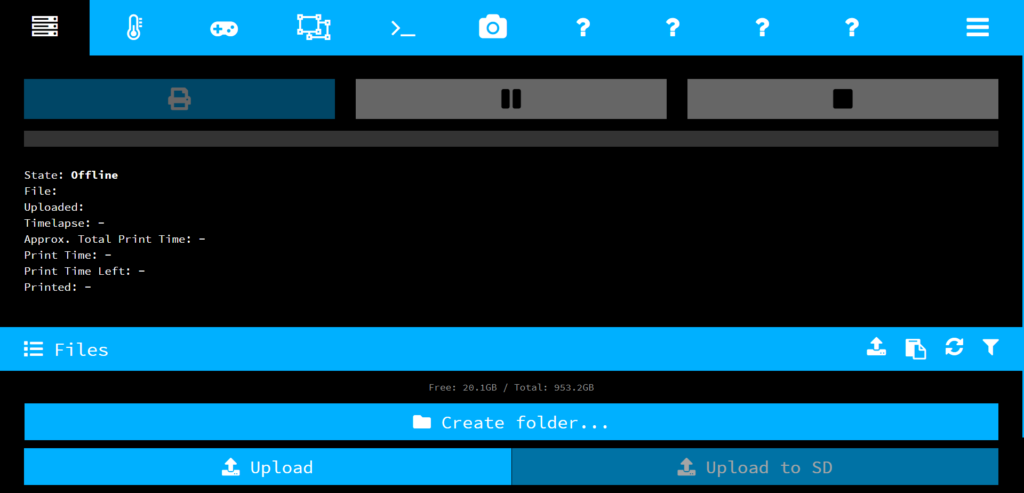
Looking through the other tabs we have the Files Tab;
We saw the Temperature Tab a few paragraphs above…
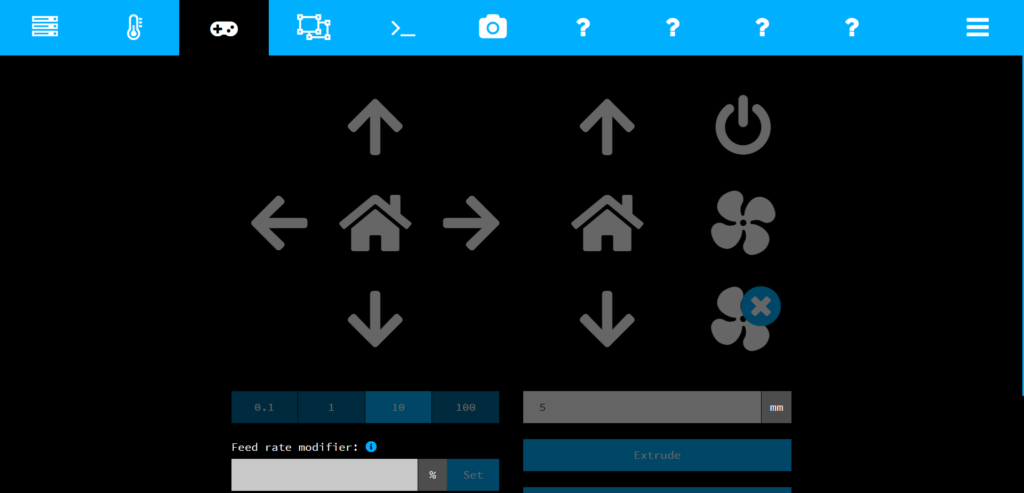
The Control Tab;
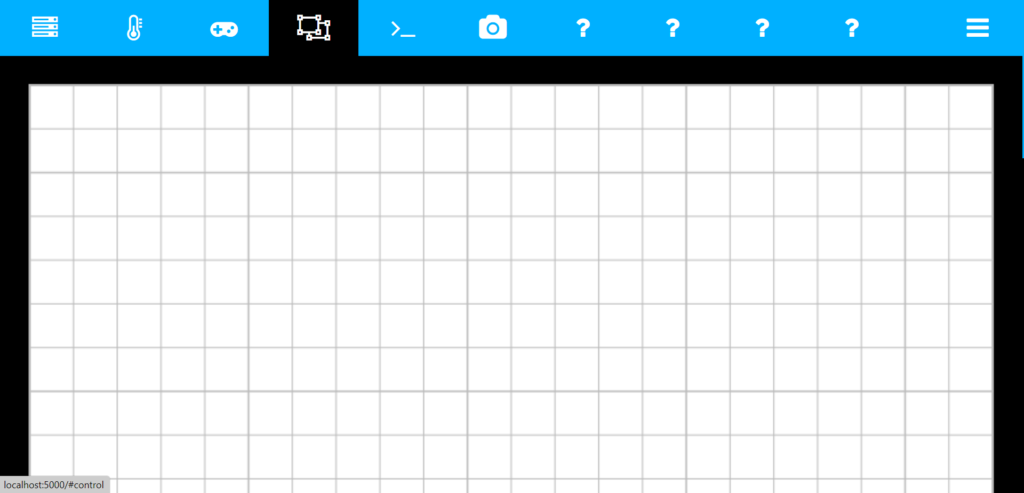
The GCode Tab;
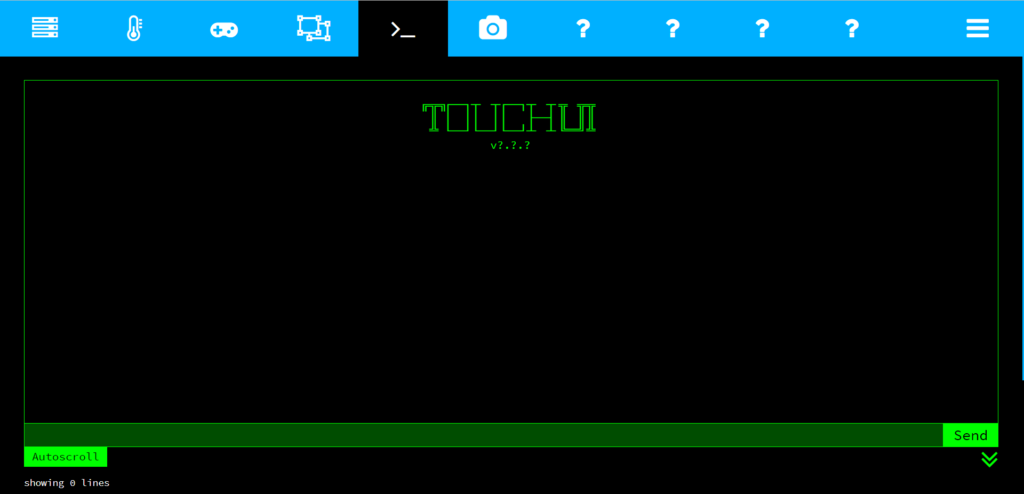
The Terminal Tab (Which I think looks mega retro and cool!);
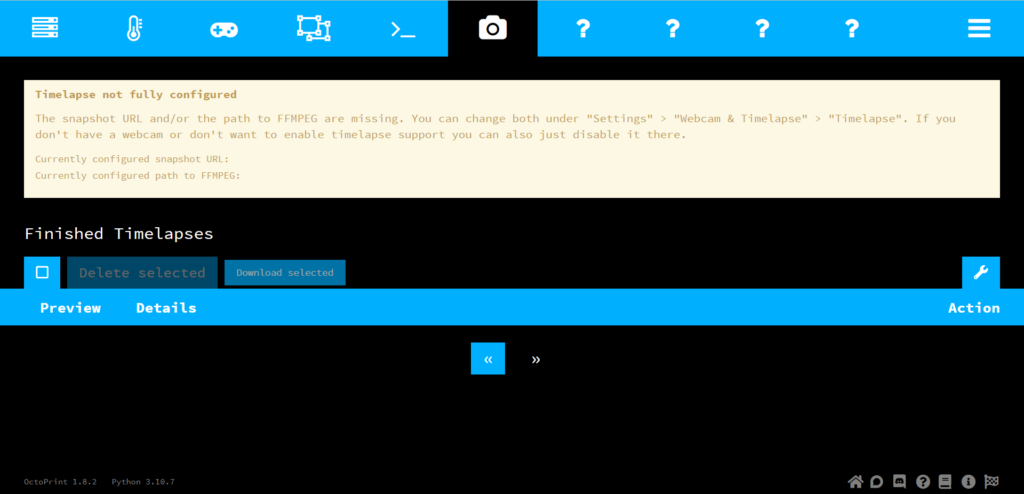
The TimeLapse Tab;
The next tab is our Hello World Plugin Tab, which we saw a screenshot of a few paragraphs ago too.
The next tab is the Firmware Check Warning tab, which appears to be blank;
Next is the Firmware Check Info tab, which also appears to be blank;
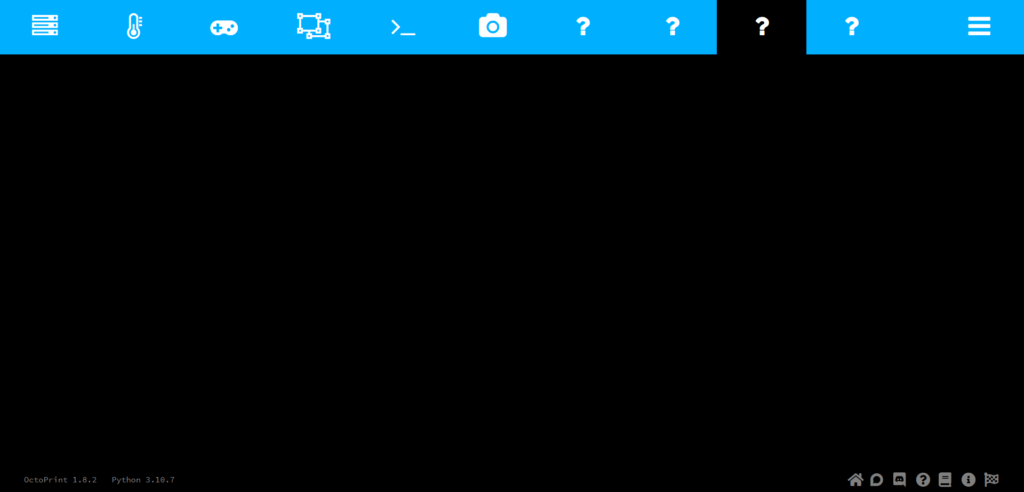
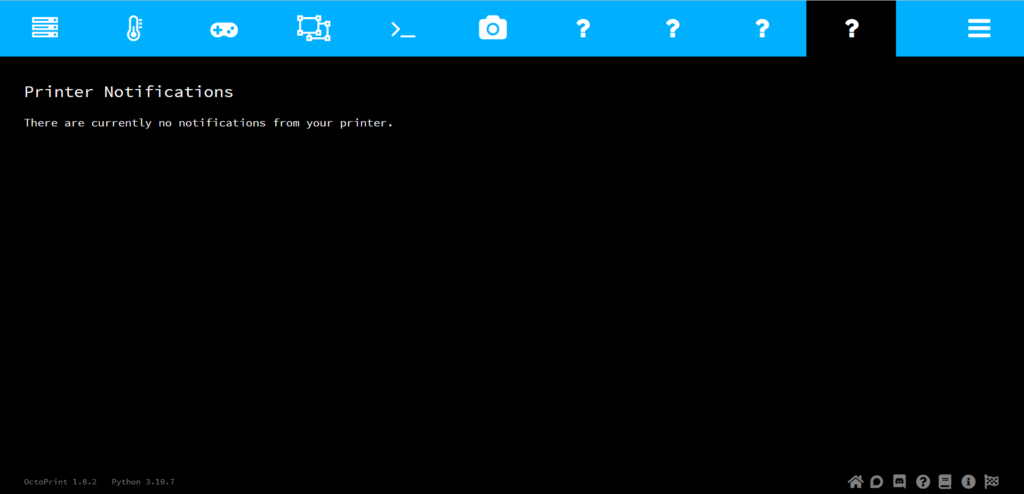
Finally we have the Side Plugin Action Command Notification Tab, which appears to show any Printer Notifcations;
Clicking the hamburger menu, we get a menu flyout;
Here we have items for Connection, Hello World! (again?), Settings, TouchUI settings, User Serrings and Logout.
I wonder why there’s another Hello World! item here… Clicking it;
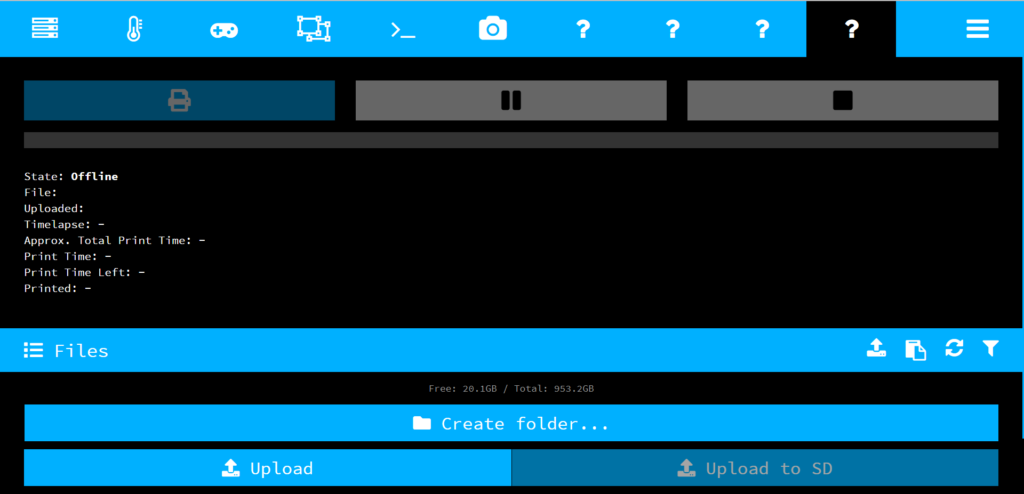
We seem to be taken to the Files tab, so I’m not sure what that’s supposed to be doing? Perhaps it’s a carry over from the fact that our Hello World Plugin tab was showing in the Burger Menu in the regular OctoPrint UI?
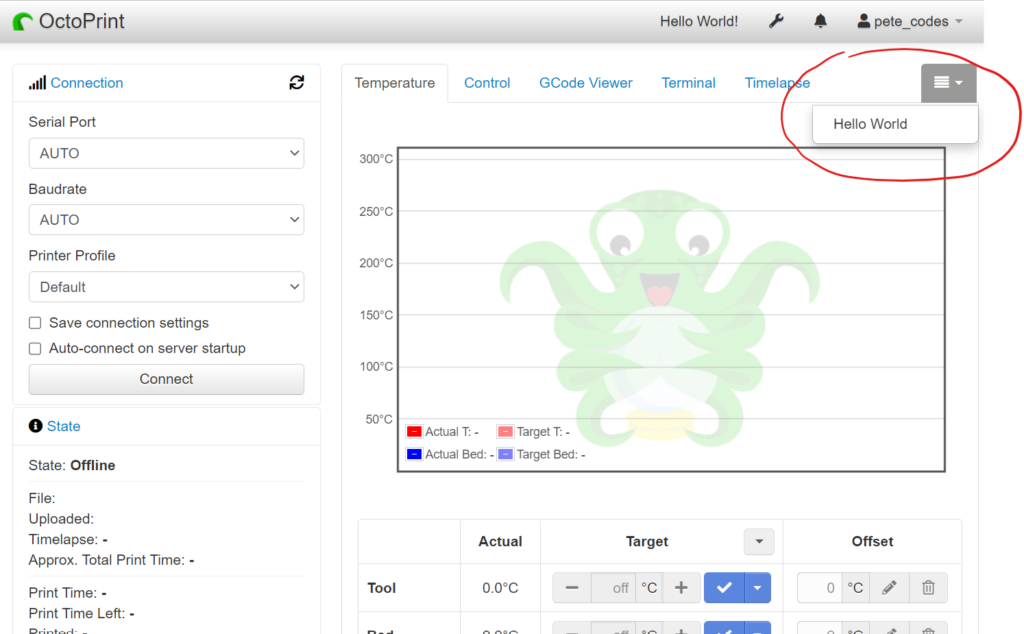
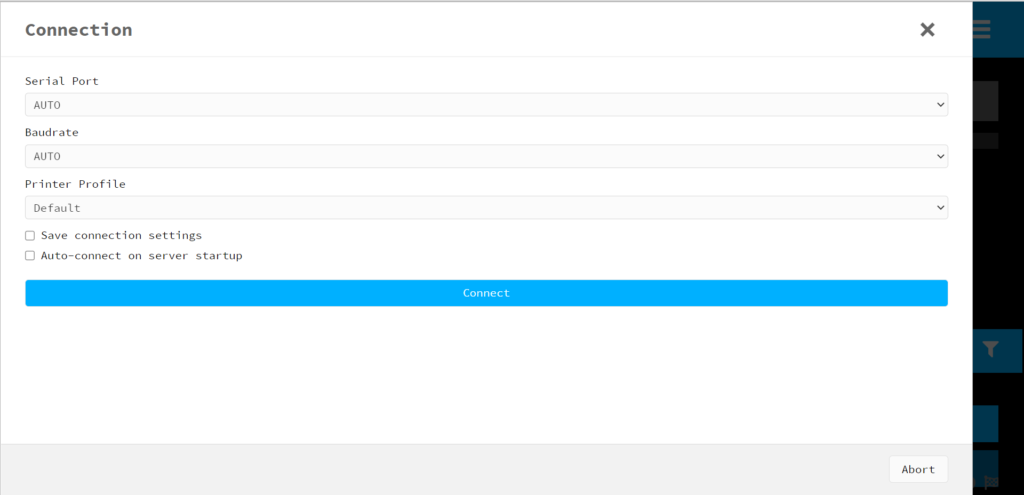
The first item in the Burger Menu is the Connection Flyout;
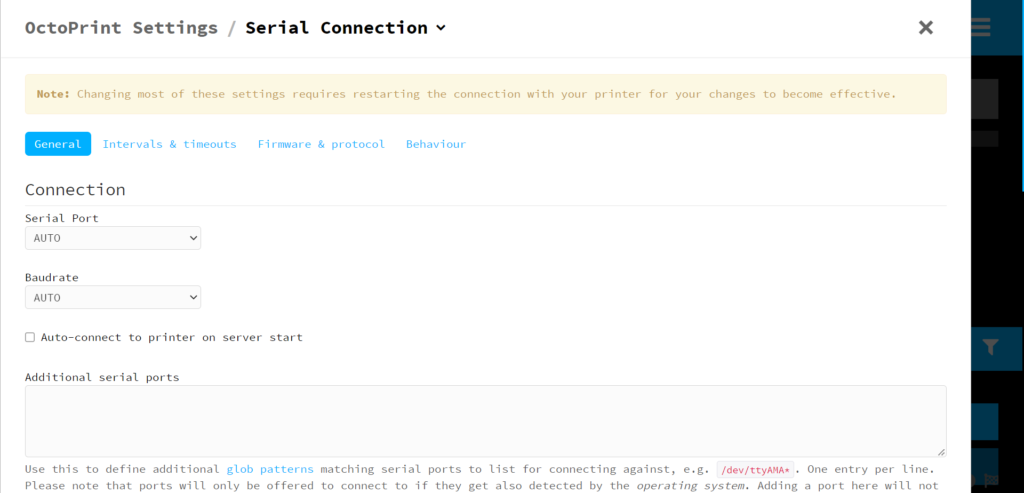
We then have the Settings FlyOut;
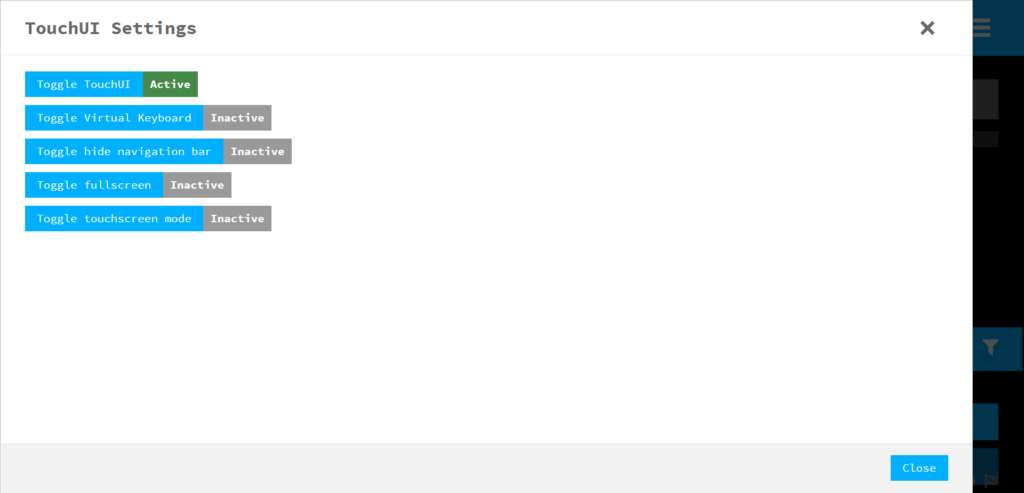
We then have the TouchUI Settings FlyOut;
Ooo… We have a Virtual Keyboard here! That’s mega… Let’s click that;

Closing the Dialog, we’re just returned to the interface. I guess I’ll have to click into a text box to make it show?
We know we have one with the Hello World Plugin, so let’s try that;
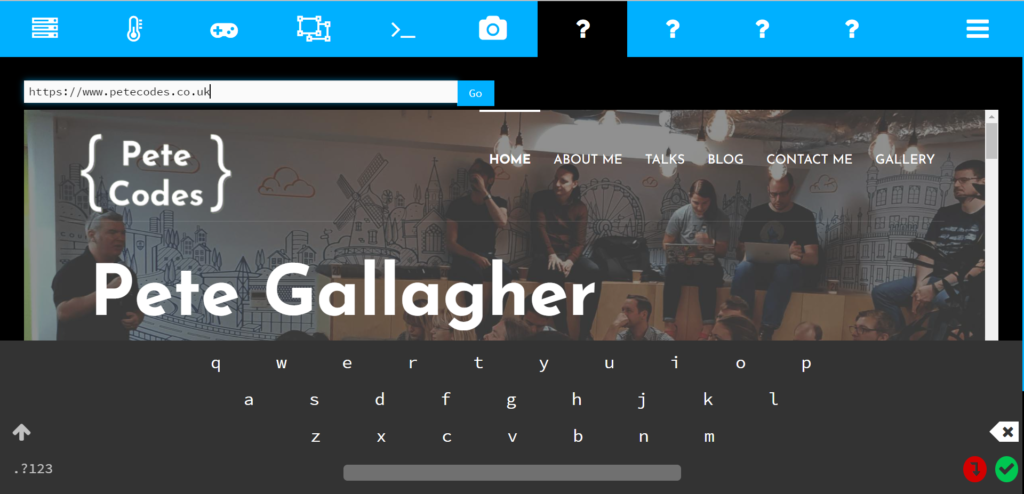
How awesome is that! A virtual Keyboard immediately appears… Love it! That will come in mega handy.
Next up in the burger menu, we have the User Settings FlyOut;
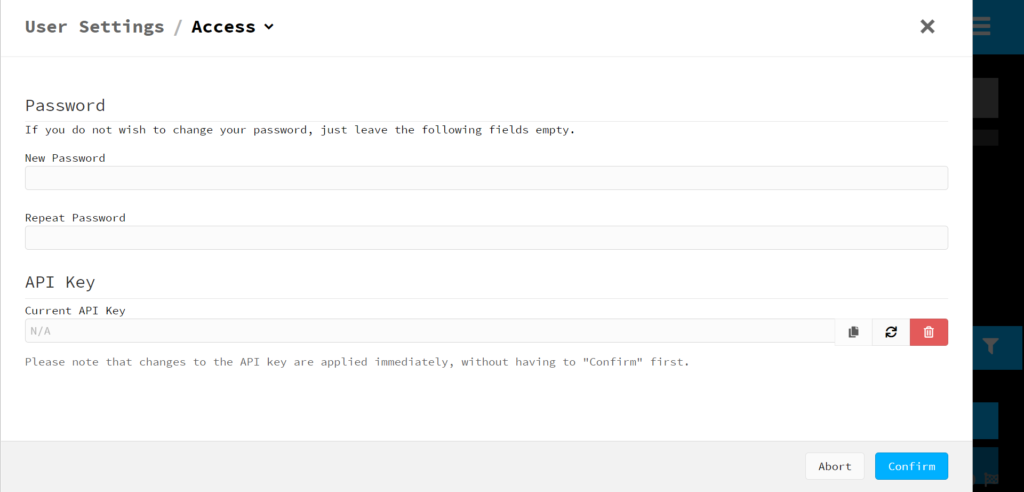
Clearly, I don’t want to be clicking the Logout Item!
Thinking about the Design
We really need to start thinking about the design of the interface now really.
Obviously, we have a great starting point here with the TouchUI Plugin, and to be fair, I don’t think this is very far off what we need at all.
So, in my mind, the first thing I need to be looking at actually, is integrating the user buttons.
The first place to start is the GitHub repo for the Seed Studio reTerminal Python Library.
This repo is described as;
This is a Python library which enables you to use the onboard hardware on the reTerminal and reTerminal Bridge.
Currently the accelerometer, user LEDs, user buttons and buzzer can be accessed using this Python library on reTerminal, and the fan, RS232, RS485, CAN can be accessed by using this Python library on reTerminal Bridge.
It’s handy that both OctoPrint and this library are written in Python… That will certainly make integration easier…
Of course, the issues will be that, we want to switch tabs in the UI, but this library is designed for backend applications I’d say. So how will we integrate it?
We also can’t test and debug this part on my PC here, as it doesn’t have the buttons. I wonder is there some way to test this with shims or something?
Let’s see tomorrow eh!
