This post is a series of posts in which I detail my journey to bring OctoPrint to the Seeed Studio reTerminal.
Day 11
In today’s post we’ll be digging in to how to use the reTerminal User Buttons with OctoPrint and the TouchUI Plugin.
Contents
Day 1 – 05–09–22 – Getting Started:
- Getting Started – 05/09/2022
- My Initial Plans
- Cloning the Repos
- A pointer in the right direction from the folks at OctoPrint3D – Plugins
- OctoPrint Plugin Mixin Development Docs
- Getting the Development Environment setup
- Installing Python
- Checking out the OctoPrint Sources
- Creating and Activating a Virtual Environment
- Build Tools for Visual Studio 2019
- Setting up VirtualEnv
- Adding VirtualEnv to the Windows Path
- Upgrading Pip
- Setting up the Virtual Environment
Day 2 – 06–09–22 – Setting up the Environment:
- OctoEverywhere – 06-09-22
- Continuing with VirtualEnv
- Activating the Virtual Environment
- Setting up the Virtual Environment
- Installing Microsoft Visual C++ 14.0
- Using pip to install packages in the Virtual Environment
- Git Pre-Commit
- Git Changes, Blame and Ignore
- Configuring VS Code
- Running OctoPrint for the first time
- Changing the Python Interpreter
- Running the OctoPrint from VS Code
Day 3 – 07–09–22 – Setup Wizard:
- Setting up OctoPrint in the Debug Environment – 07-09-22
- Setup Wizard – Access Control
- Setup Wizard – Online Connectivity
- Setup Wizard – Usage Tracking
- Setup Wizard – Plugin Blacklist
- Setup Wizard – Printer Profile
- Setup Wizard – Please Reload
- Setup Wizard – Setup Printer (Again)
- Setup Wizard – Server Commands
- Setup Wizard – Webcam and Timelapse Recordings
- Setup Wizard – Finish
- Virtual 3d Printer Plugin
- Beginning Plugin Development
The reTerminal User Buttons – 16-09-2022
As I pointed out yesterday, the first place to start is the GitHub repo for the Seed Studio reTerminal Python Library.
This repo is described as;
This is a Python library which enables you to use the onboard hardware on the reTerminal and reTerminal Bridge.
Currently the accelerometer, user LEDs, user buttons and buzzer can be accessed using this Python library on reTerminal, and the fan, RS232, RS485, CAN can be accessed by using this Python library on reTerminal Bridge.
Again, this is a Python Library, so that’s handy for us as OctoPrint is written in Python. However, we need to figure out primarily how we integrate this Python Library and OctoPrint from a BackEnd / FrontEnd perspective.
Of course, we do know that it’s possible to develop directly on a Raspberry Pi with OctoPrint installed. Further, the CM4 is a very capable devices, so it’s possible we’ll have a reasonable experience to be fair.
I think the first thing we should do though is to make sure the User Buttons work on our reTerminal…
The reTerminal App
We can actually see the buttons working already using the reTerminal App that comes preinstalled on the device;
Interestingly, I’ve just noticed that this app has an uppercase R for ReTerminal rather than a lowercase one like I’ve been using the whole way through this blog post series.
Checking the official site for the Re/reTerminal;
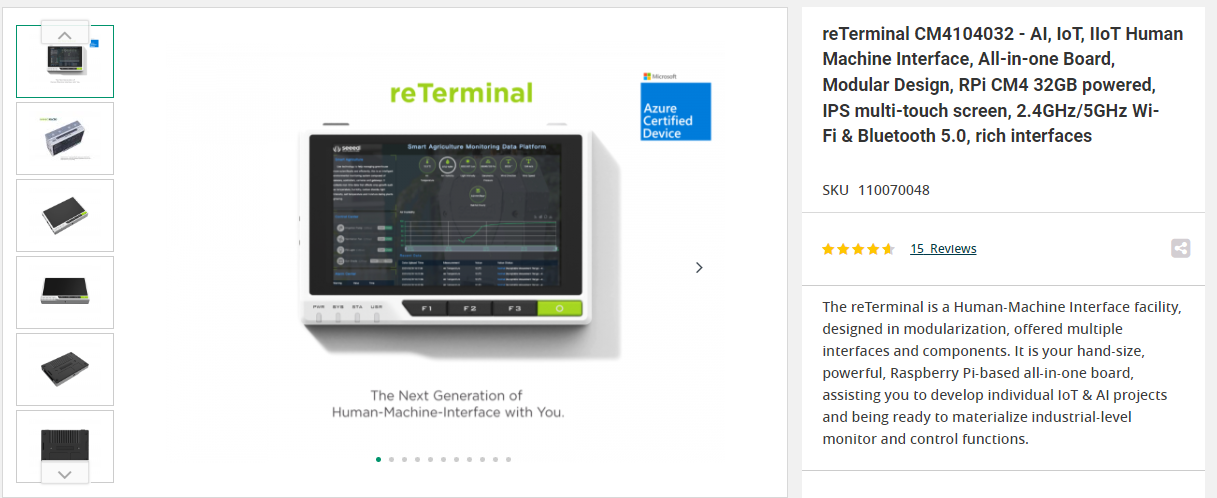
Phew… I was using the official styling… Interesting then that the app uses something different… Hey ho.
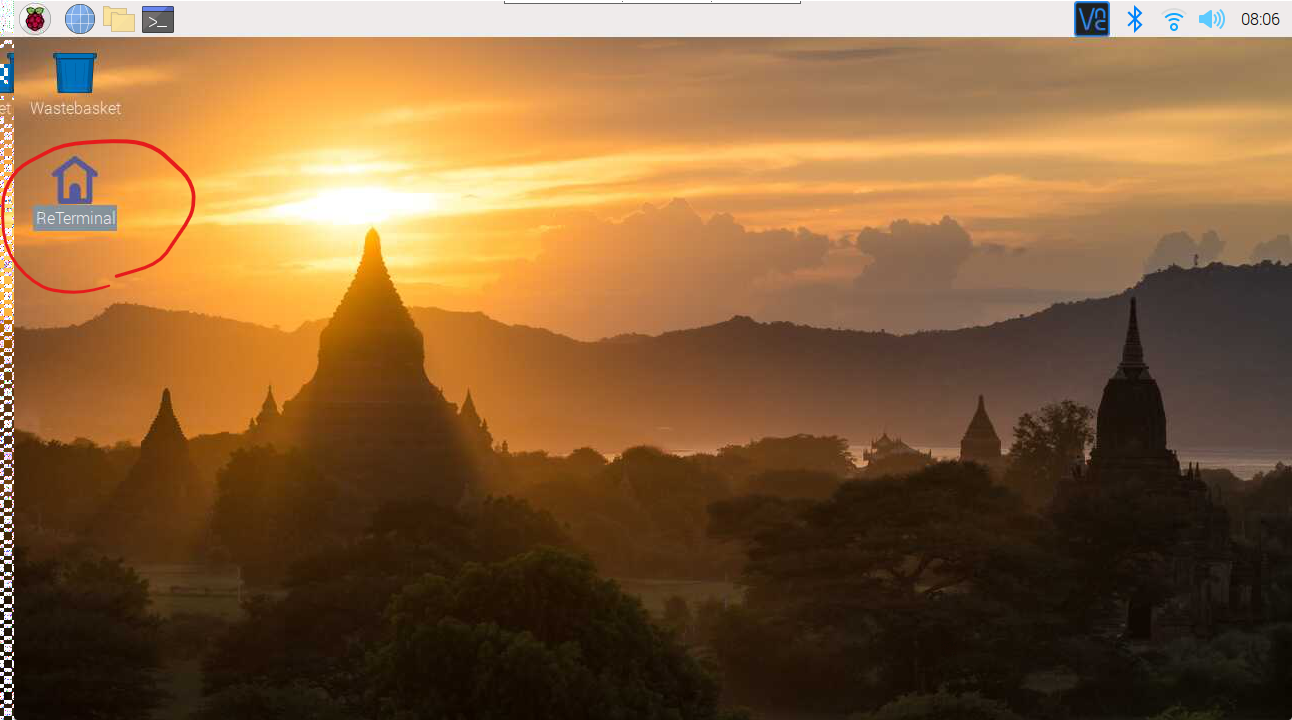
Firing up the ReTerminal app;
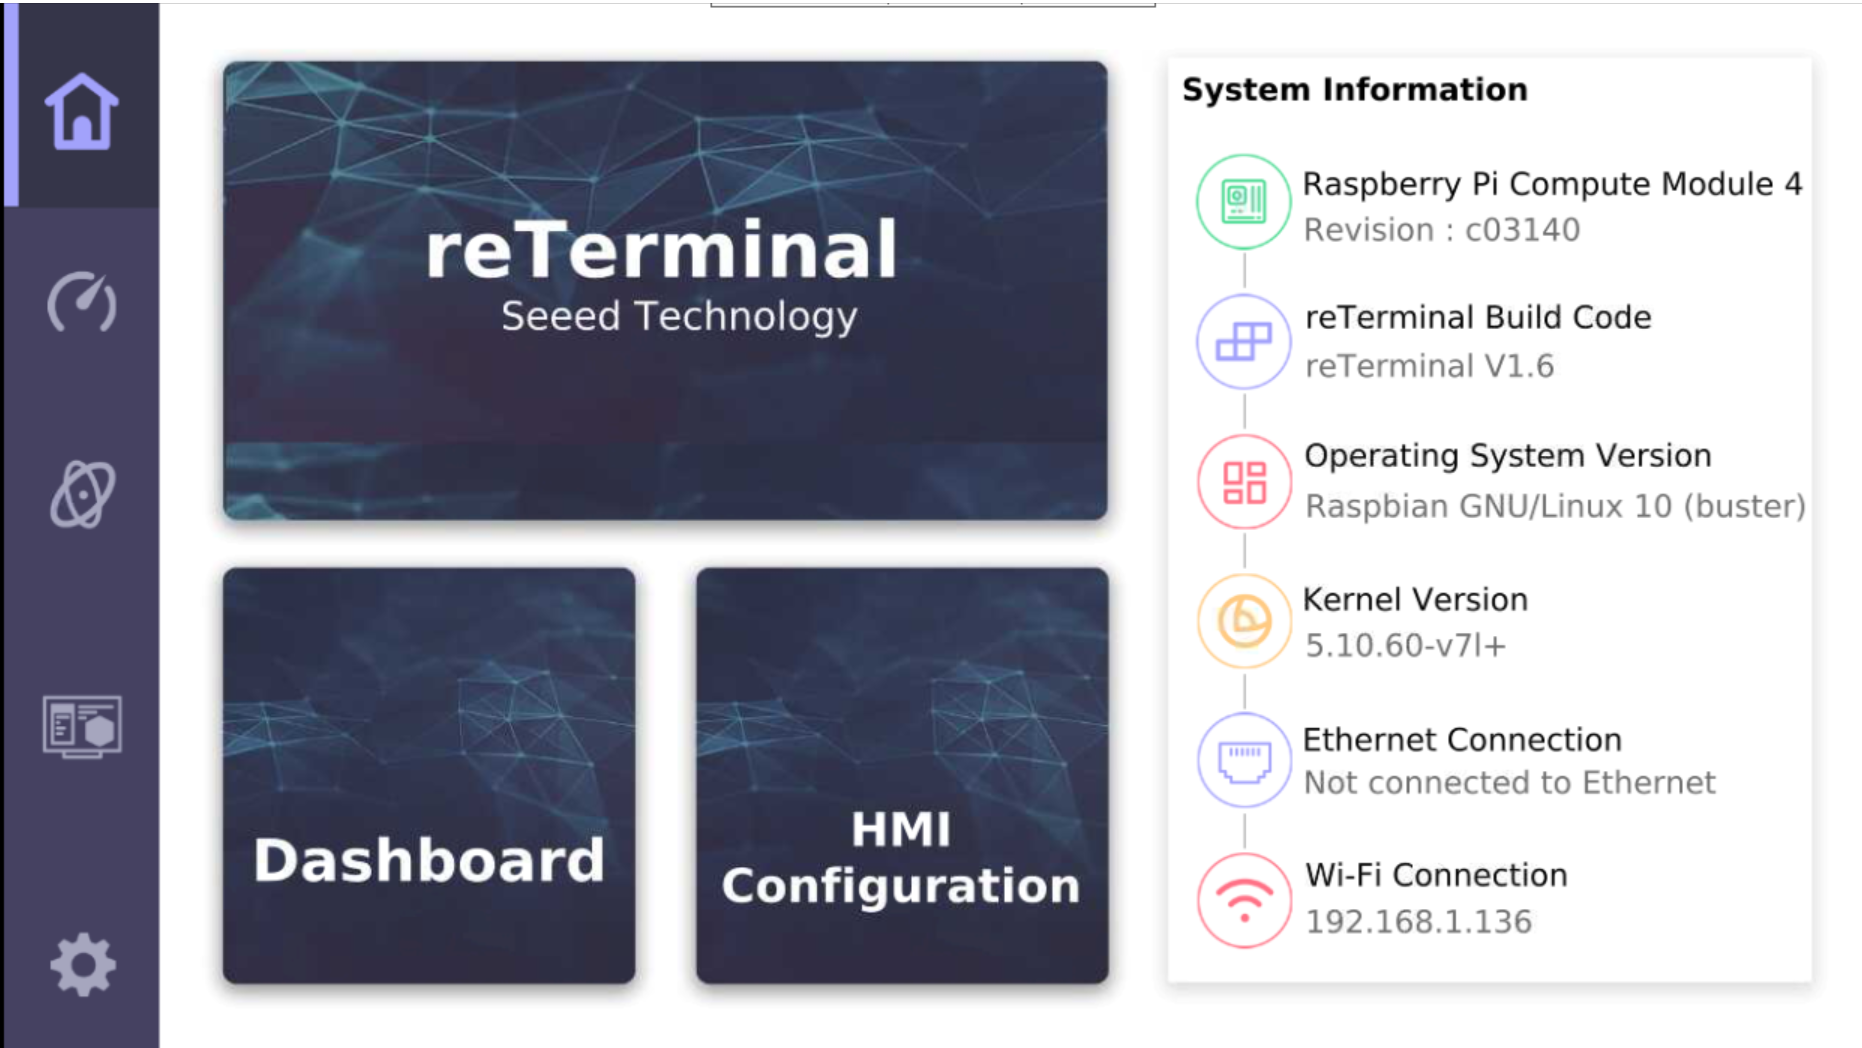
The first thing we see is the Home Screen, showing the version information of our device etc…. Very handy.
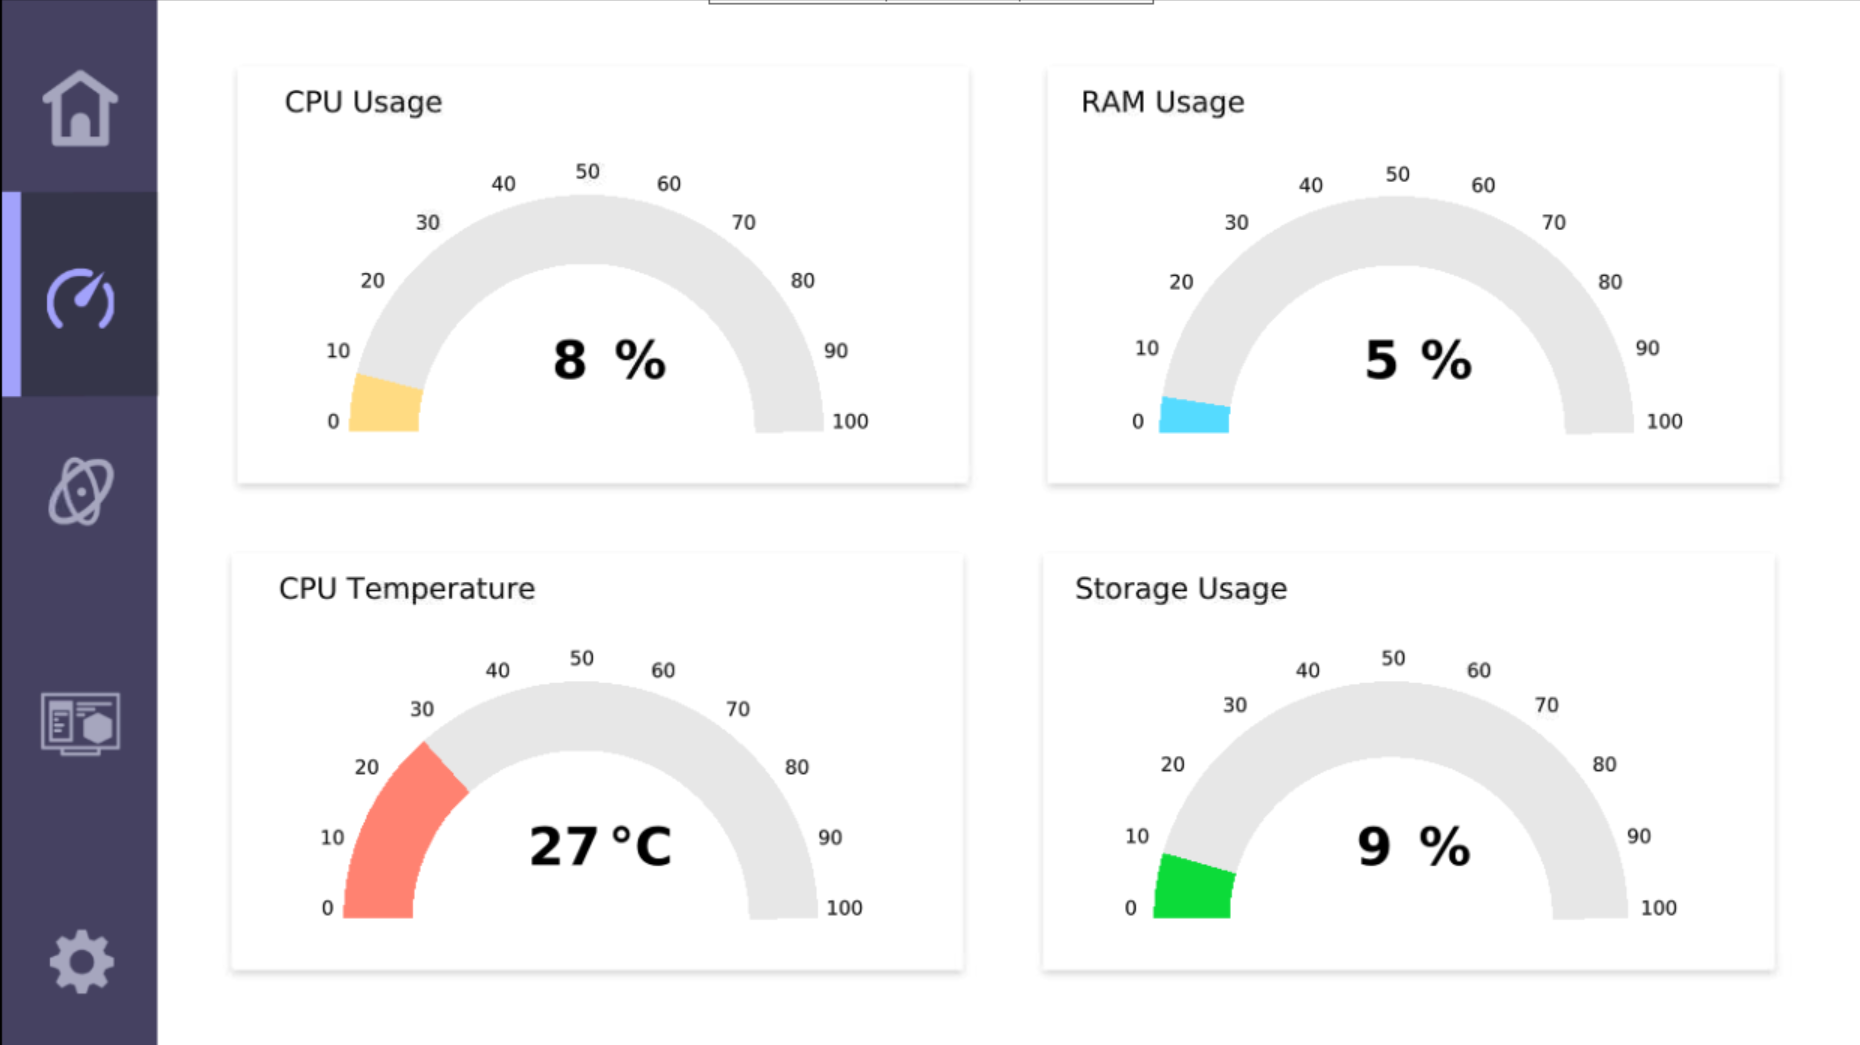
The next tab gives us a wonderful looking graphical representation of the CPU Usage, RAM Usage, CPU Temperature and Storage Usage;
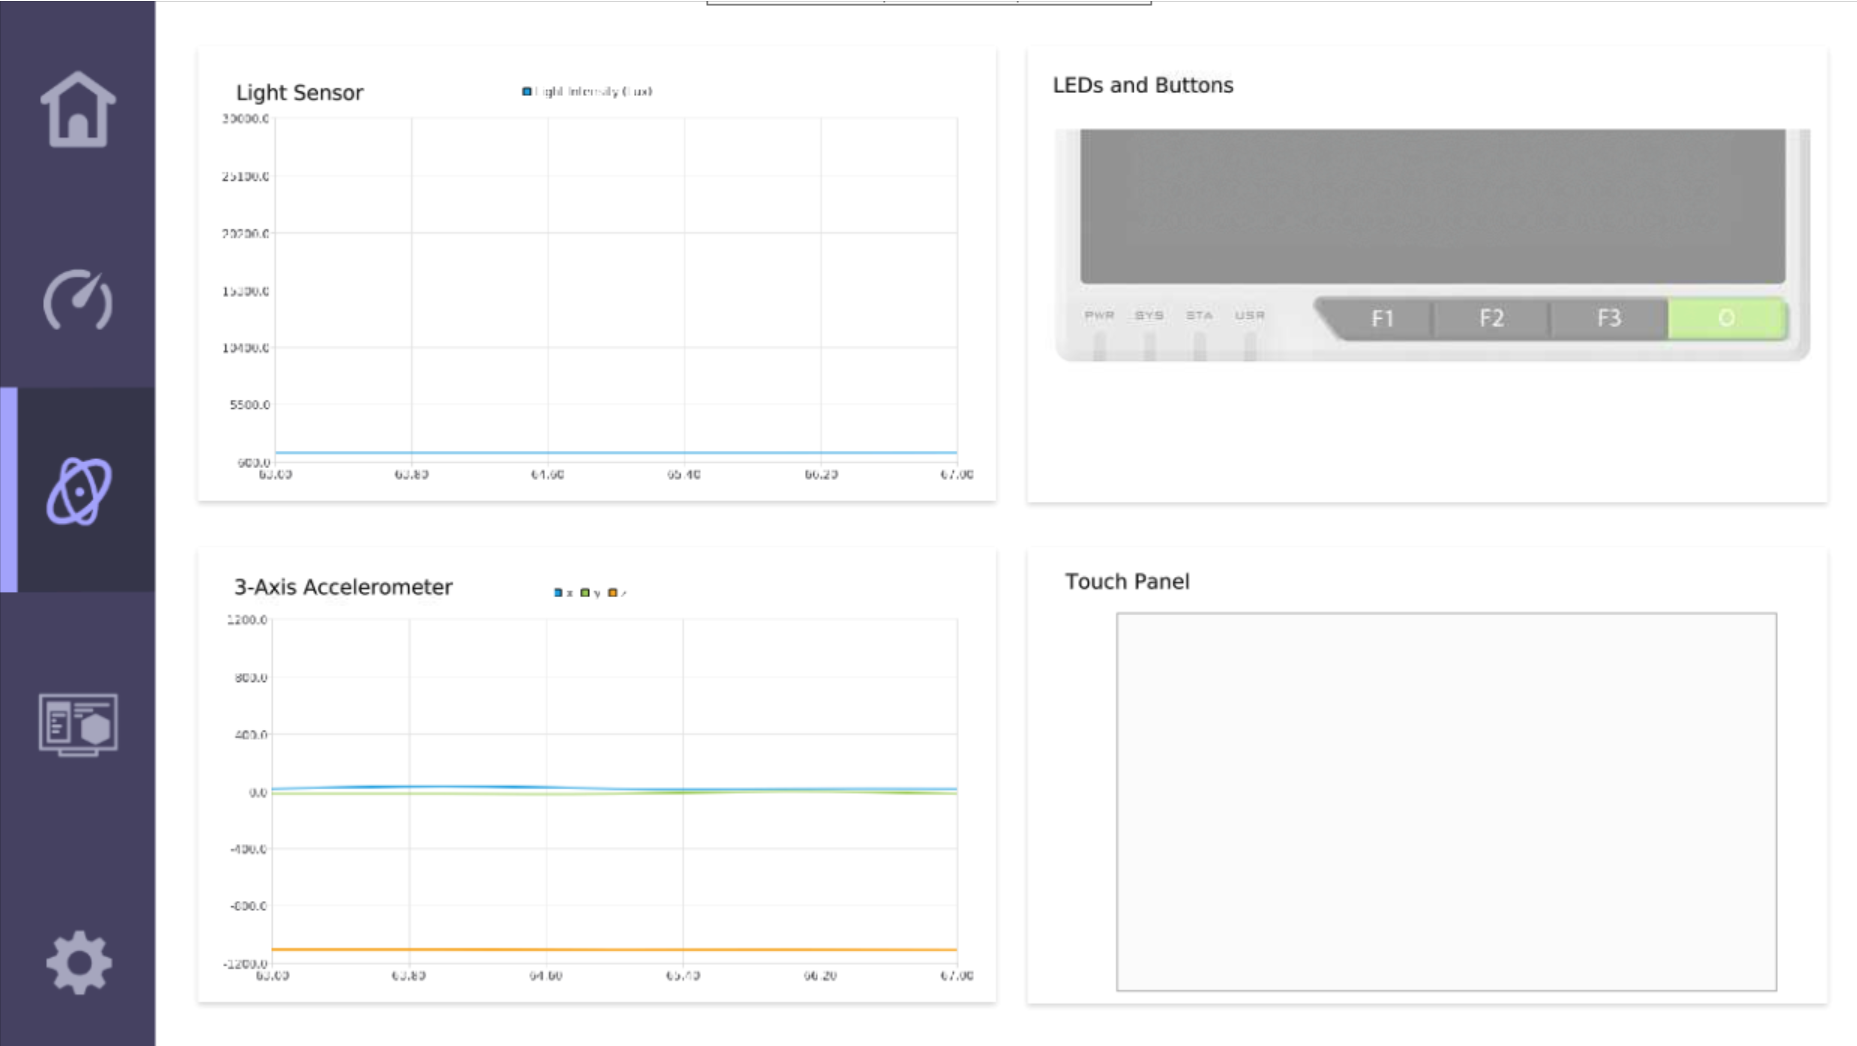
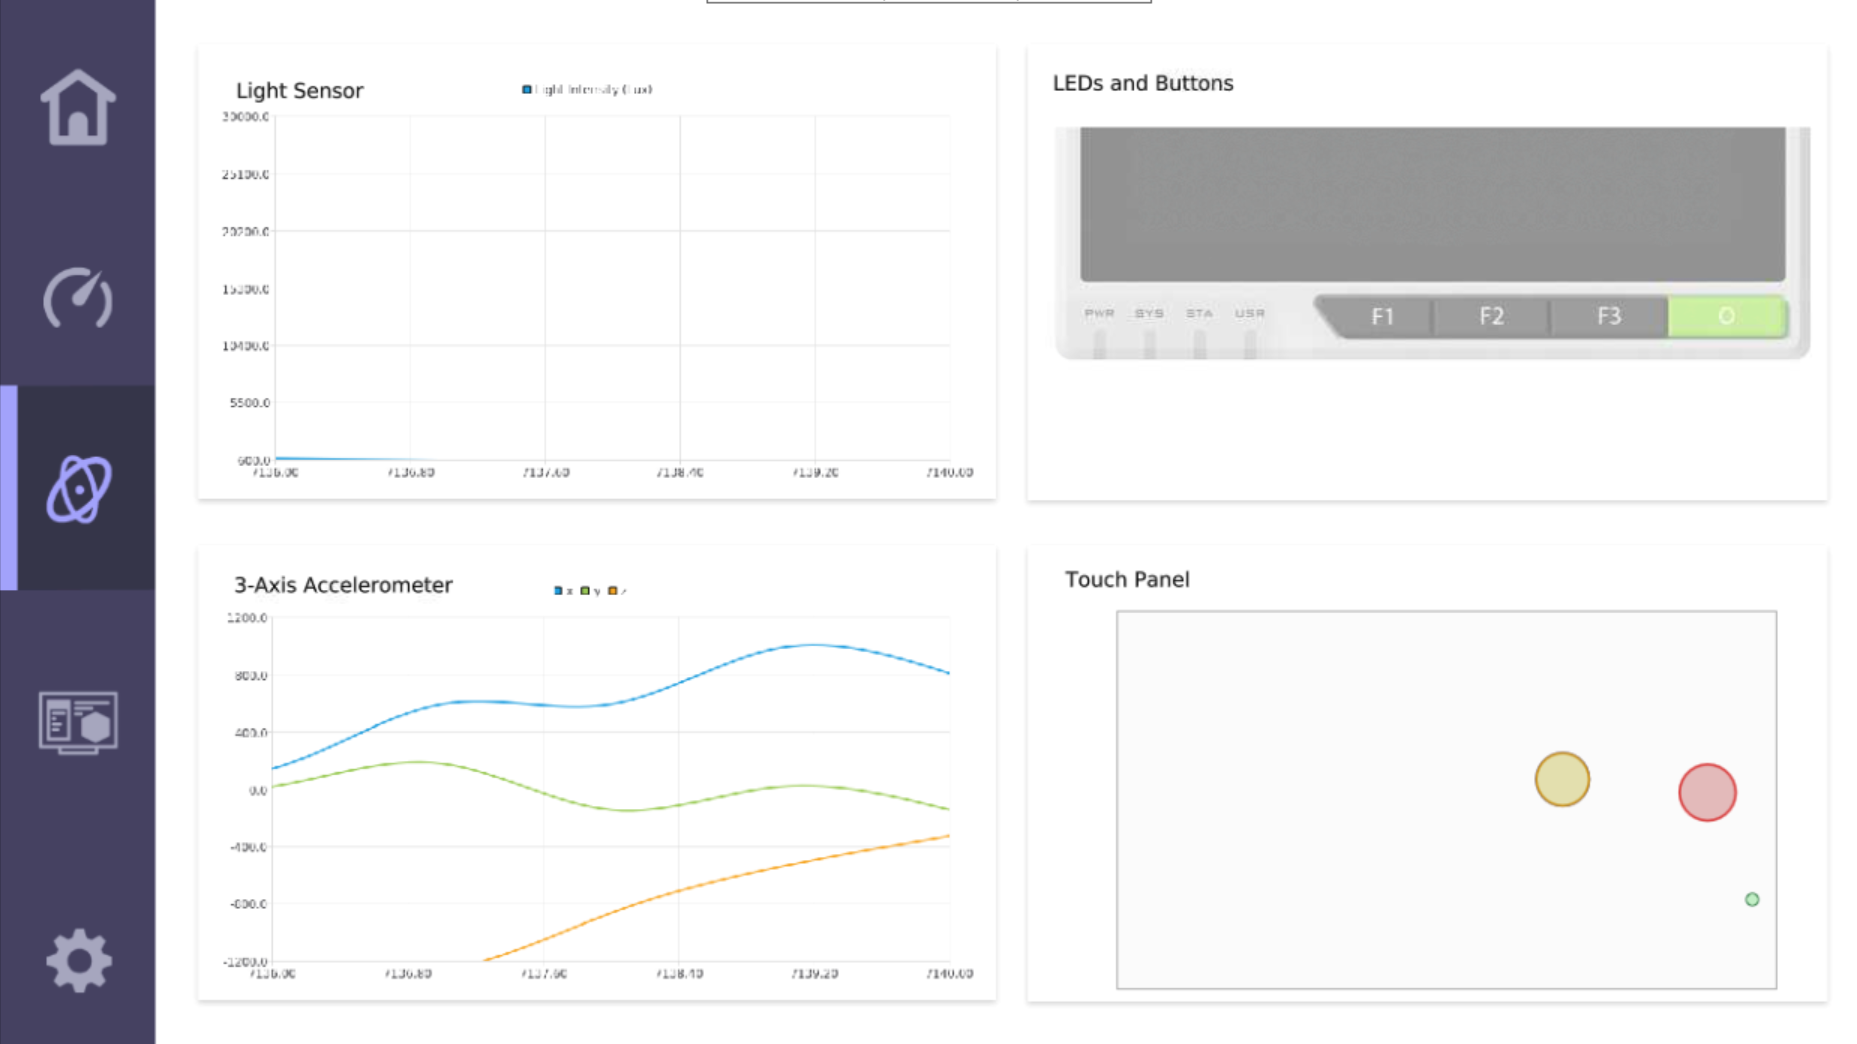
The next tab gives us access to the onboard sensors and buttons as well as an area showing us the Touch Panel details;
Pressing the F1 button;
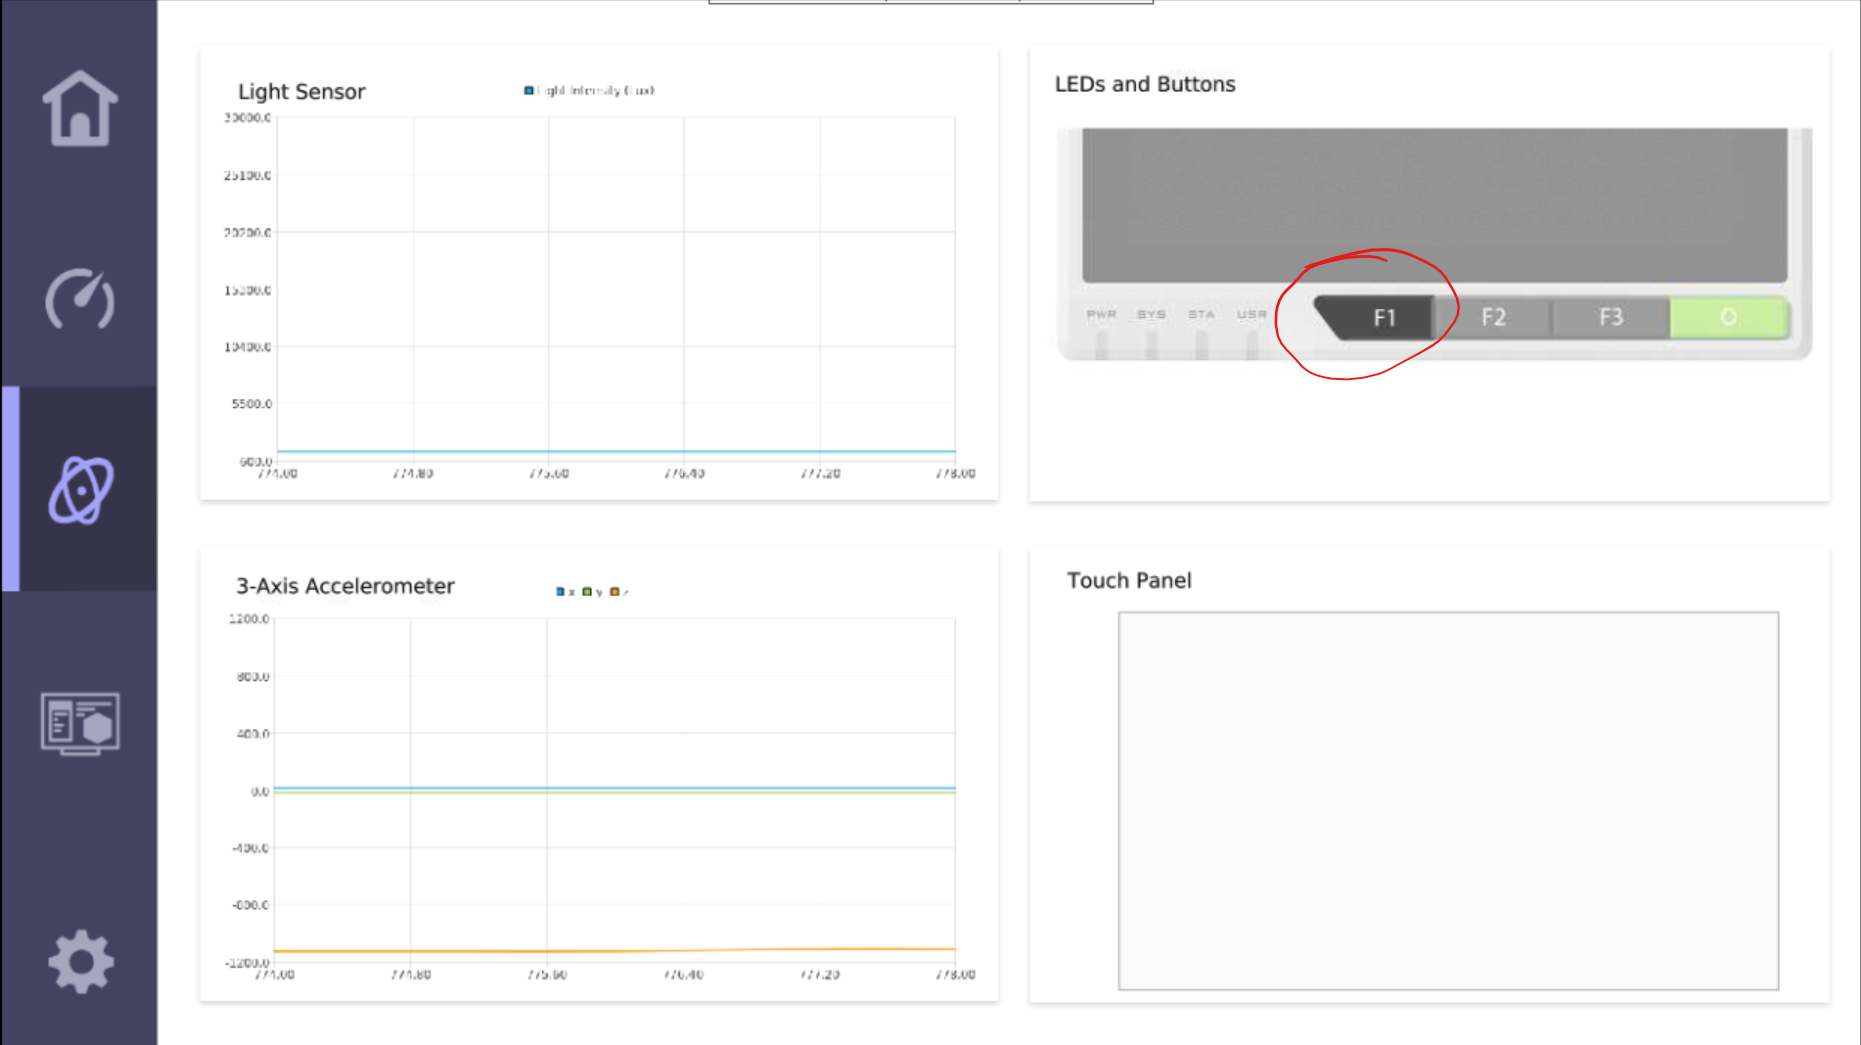
I can see this repeated for the other buttons, as well as a view of where the touchscreen has been pressed along with how many simultaneous touches are registered;
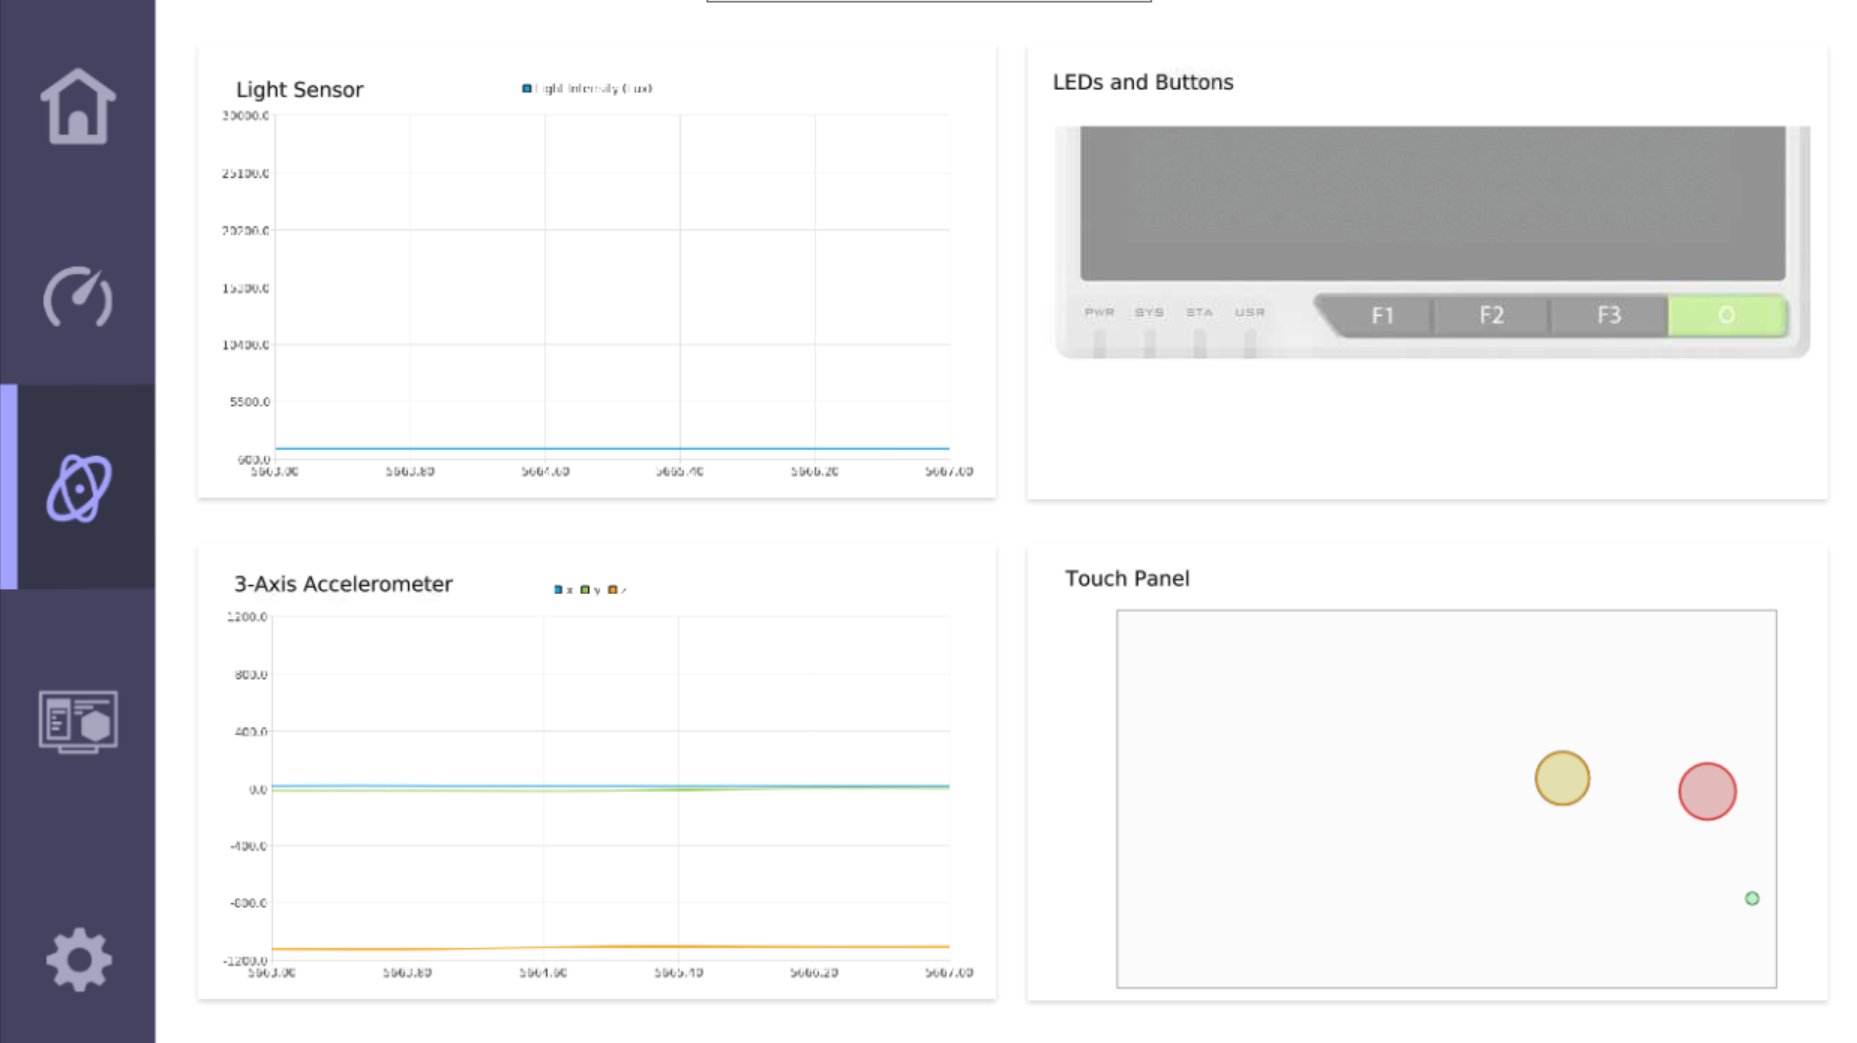
Waving my hand in front of the reTerminal affects the Light Sensor graph;
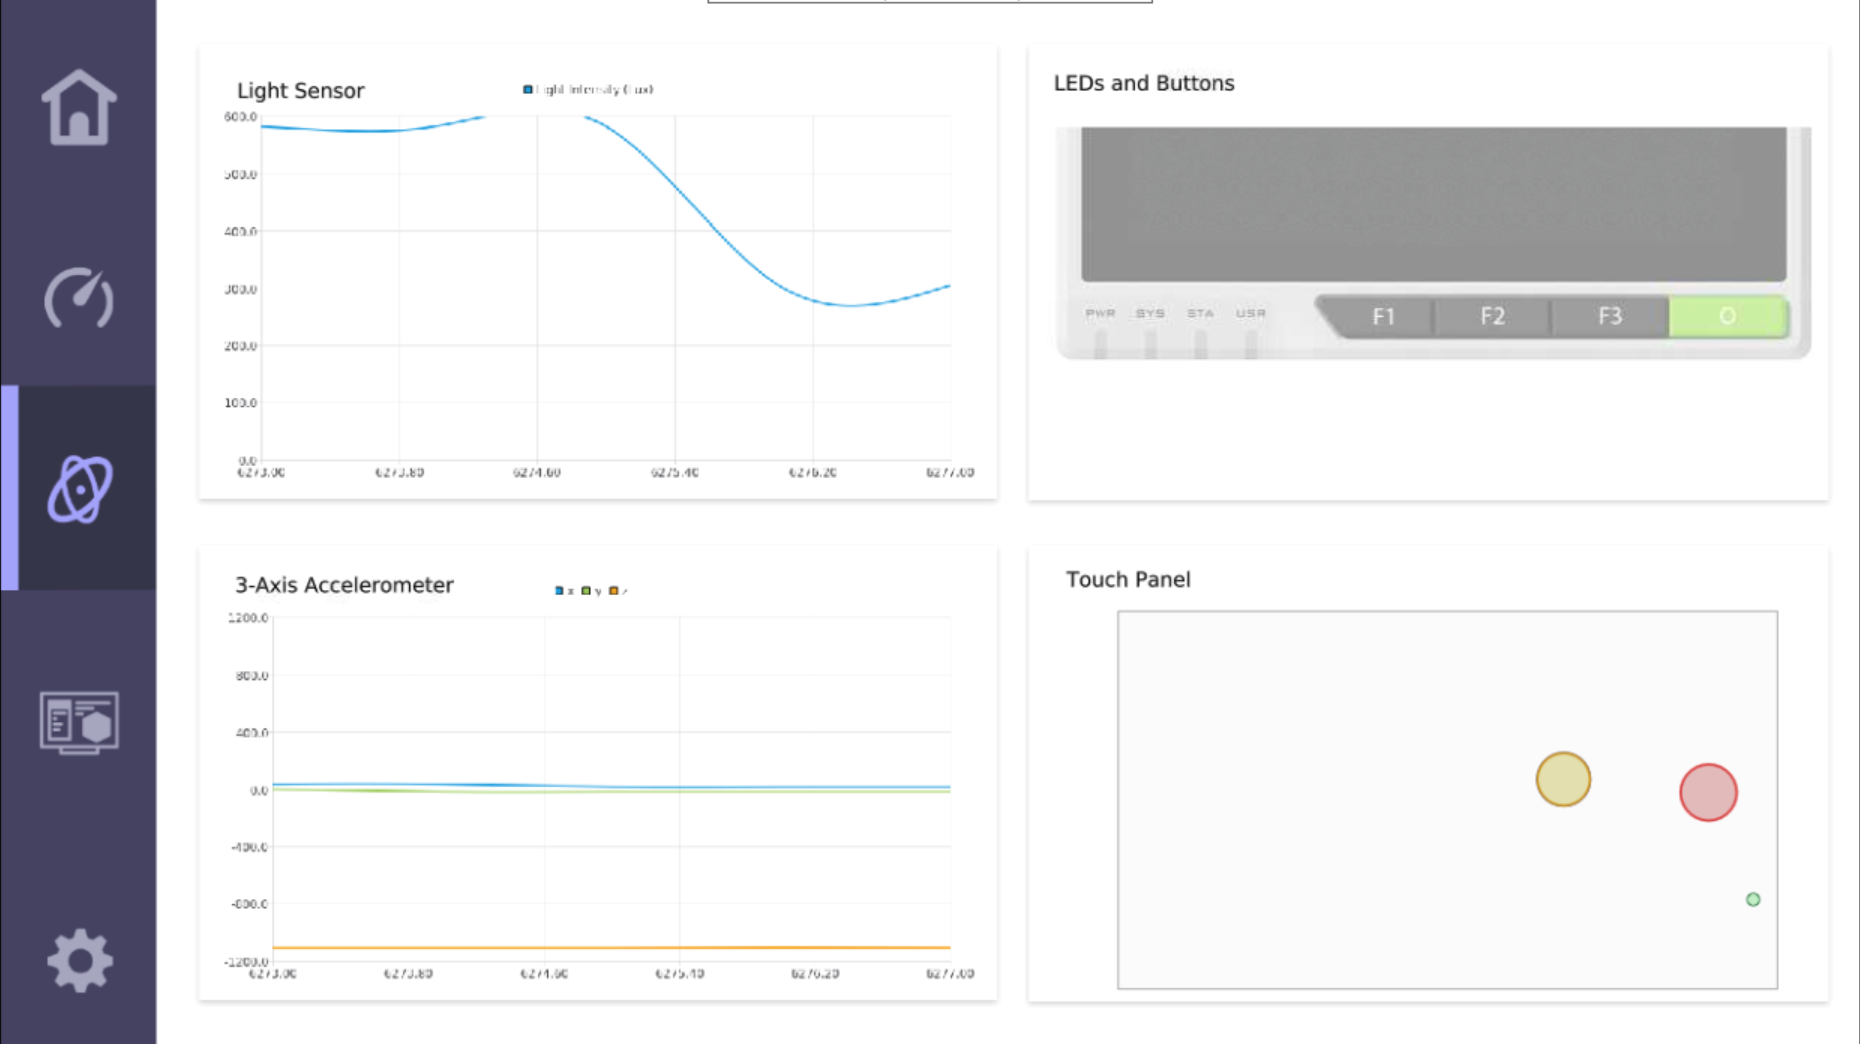
While rotating or moving the device changes the 3-Axis Accelerometer graph;
The next tab down in the HMI Configuration tab;
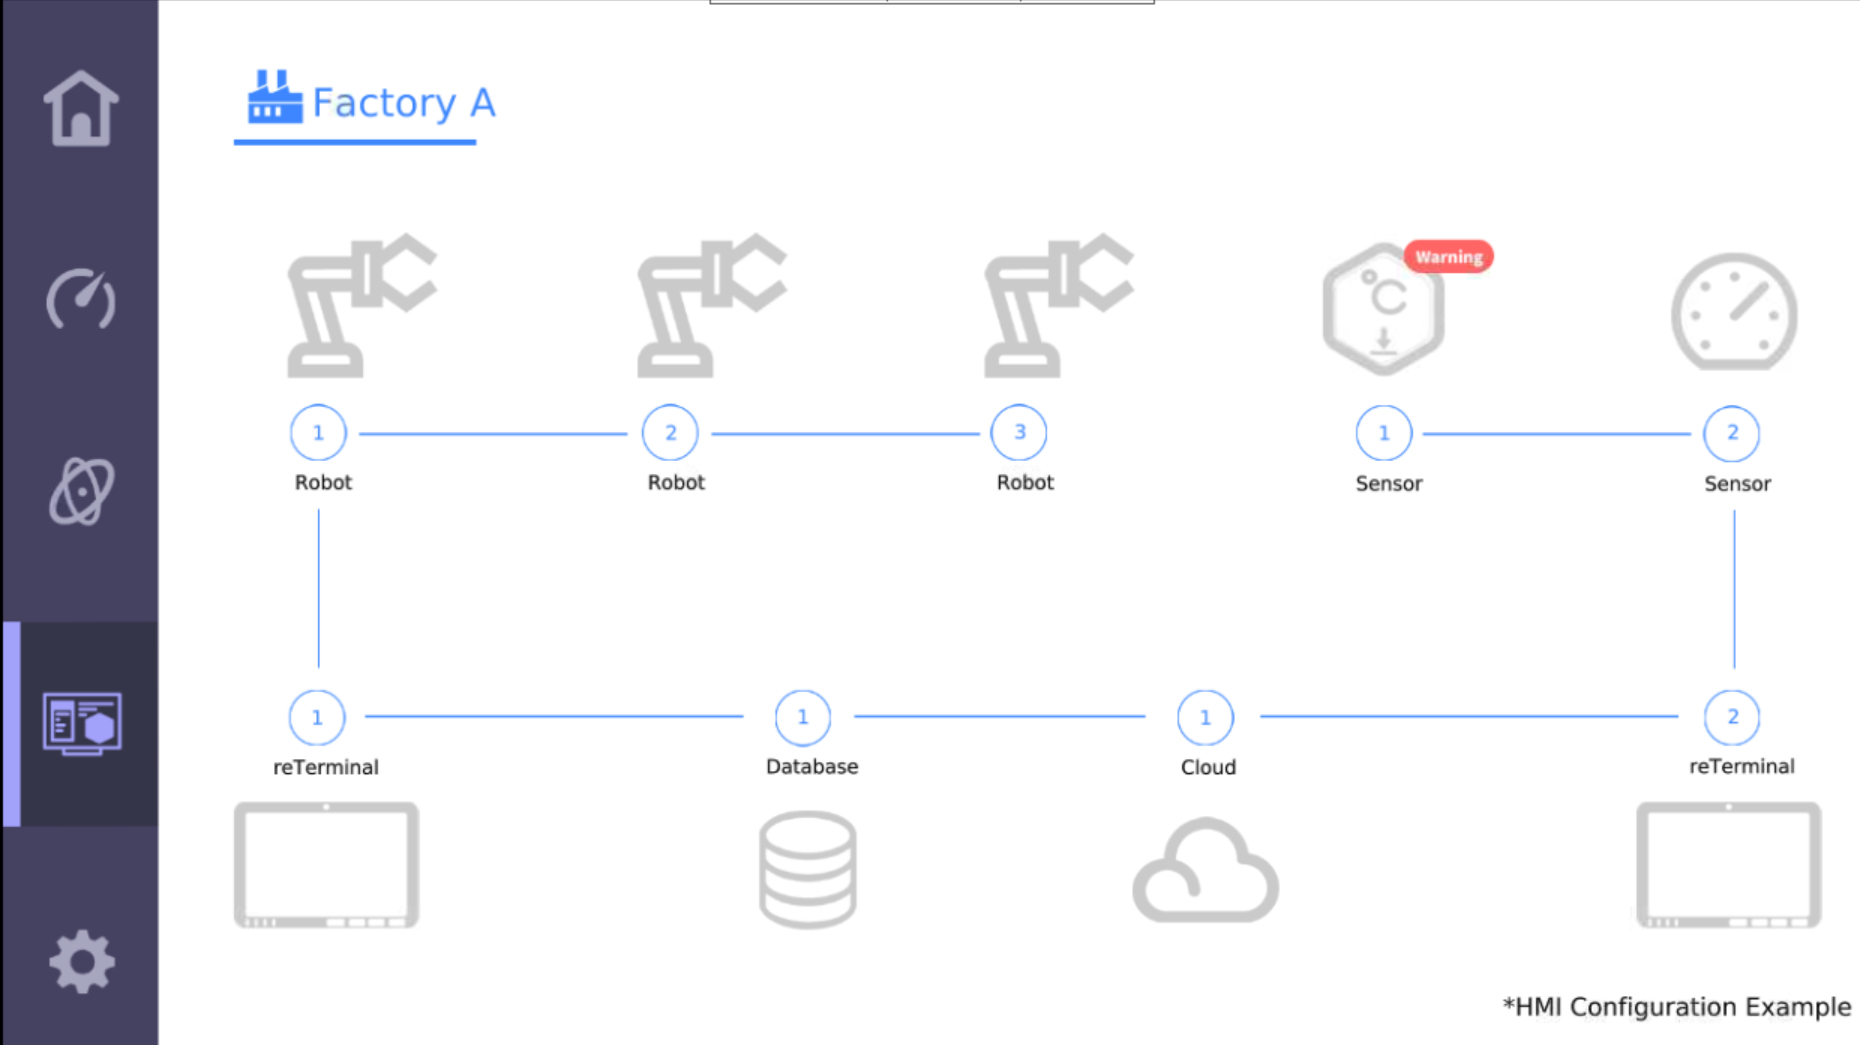
Here we can see some sort of Human Machine Interface example. As far as I can see, this tab doesn’t actually have any functionality, but I might be missing something?
The final tab is Settings, where we can control the various reTerminal and essentially Raspberry Pi interfaces;
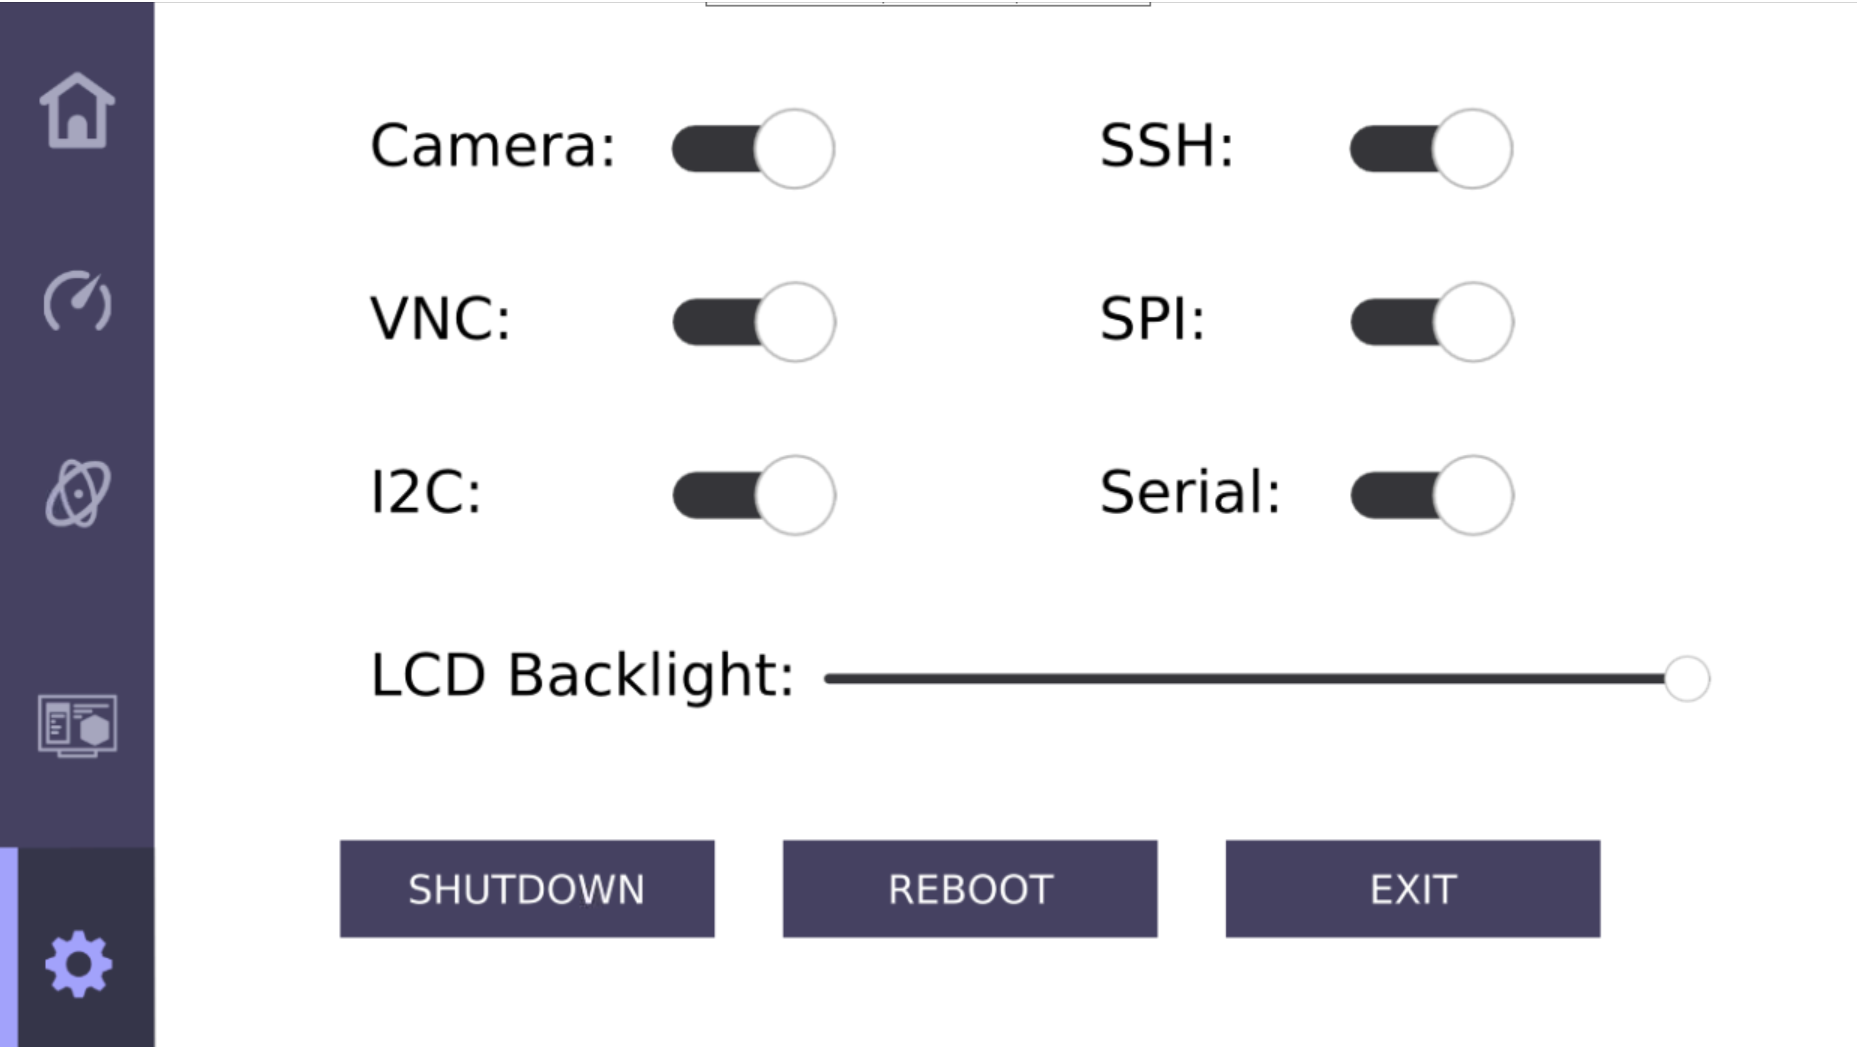
We’ve already got everything turned on here, which I think I did during the IoTeaLive stream.
Trying the reTerminal Python Library Samples
Now that we know our buttons are working correctly, let’s dial in to the reTerminal using SSH, create a folder for our samples, and start playing.
I guess we could actually clone the GitHub Repo, install the python package and use the samples that are included in the repo.
I do wonder then if we should be creating a virtual environment too though. I think for one library, we’ll be ok… I’m betting it’s already installed system wide by default anyway!
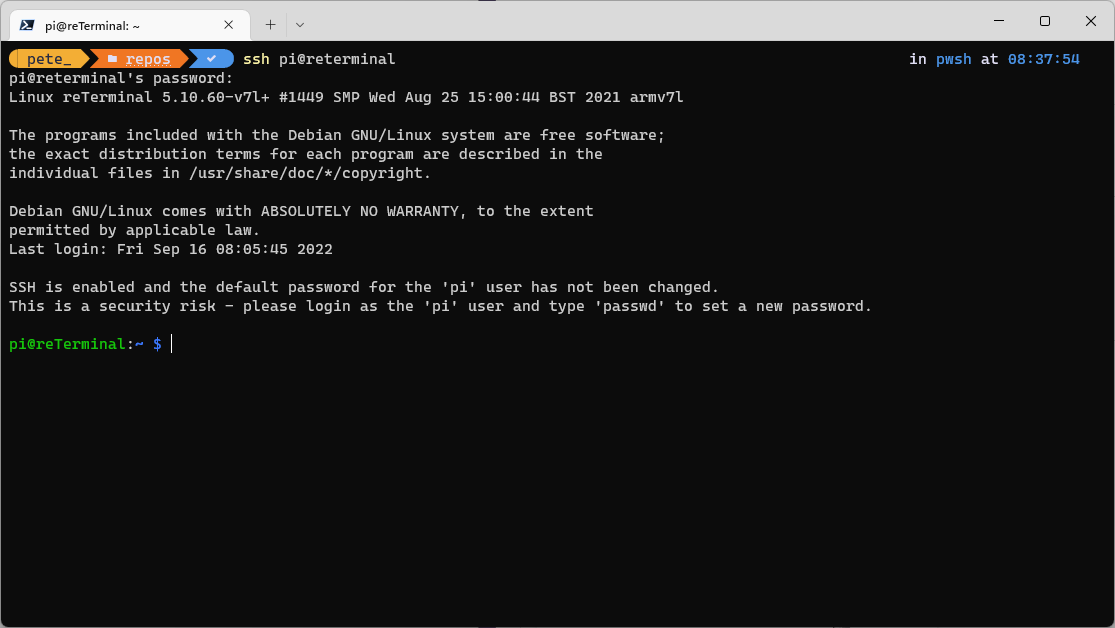
Using a Terminal Window we can SSH into our reTerminal using the hostname we have it during the IoTeaLive stream, along with the default user name of pi and password of raspberry;
Doing a quick dir;
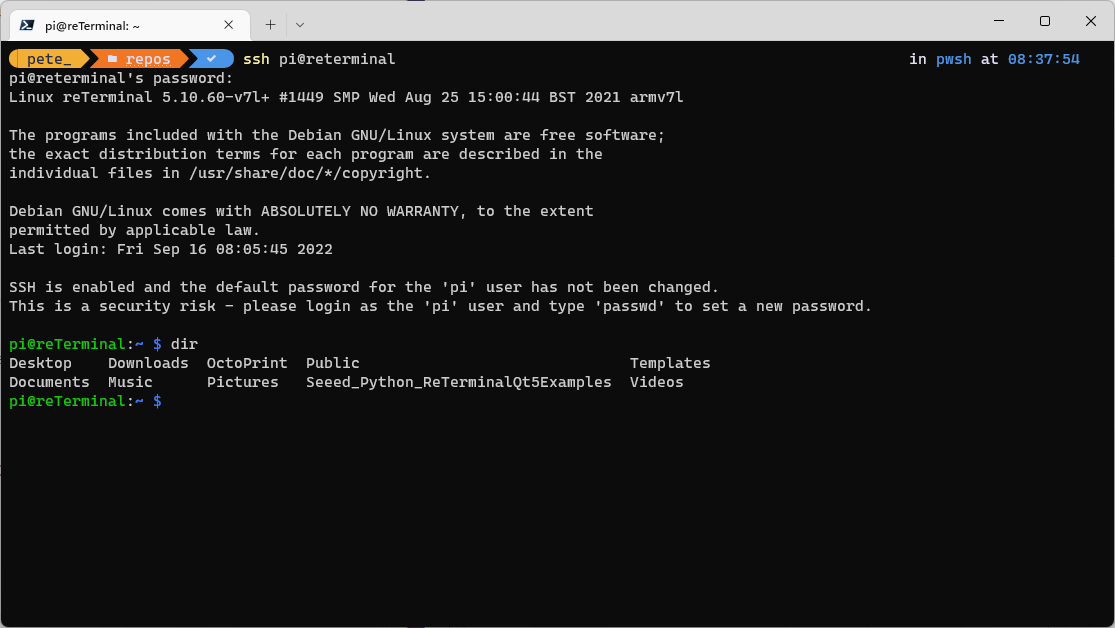
We can see we have our OctoPrint directory as a result of installing that during IoTeaLive, but we also have a Seed_Python_ReTerminalQTExamples directory too.
Doing a search in the Seeed Studio GitHub Account;
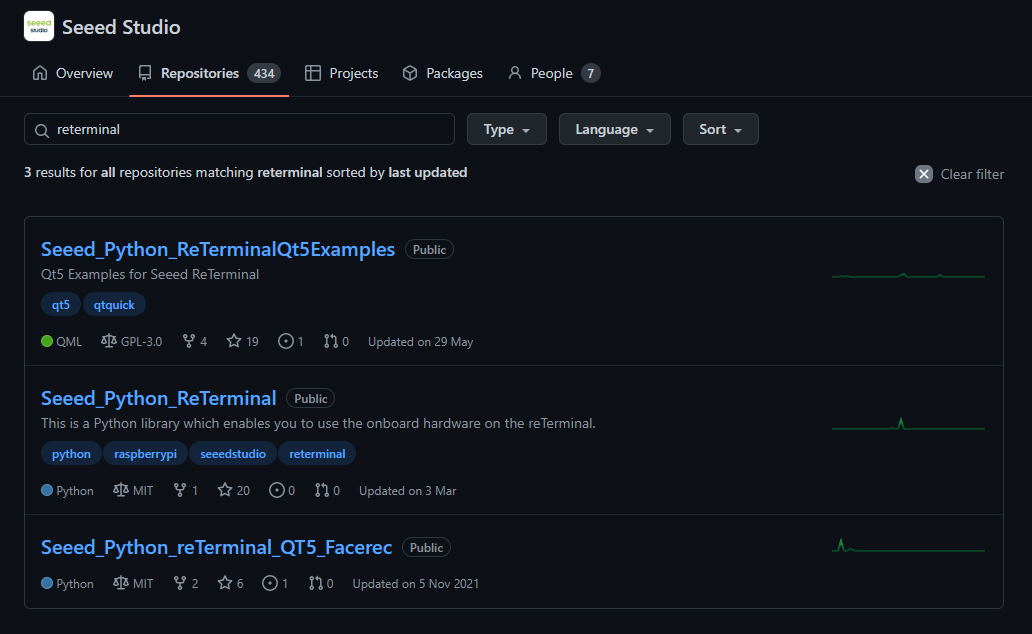
We can see there are three repos with some examples;
- Seeed_Python_ReTerminalQt5Examples – Qt5 Examples for Seeed reTerminal
- Seeed_Python_ReTerminal – This is a Python library which enables you to use the onboard hardware on the reTerminal.
- Seeed_Python_reTerminal_QT5_Facerec – Face Recognition App Demo with QT5
The Face Recognition demo looks really interesting;
reTerminal CSI Camera Investigations
It does remind me that, I also need to figure out how to get the Raspberry Pi camera working with this setup too.
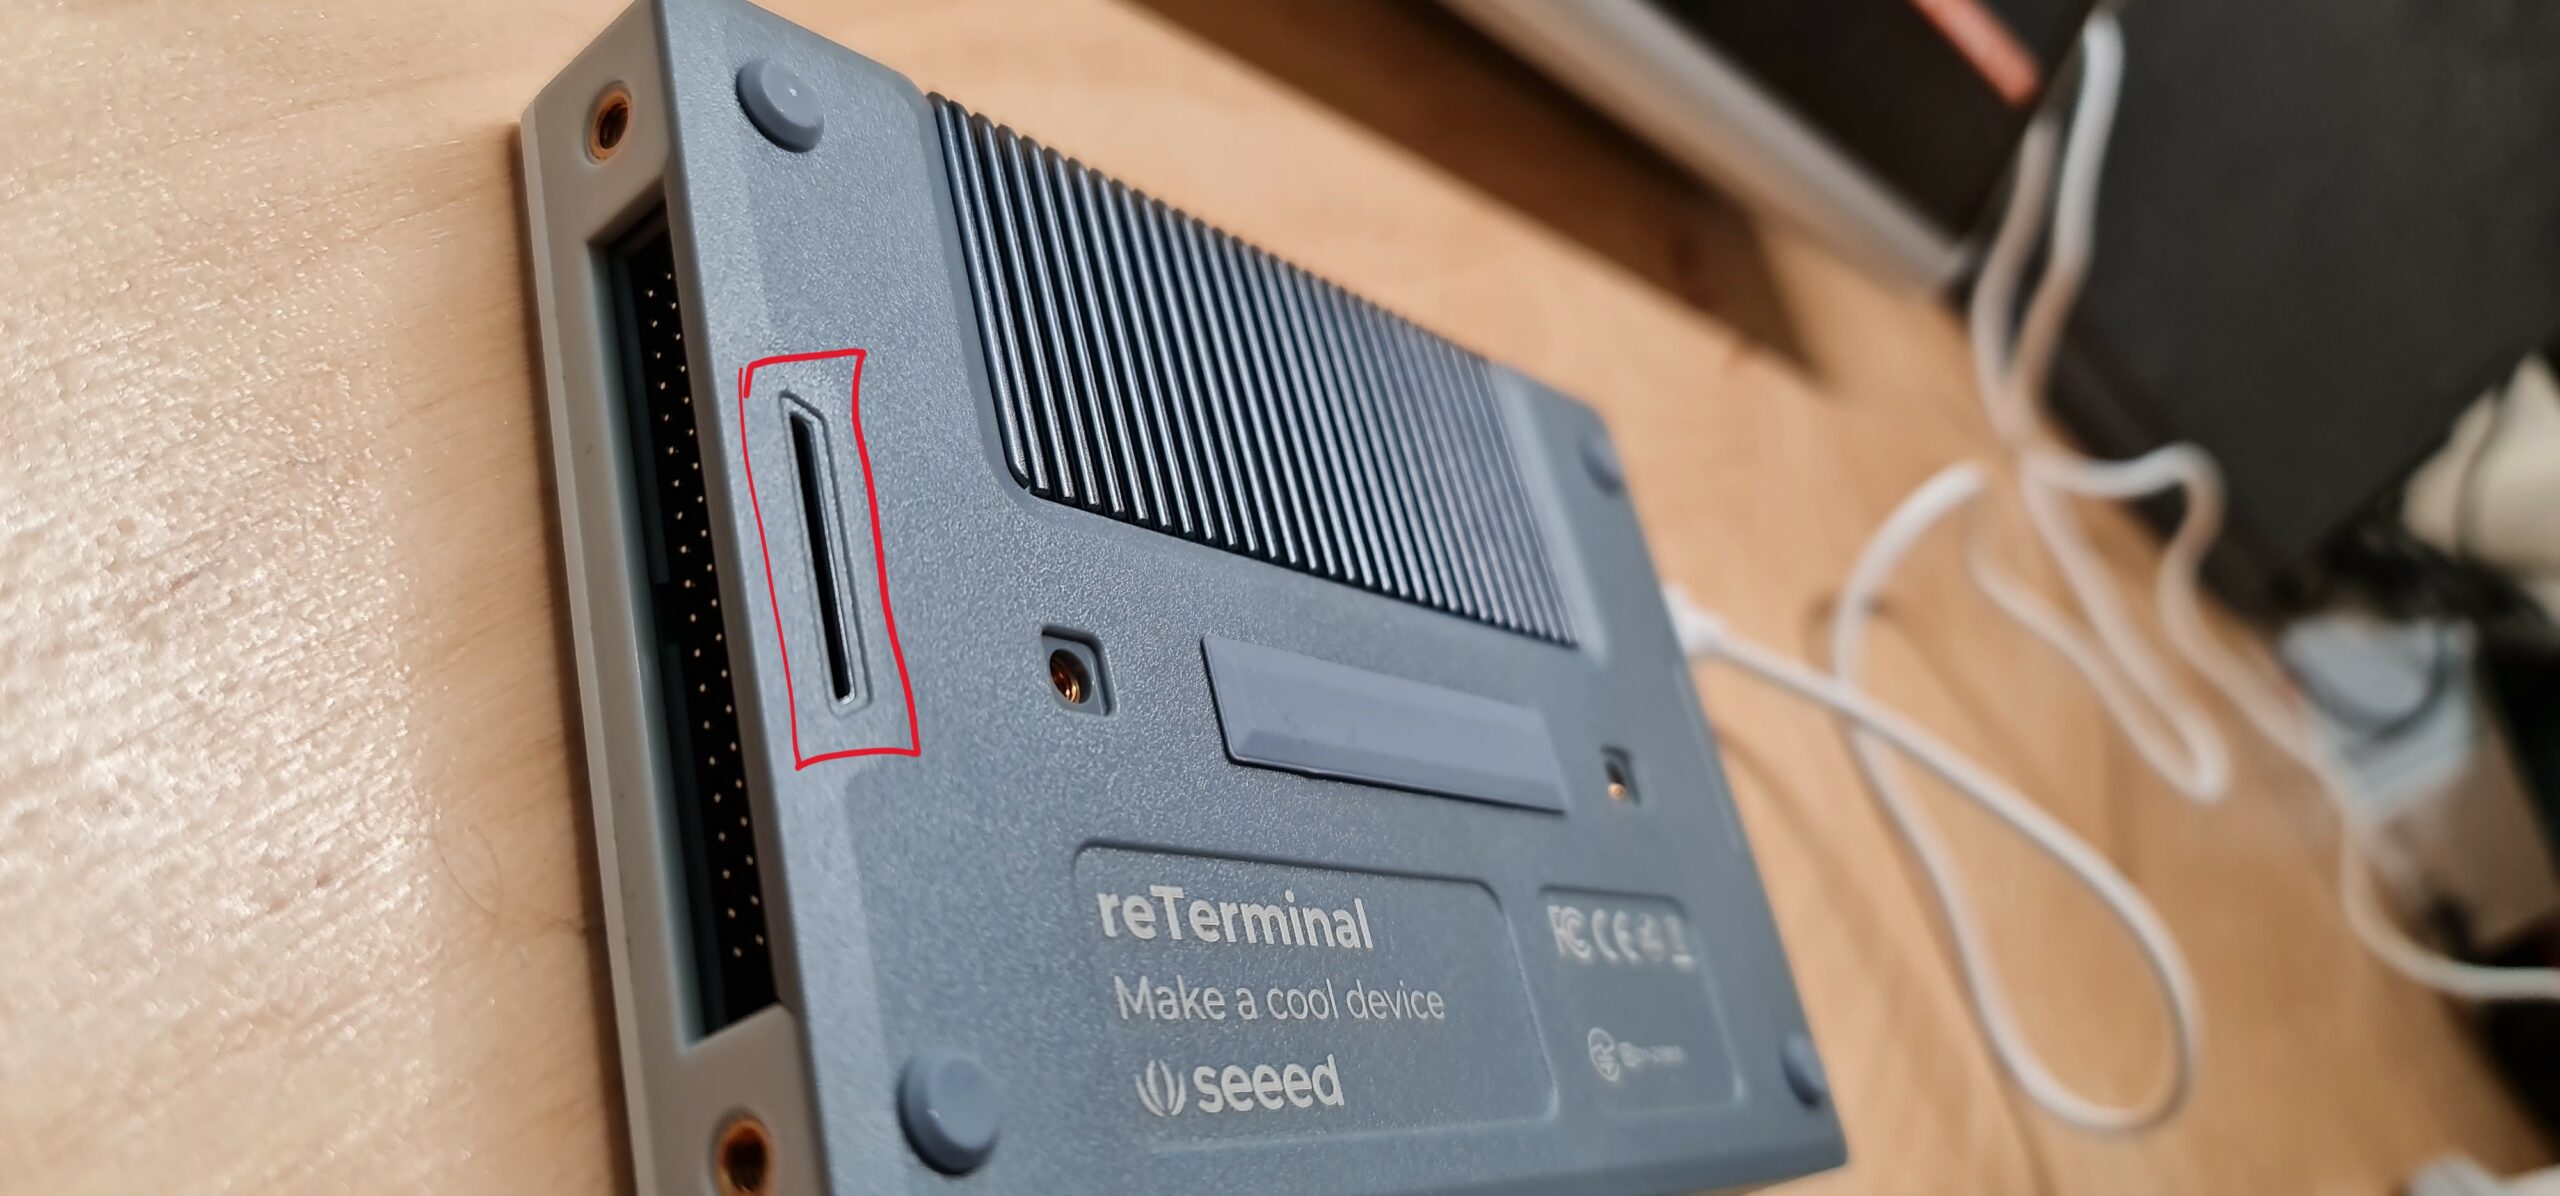
There appears to be a cutout for the Raspberry Pi Camera on the rear of the device
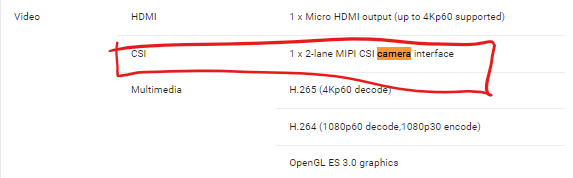
The specs intimate that there’s support for the camera;
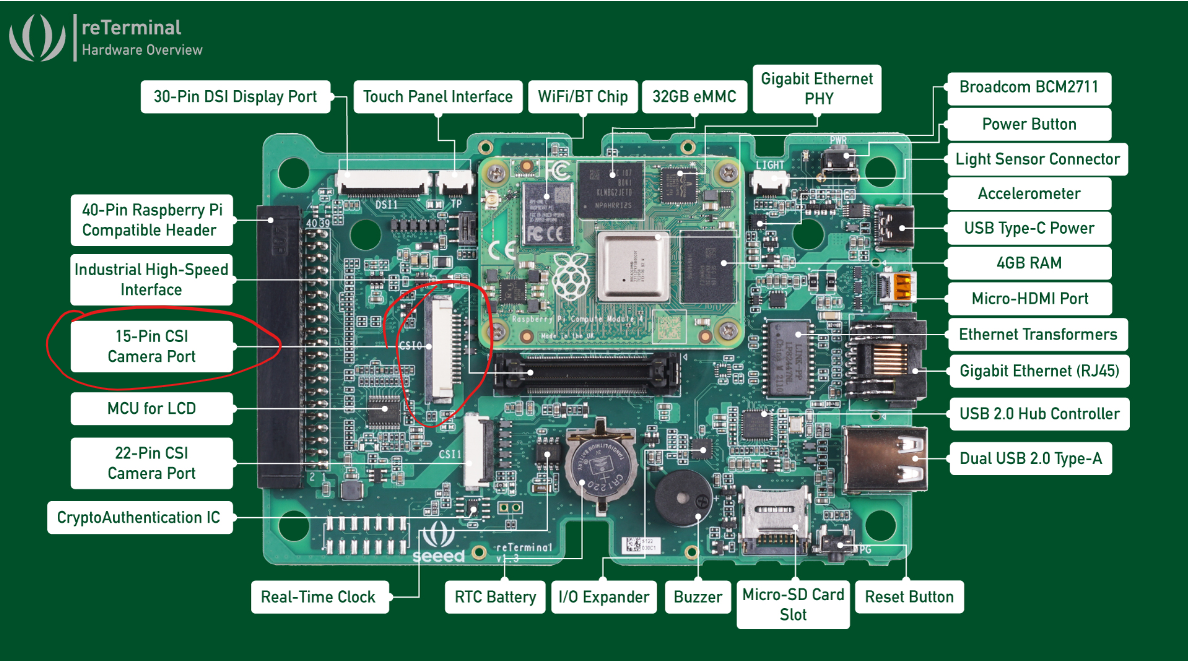
Then looking at the actual board, we can see there is indeed a CSI Camera Port;
I’ll add that to the list of things to do!
reTerminal Python Samples
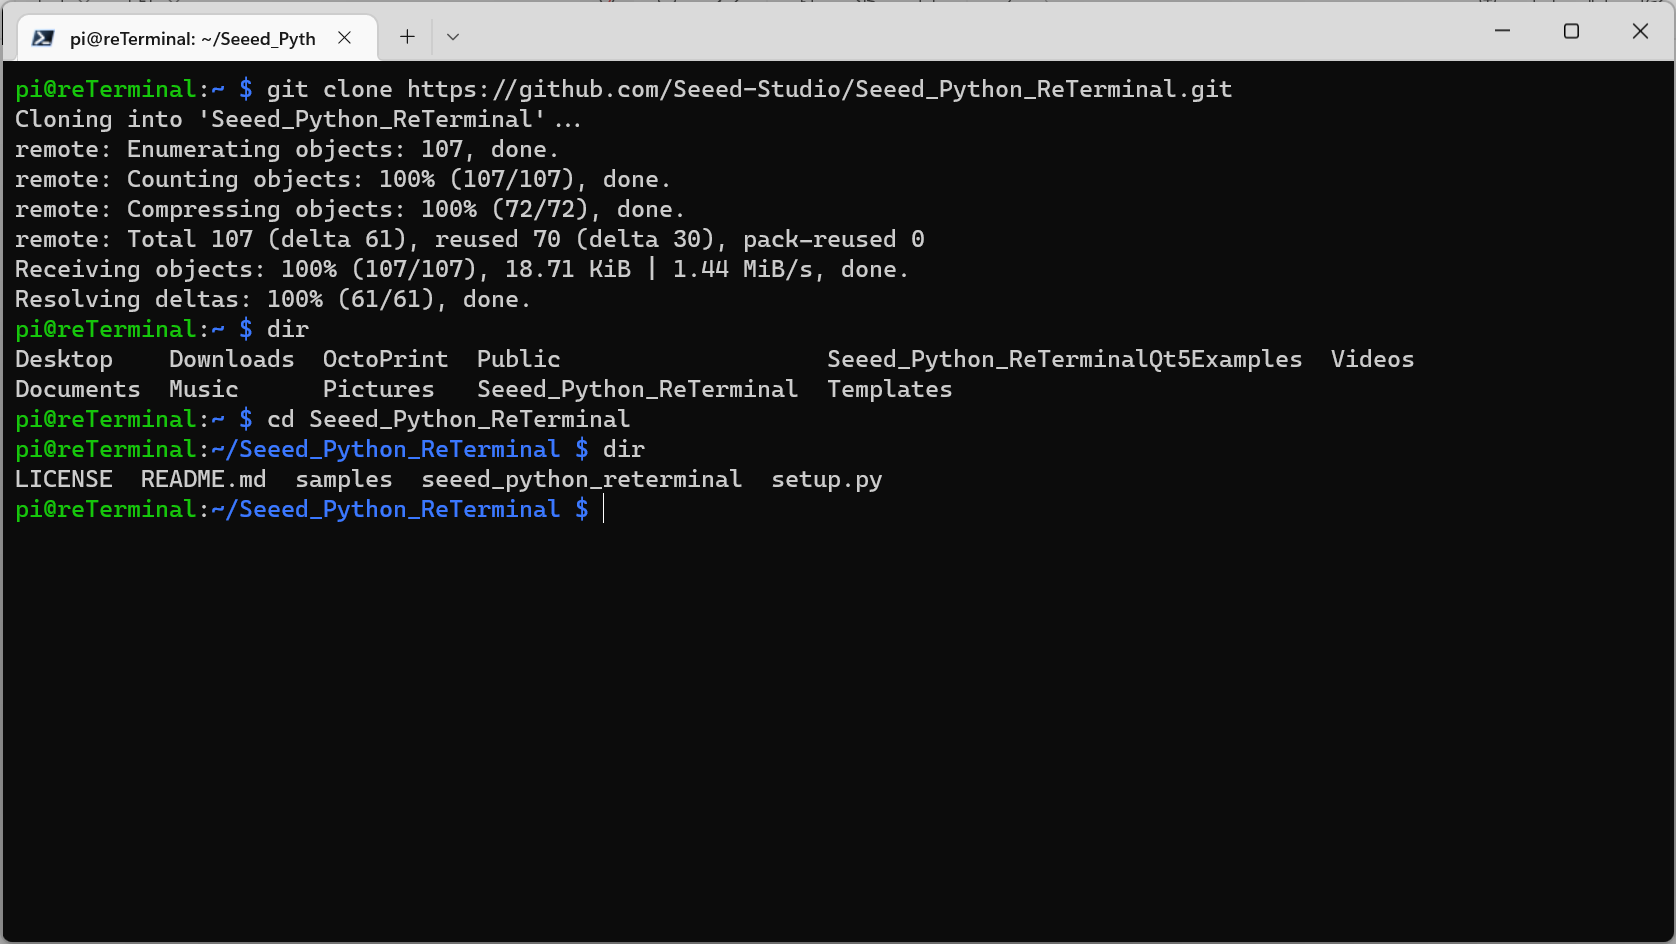
Returning to the reTerminal Python Samples, let’s clone the python repo on our reTerminal itself with;
git clone https://github.com/Seeed-Studio/Seeed_Python_ReTerminal.git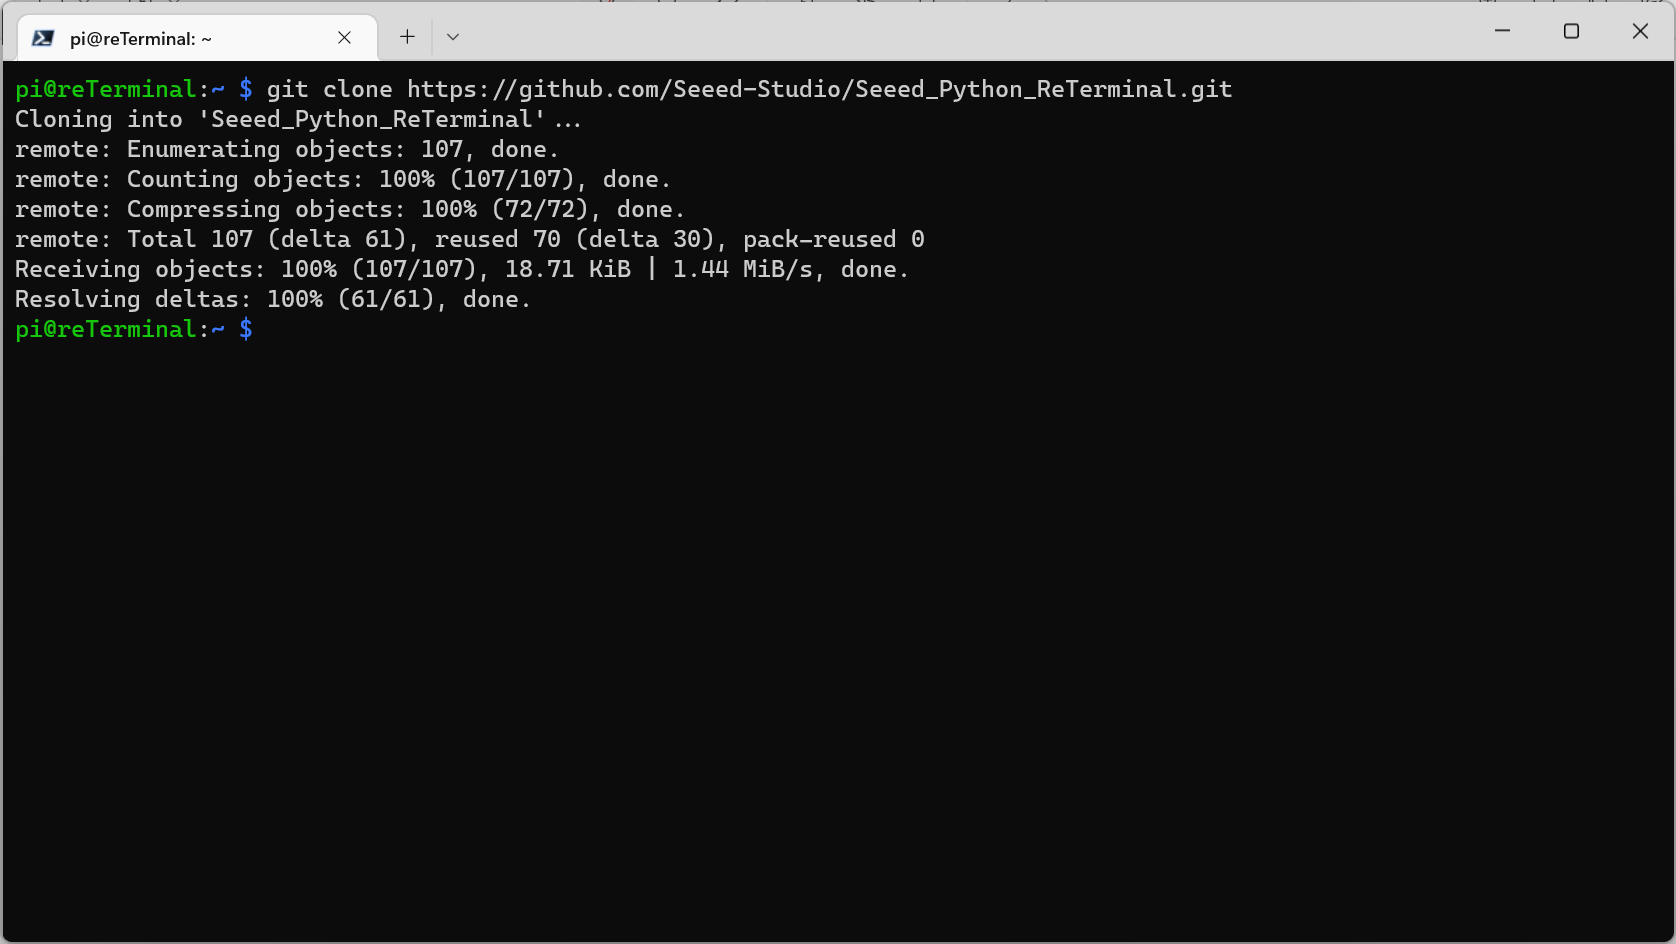
Entering the new directory and doing a dir shows us what we’ve cloned;
Let’s also install the latest compiled version using;
sudo pip3 install seeed-python-reterminal
Let’s navigate into the samples folder and run the test_button.py file;
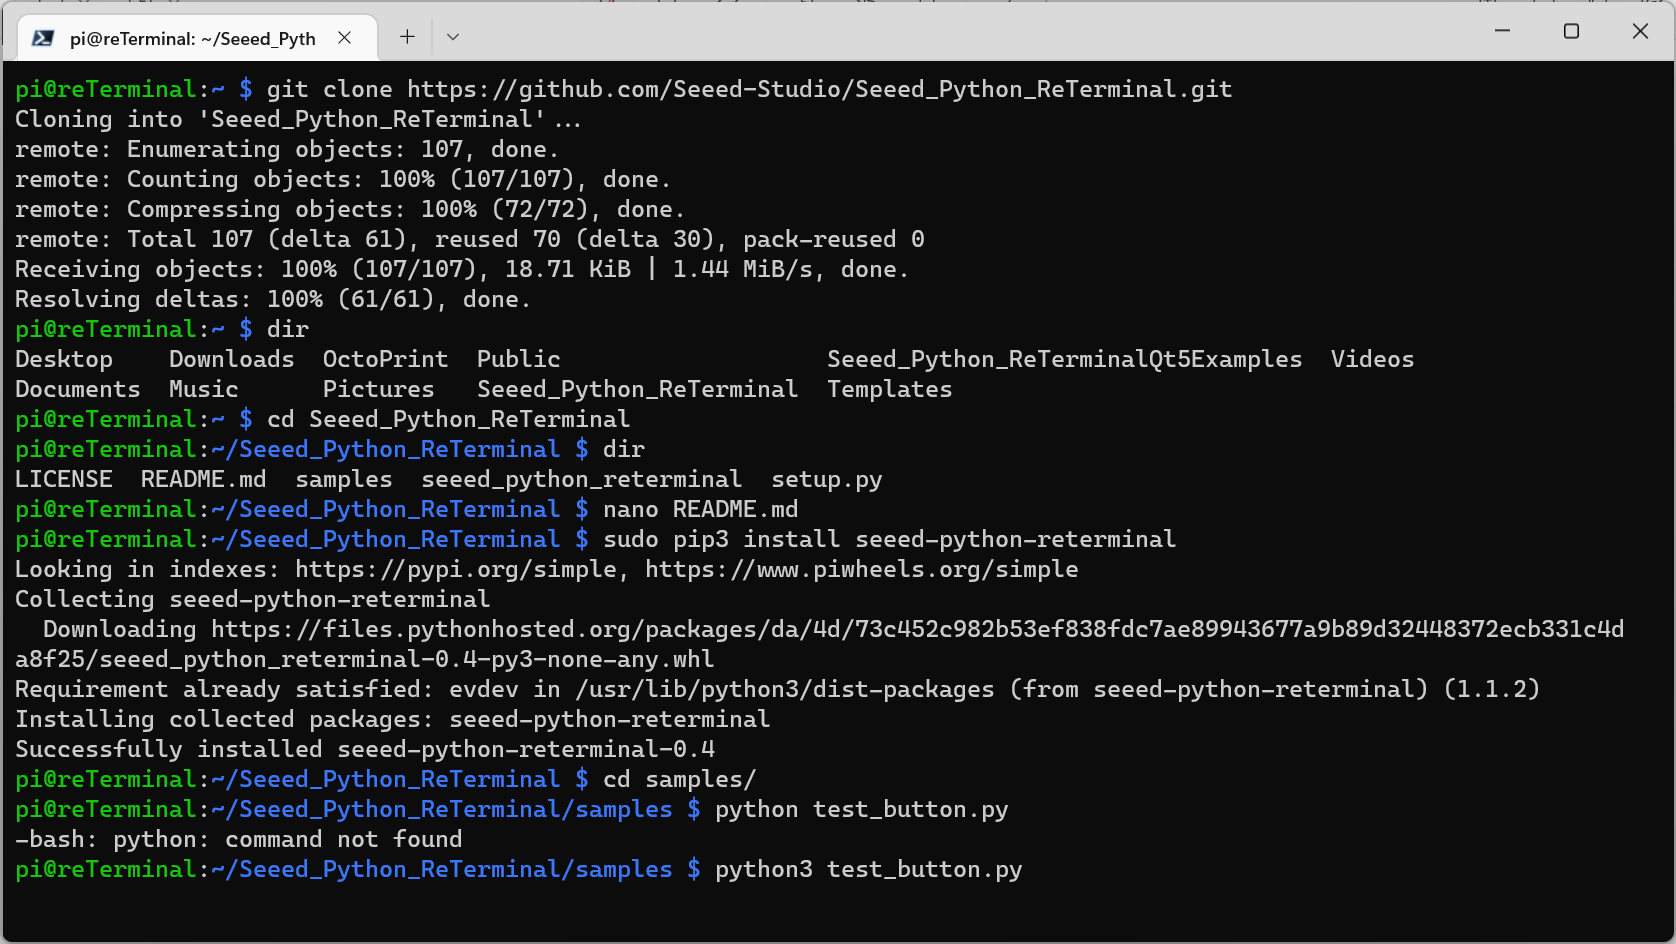
Using just the python command doesn’t work here, we need to use python3.
Let’s try pressing the buttons now;
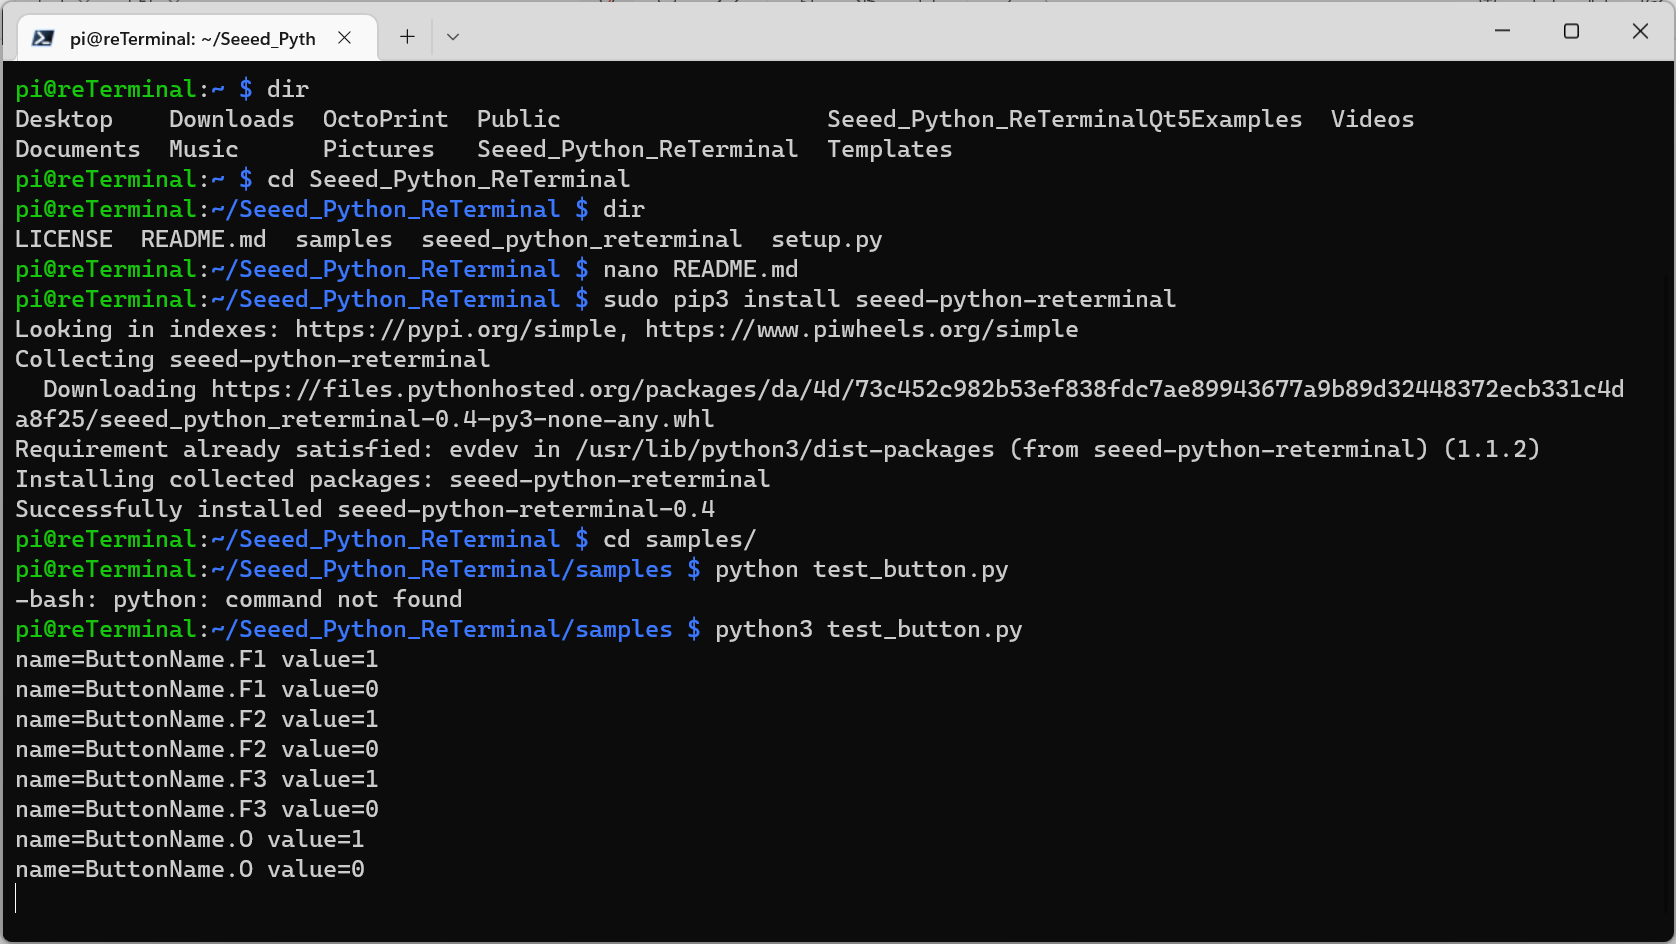
We can see we have two events per button, where it’s recording the press and release events, which is mega eh.
The code for this looks pretty simple too;
#!/usr/bin/env python3

import seeed_python_reterminal.core as rt
import seeed_python_reterminal.button as rt_btn


device = rt.get_button_device()
while True:
    for event in device.read_loop():
        buttonEvent = rt_btn.ButtonEvent(event)
        if buttonEvent.name != None:
            print(f"name={str(buttonEvent.name)} value={buttonEvent.value}")
Pretty easy to integrate from a code perspective… So how do we get this to work with OctoPrint.
Thoughts on using Buttons with OctoPrint
The first thing we need to figure out is what we want the buttons to actually do…
There are 4 buttons for us to make use of;
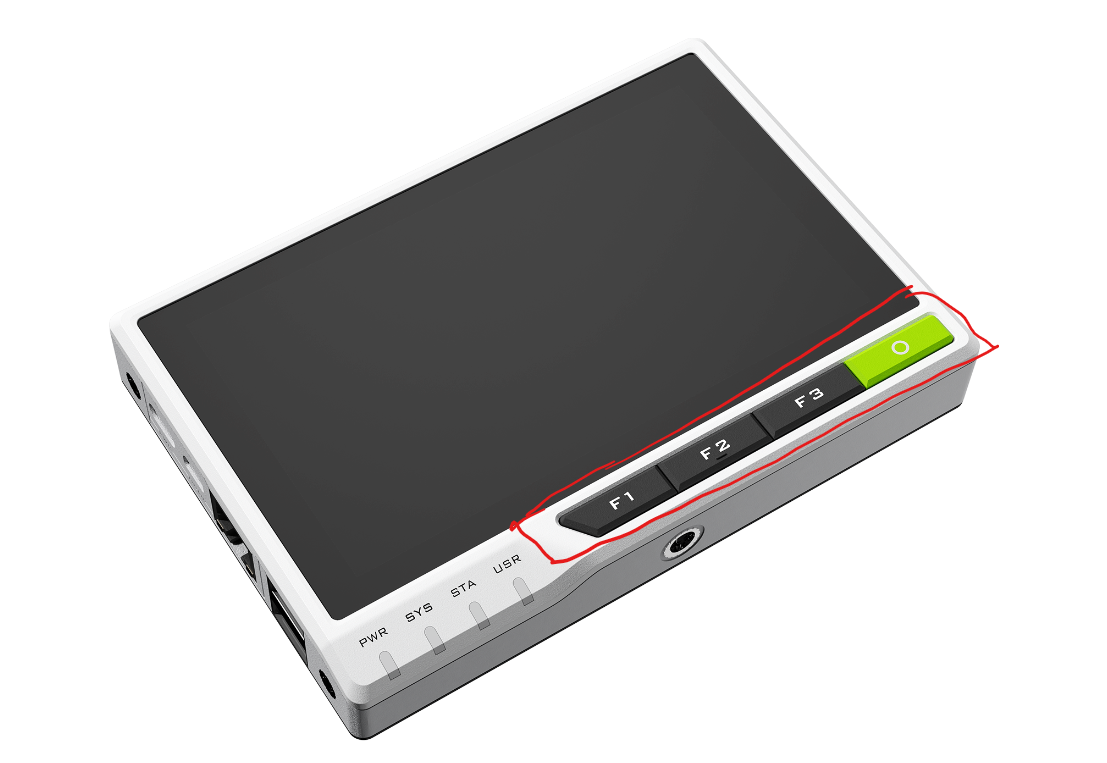
Where we have F1, F2, F3 and a green button with a circle on it… I wonder what its name is?
We know the main TouchUI interface looks like this;
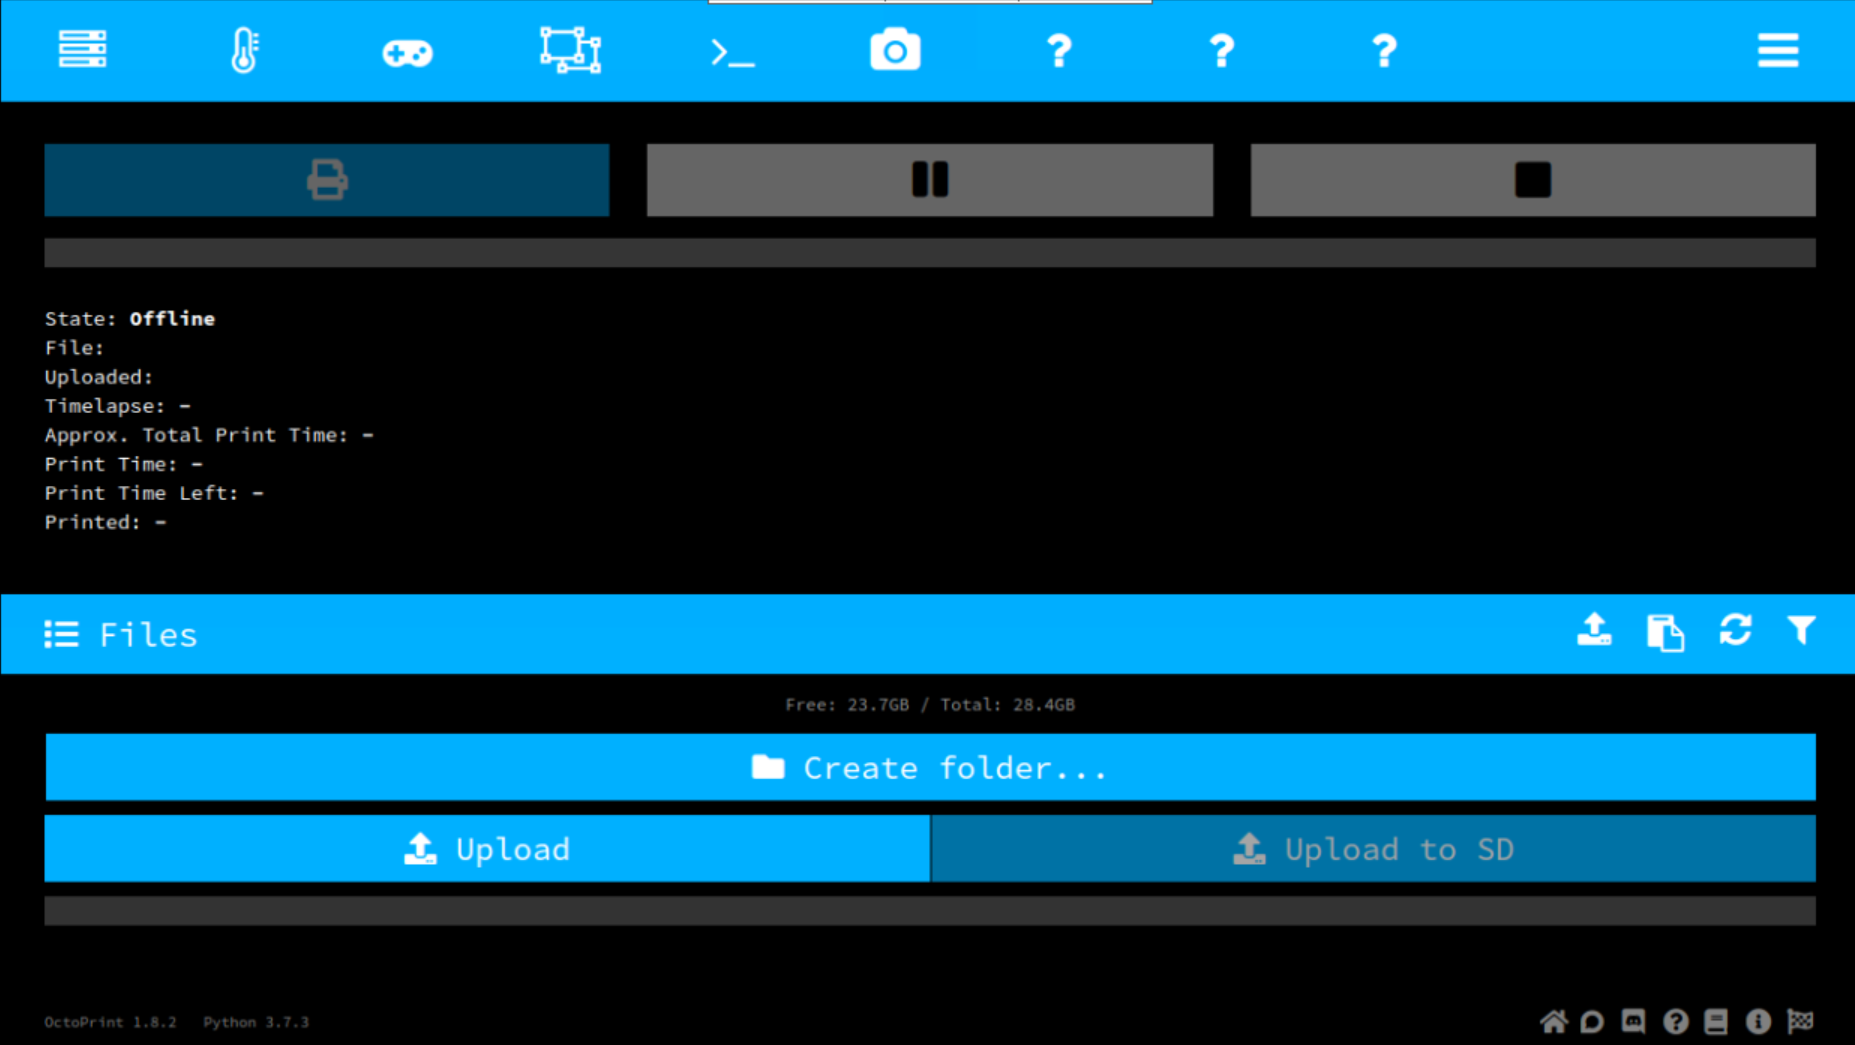
So, as we have at least 6 tabs to navigate, we can’t just use a one-to-one button to tab relationship.
So, we’ll need a next tab, previous tab type idea I guess, which means we’ll have a couple of buttons left over too.
That’s it for today… Tomorrow we’ll create our new plugin, install the Seeed Python Package, see if we can read the buttons and show the values in the console… From there we can see if we can add some control to the UI with them.