This post is a series of posts in which I detail my journey to bring OctoPrint to the Seeed Studio reTerminal.
Day 8
In today’s post we’ll be trying to figure out the issue I’m having with the config.yaml file, workaround that issue, looking at the TouchUI plugin and getting OctoPrint installed on the reTerminal.
Contents
Day 1 – 05–09–22 – Getting Started:
- Getting Started – 05/09/2022
- My Initial Plans
- Cloning the Repos
- A pointer in the right direction from the folks at OctoPrint3D – Plugins
- OctoPrint Plugin Mixin Development Docs
- Getting the Development Environment setup
- Installing Python
- Checking out the OctoPrint Sources
- Creating and Activating a Virtual Environment
- Build Tools for Visual Studio 2019
- Setting up VirtualEnv
- Adding VirtualEnv to the Windows Path
- Upgrading Pip
- Setting up the Virtual Environment
Day 2 – 06–09–22 – Setting up the Environment:
- OctoEverywhere – 06-09-22
- Continuing with VirtualEnv
- Activating the Virtual Environment
- Setting up the Virtual Environment
- Installing Microsoft Visual C++ 14.0
- Using pip to install packages in the Virtual Environment
- Git Pre-Commit
- Git Changes, Blame and Ignore
- Configuring VS Code
- Running OctoPrint for the first time
- Changing the Python Interpreter
- Running the OctoPrint from VS Code
Day 3 – 07–09–22 – Setup Wizard:
- Setting up OctoPrint in the Debug Environment – 07-09-22
- Setup Wizard – Access Control
- Setup Wizard – Online Connectivity
- Setup Wizard – Usage Tracking
- Setup Wizard – Plugin Blacklist
- Setup Wizard – Printer Profile
- Setup Wizard – Please Reload
- Setup Wizard – Setup Printer (Again)
- Setup Wizard – Server Commands
- Setup Wizard – Webcam and Timelapse Recordings
- Setup Wizard – Finish
- Virtual 3d Printer Plugin
- Beginning Plugin Development
TouchUI Plugin – 13-09-22
Late last night I found a really useful post on Howchoo by Zach titled How to Add an OctoPrint Touchscreen to Any 3D Printer.
In this blog post Zach details how to use the Touch UI plugin along with a Raspberry Pi and a Touch screen with OctoPrint.
It looks like there’s some good configuration options with the plugin too by creating your own LESS file and overriding the styling options.
I’m not sure, looking at the documentation, whether you can change the overall look and feel, or move functions around… So, I think we’ll still need our plugin if I’m honest.
I’ll definitely be coming back to this once I’ve finished my explorations with the OctoPrint plugin tutorial.
Continuing trying to figure out config.yaml
So, let’s try and figure out this config.yaml situation…
We can see here on line 881 of the settings.py file, the settings are loaded by calling the self.load(migrate=True) line;
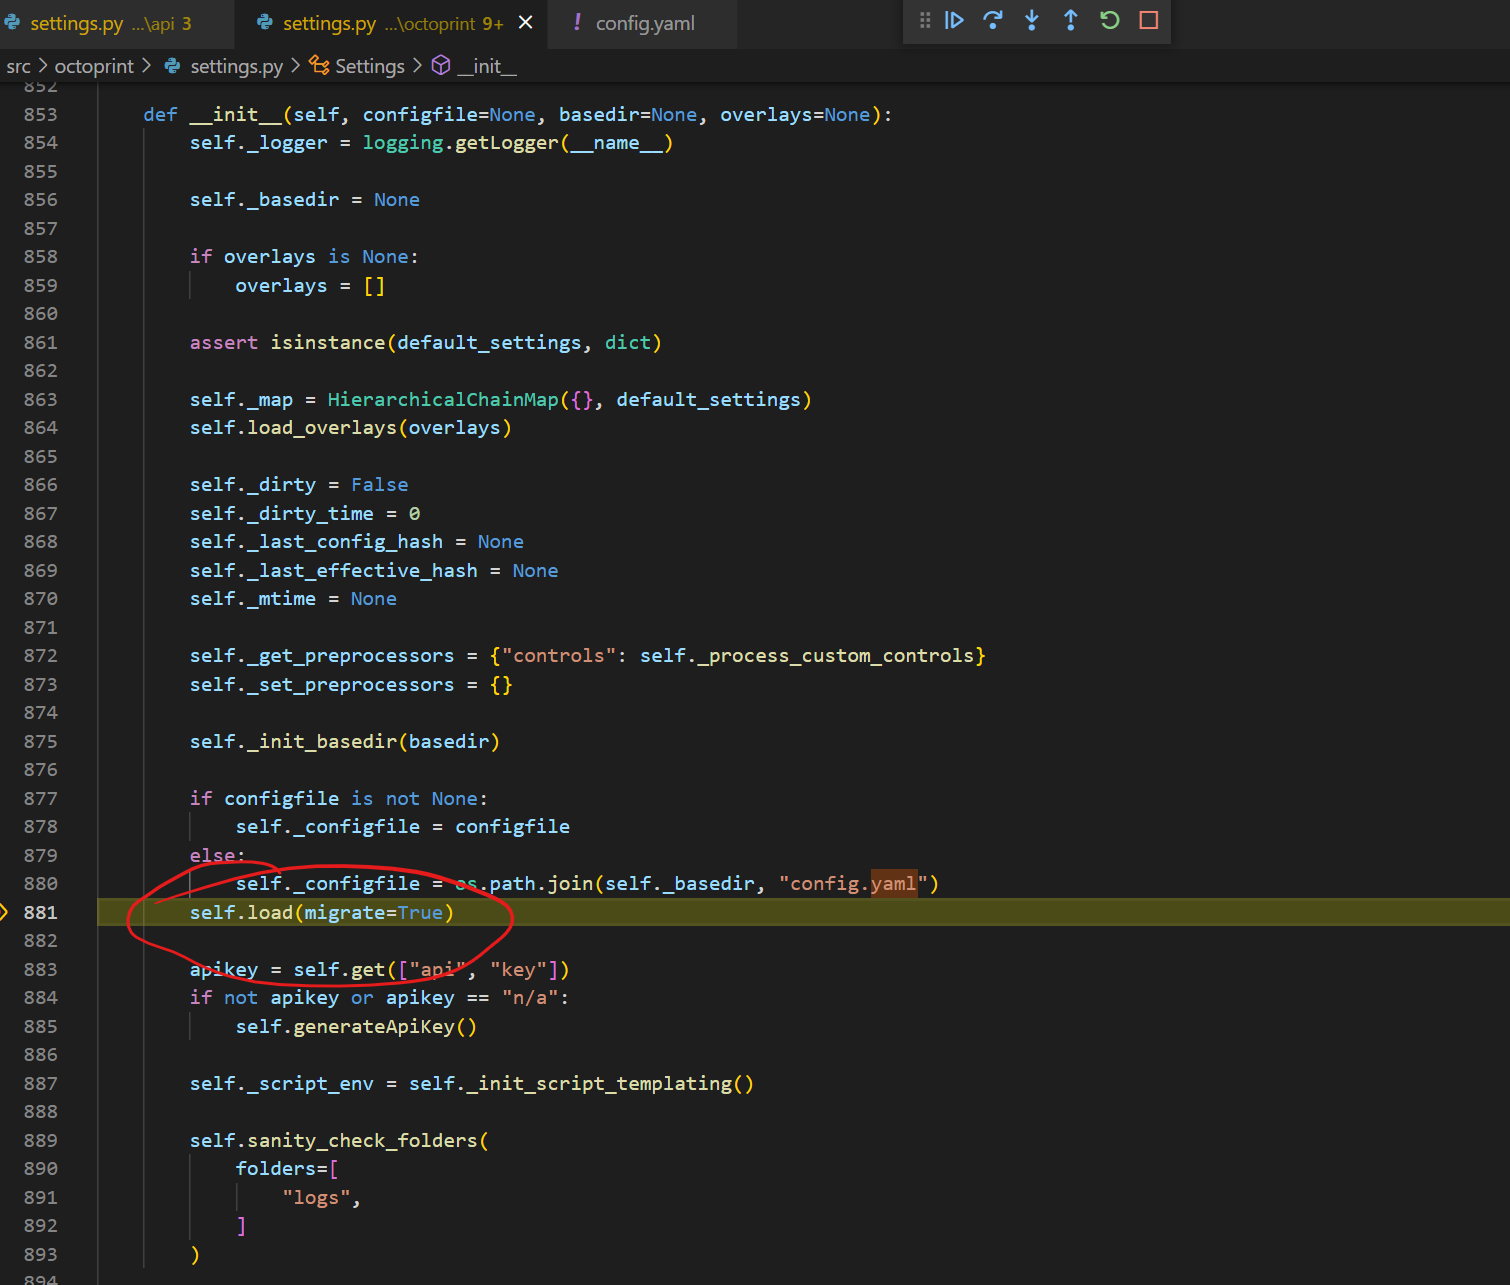
Stepping into that code that the first thing it does is to check if our config.yaml file exists with if os.path.exists(self._configfile) and os.path.isfile(self._configfile):;
Double checking the file path by hovering over the _configfile paramater, we can see that the path is indeed correct;

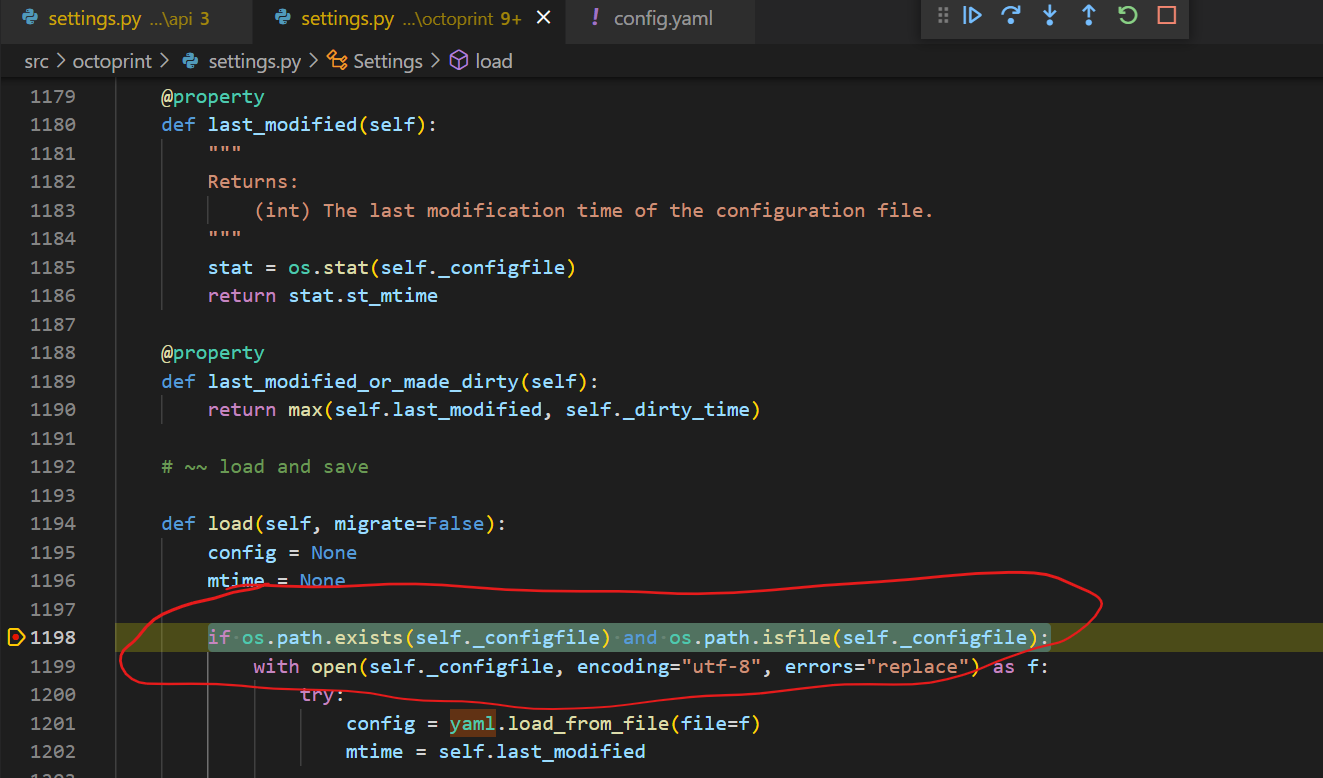
Stepping through the code a bit further, we can see that the config is loaded using config = yaml.load_from_file(file=f);
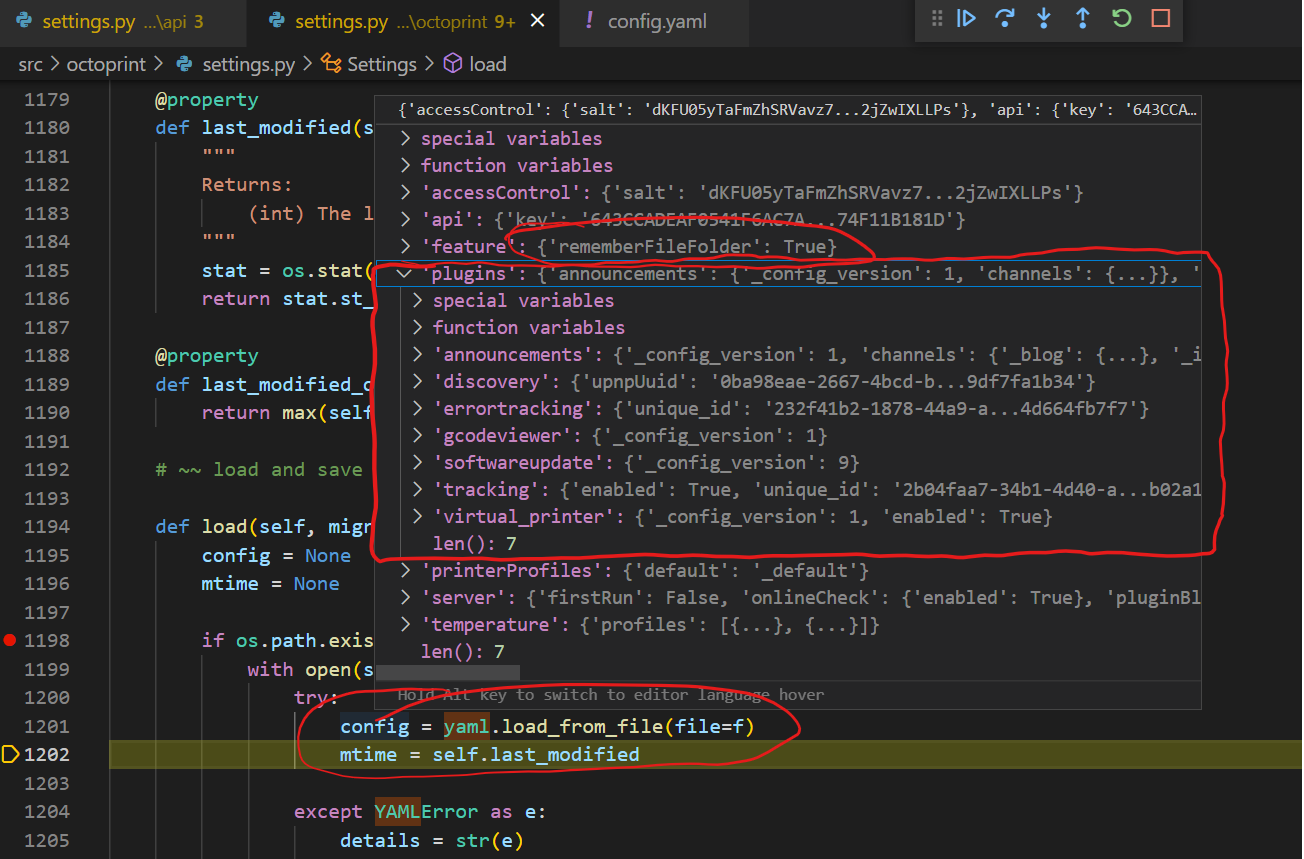
We can see if we hover over the config variable on line 1201 that we get the now loaded contents of the config file.
We can also see that it’s found our rememberFileFolder setting which we set to true. We can also see that it hasn’t loaded the plugin settings we setup in the config.yaml file.
All of this added together tells me that it’s not loading the file we think it’s loading… Which is mega strange!
Time to ask in the Discord Community;
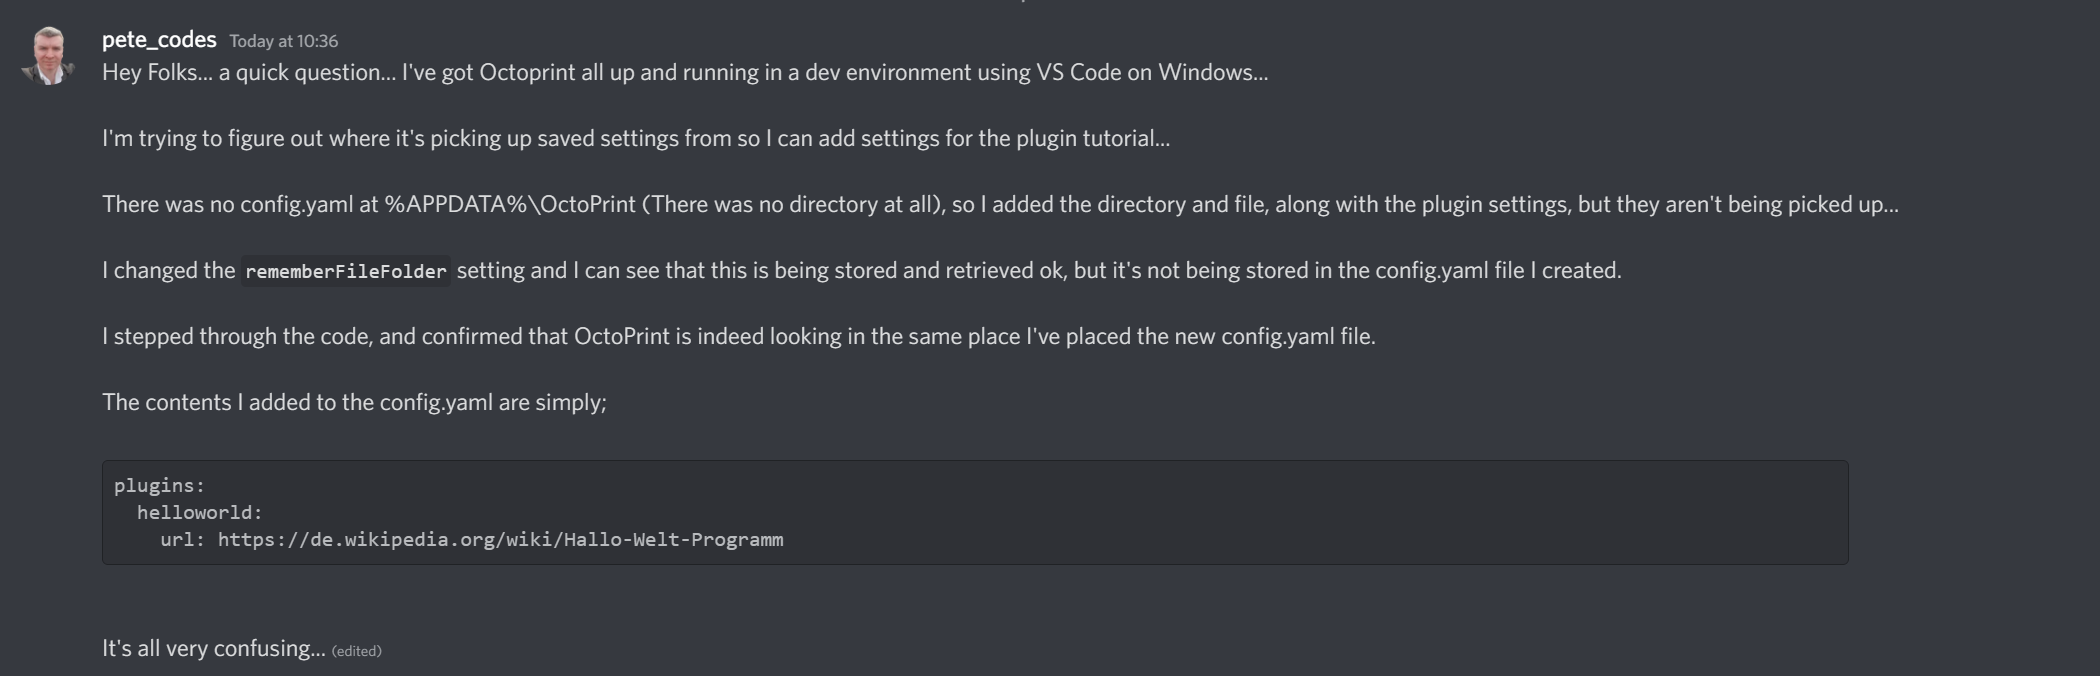
I’m sure I’m making some huge blunder here somewhere, but for the life of me I can’t think of what I’m doing wrong…
I wonder, could this be todo with Virtual Environments? Could the config.yaml file be somehow created only in the Virtual Environment?
Opening a Terminal window in VS Code and navigating to the c:\users\pete_\AppData\Roaming\Octoprint directory and running a dir;
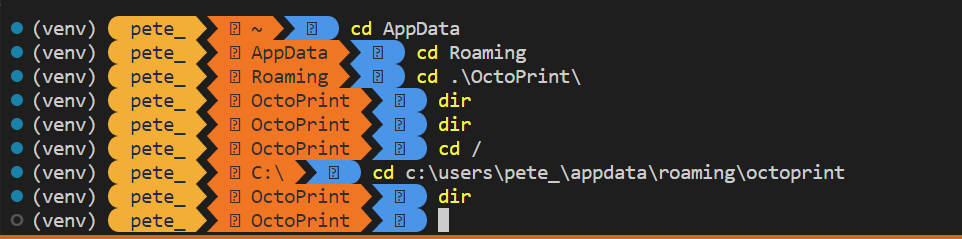
Sadly not… No file present…
I’ve now turned to Twitter for some help;
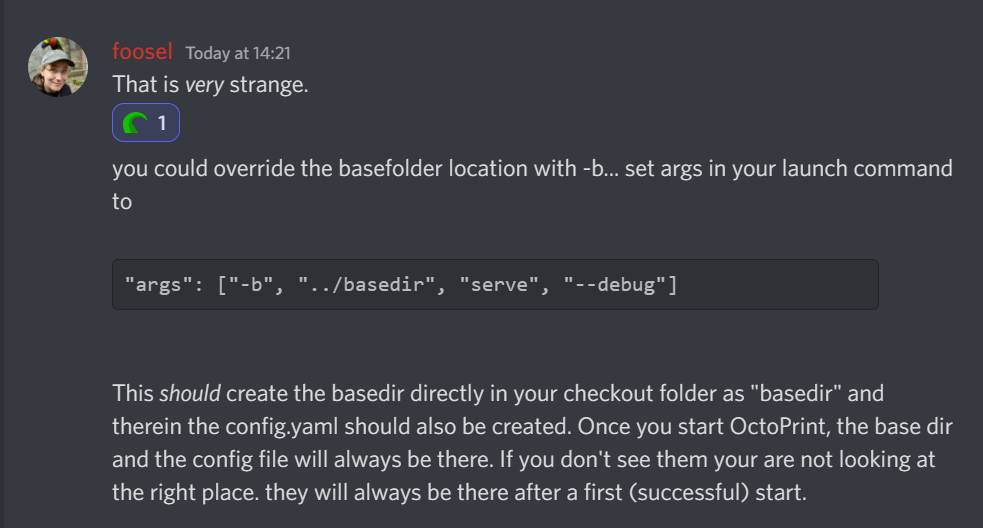
A workaround from the folks at OctoPrint!
I got a really helpful response from @foosel over on the OctoPrint Discord;
around
So, I went ahead and modified my VS Code launch.json file;
{
    "version": "0.2.0",
    "configurations": [
        {
            "name": "OctoPrint",
            "type": "python",
            "request": "launch",
            "module": "octoprint",
            "args": [
                "-b",
                "../basedir",
                "serve",
                "--debug",
            ],
            "cwd": "${workspaceFolder}/src",
            "preLaunchTask": "clean build artifacts"
        }
    ]
}
Launching the OctoPrint server and switching over to Explorer;
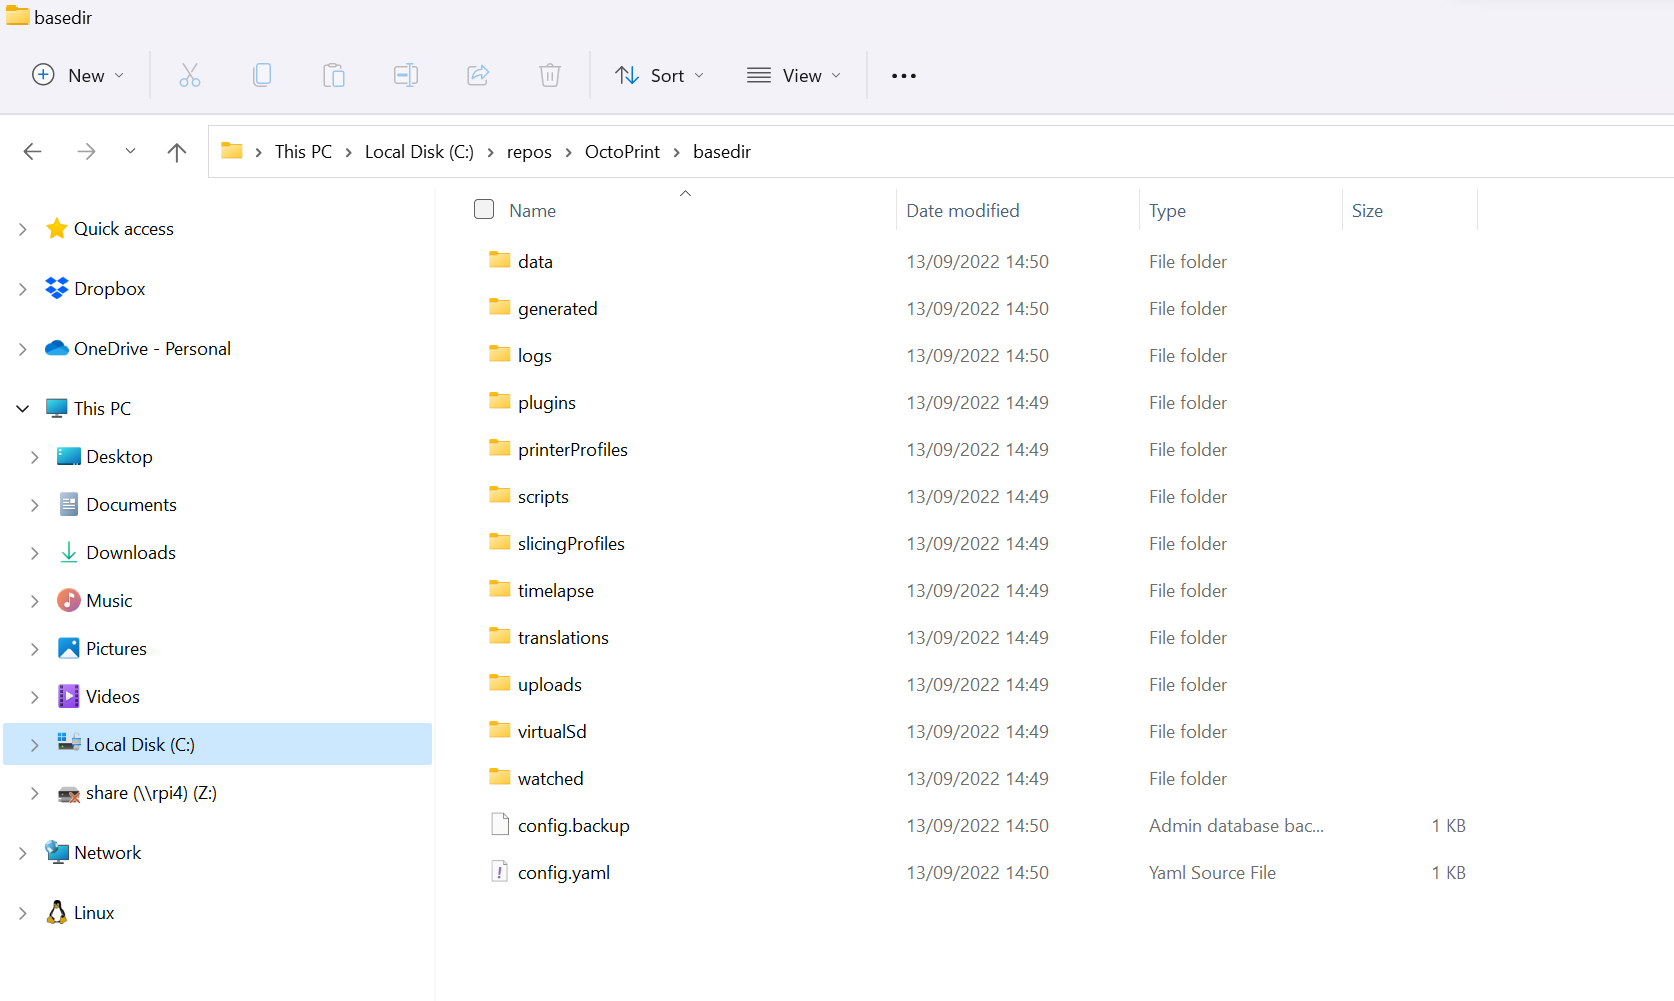
And success… We have a data directory and a config.yaml file! I saw none of these files or folders before at all of course, so very interesting indeed.
Opening up our browser and refreshing the OctoPrint Server page;
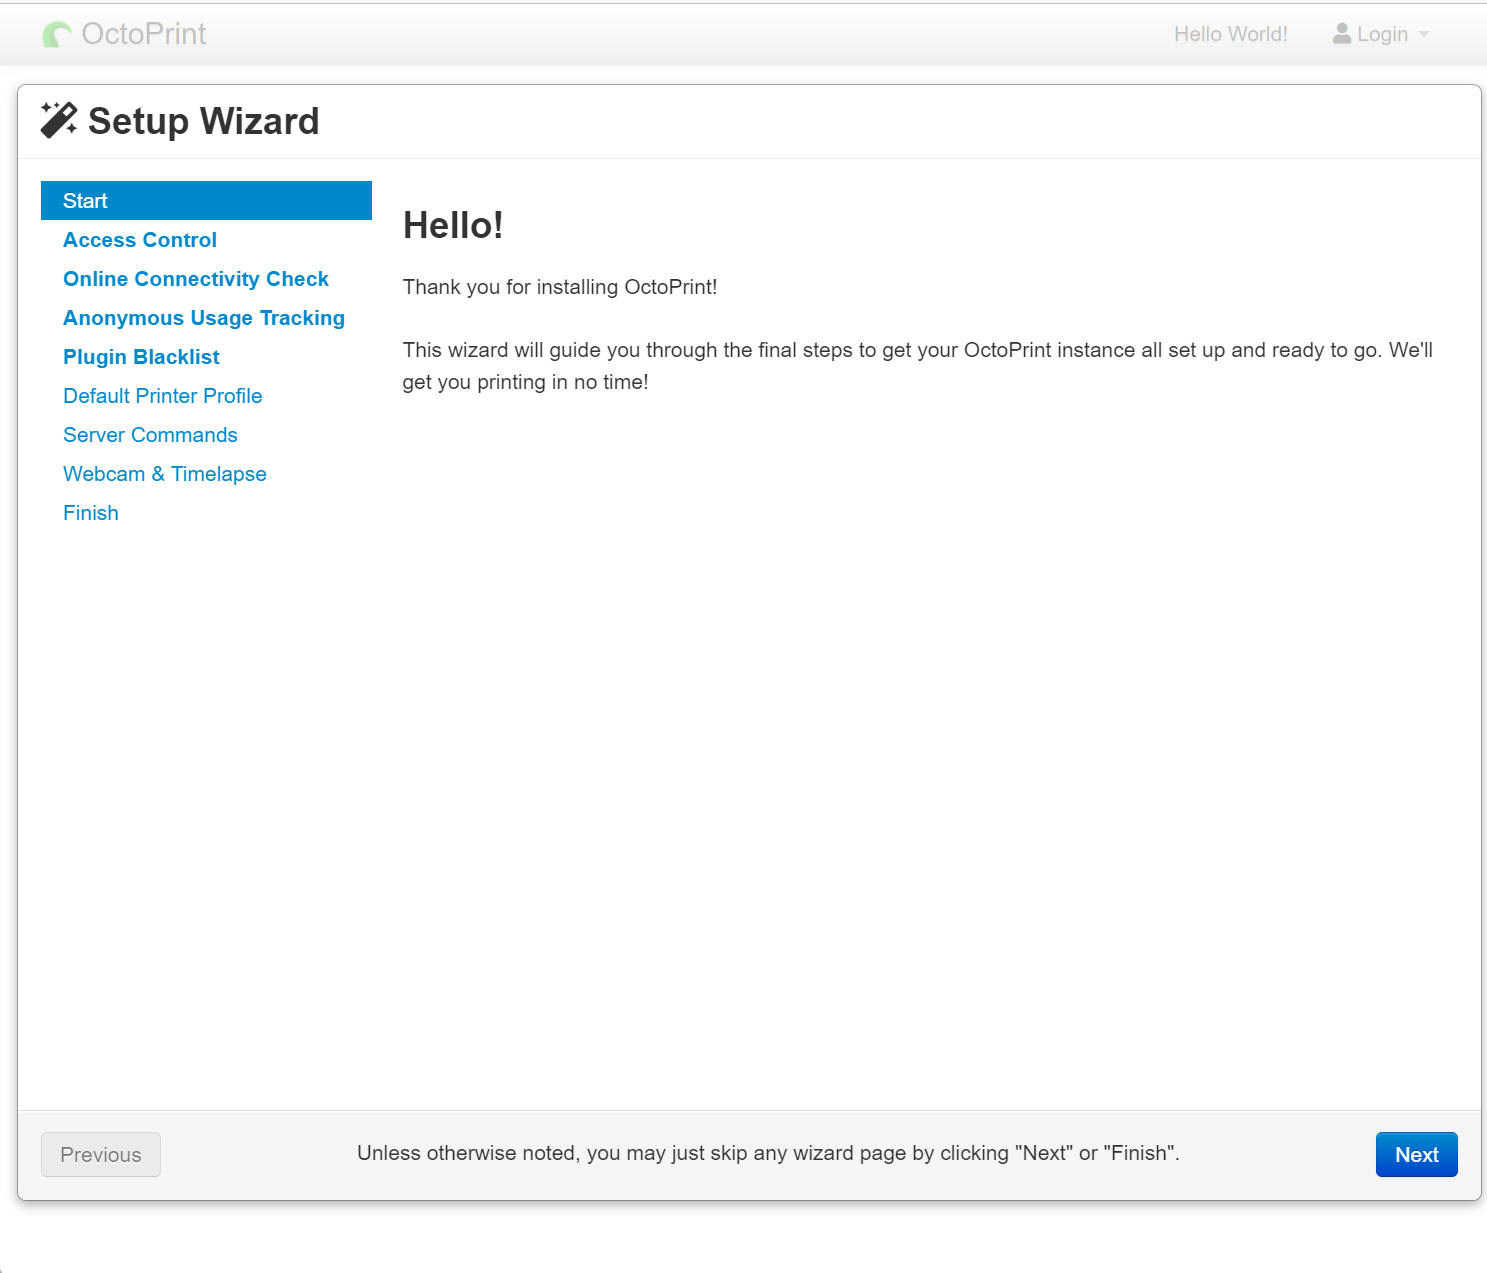
We now need to run through the setup wizard again. No doubt we’ll also need to enable the Virtual Printer plugin too. So, let’s get it all configured again. We can follow what I did before of course – Setting up OctoPrint in the Debug Environment – 07-09-22
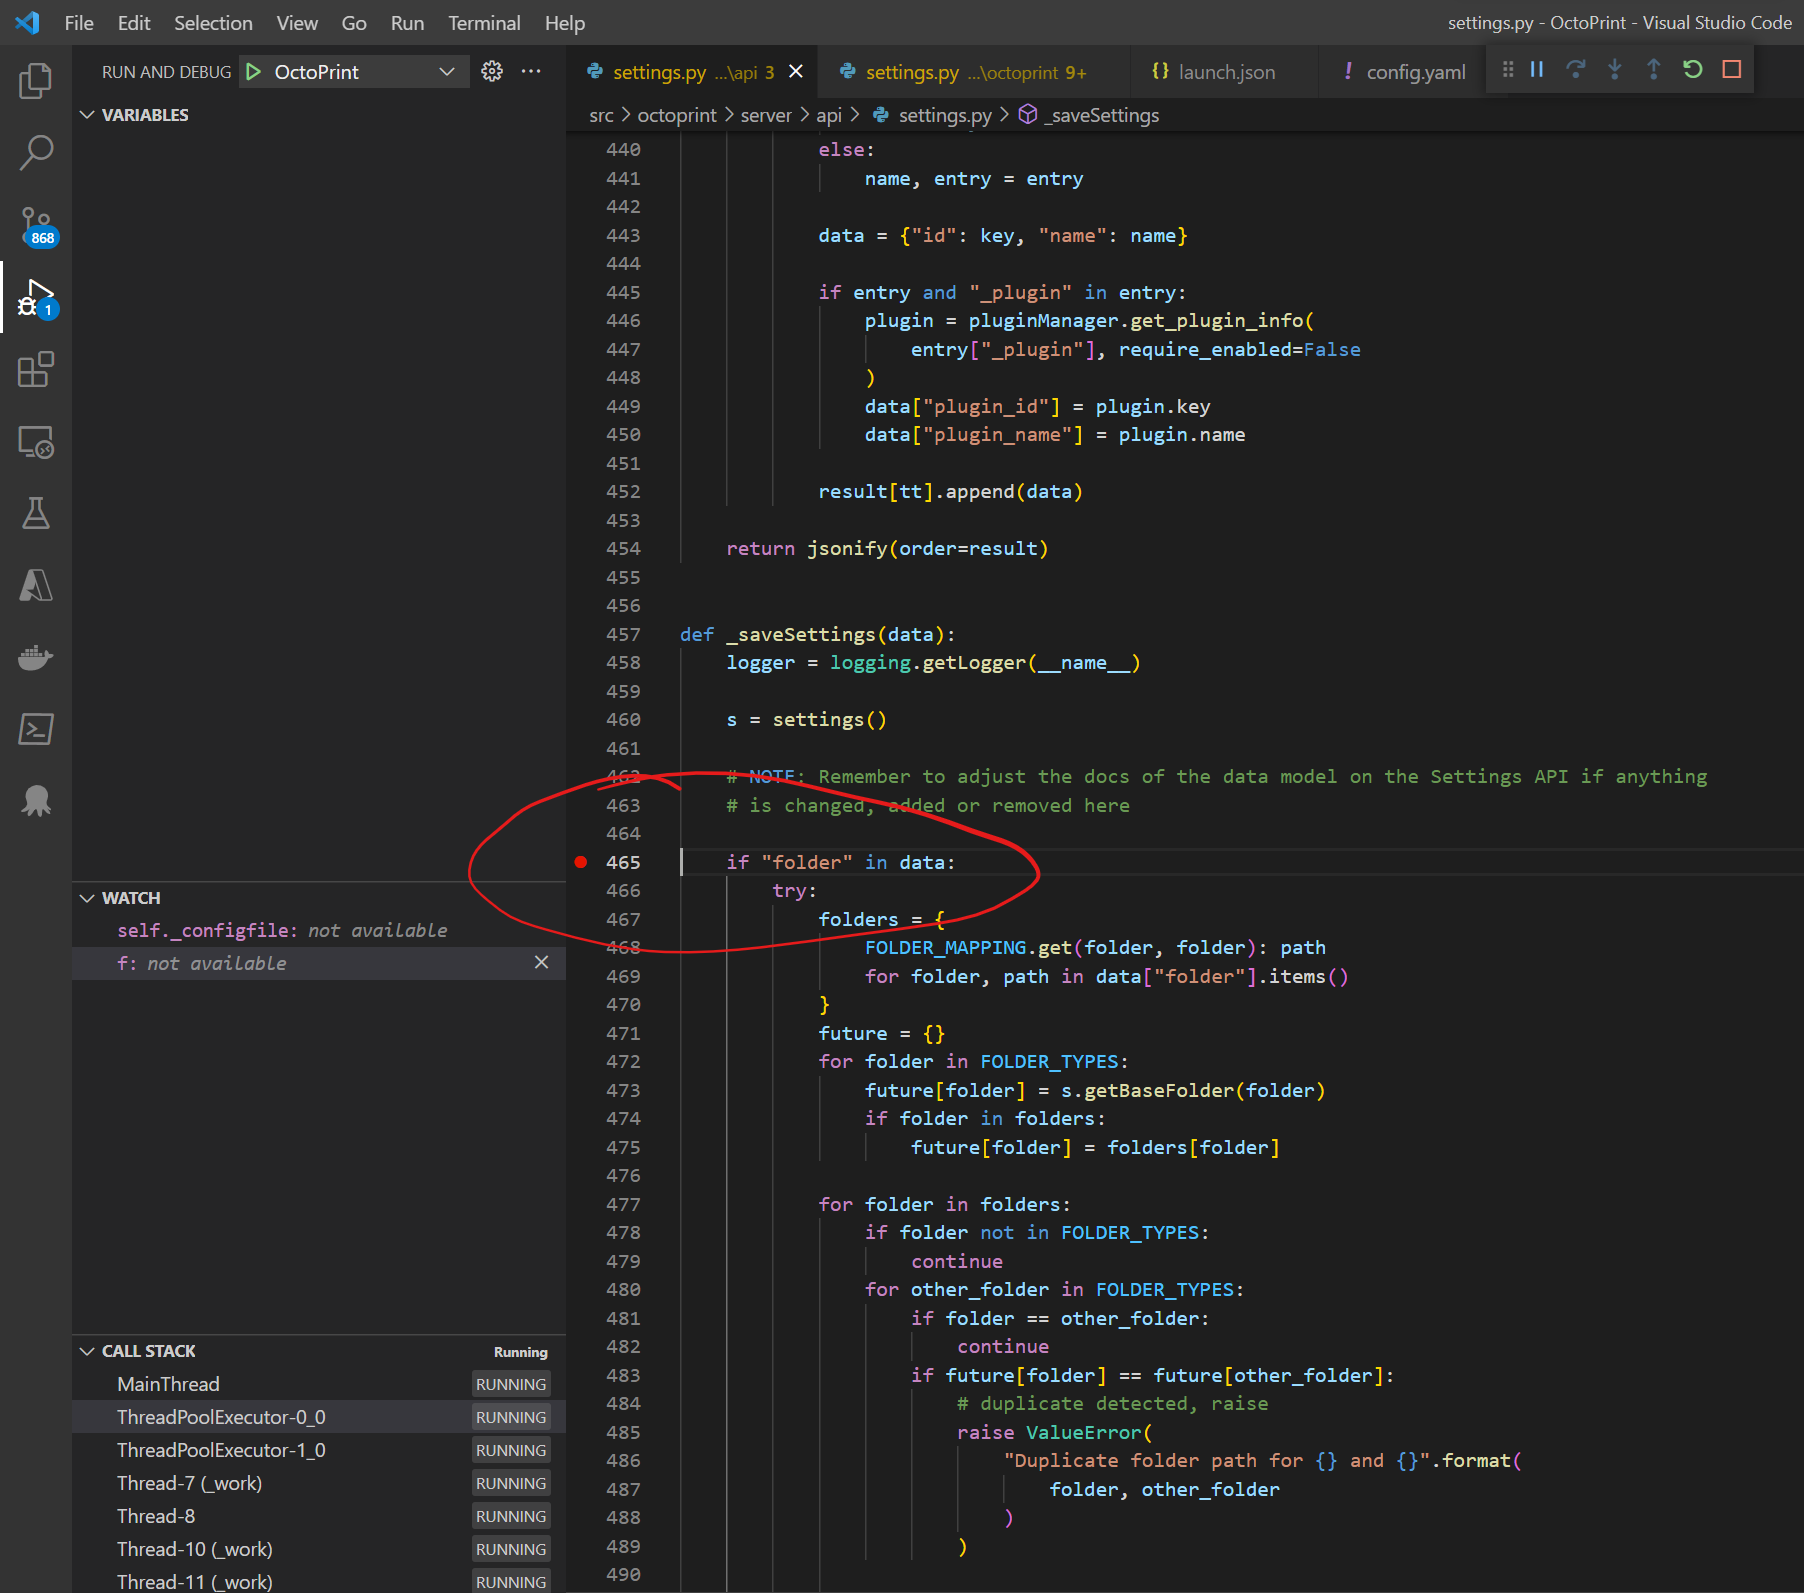
I noticed I hit a few of the breakpoints I’d set while I was working my way through the Setup Wizard;
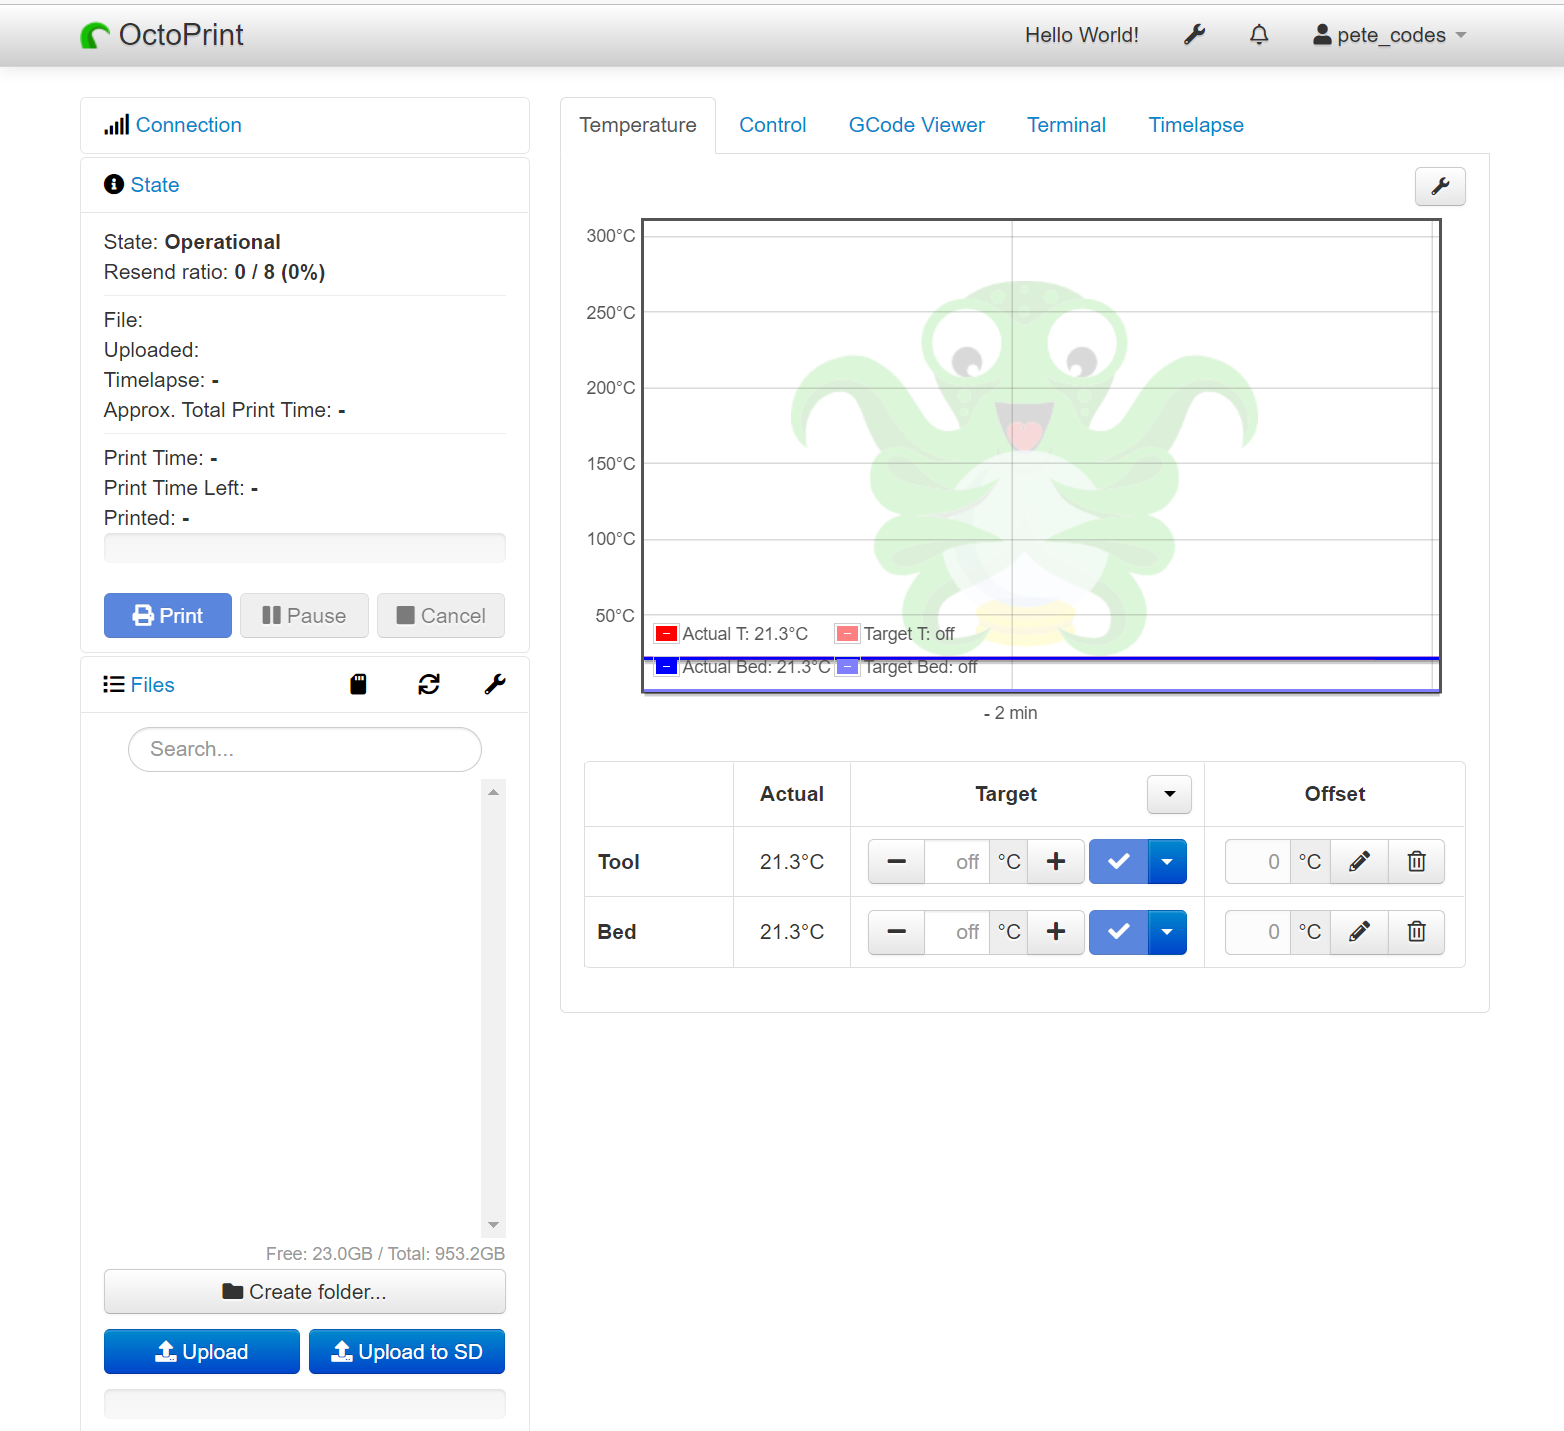
With the Virtual printer Plugin Enabled, we’re back to where we were;
Now we can try modifying the new config.yaml with our HelloWorld Plugin Settings;
plugins:
  helloworld:
    url: https://de.wikipedia.org/wiki/Hallo-Welt-Programm
Adding that to the file to our new config.yaml;
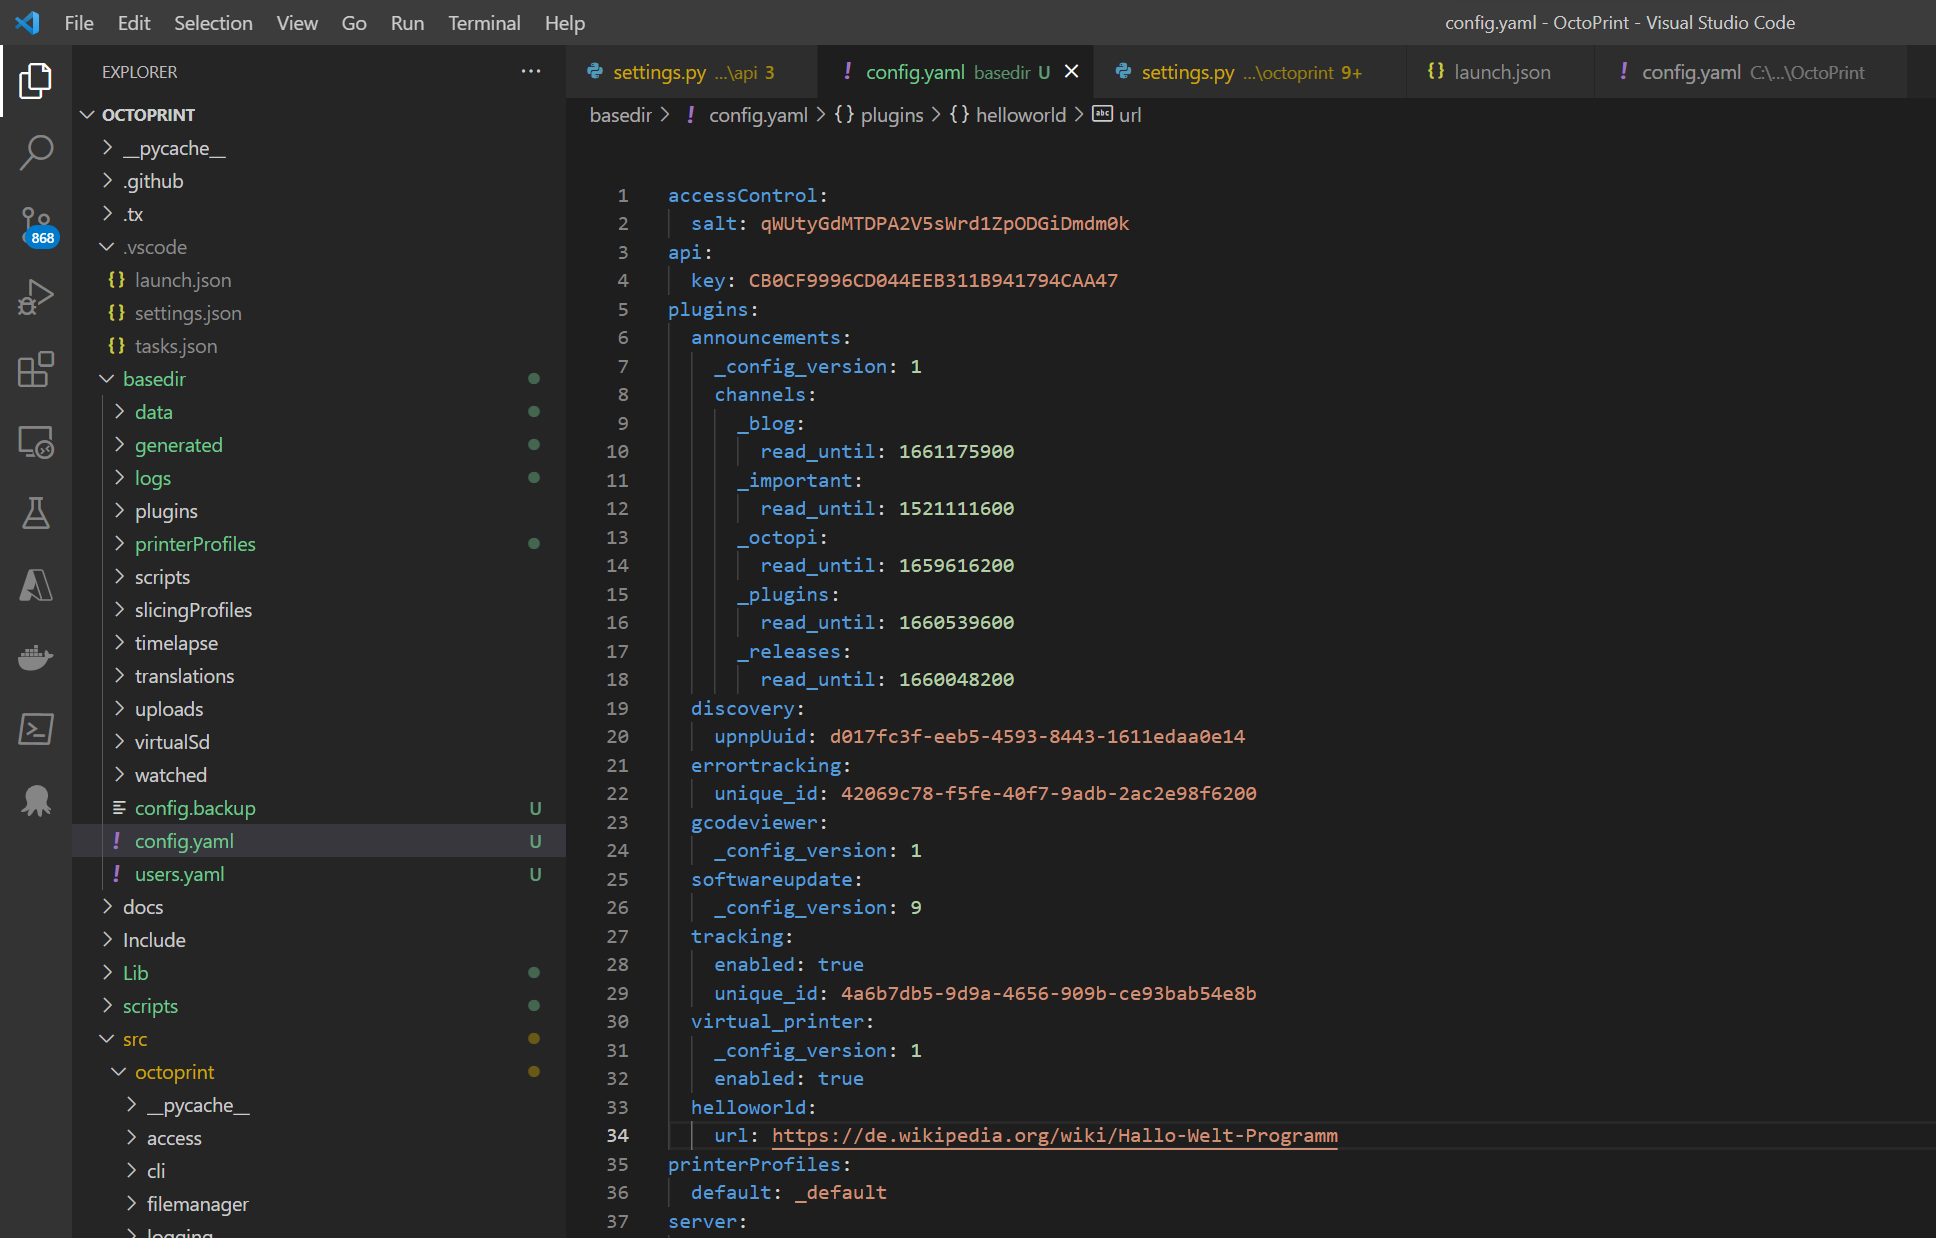
We can see that the file now has everything I would’ve expected in it, which is reassuring.
Saving it and restarting the OctoPrint Server, let’s see if the URL has changed now;
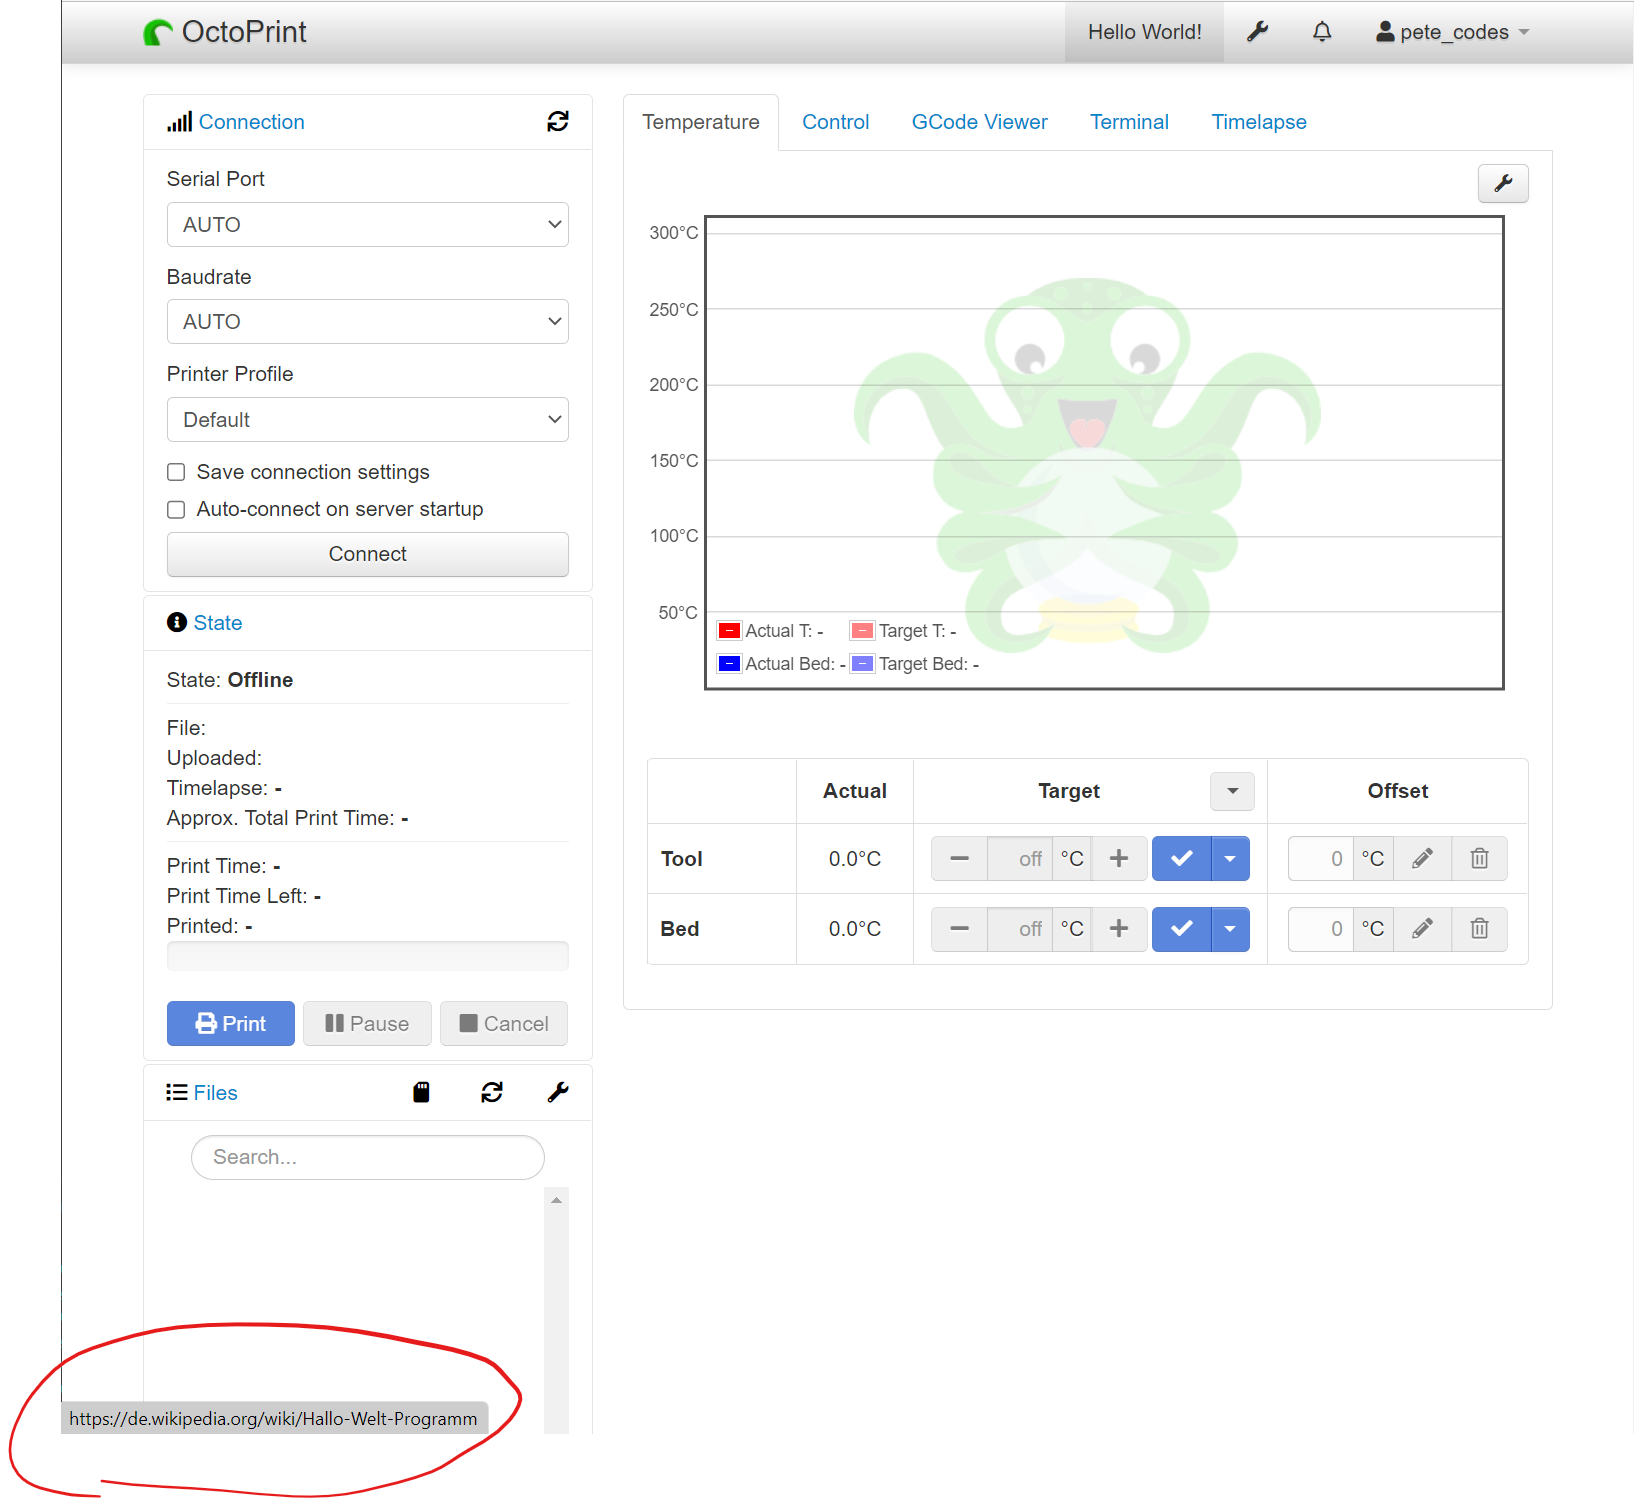
Wahoo! Success!

Installing OctoPrint on the reTerminal
Since I’ve spotted the TouchUI Plugin for OctoPrint, and before I carry on with the plugin tutorial, I thought I’d go on a side quest and install and configure OctoPrint on the reTerminal itself.
I figure it’s going to be easier to manually install OctoPrint on an already configured reTerminal, than it is to reinstall everything on the reTerminal from an OctoPi image.
I found a really good post by the awesome foosel of OctoPrint detailing the steps required to Manually install OctoPrint on a Pi.
The first thing I’m going to need to do though is SSH into the reTerminal;
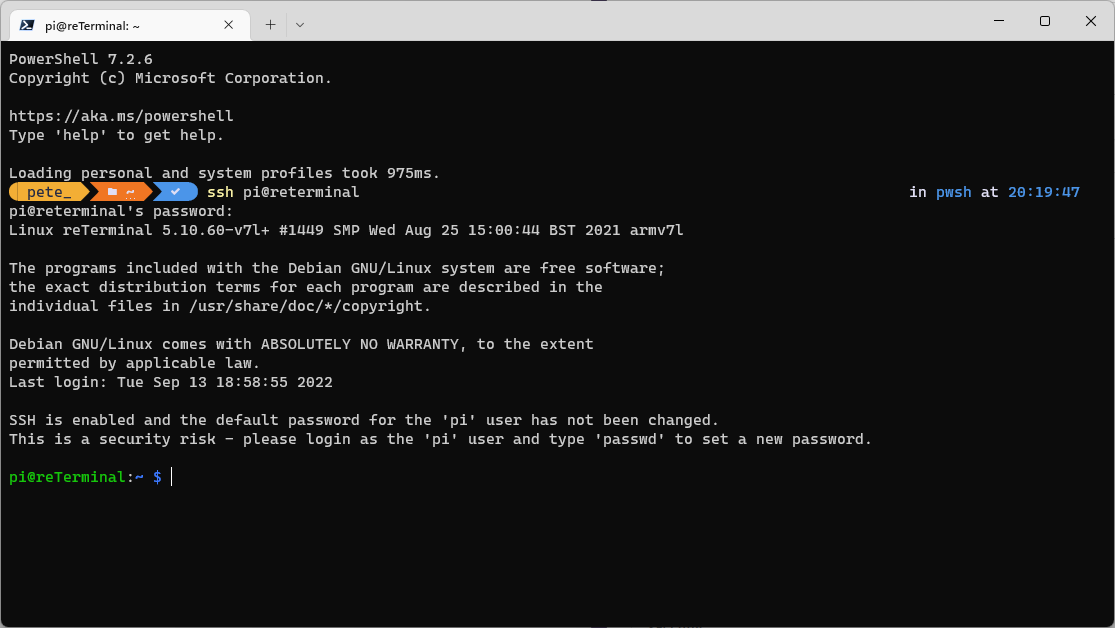
I renamed my reTerminal to, well, reTerminal… This made it easier to locate!
The default username is pi and the default password is raspberry… It’s highly recommended that we change these, but that’s a job for later.
The first thing the tutorial says we should do is check our python 3 version with;
python3 --version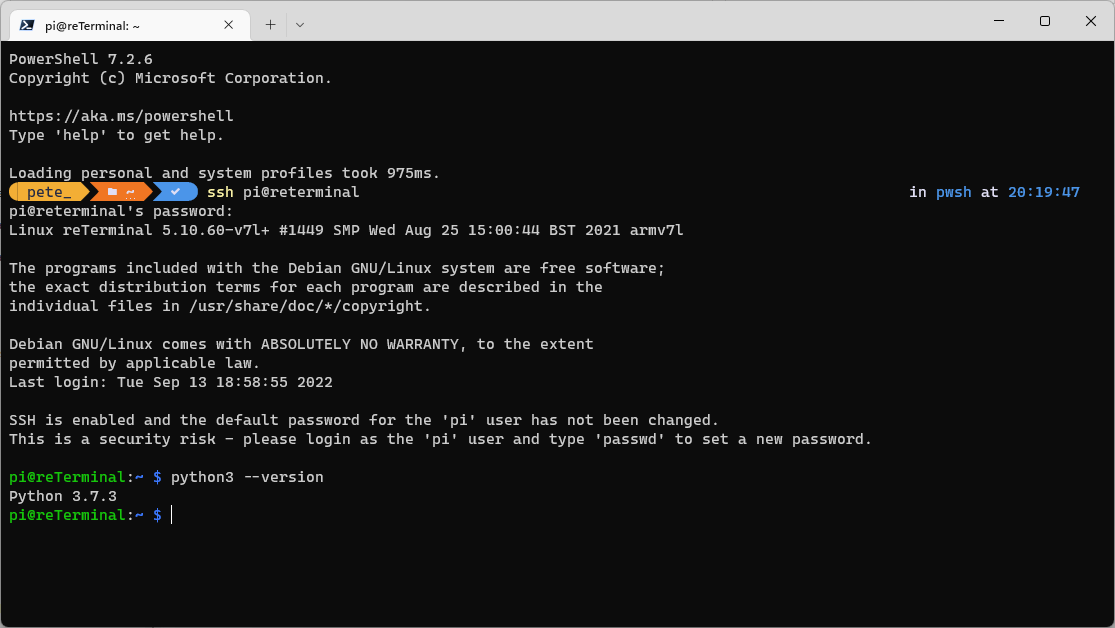
We’ve got version 3.7.3.
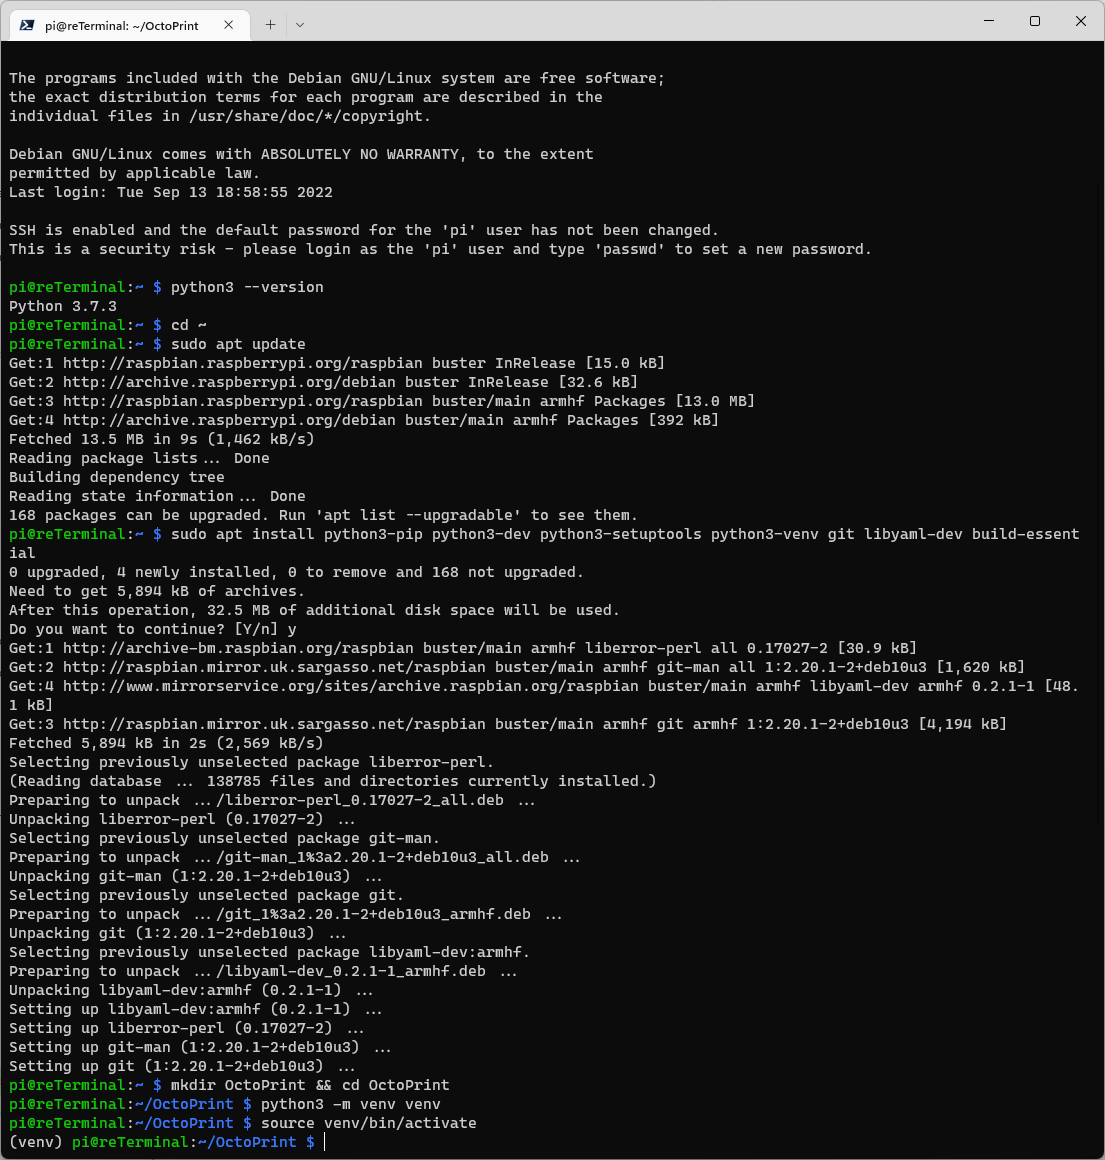
Next we need to update our pi, install some dependencies, create a folder for OctoPrint, create a Virtual Environment and activate it;
cd ~
sudo apt update
sudo apt install python3-pip python3-dev python3-setuptools python3-venv git libyaml-dev build-essential
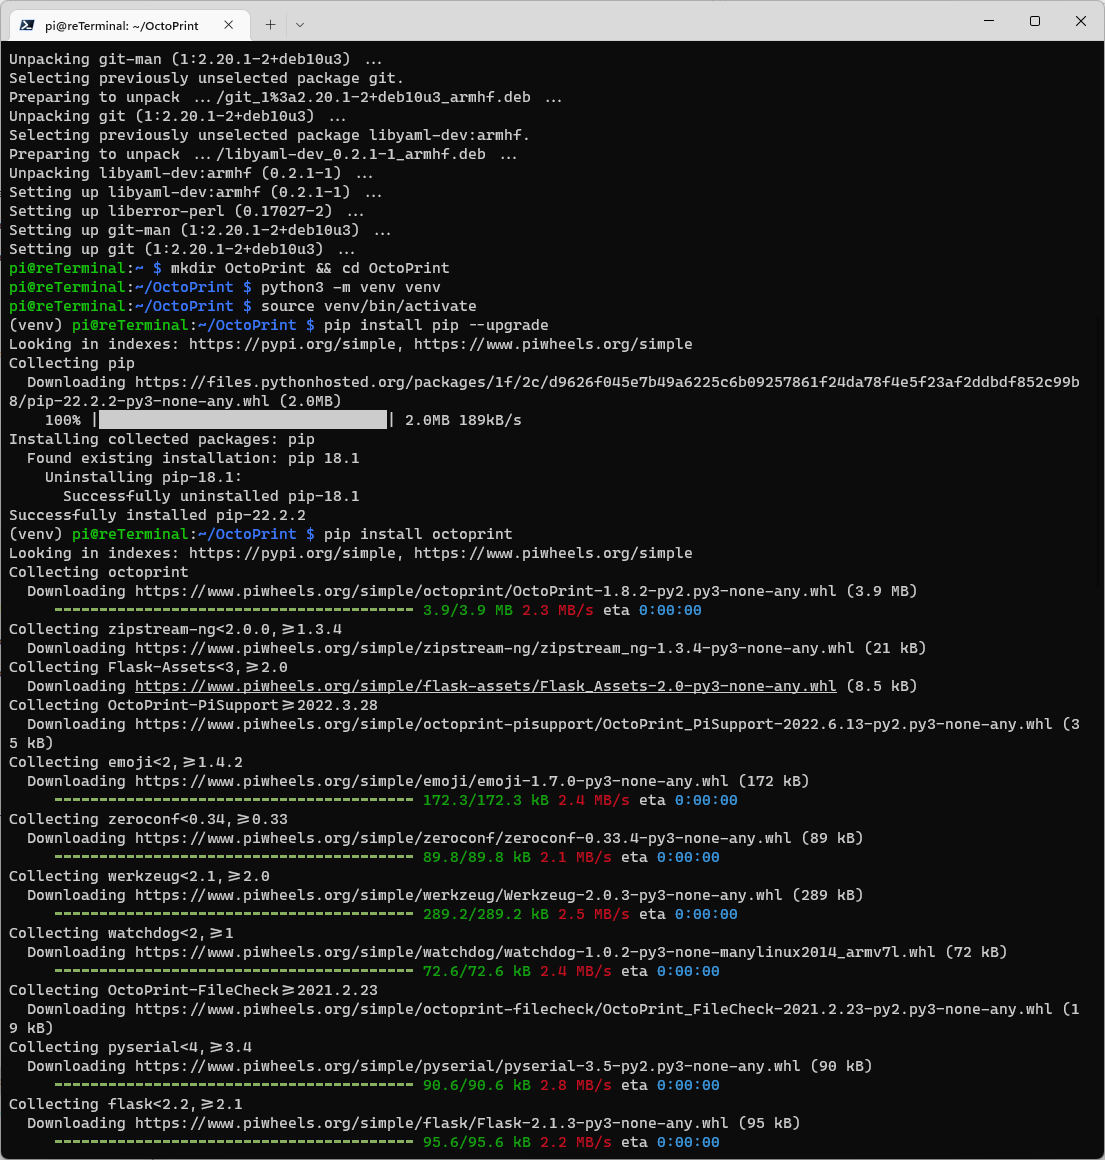
mkdir OctoPrint && cd OctoPrint
python3 -m venv venv
source venv/bin/activateAfter running all of the above successfully, we now have a Virtual Environment activated;
Next we need to update pip and install OctoPrint;
pip install pip --upgrade
pip install octoprint
A whole heap of stuff starts to install;
And it’s installed;
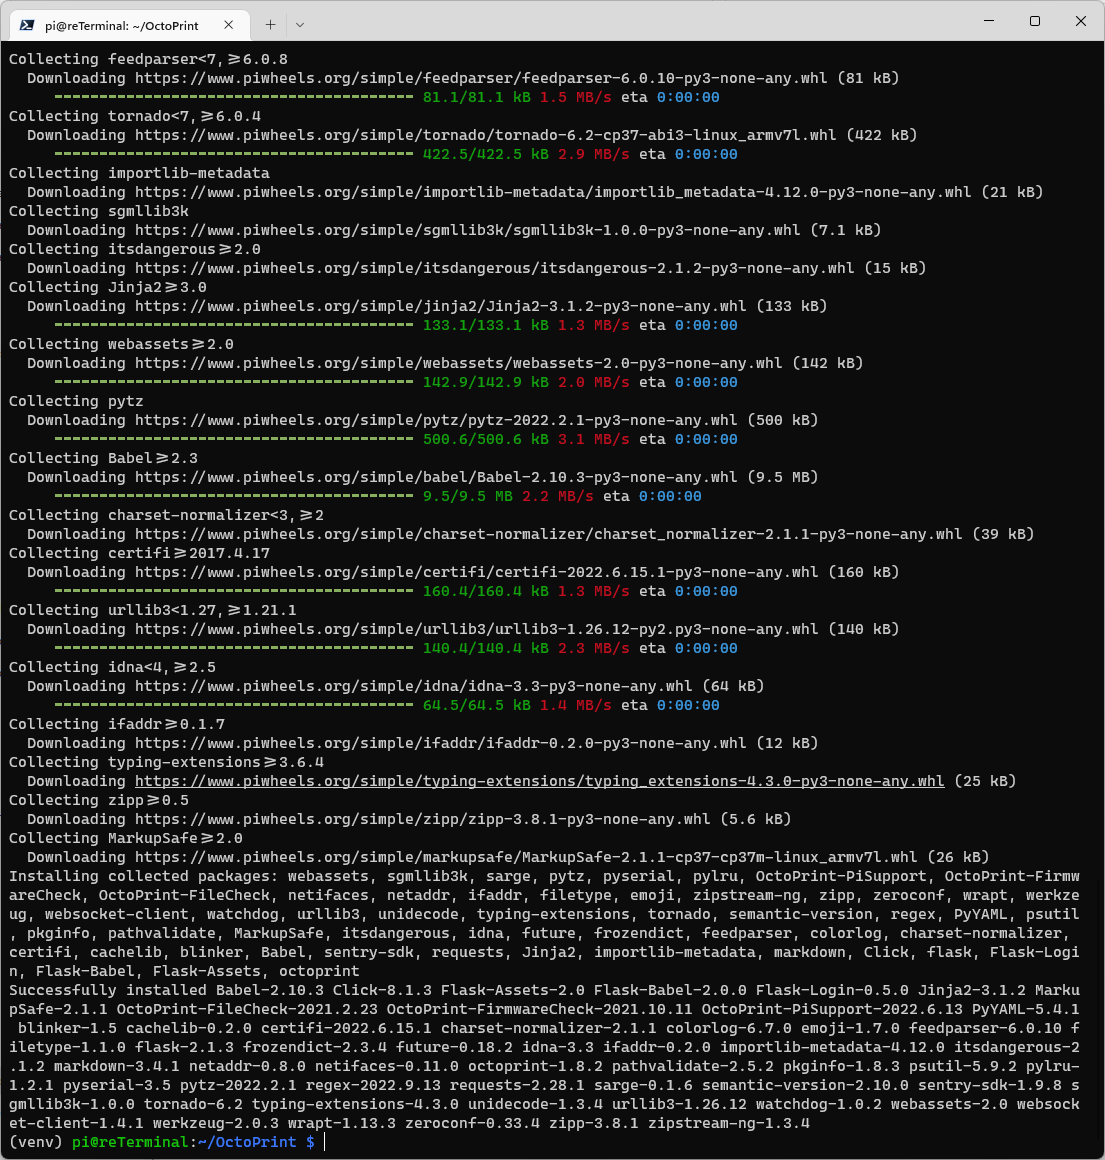
We may now need to add the pi user to the dialout group so we can access the serial port;
sudo usermod -a -G tty pi
sudo usermod -a -G dialout pi
We can now start OctoPrint with;
octoprint serveOctoPrint then starts up;
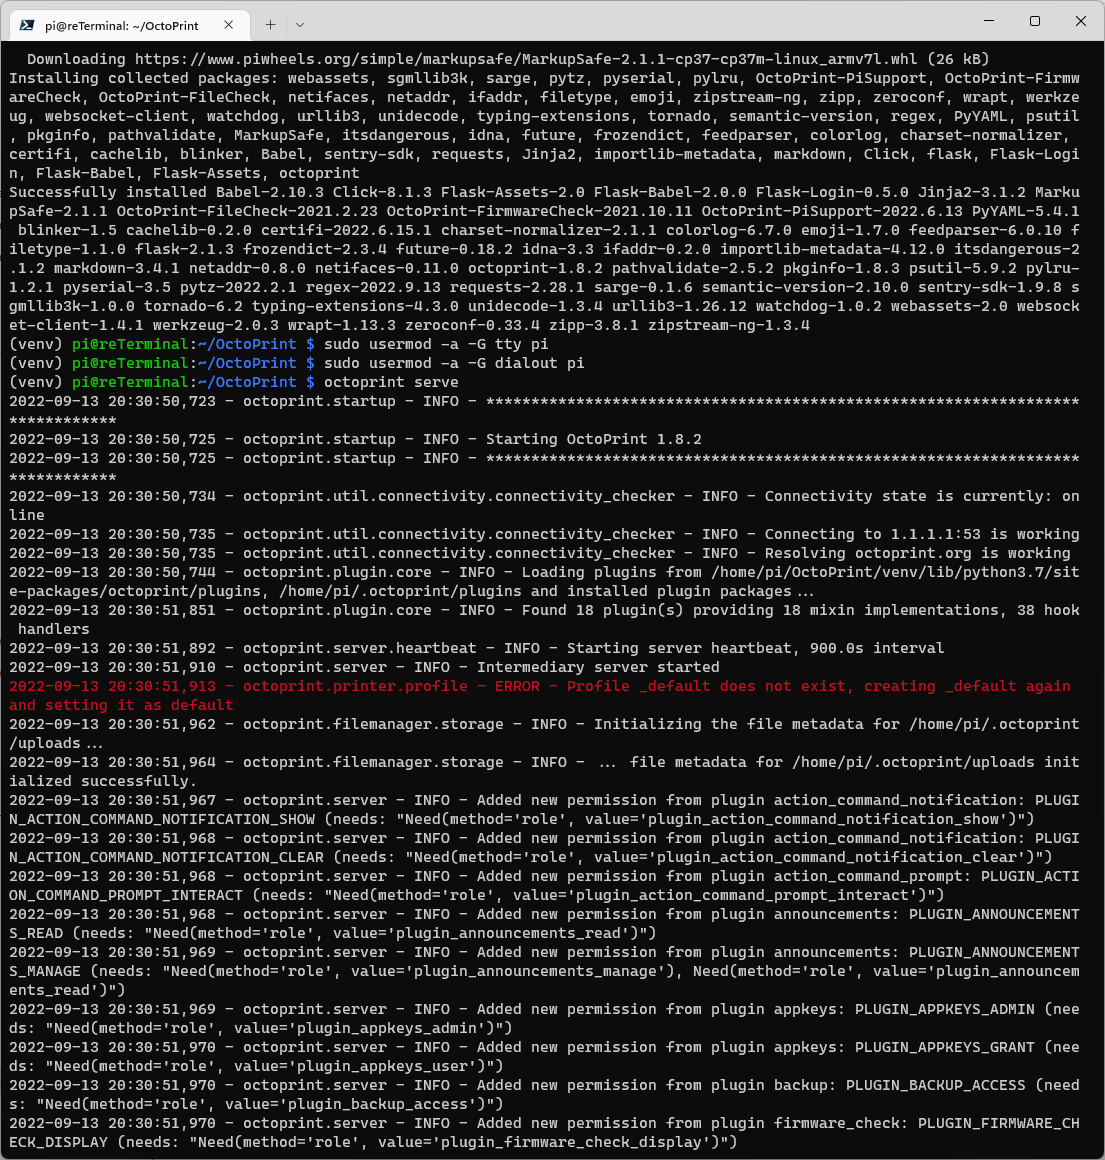
After a few seconds, it looks like it’s started up;
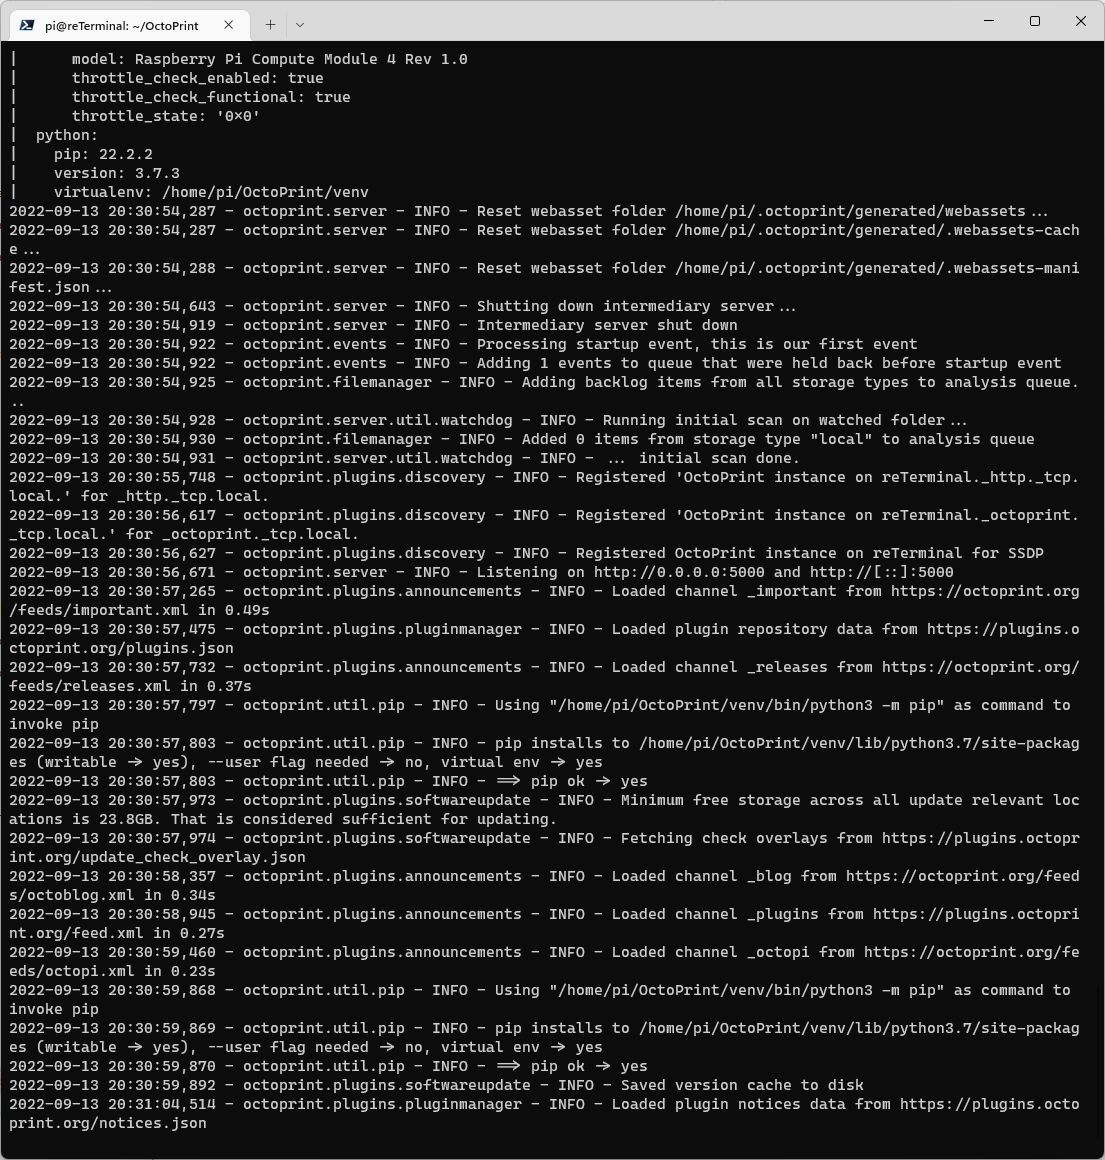
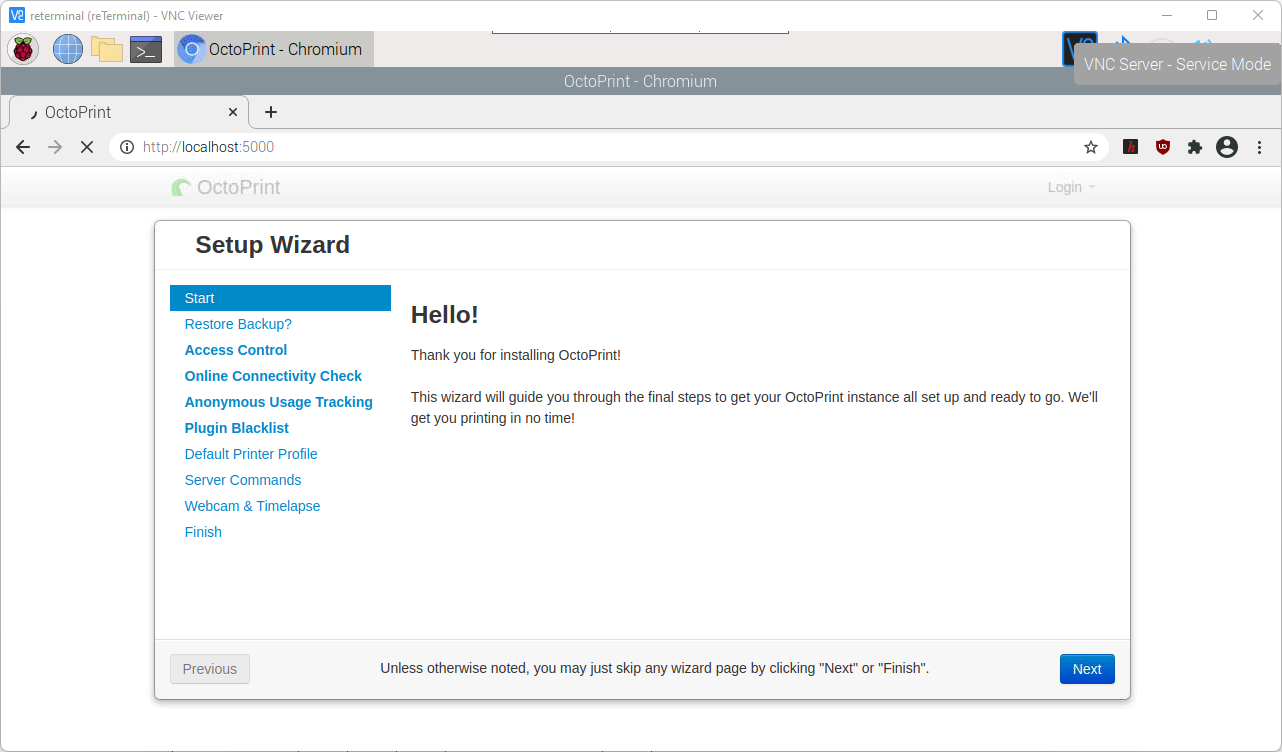
Dialling into the reTerminal using VNC, and opening a browser, we can navigate to http://localhost:5000, where we can see that OctoPrint is indeed running!
Setting up and installing the TouchUI Plugin – Live
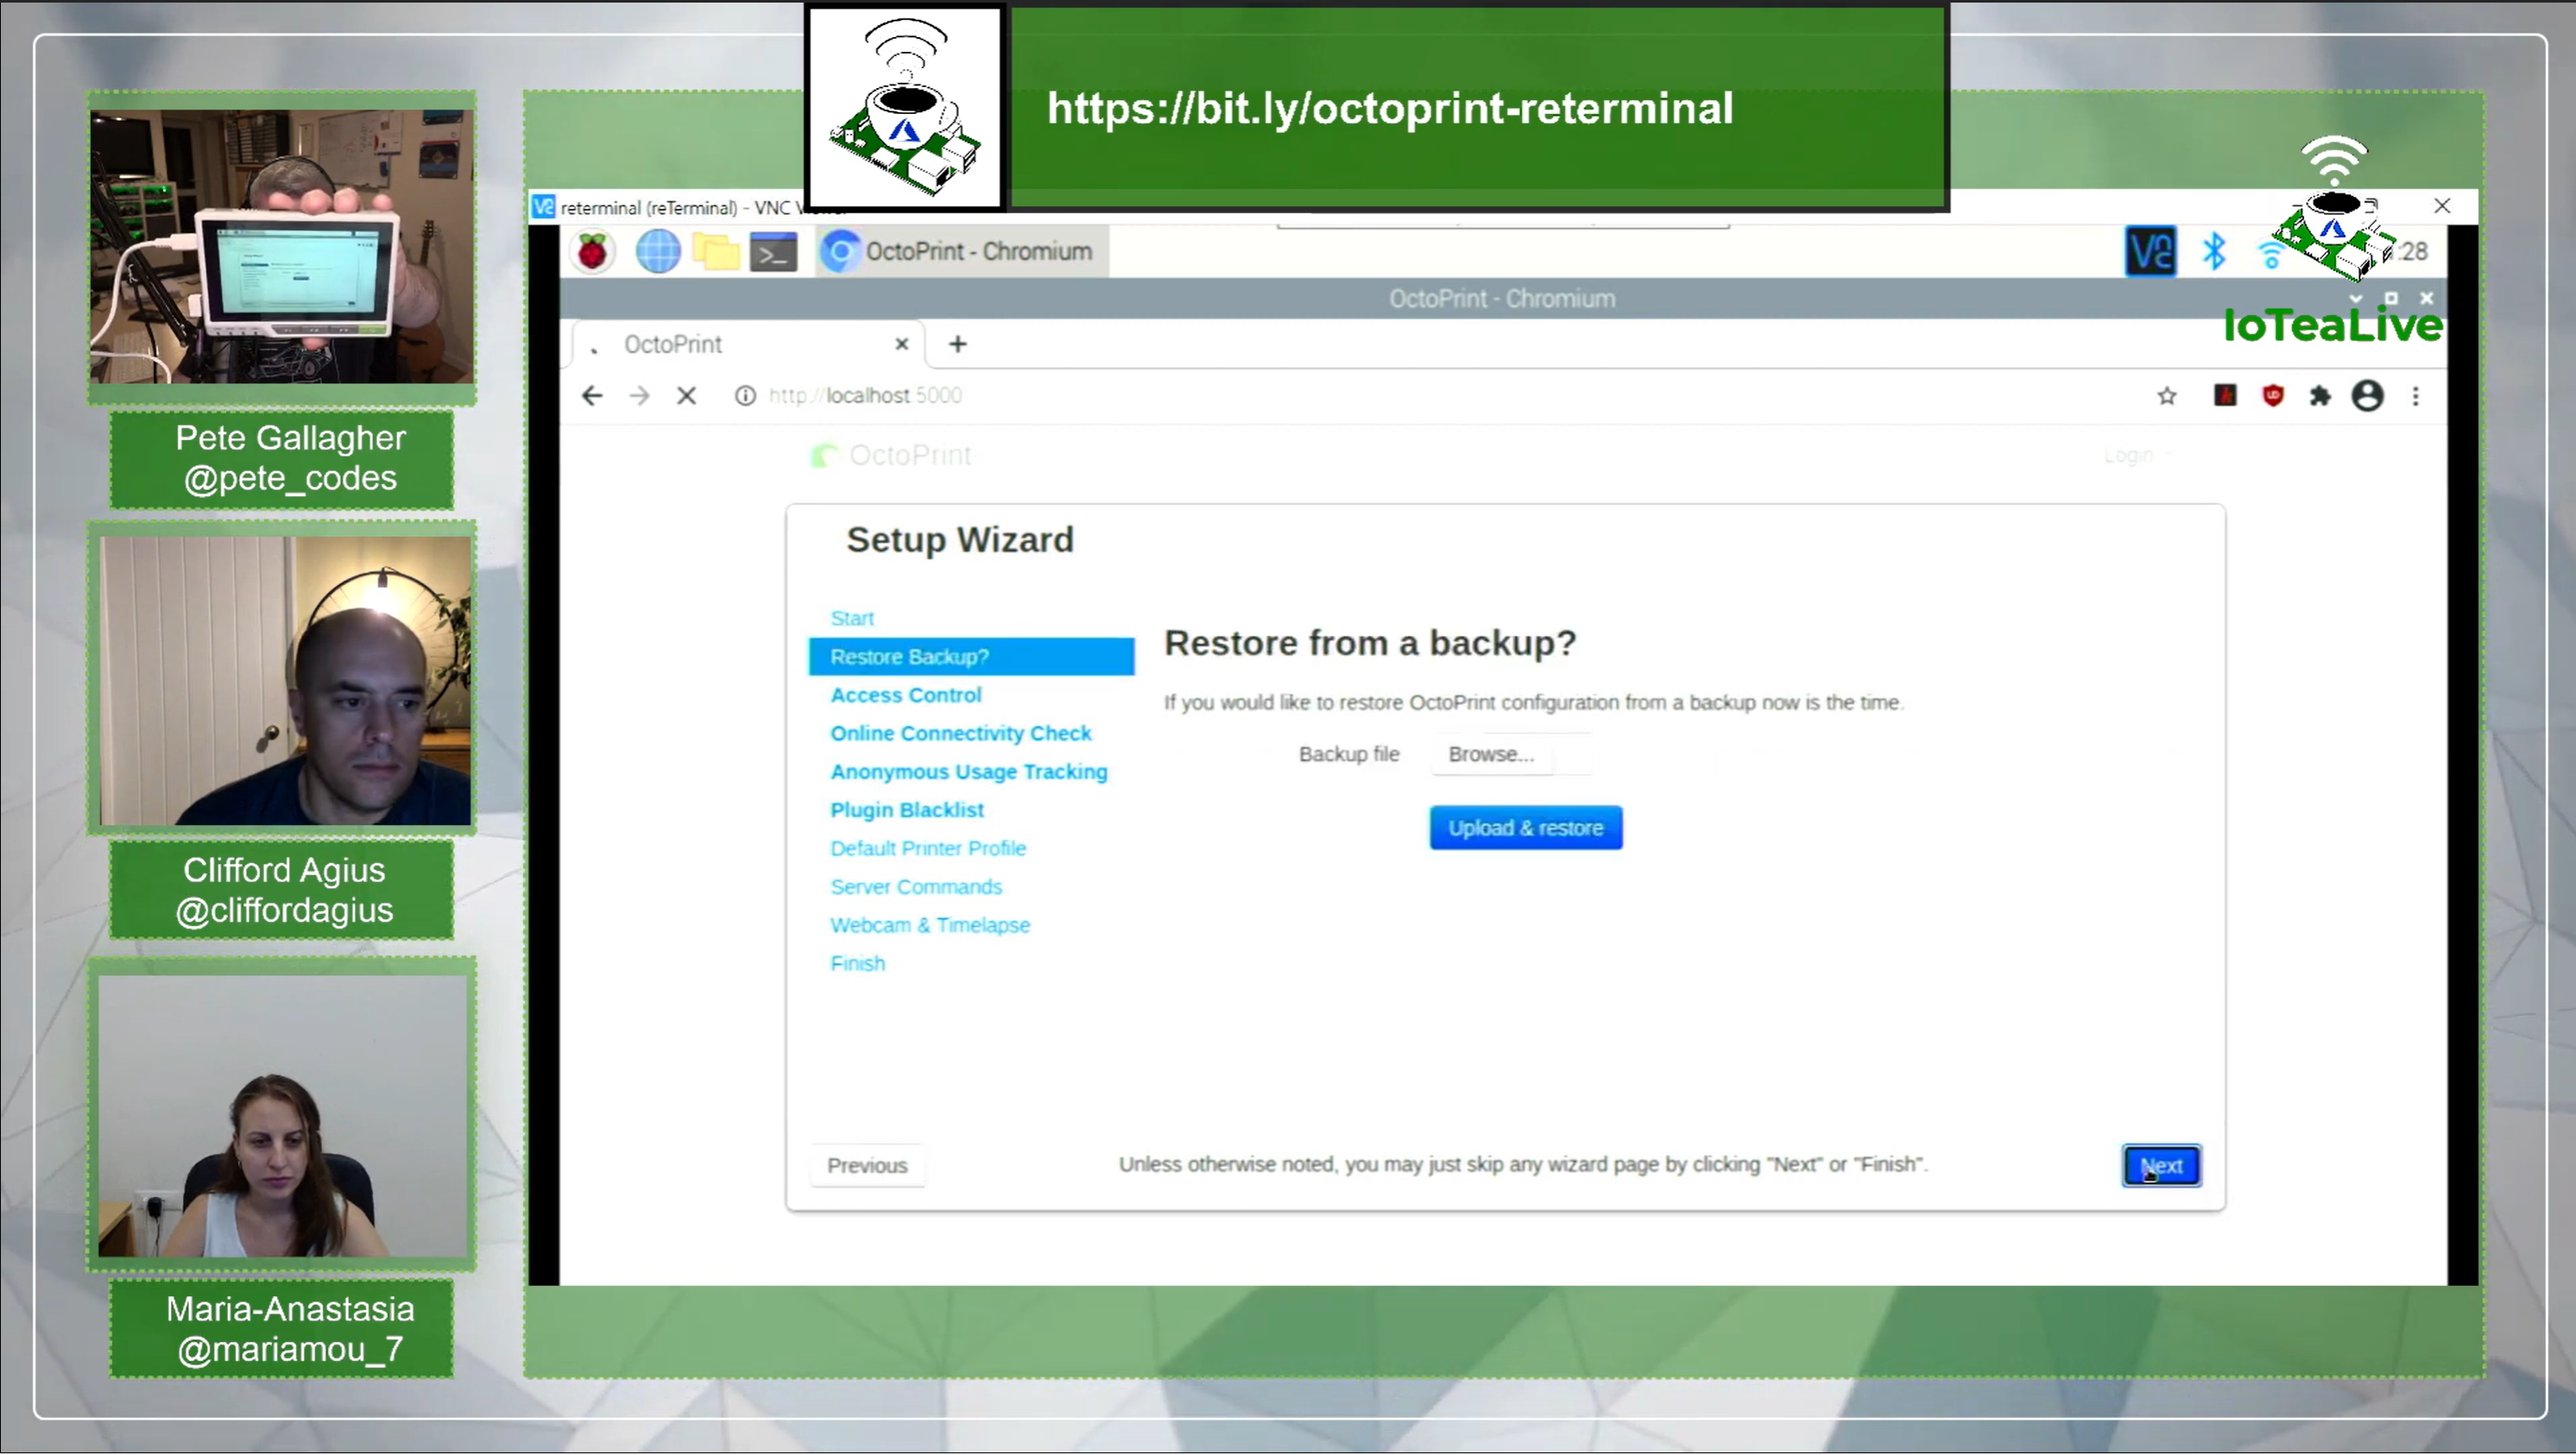
As part of IoTeaLive, myself, Maria-Anastasia Moustaka and Cliff Agius continued with the reTerminal OctoPrint Setup Wizard and then installed the TouchUI plugin.
You can watch the stream back from that section here on Youtube;
We noticed a couple of interesting things along the way. Firstly, there’s an extra menu in the Setup Wizard for Backup and Restore, so I wonder if this has been added since I cloned the repo?
We also noticed that for some reason the toolbar icons didn’t load, or the browser didn’t complete rendering the page. This made it hard to click the settings icon of course;
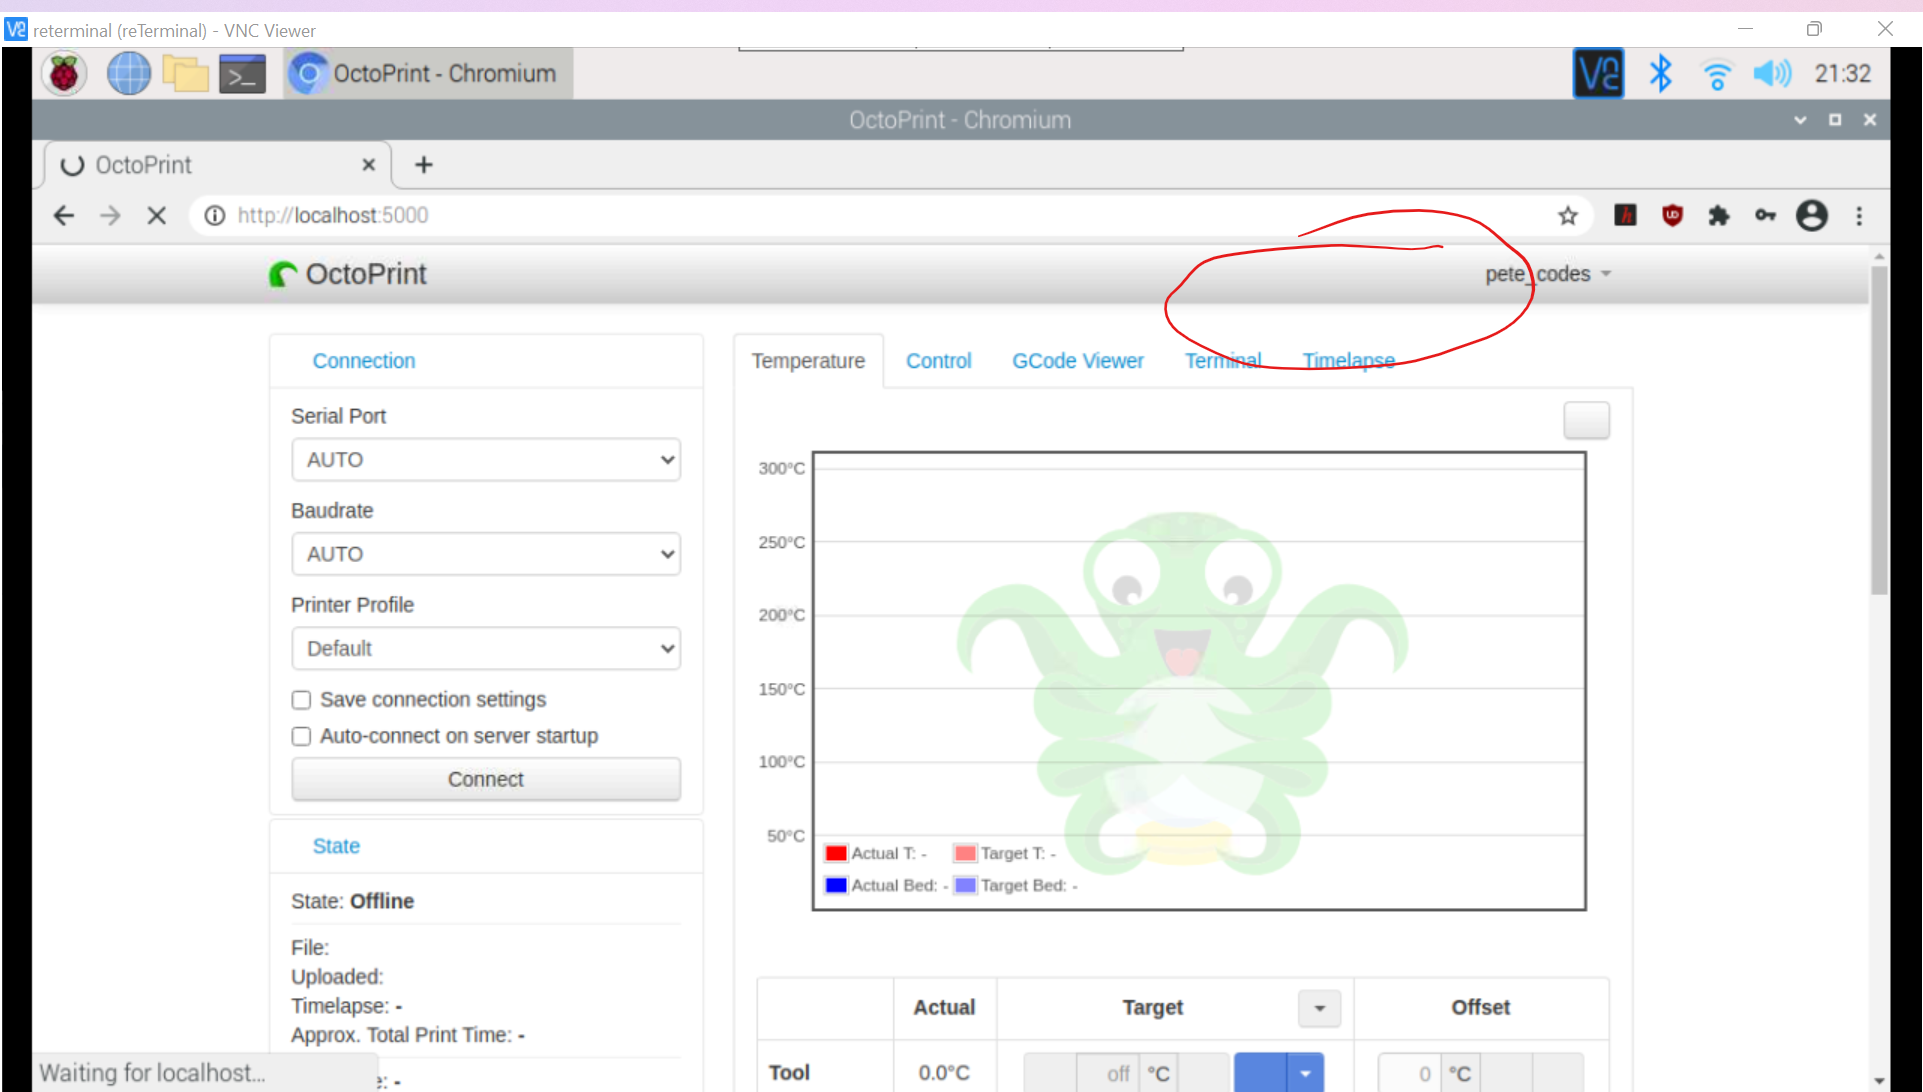
Other than that, everything installed smoothly…
We then got the TouchUI plugin installed which looked great;
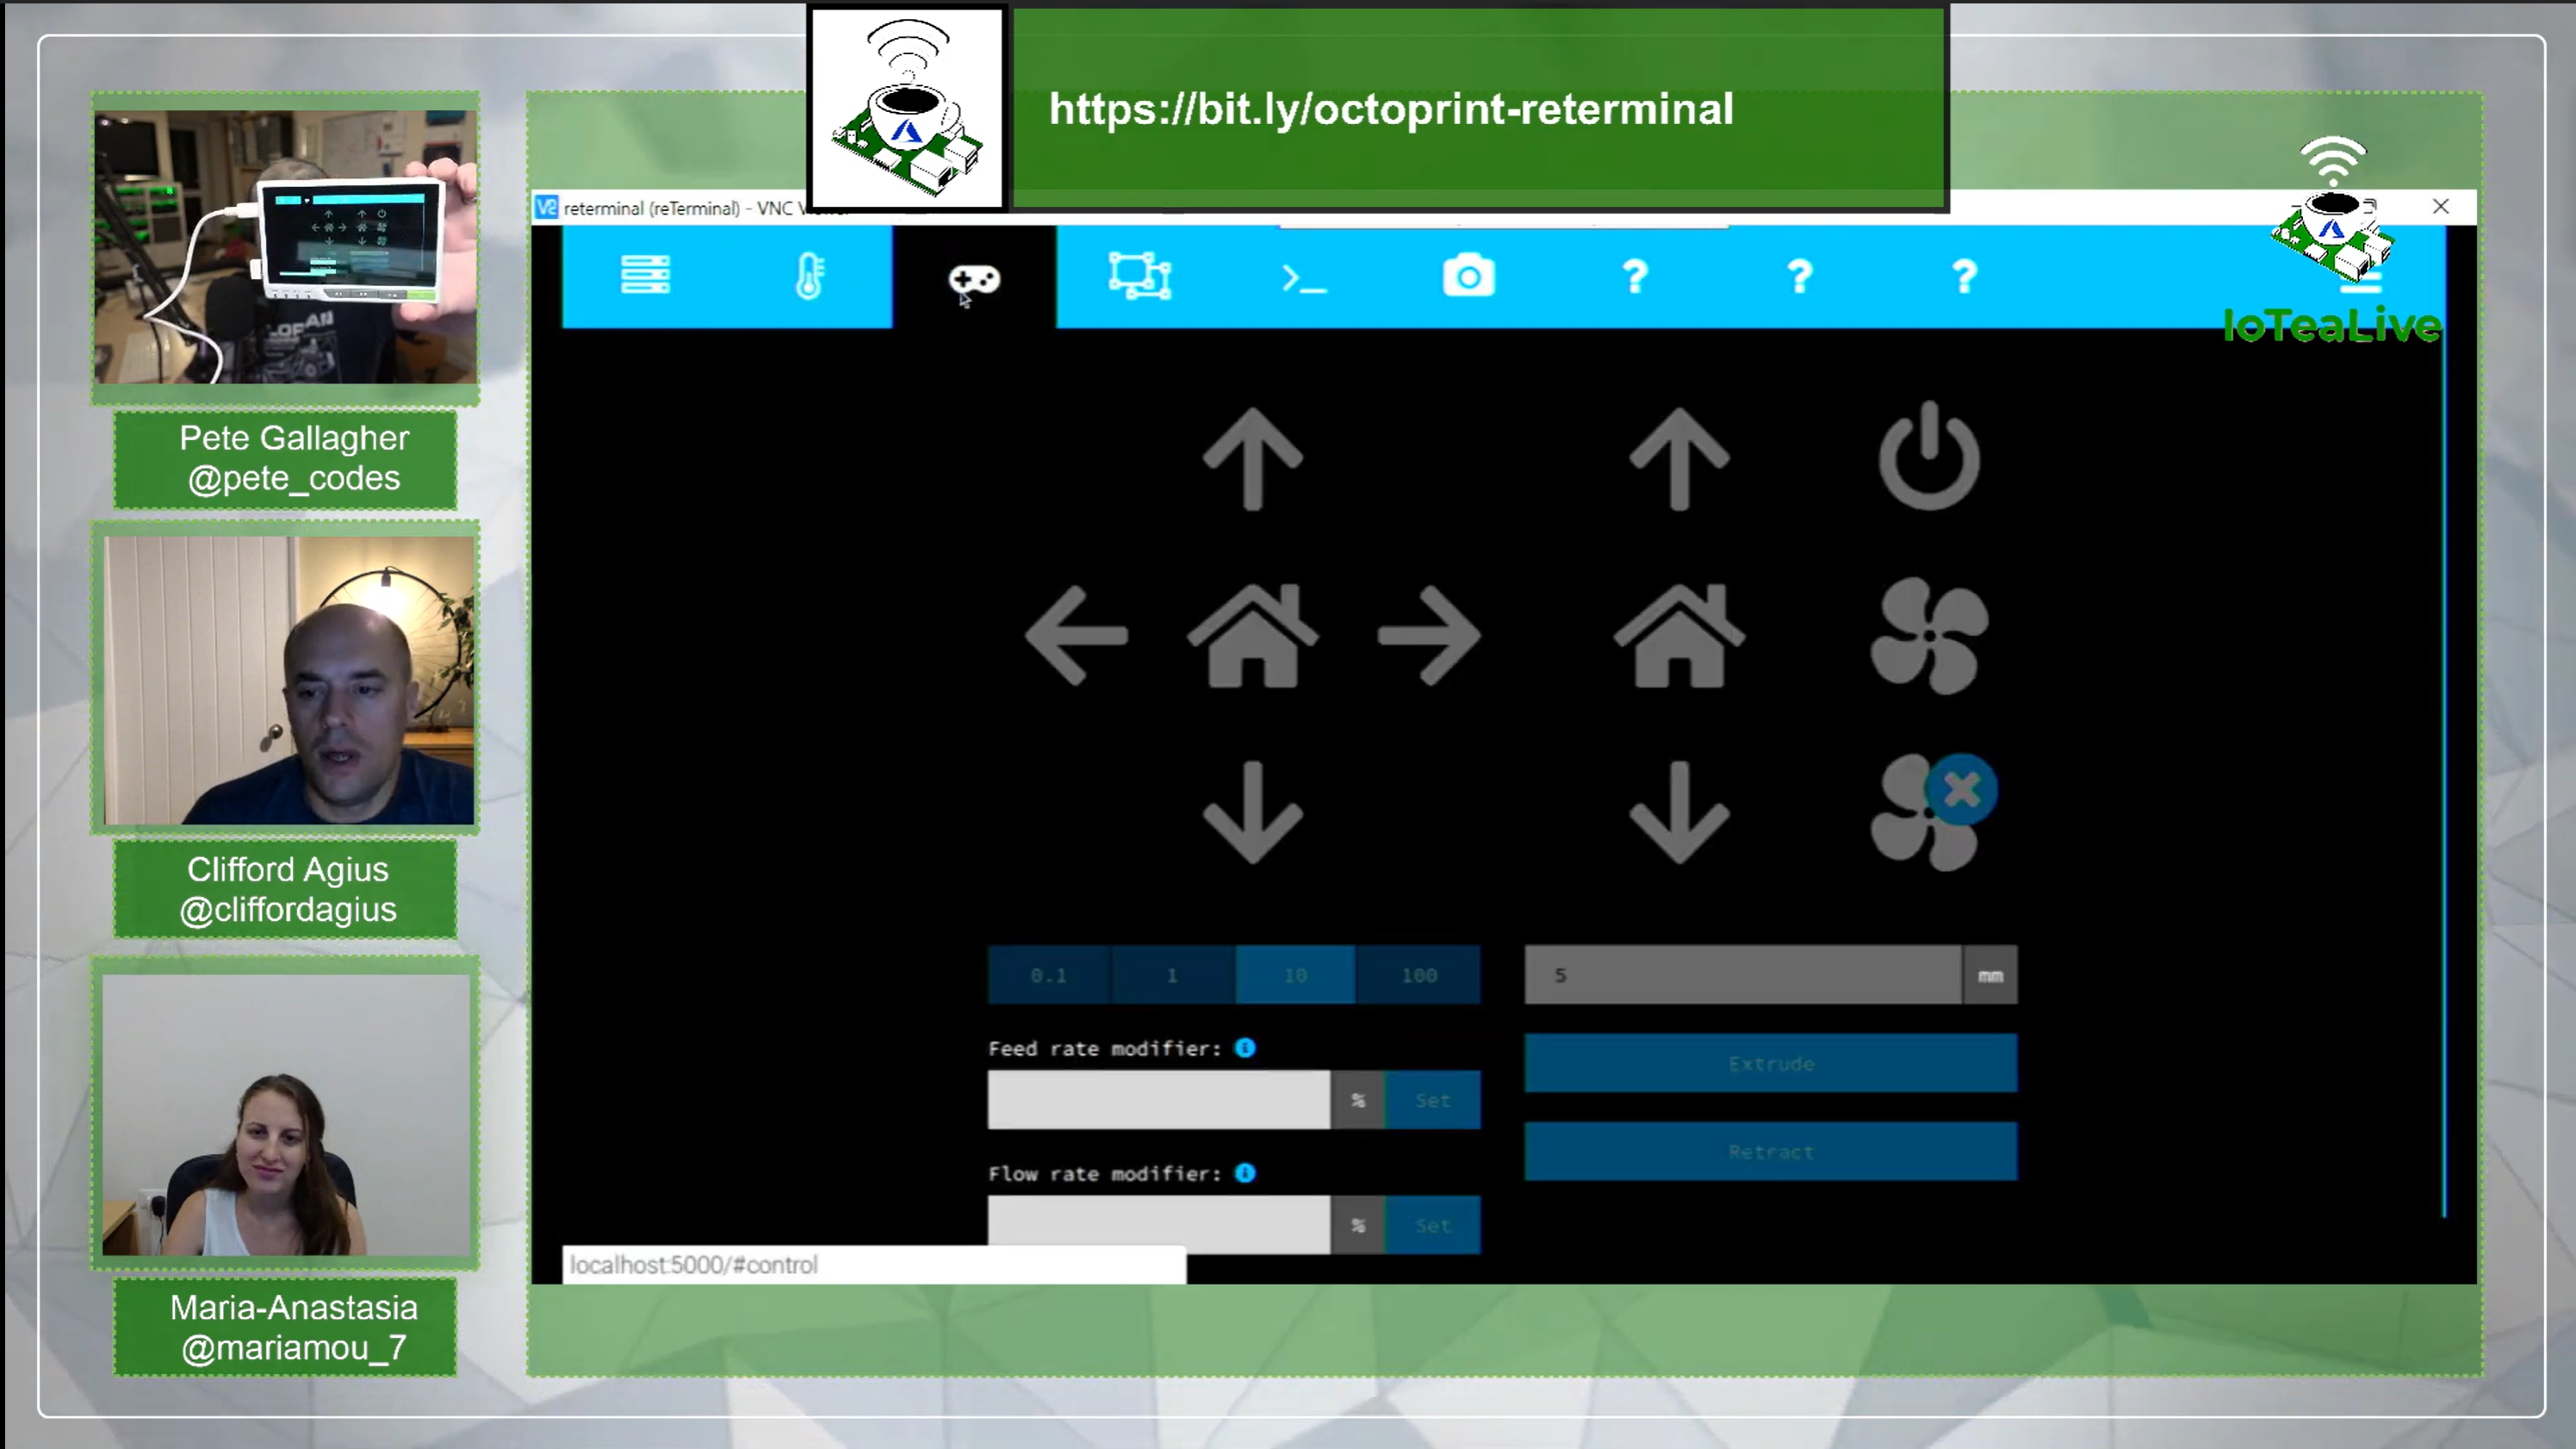
So, this looks very nice indeed and is a great starting point for this project.