This post is a series of posts in which I detail my journey to bring OctoPrint to the Seeed Studio reTerminal.
Day 3
In today’s post we’ll be continuing the setup of the VS Code Debug Environment, running through the OctoPrint Setup Wizard, looking at the Virtual Printer Plugin and beginning the Plugin Tutorial.
Contents
Day 1 – 05–09–22 – Getting Started:
- Getting Started – 05/09/2022
- My Initial Plans
- Cloning the Repos
- A pointer in the right direction from the folks at OctoPrint3D – Plugins
- OctoPrint Plugin Mixin Development Docs
- Getting the Development Environment setup
- Installing Python
- Checking out the OctoPrint Sources
- Creating and Activating a Virtual Environment
- Build Tools for Visual Studio 2019
- Setting up VirtualEnv
- Adding VirtualEnv to the Windows Path
- Upgrading Pip
- Setting up the Virtual Environment
Day 2 – 06–09–22 – Setting up the Environment:
- OctoEverywhere – 06-09-22
- Continuing with VirtualEnv
- Activating the Virtual Environment
- Setting up the Virtual Environment
- Installing Microsoft Visual C++ 14.0
- Using pip to install packages in the Virtual Environment
- Git Pre-Commit
- Git Changes, Blame and Ignore
- Configuring VS Code
- Running OctoPrint for the first time
- Changing the Python Interpreter
- Running the OctoPrint from VS Code
Day 3 – 07–09–22 – Setup Wizard:
- Setting up OctoPrint in the Debug Environment – 07-09-22
- Setup Wizard – Access Control
- Setup Wizard – Online Connectivity
- Setup Wizard – Usage Tracking
- Setup Wizard – Plugin Blacklist
- Setup Wizard – Printer Profile
- Setup Wizard – Please Reload
- Setup Wizard – Setup Printer (Again)
- Setup Wizard – Server Commands
- Setup Wizard – Webcam and Timelapse Recordings
- Setup Wizard – Finish
- Virtual 3d Printer Plugin
- Beginning Plugin Development
Setting up OctoPrint in the Debug Environment – 07-09-22
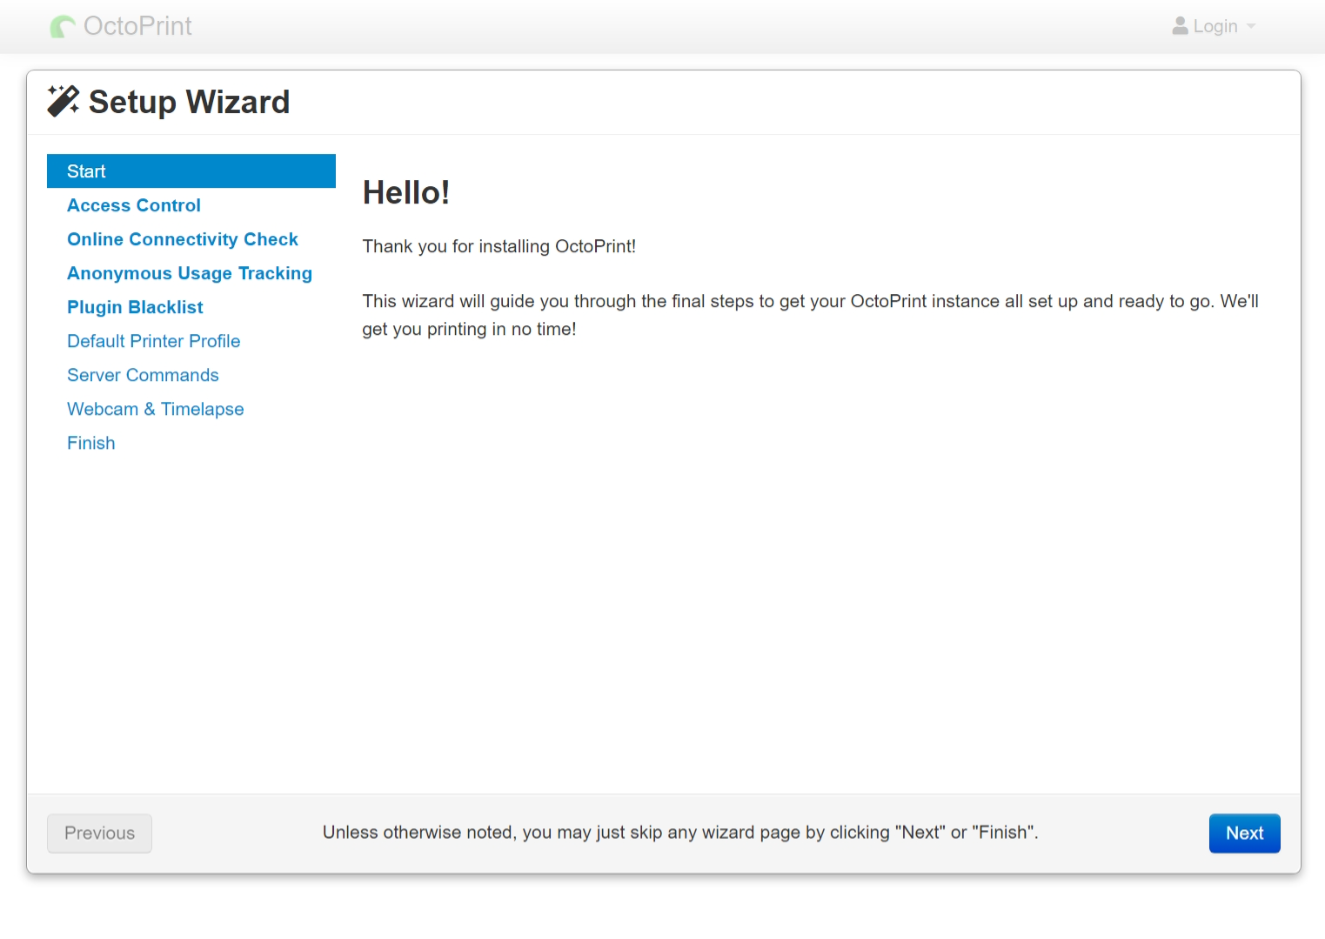
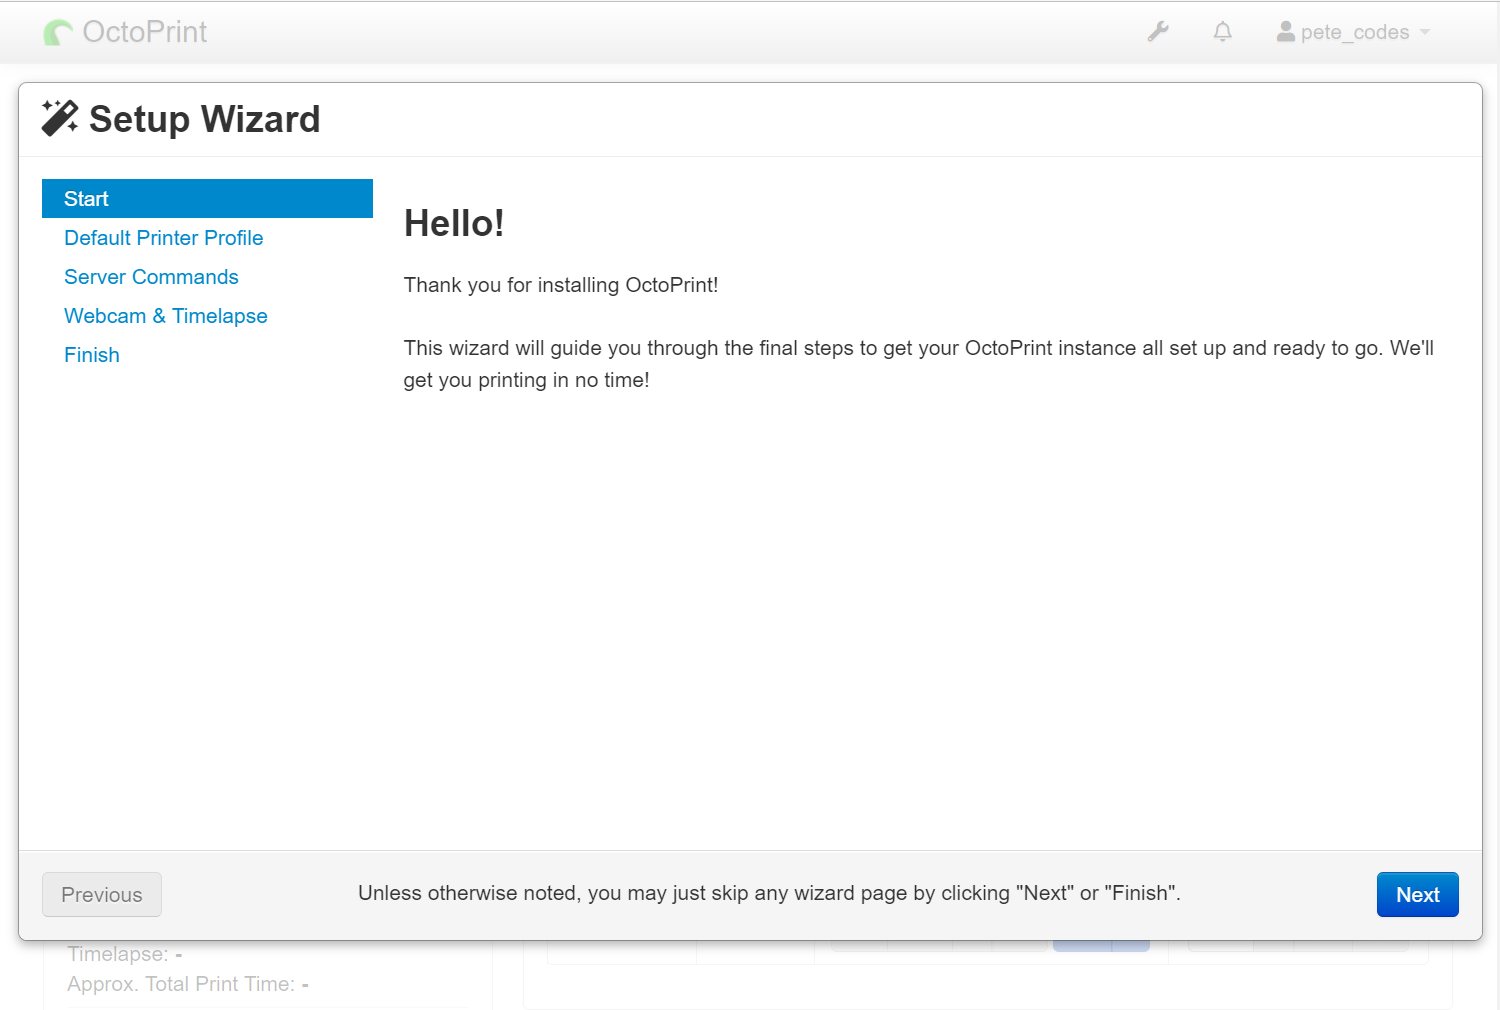
Now that we have OctoPrint running, let’s try running through the Setup Wizard.
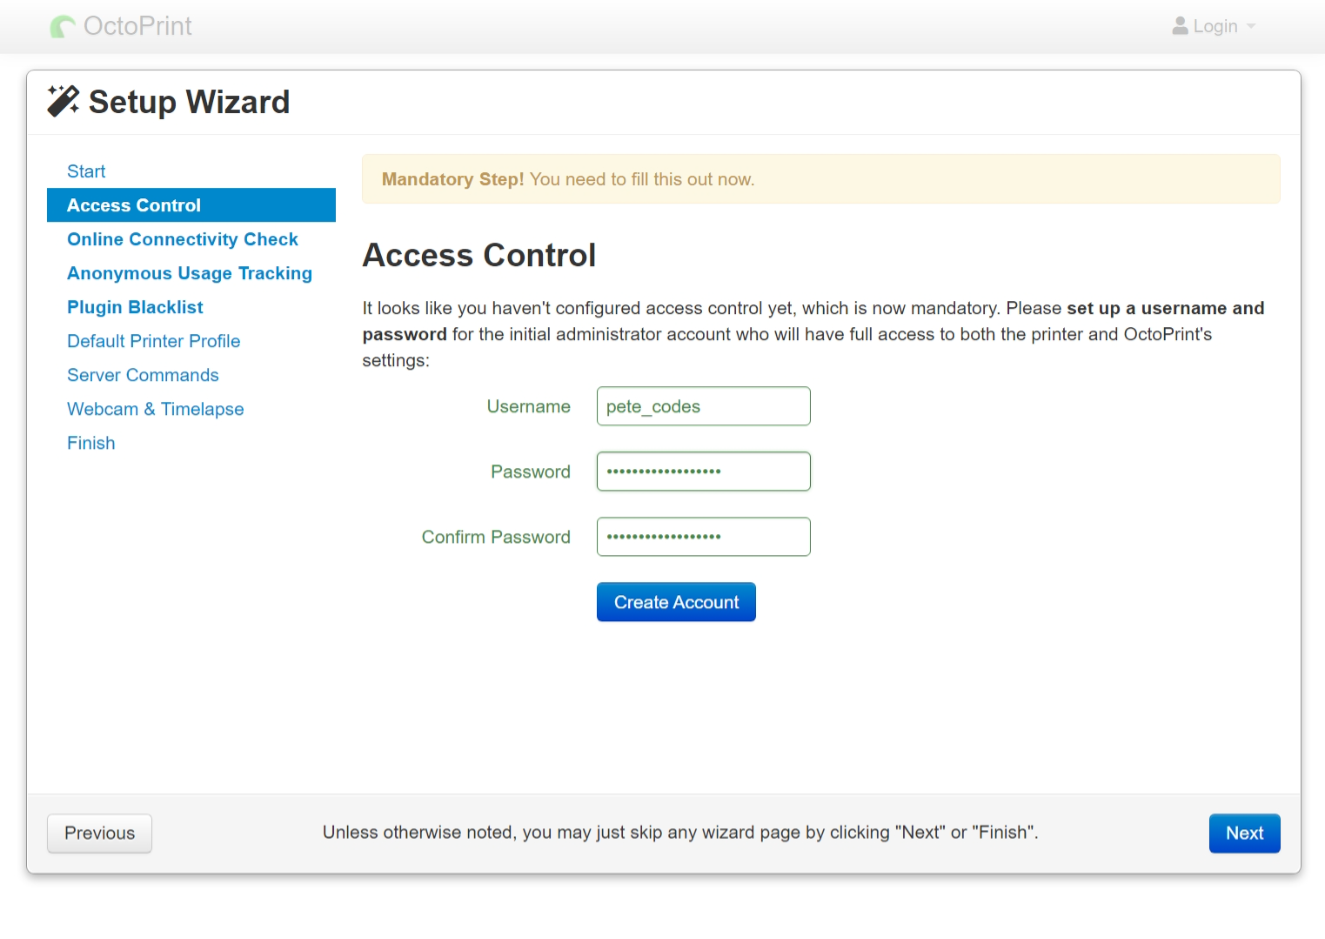
Setup Wizard – Access Control
Pressing the Next button takes us to the Access Control Page, where we can create, I’d imagine, a local account;
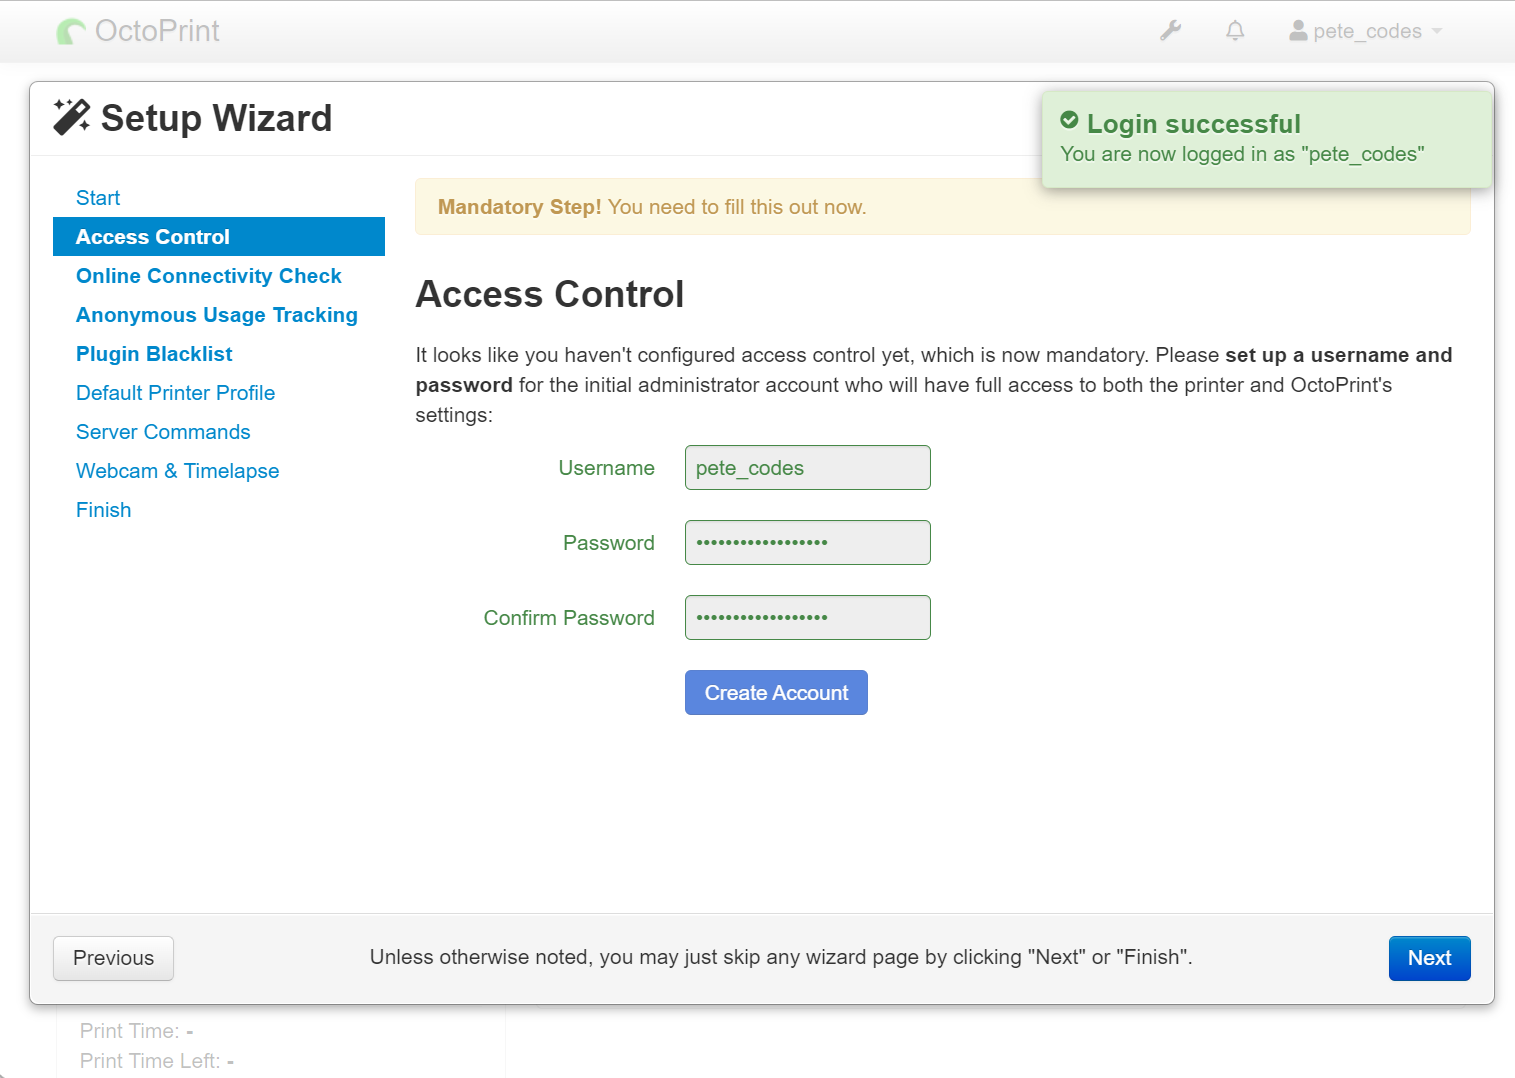
Hitting the Create Account Button creates our account and disables the Create Account button which is reassuring;
Setup Wizard – Online Connectivity
Hitting Next again, takes us to the Online Connectivity Check page, where we can configure the DNS, Hostname and Connectivity Check Intervals;
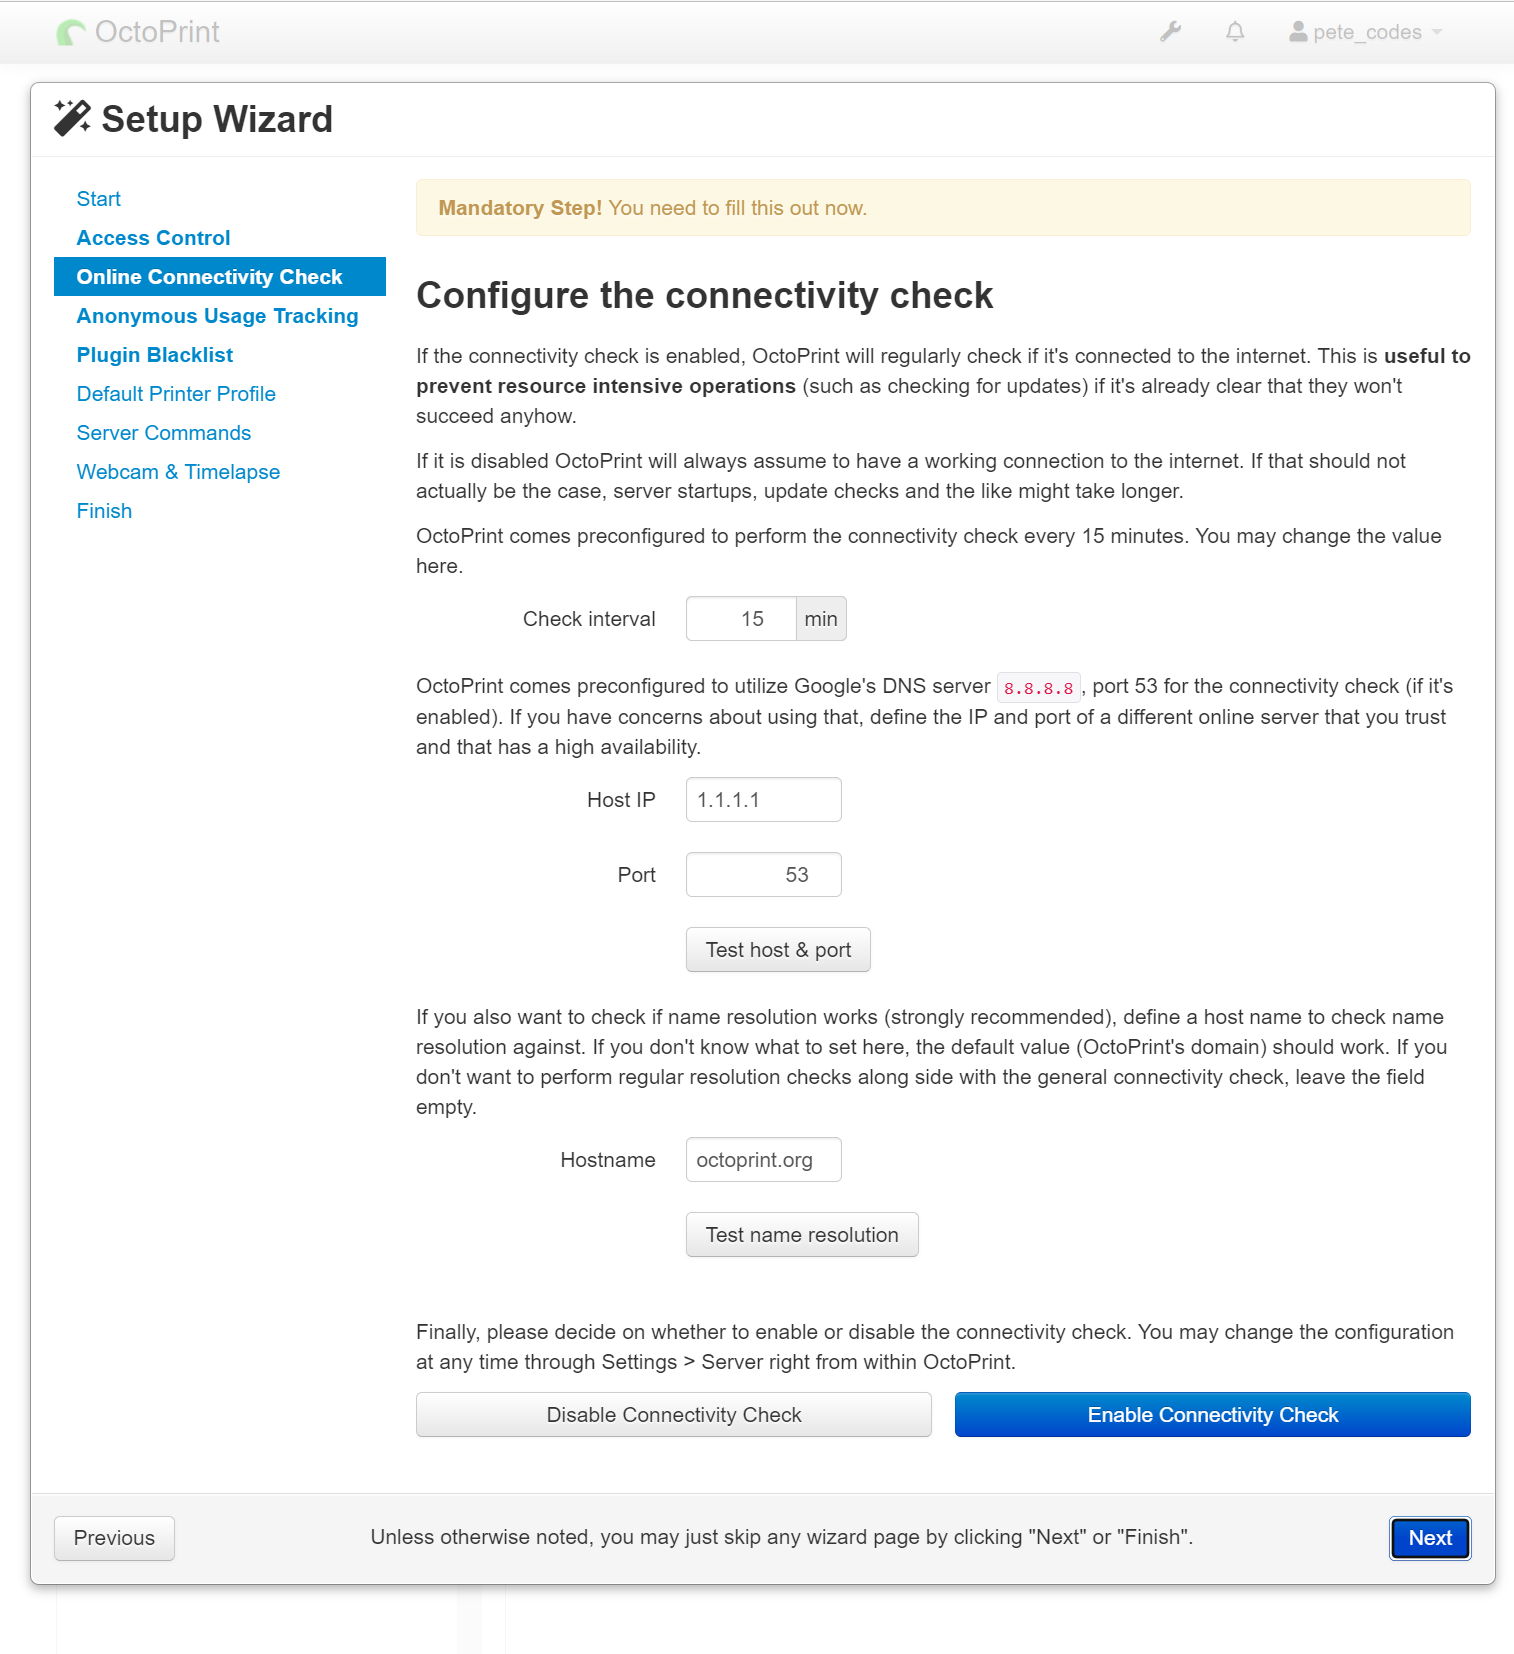
Looks like the connectivity check is really to stop the check for updates operation from consuming resources when there’s a loss of network connectivity.
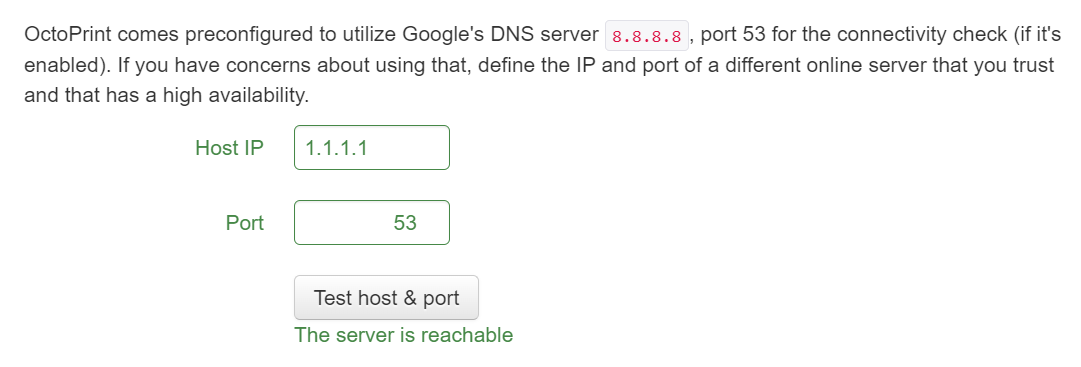
Clicking the Test Host & Port button confirms that OctoPrint can access the DNS server;
Clicking the Test name resolution button confirms that OctoPrint can reach the main OctoPrint website;
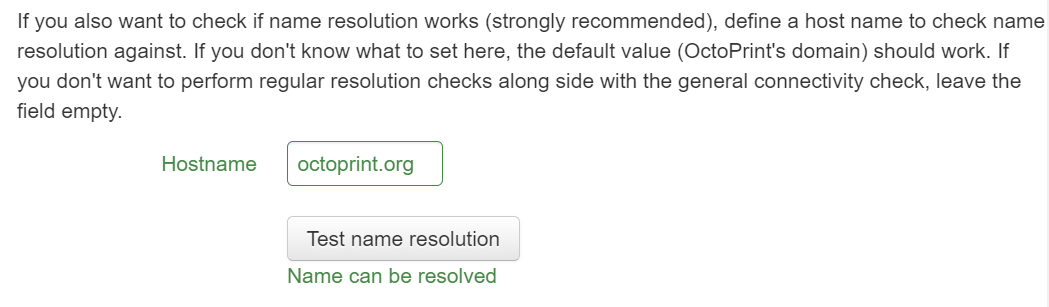
Finally, we can hit the Enable Connectivity Check button;

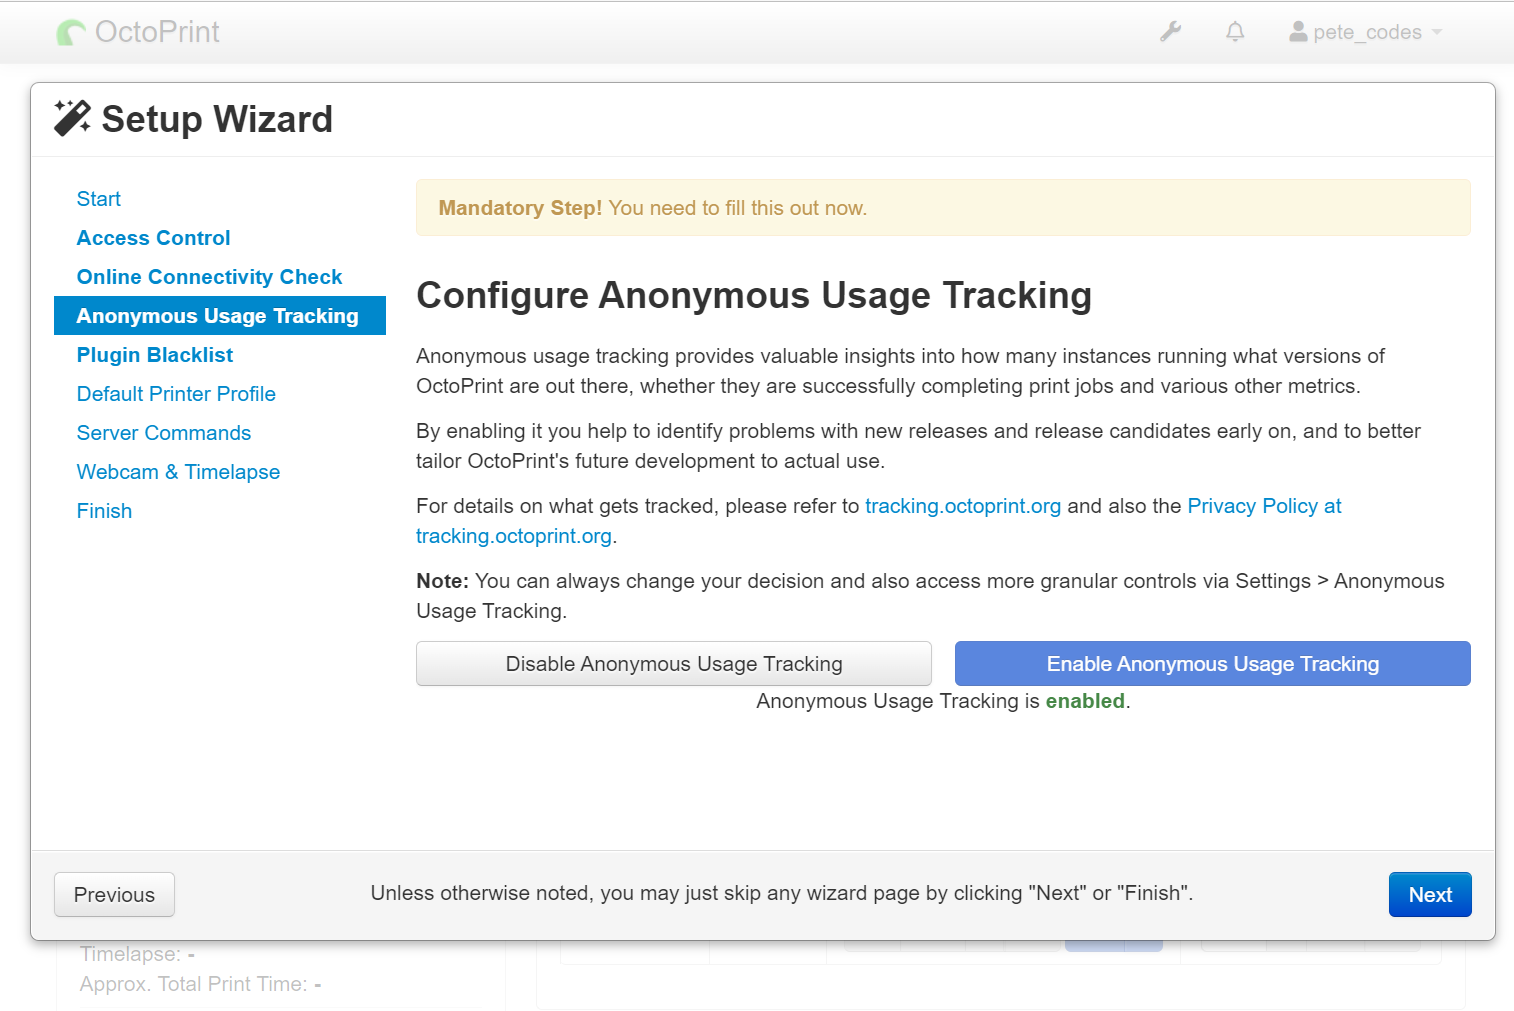
Setup Wizard – Usage Tracking
Once again hitting Next we’re now on the Configure Anonymous Usage Tracking page, where I’m happy to hit the Enable Anonymous Usage Tracking button;
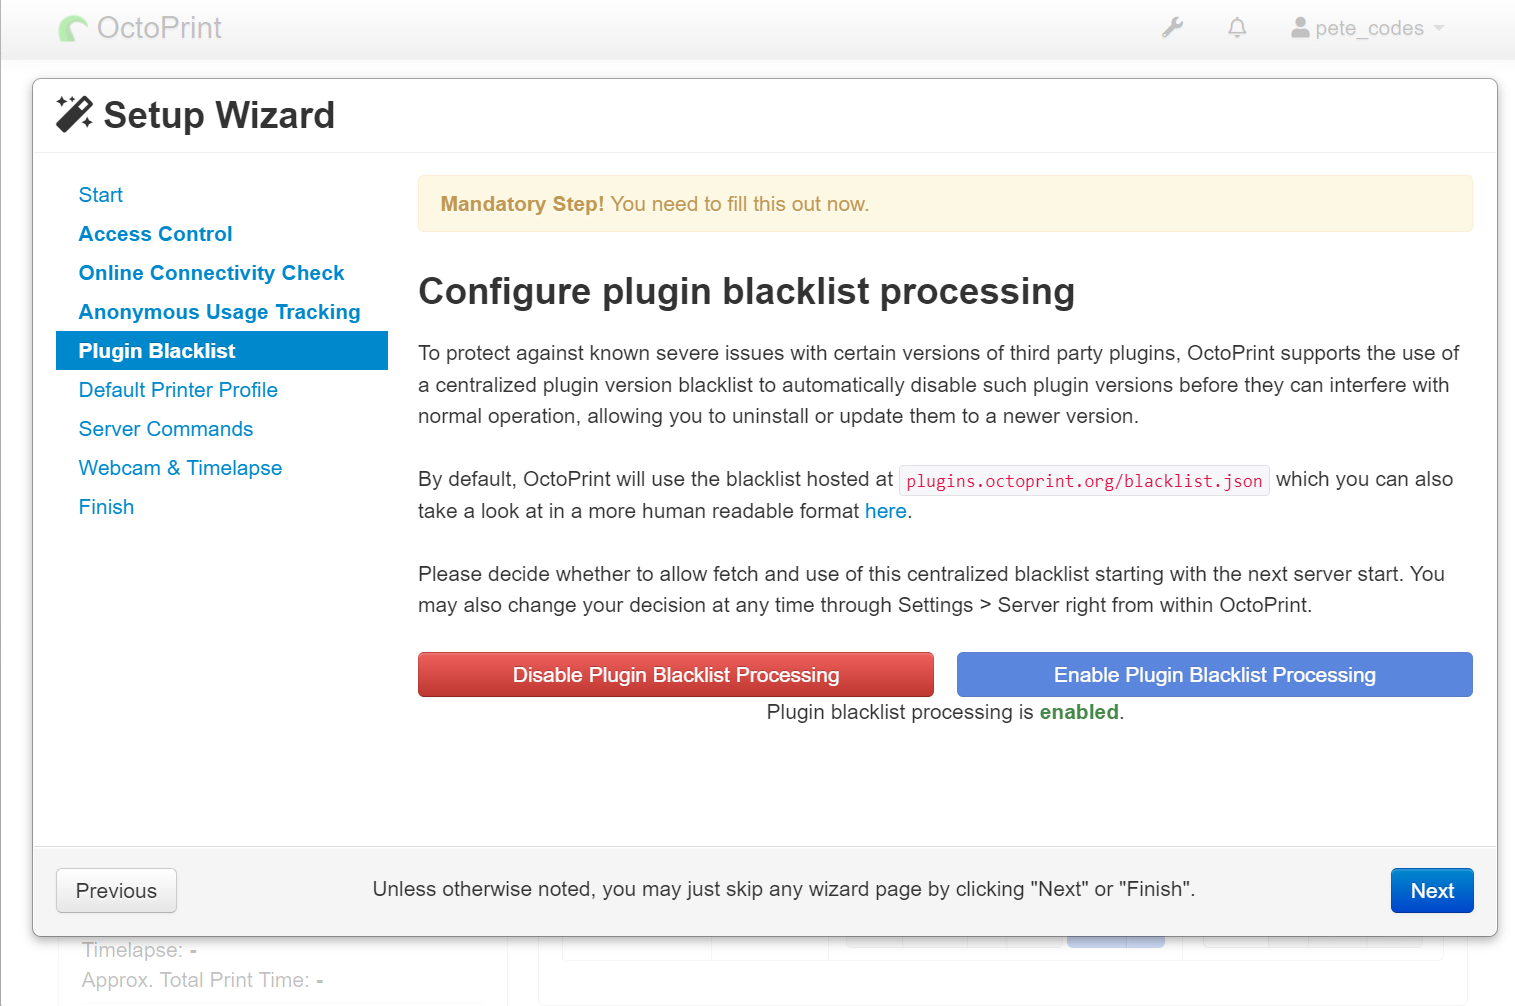
Setup Wizard – Plugin Blacklist
Pressing next takes us to the Configure plugin blacklist processing page, where we can hit the Enable Plugin Blacklist Processing button;
Setup Wizard – Printer Profile
The next page we see if the Set up your printer profile page;
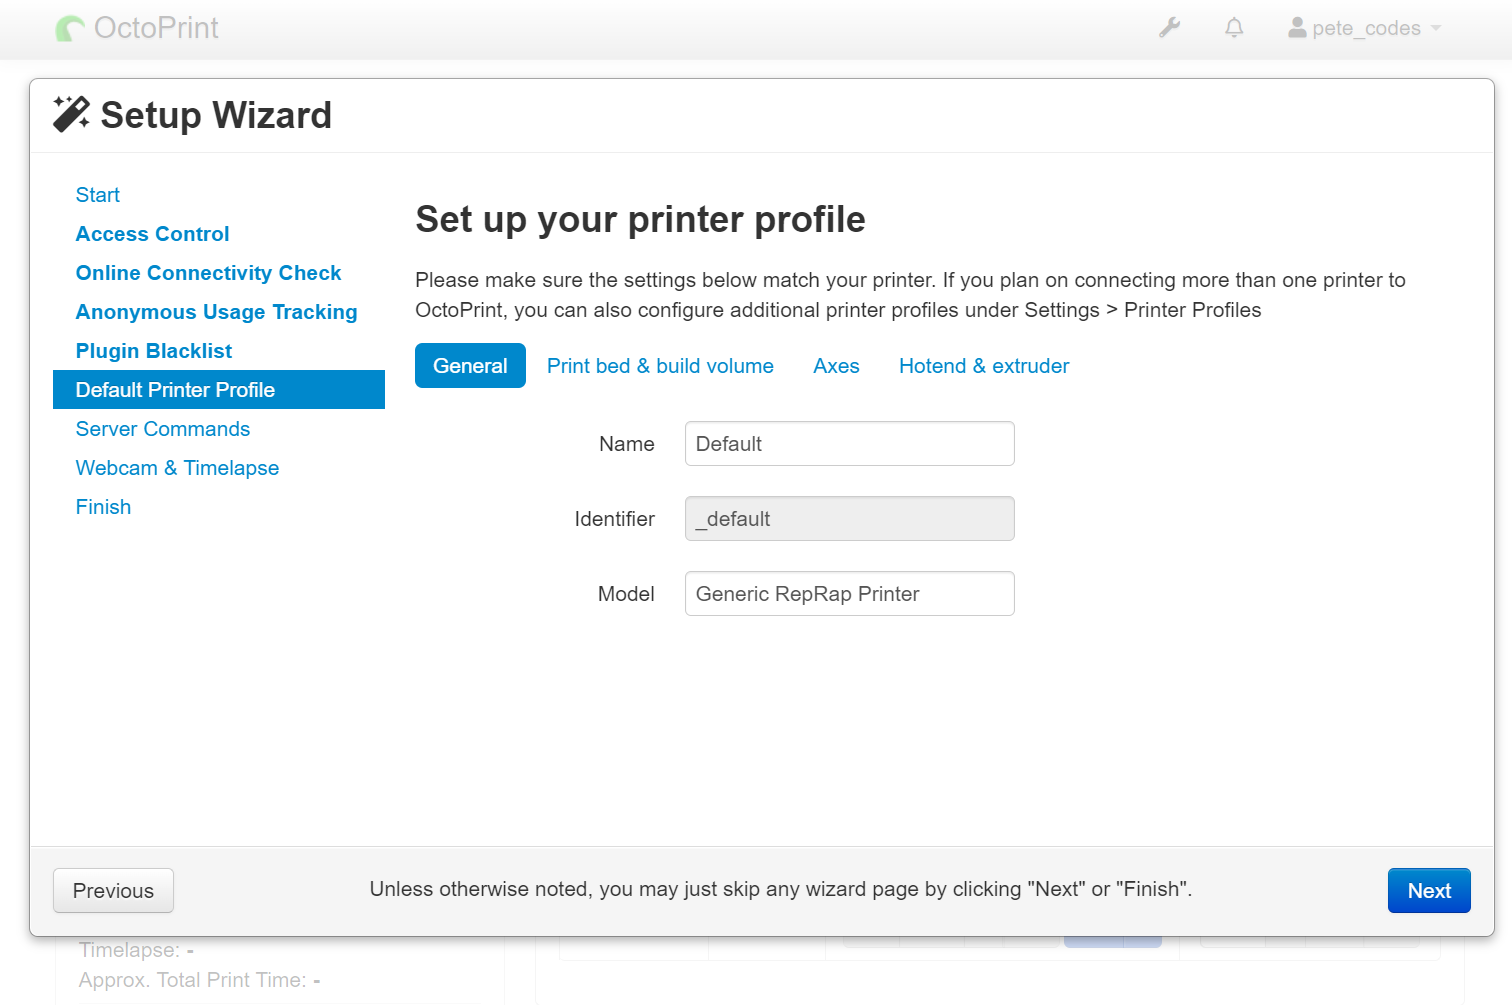
On this page we configure the Printer we’re expecting to control with OctoPrint. Here I know I want to use the Virtual 3D printer… So let’s go an have a look what’s involved in using that.
According to the Virtual Printer Docs Page;
The virtual printer can be enabled through its Settings pane.
So, I don’t think I can enable that during this process… So, what I think I’ll do is configure the Setup Wizard as if it’s connecting to my Ender 3 Pro.
Setup Wizard – Please Reload
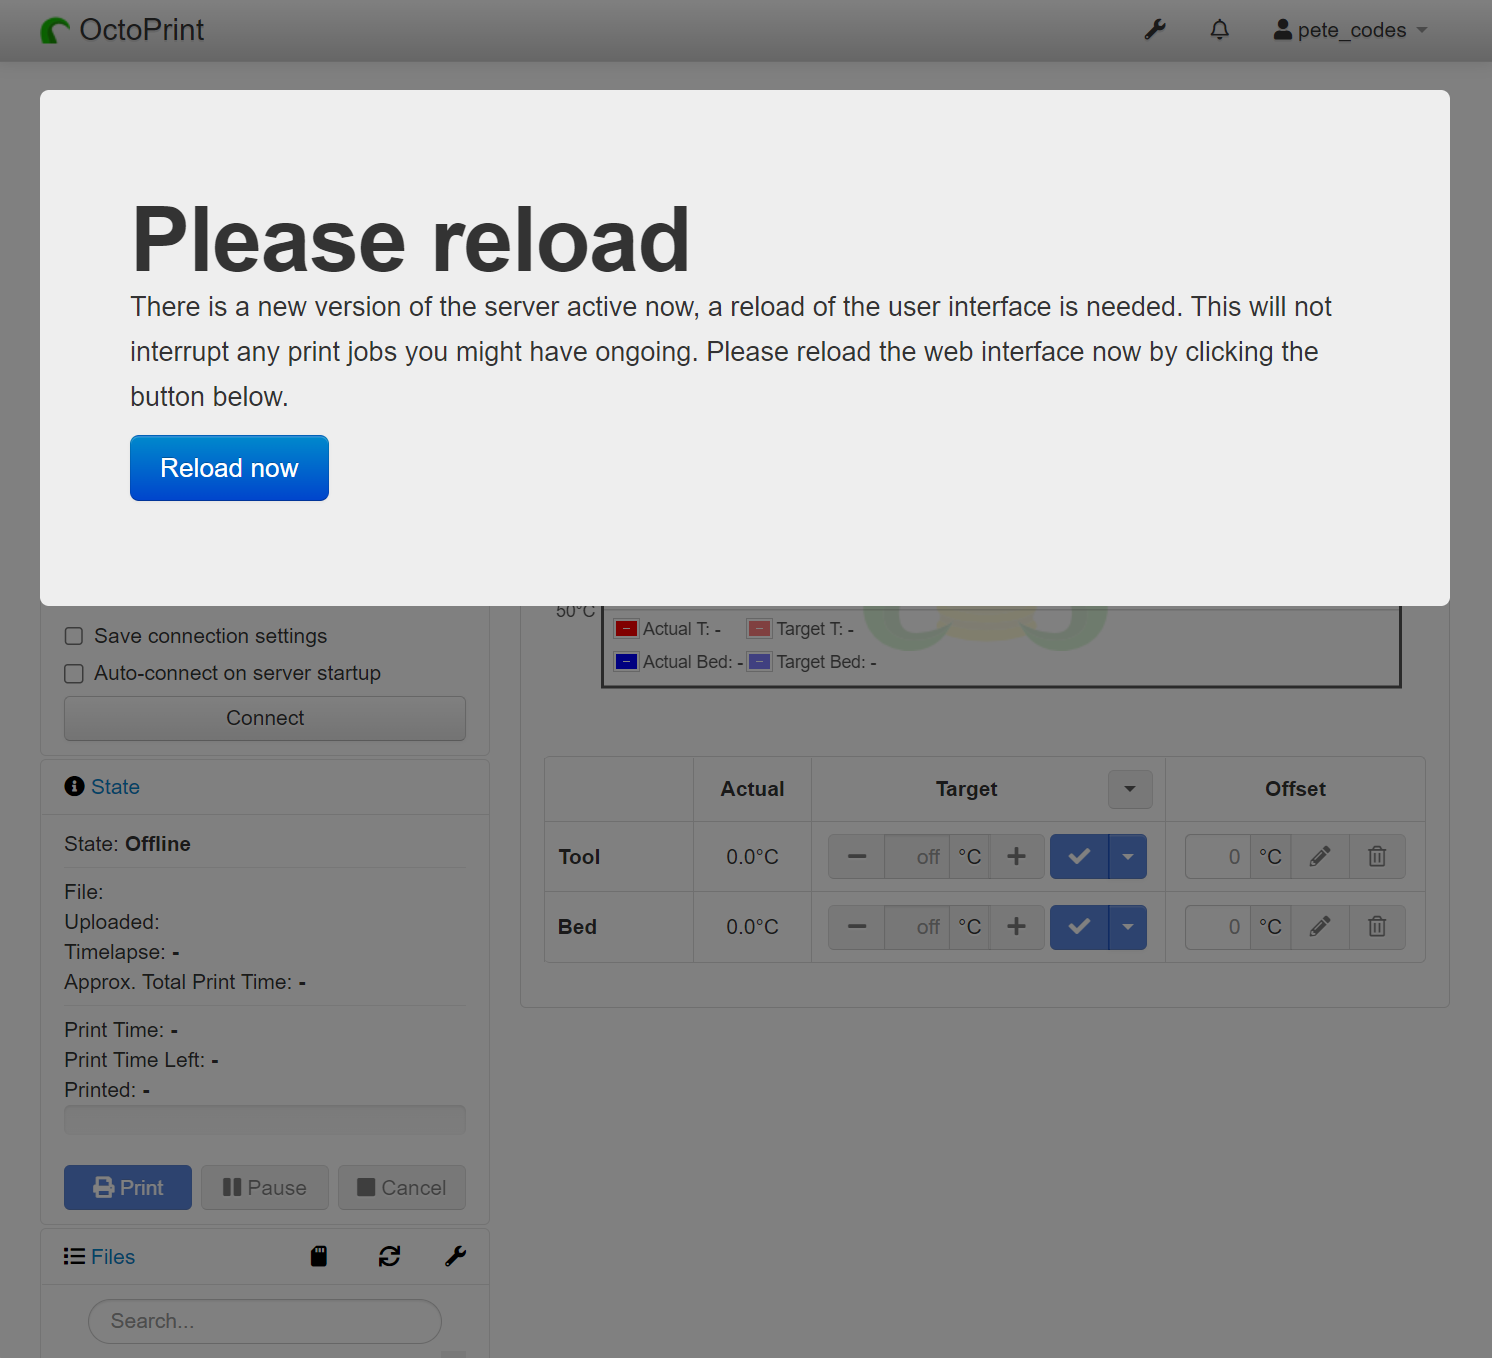
Oh… I’ve just switched back to the Setup Wizard, and it seems there’s some sort of update available;
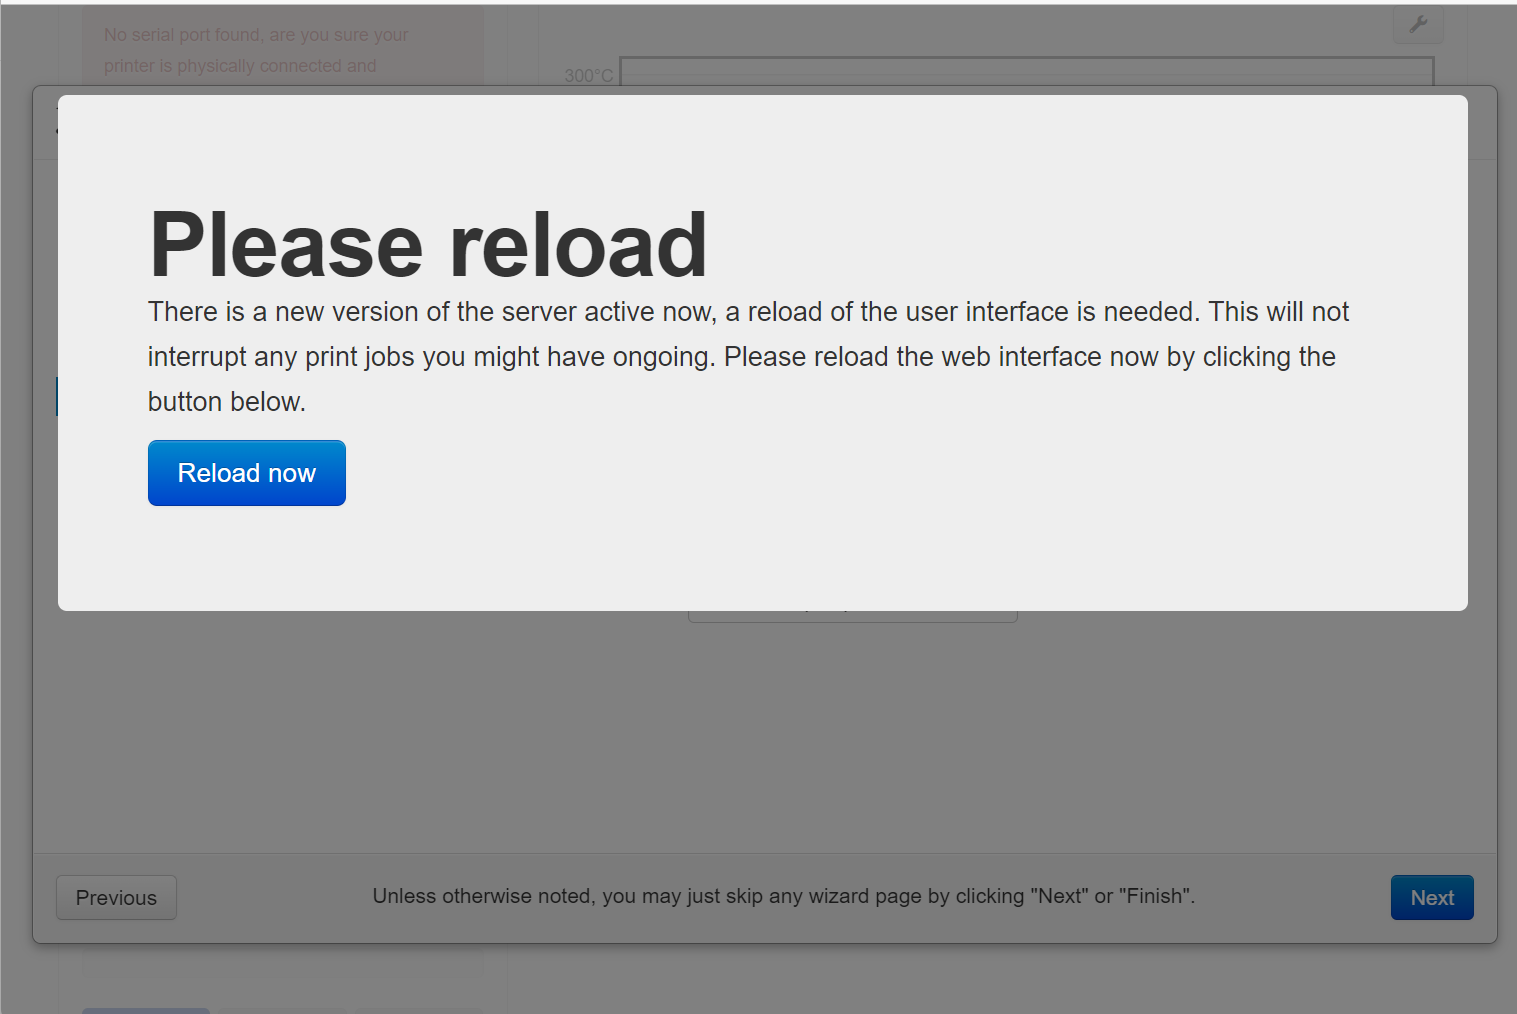
Looks like I’ve got to reload… Will this lose all the settings I’ve put in already? Let’s see…
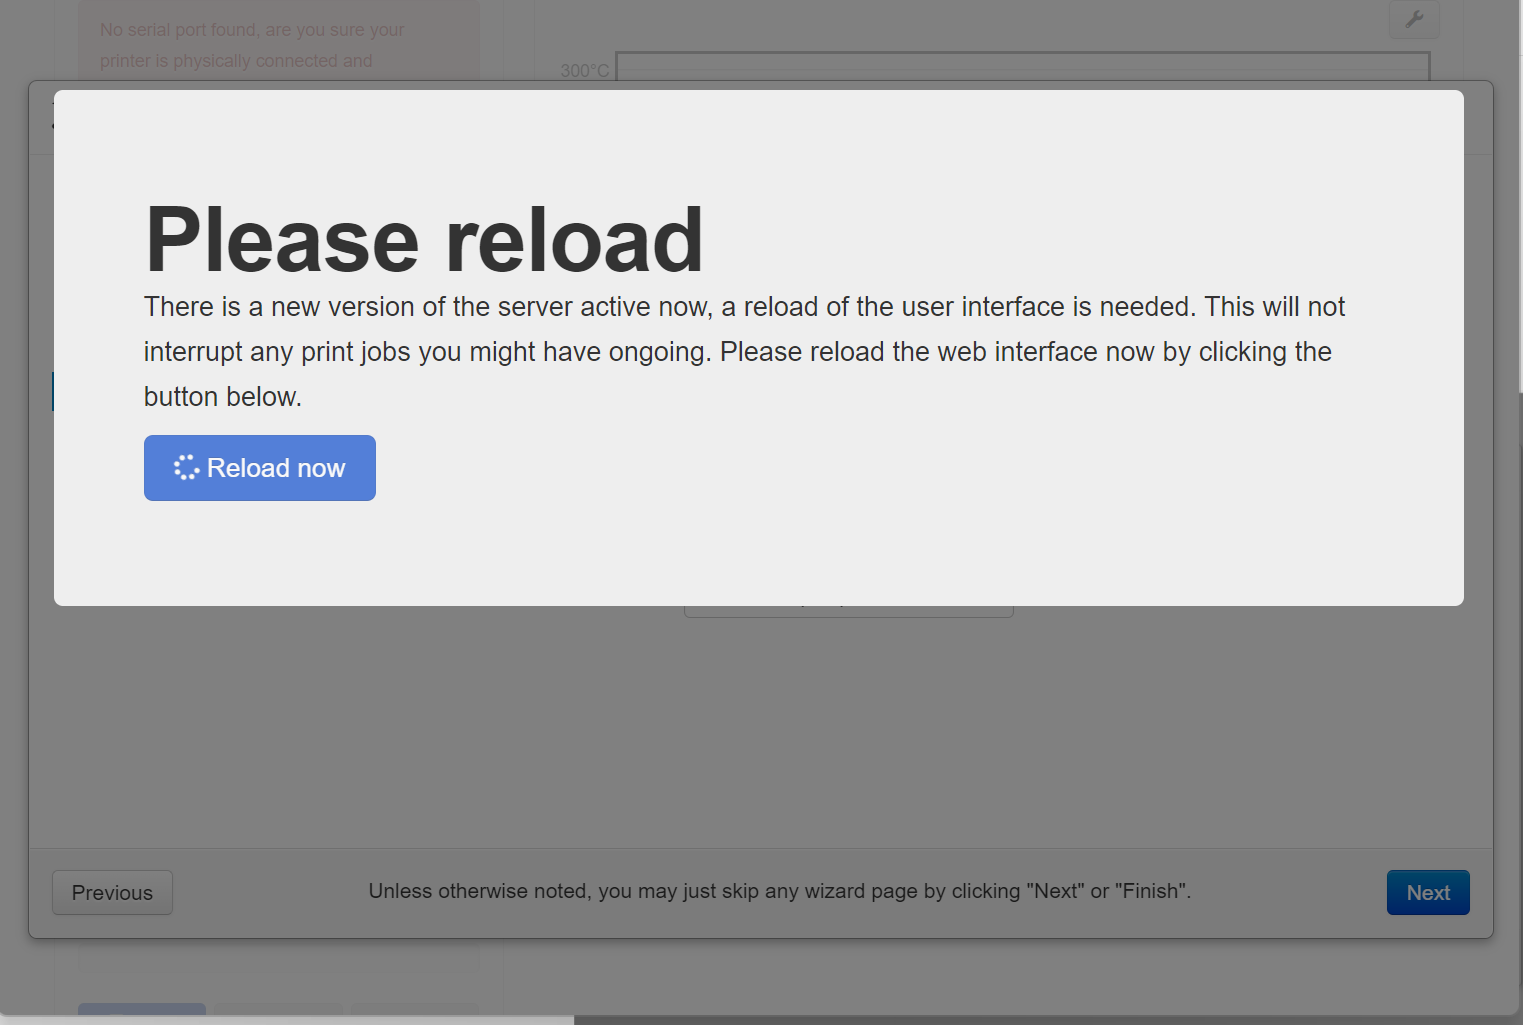
Hitting the Reload now button starts the process;
Once the reload completes, I’m returned to the Start page;
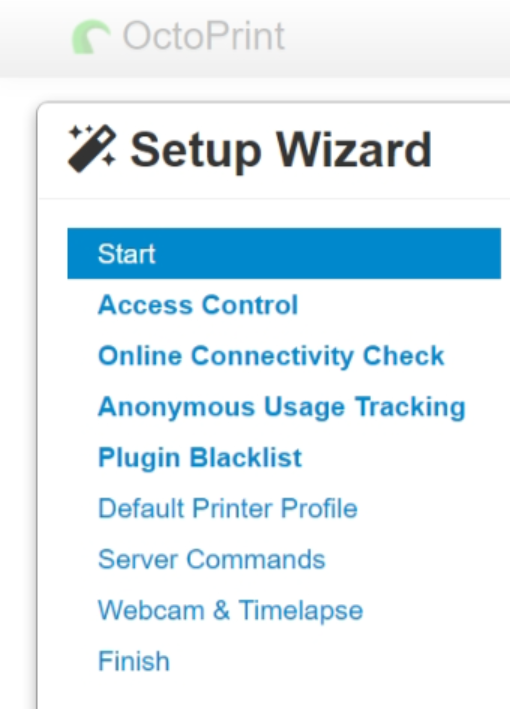
But, I’ve now got less pages showing on the left hand side;
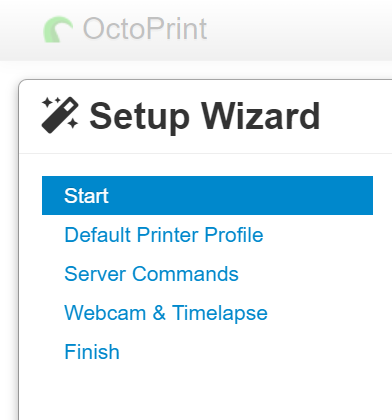
I wonder if this is because I’d already completed some of the pages already, as looking at the original page list, it appears it’s the ones I’d already completed that are missing;
I also appear to be still logged in, which is reassuring;

I guess if I want to change the settings on those pages, then I’ll have to wait until the process is finished and use the Settings page from the main app?
Setup Wizard – Setup Printer (Again)
Either way, let’s press the Next button and return to the Set up your printer profile page again.
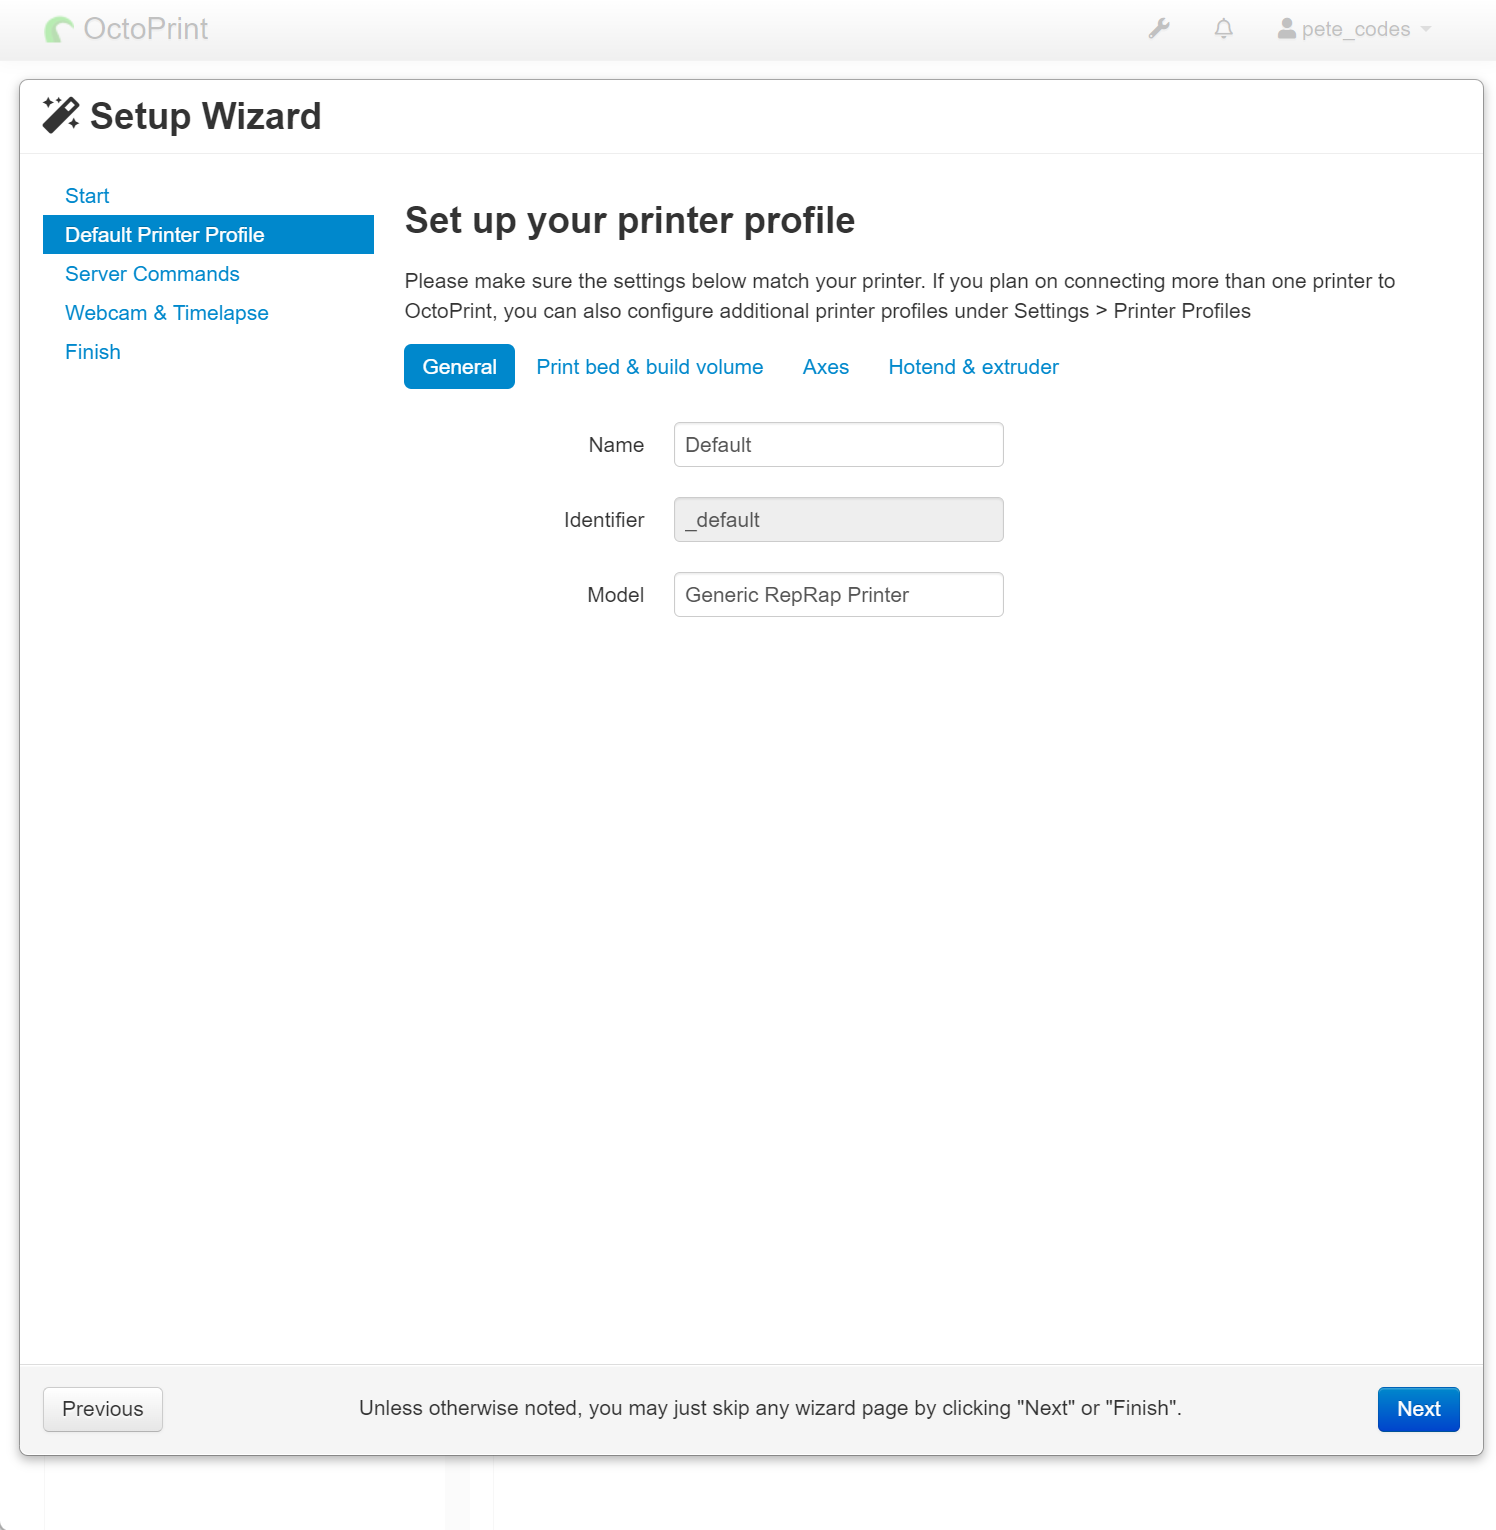
I guess I could just hit the Next button here and leave this all as the defaults, but I’m thinking I’m quite likely to actually connect this to my Ender 3 at some stage, so let’s set it up as if it’s going to be.
Time to go find what those settings are then… Back to Google we go…. Top of the results is a page from howchoo.com which says that’s the settings for the Ender 3 Pro are;
Printer settings
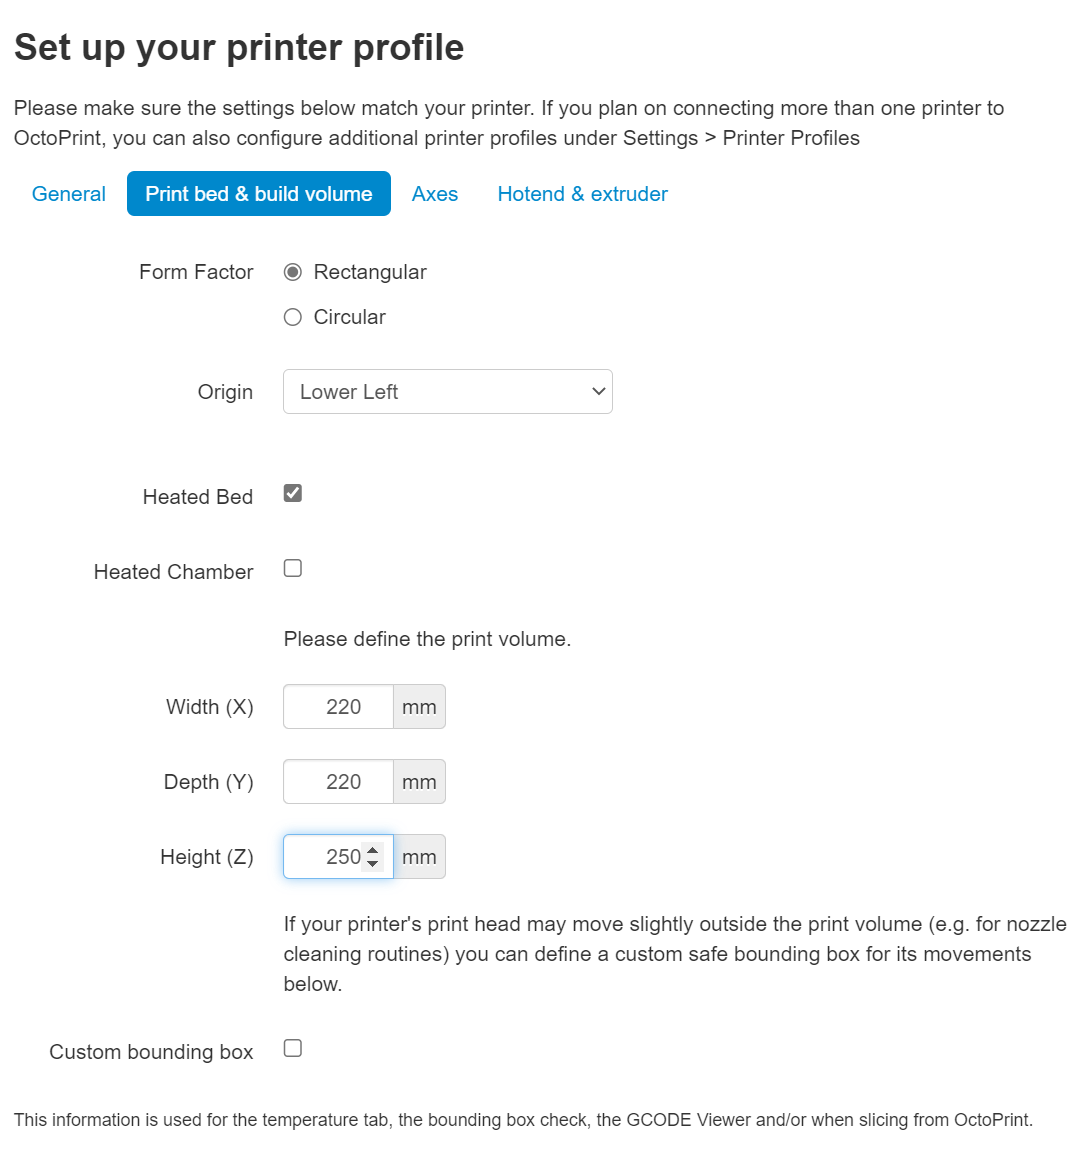
Form factor: Rectangular
Origin: Lower Left
Heated Bed: Yes (checked)
Heated Chamber: No (unchecked)
Width: 220mm
Depth: 220mm
Height: 250mm
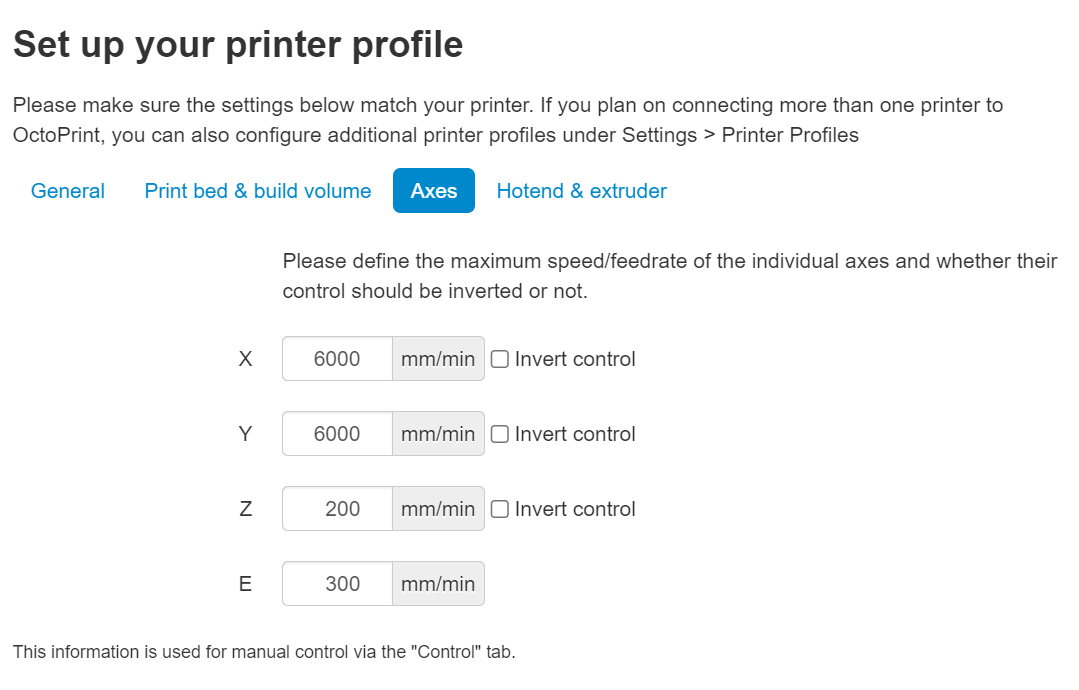
Axes: Default**
Custom Bounding Box: No (unchecked)
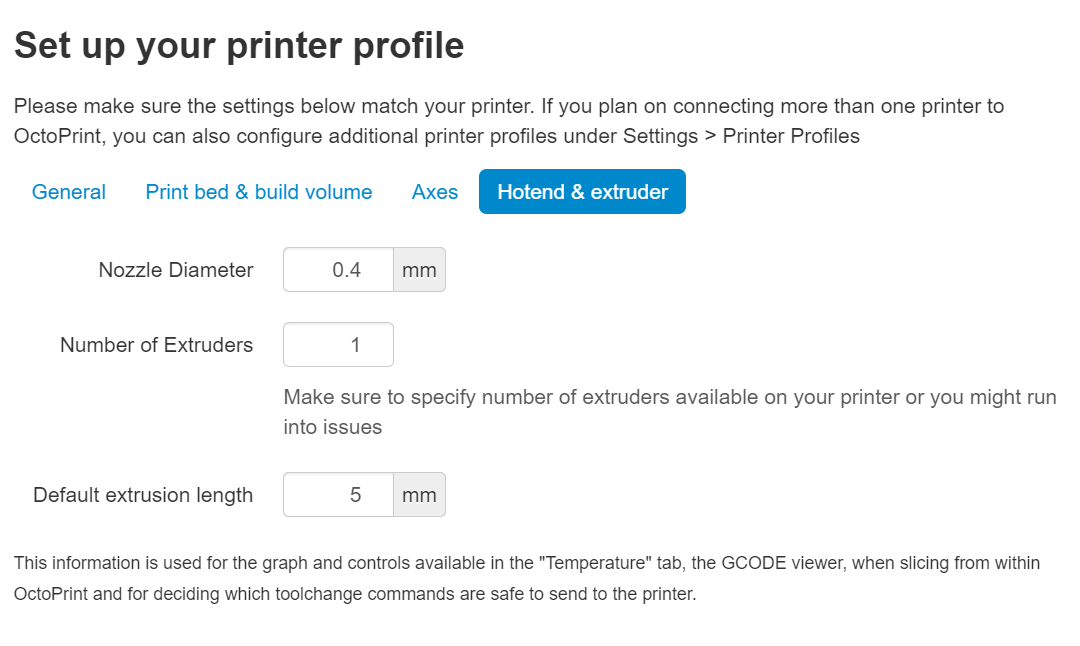
Nozzle Diameter: 0.4mm
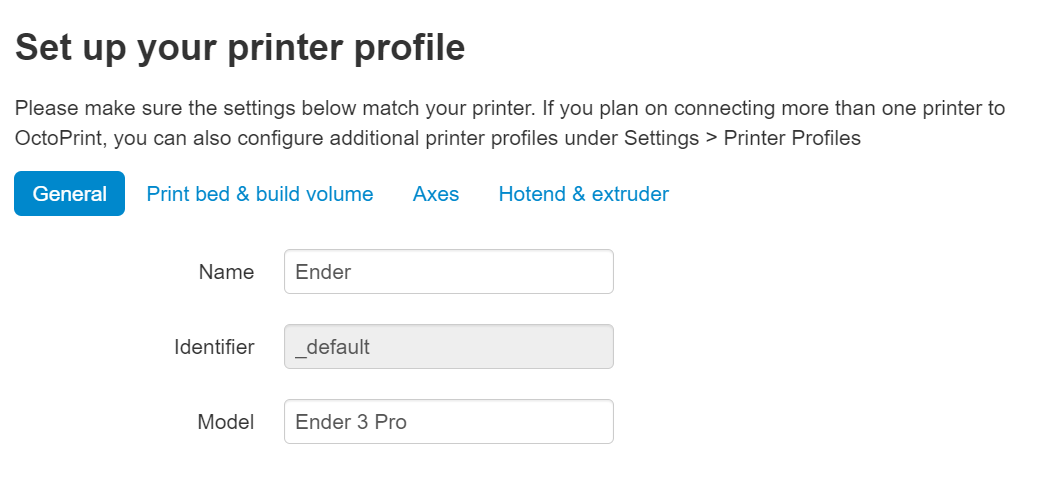
Number of Extruders: 1 I’ll first give my Printer a Name and Model on the General tab;
We’ll then setup the Print bed & build volume tab to match the settings above;
Next is the Axes tab, which we’ll just leave at the defaults;
Finally we have the Hotend & extruder tab, where it looks like we can leave these settings at their defaults too;
Setup Wizard – Server Commands
With those settings in place, we can hit the Next button again to move on to the Server Commands page;
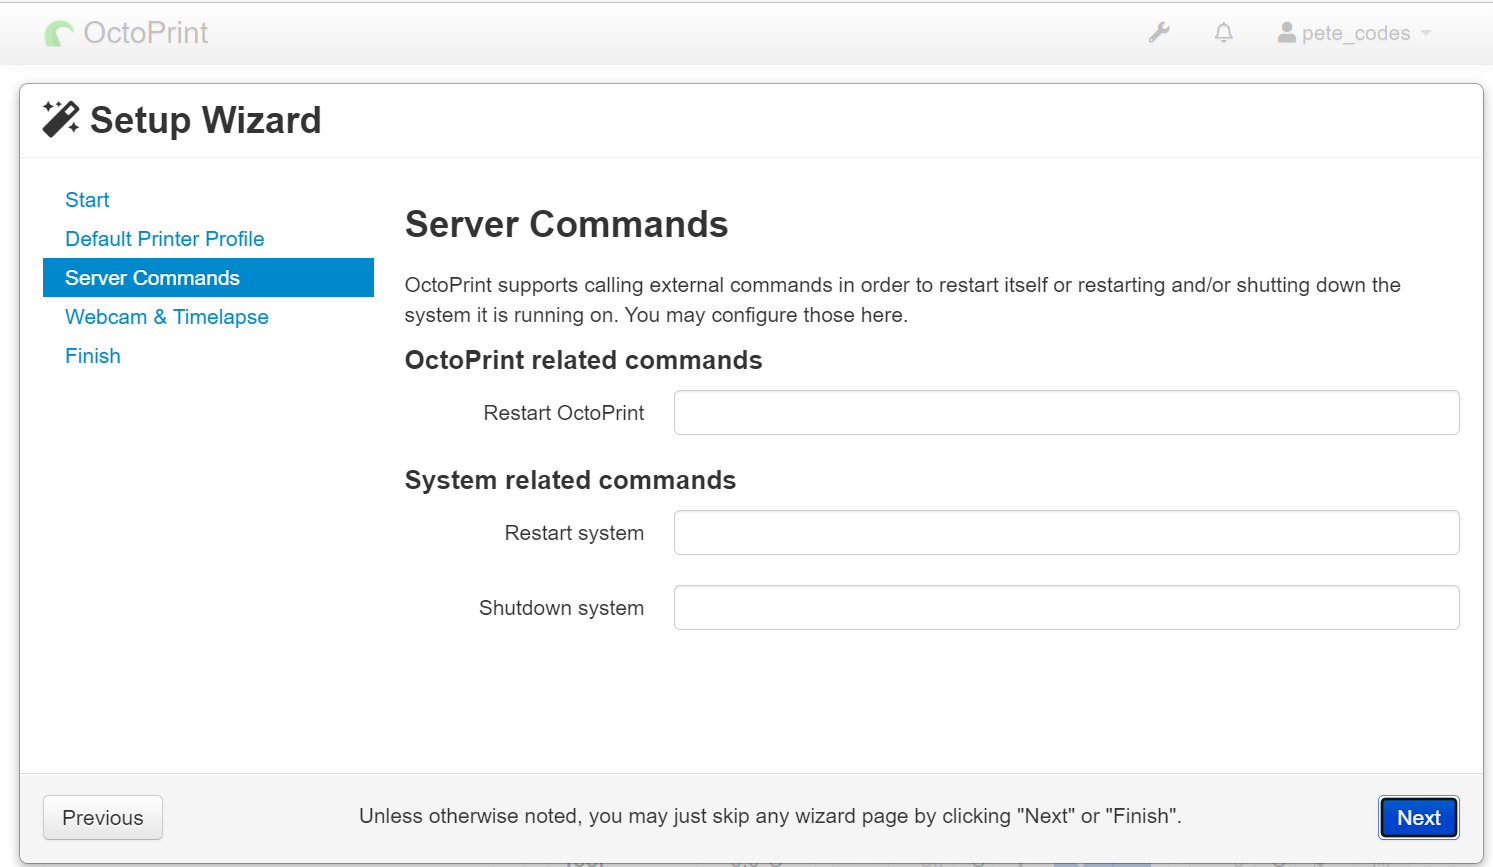
I’ll leave these settings at their defaults, as I have no immediate use for these currently.
Setup Wizard – Webcam and Timelapse Recordings
The next page allows us to configure any webcam we may have connected for monitoring or timelapse recordings;
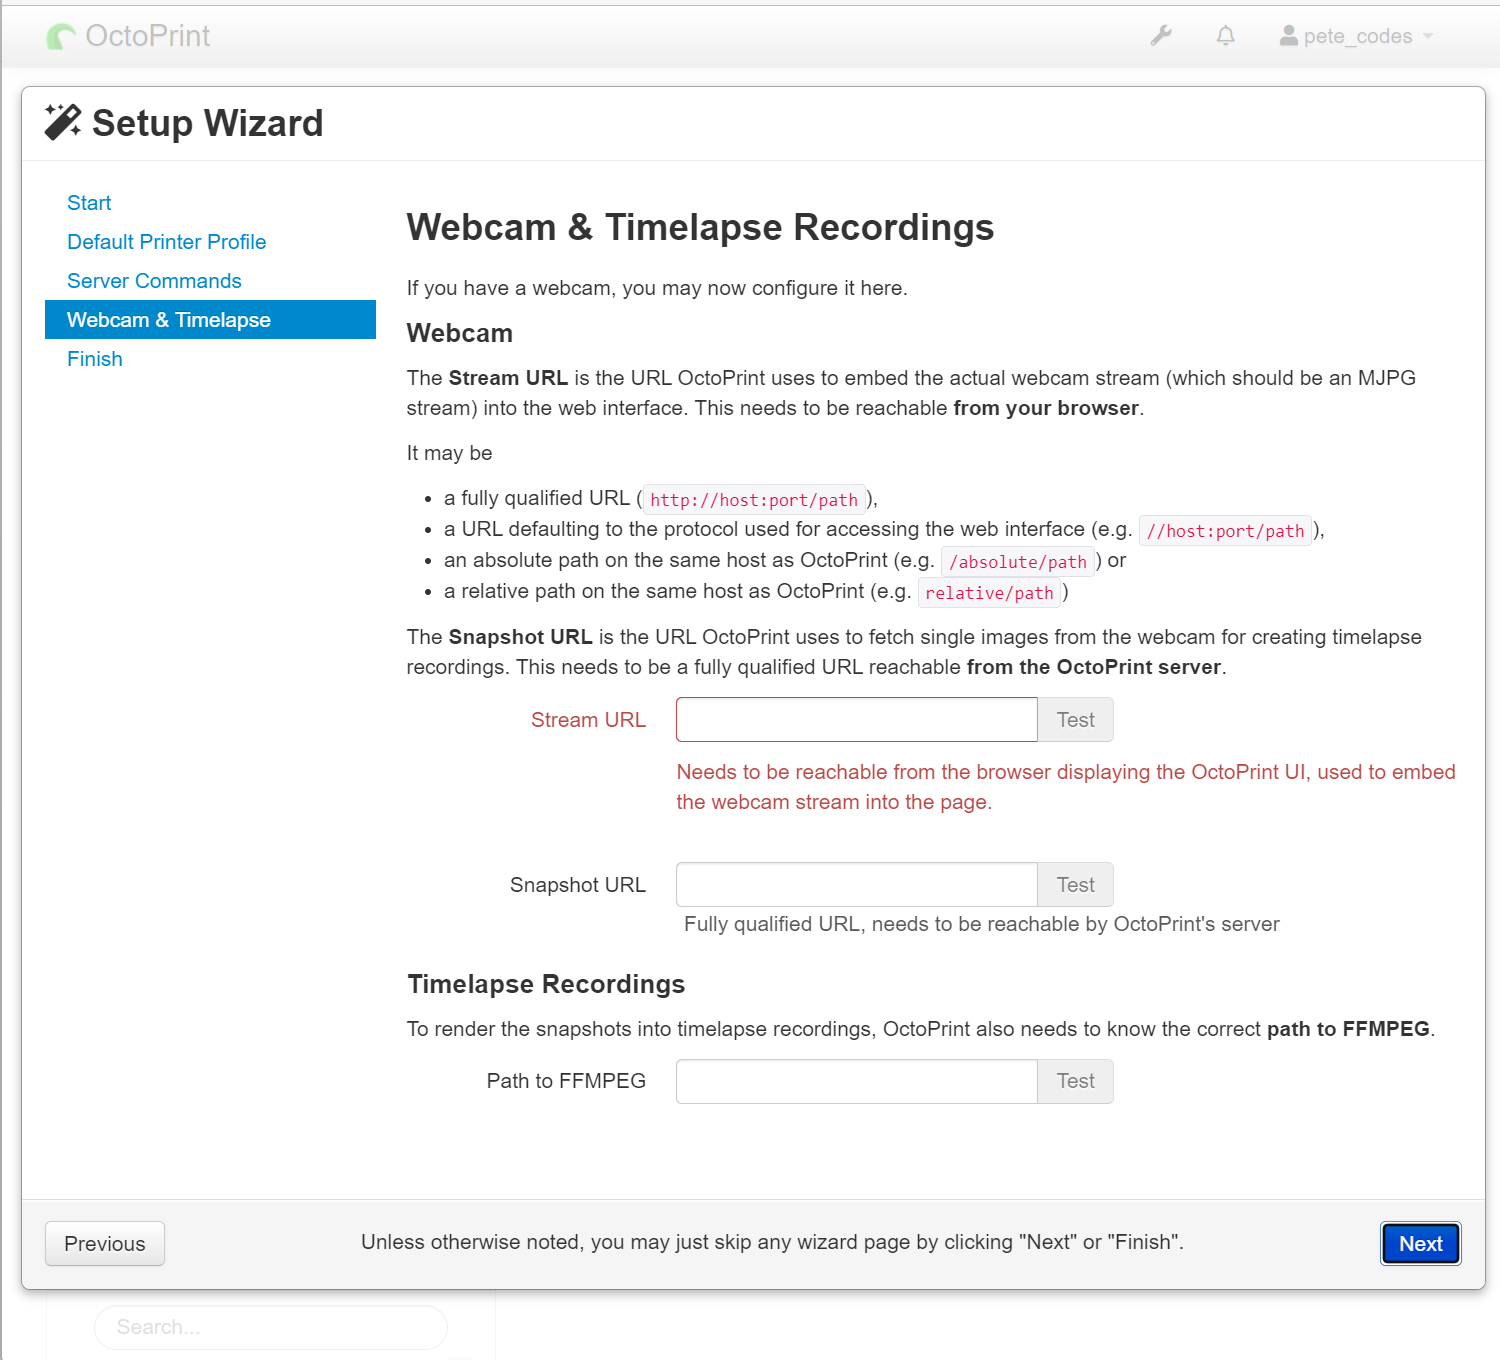
Again, I’ll leave these all at their defaults for now, but I’ll likely need to look at these when I get a bit further on.
Setup Wizard – Finish
The final page in the Setup Wizard warns us that we shouldn’t leave our printer unattended… Good advice…
It also warns that you should open the OctoPrint service up to the public internet… This is where a service like octoEverywhere will come in.
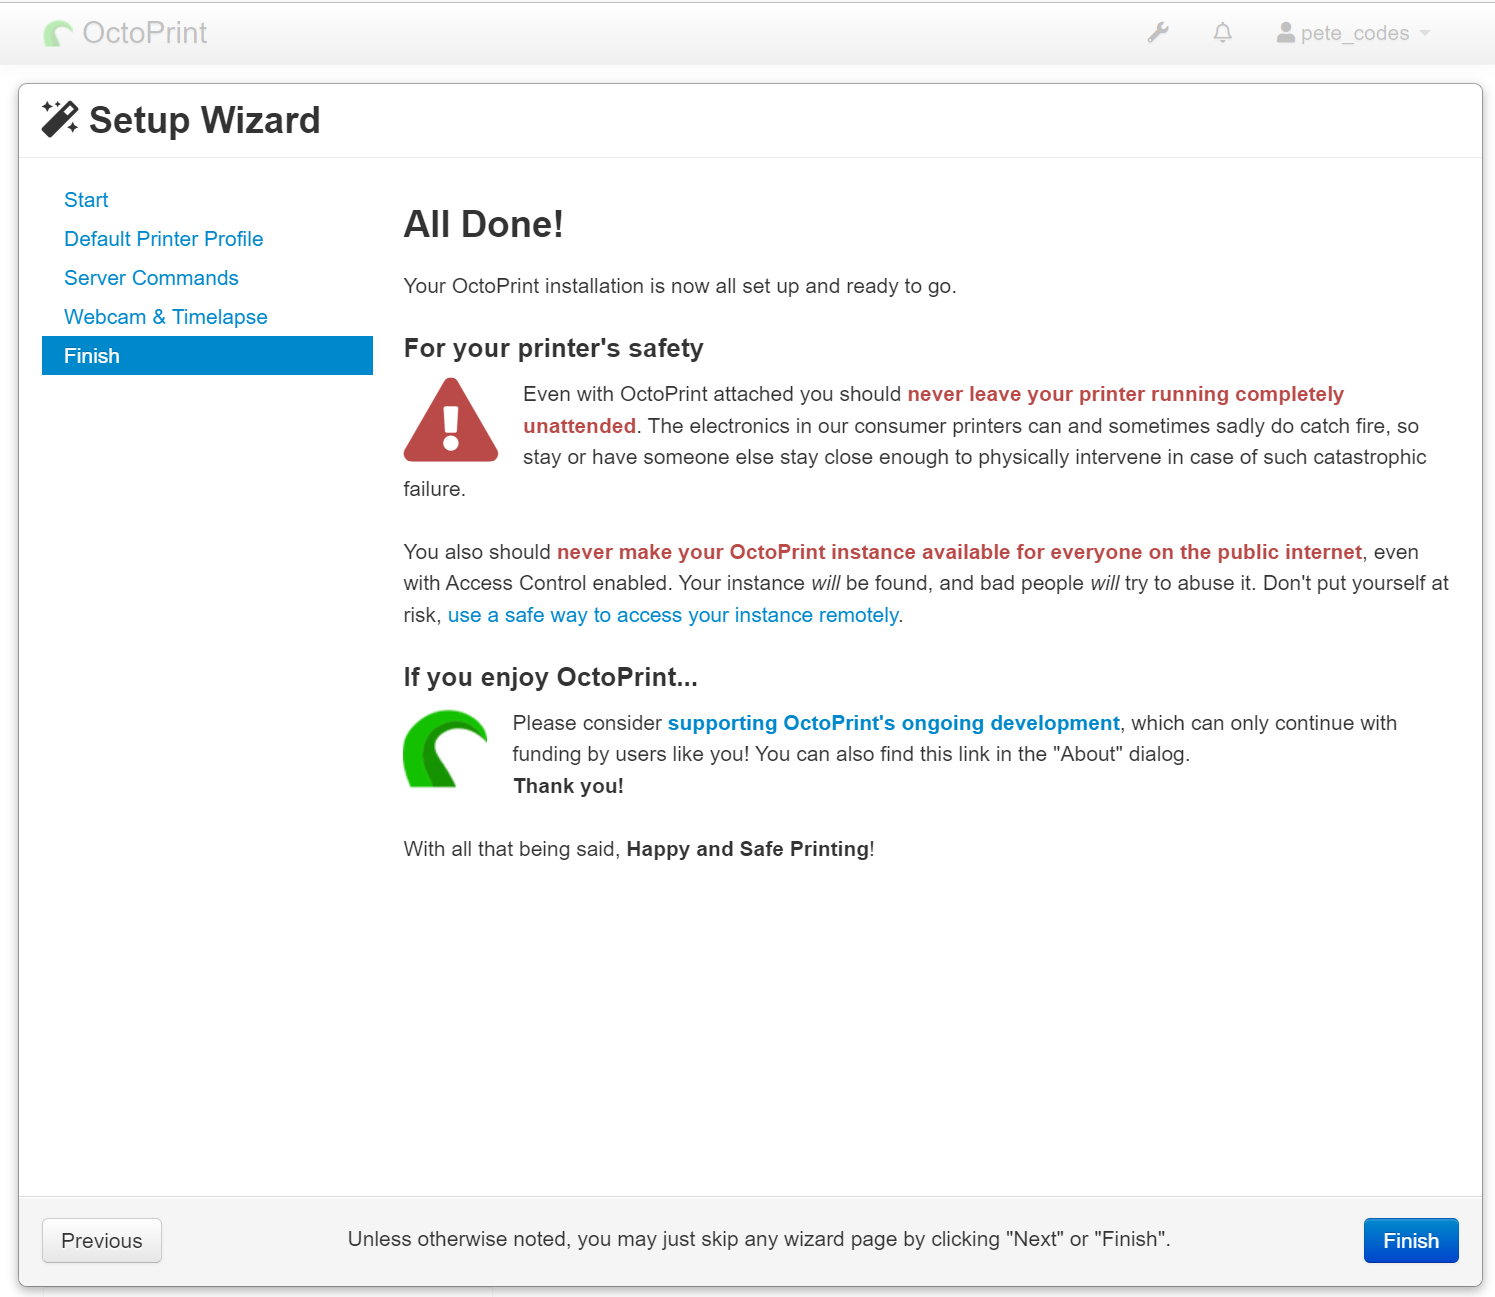
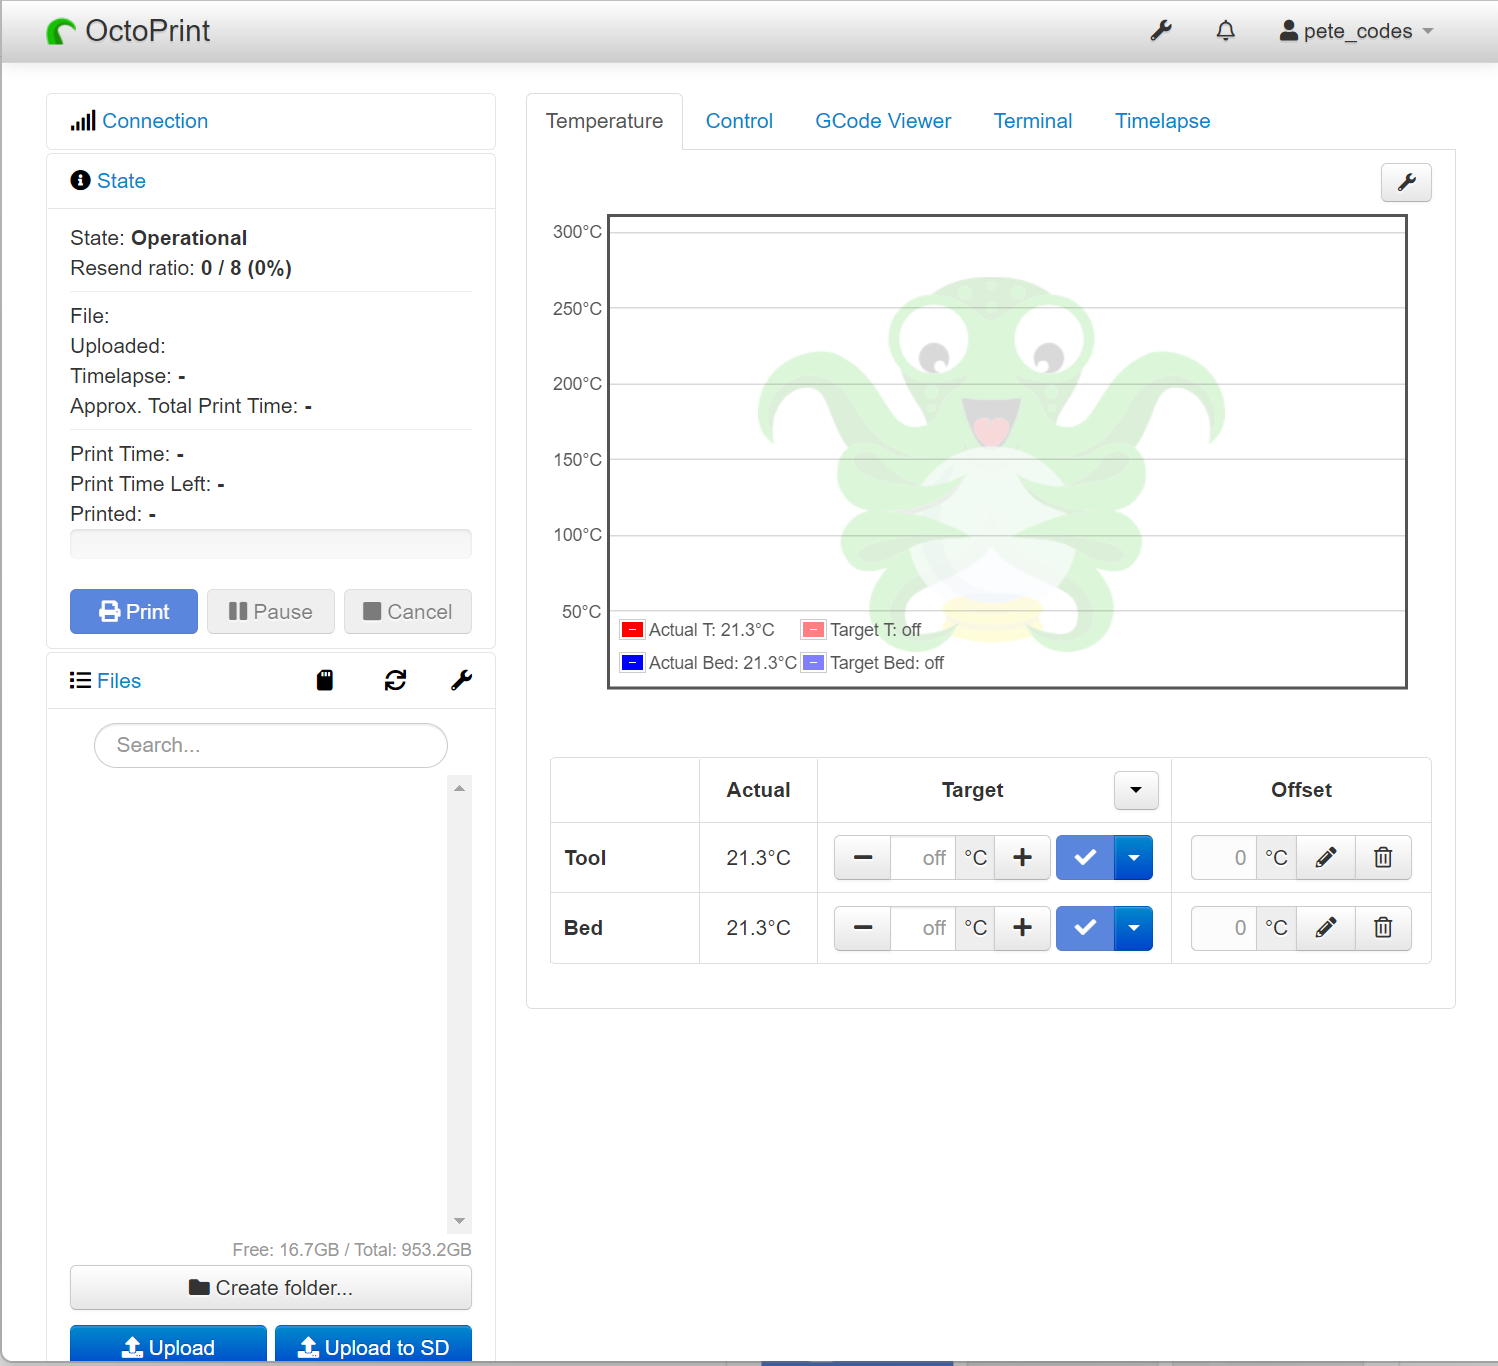
Clicking the Finish button closes the Setup Wizard and shows us the familiar OctoPrint interface;
Virtual 3d Printer Plugin
With the Setup Wizard complete, the first thing I’d like to do is get the Virtual 3D Printer plugin configured.
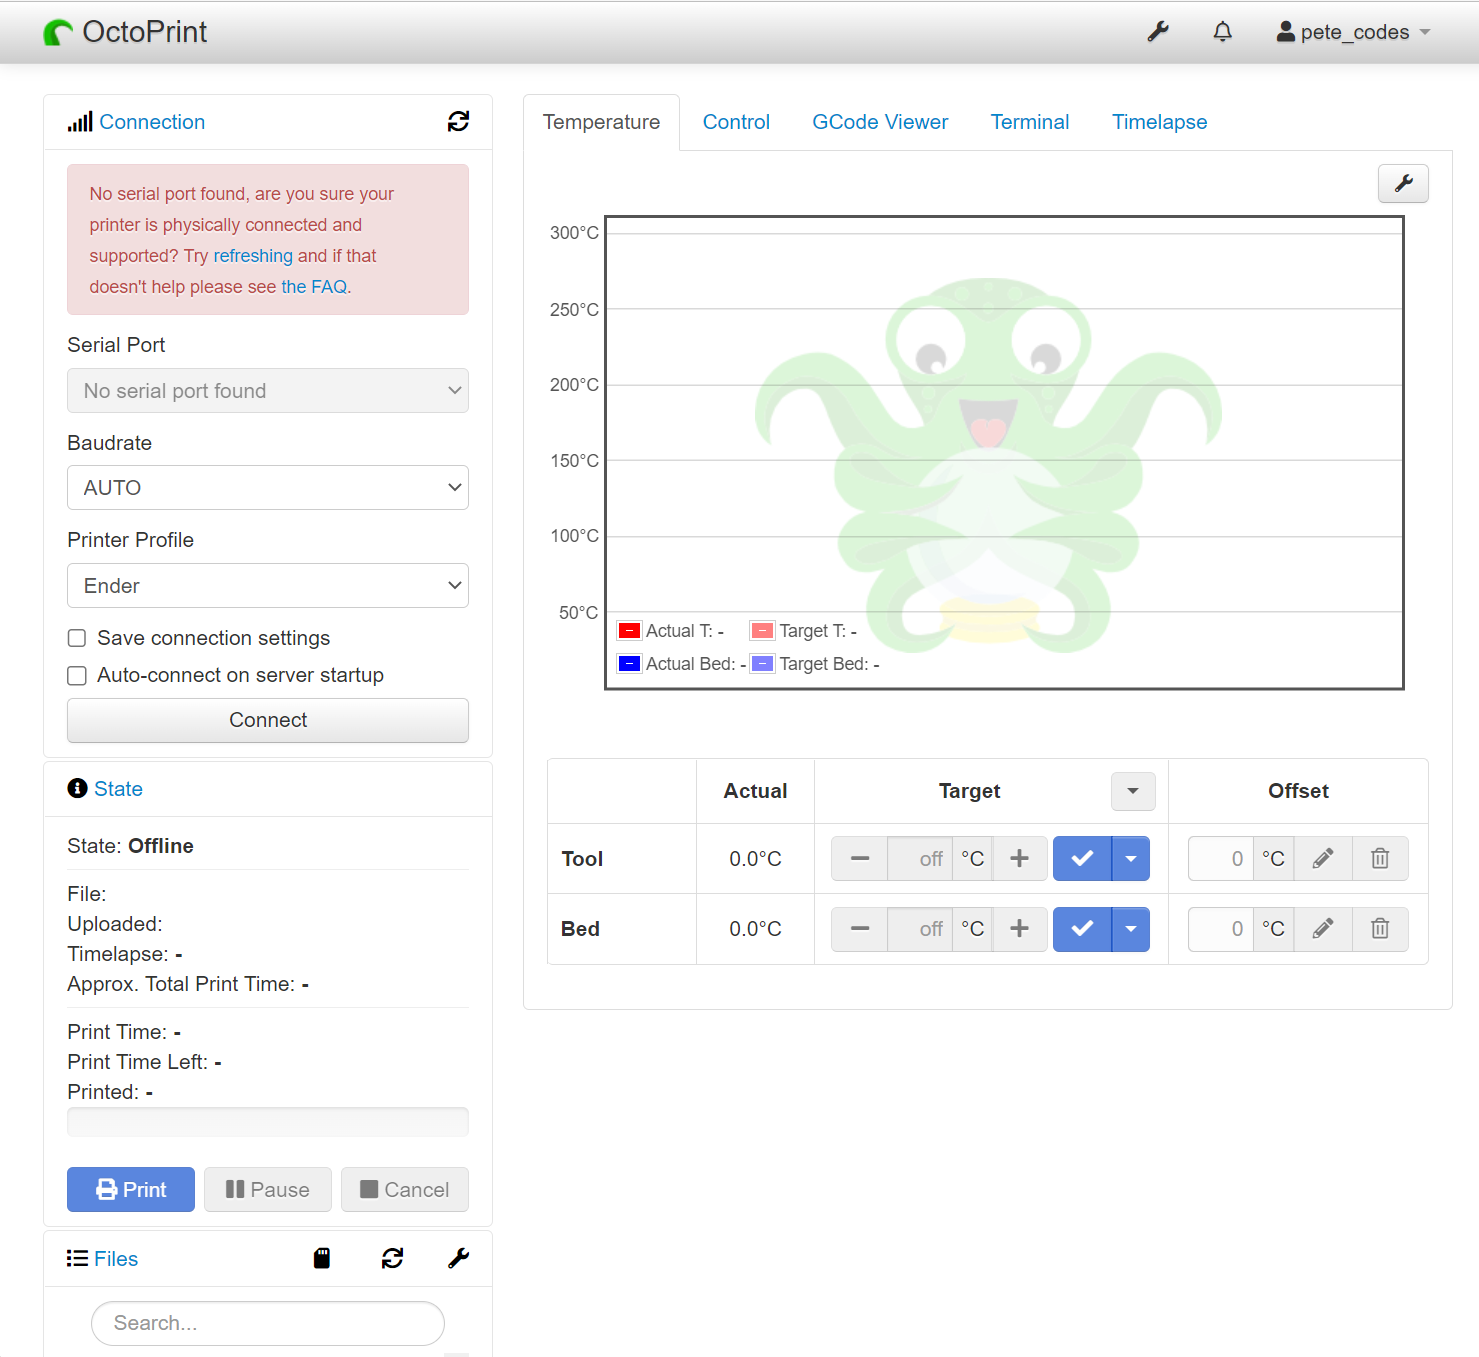
Returning to the OctoPrint interface, I’m yet again show the Please reload dialog;
The first thing I notice when it reloads of course, is the red box in the top left;
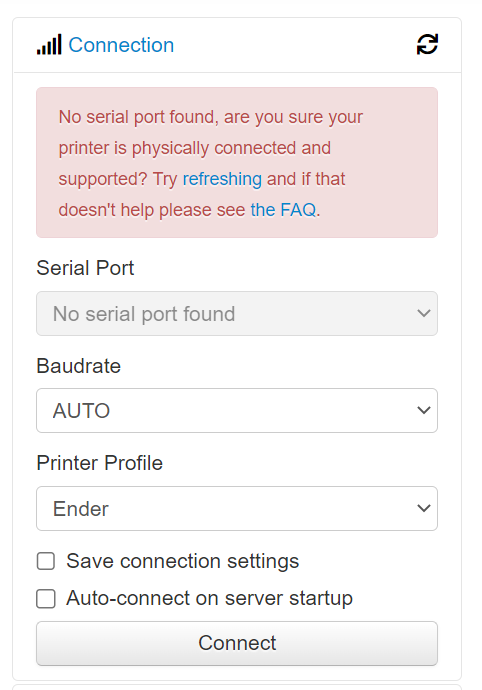
I don’t need to worry about this for now, as of course, I have no actual printer connected and I’ll be using the Virtual Printer instead.
We know that the Virtual Printer is part of a plugin, so let’s go and look for that.
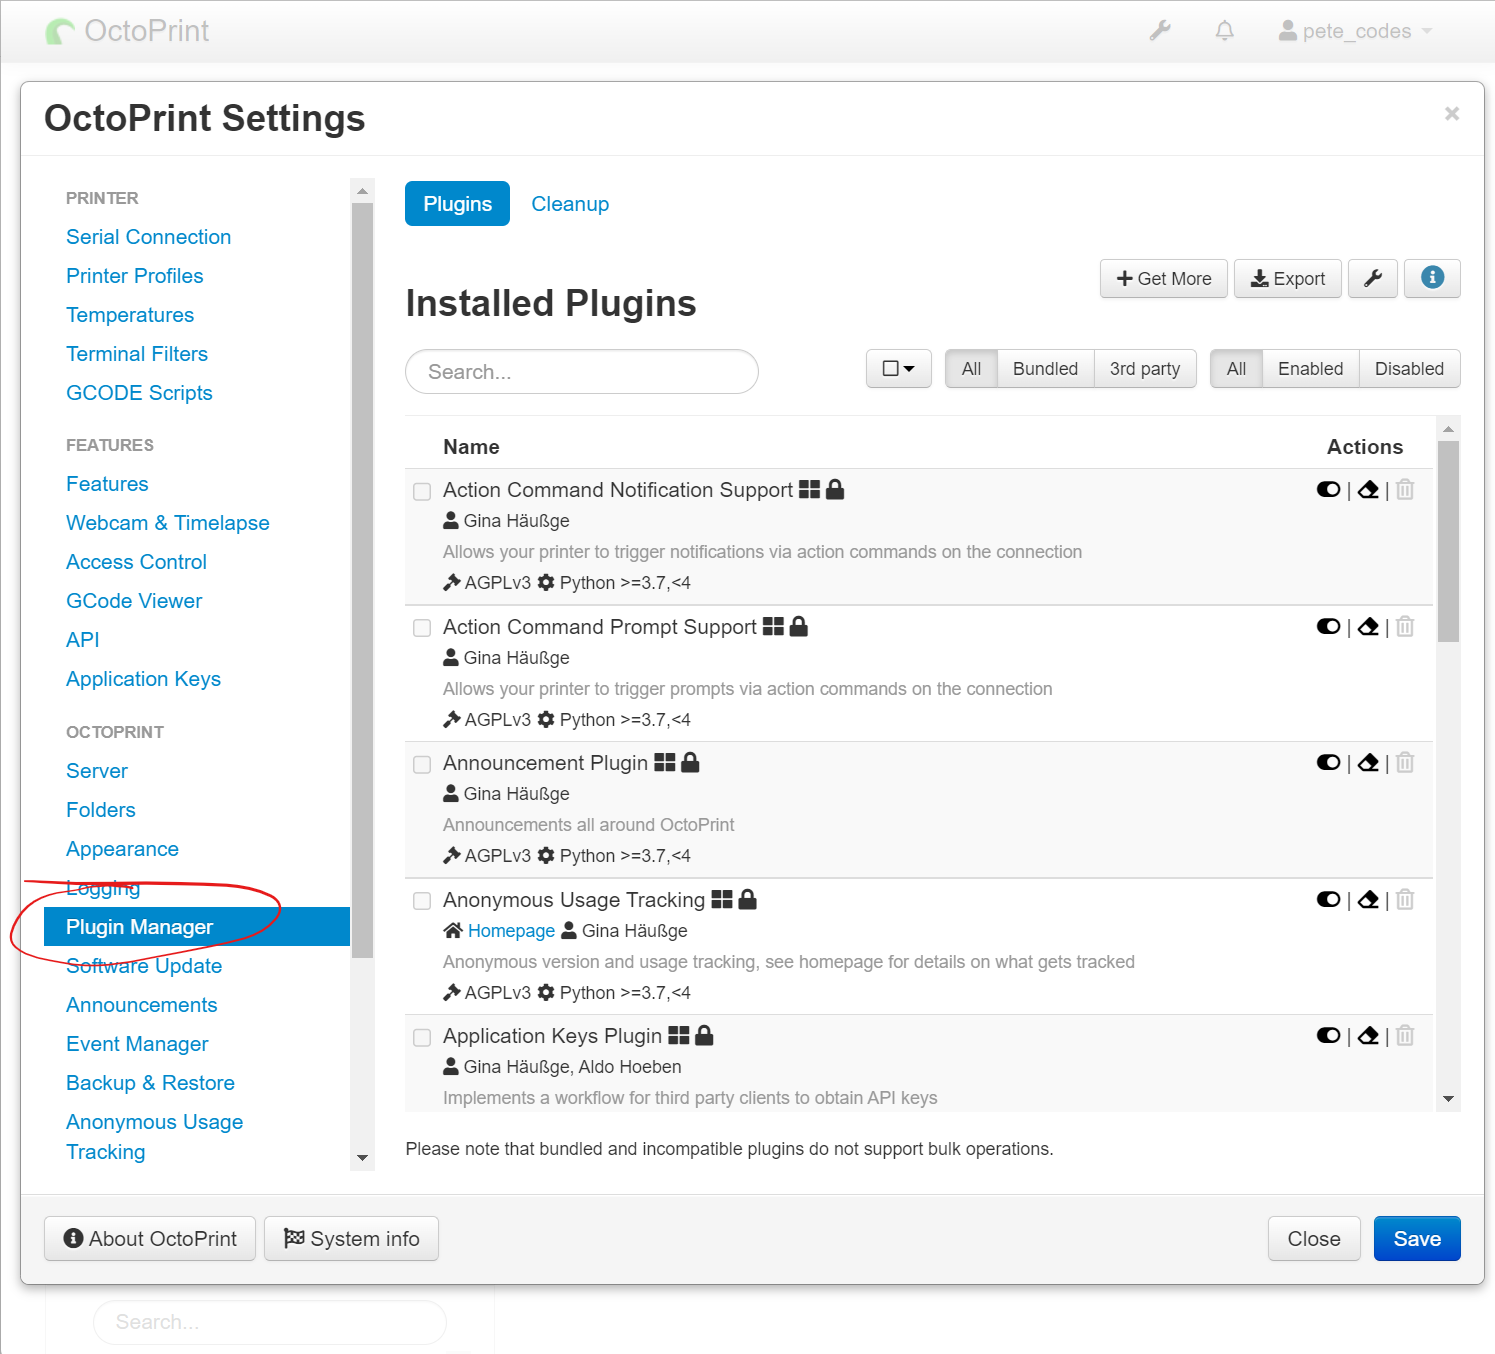
TO access the Settings page, we can click the settings icon in the top right corner;

Once on the Settings page, we can click the Plugin Manager item from the menu on the left, which will show our plugins;
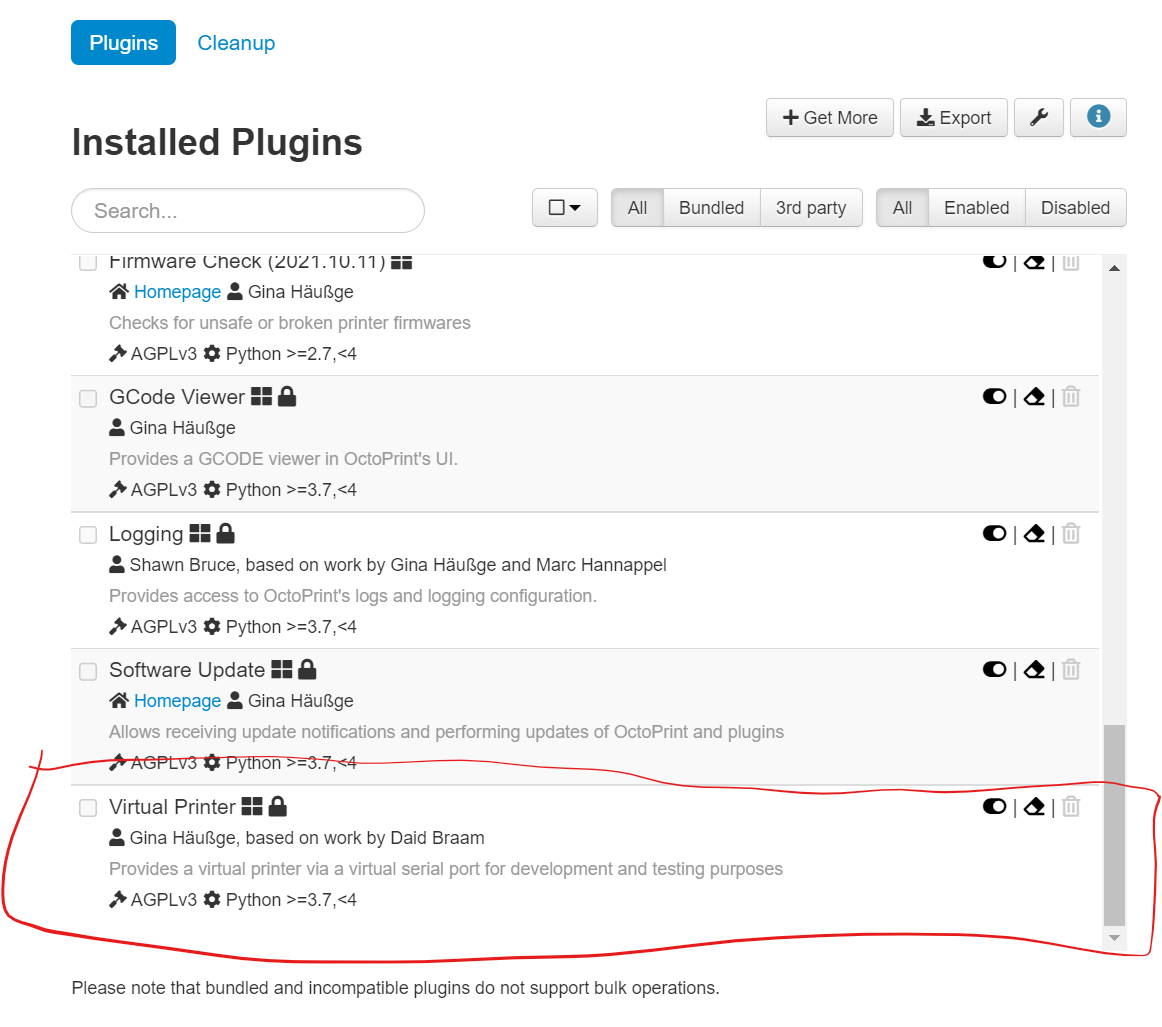
If we scroll to the bottom of the Installed Plugins list, we can see our Virtual Printer plugin is present;
If we scroll the menu on the left to the bottom, we can see the link to the settings page for the plugin;

Clicking on the link, shows us the Virtual Printer plugin settings page, which currently just consists of a tick box allowing us to enable the Virtual Printer;
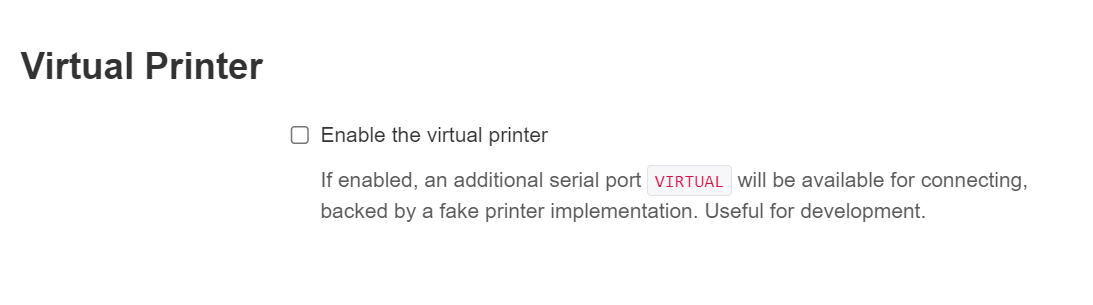
So, let’s tick the box to enable our Virtual Printer and hit the save button.
We’re then returned to the main OctoPrint interface, where our red warning box about no Serial port being detected has now disappeared, which makes sense if the plugin has now created a virtual com port for us to use;
Dropping down the Serial Port options, we can now see we have a VIRTUAL option to choose;
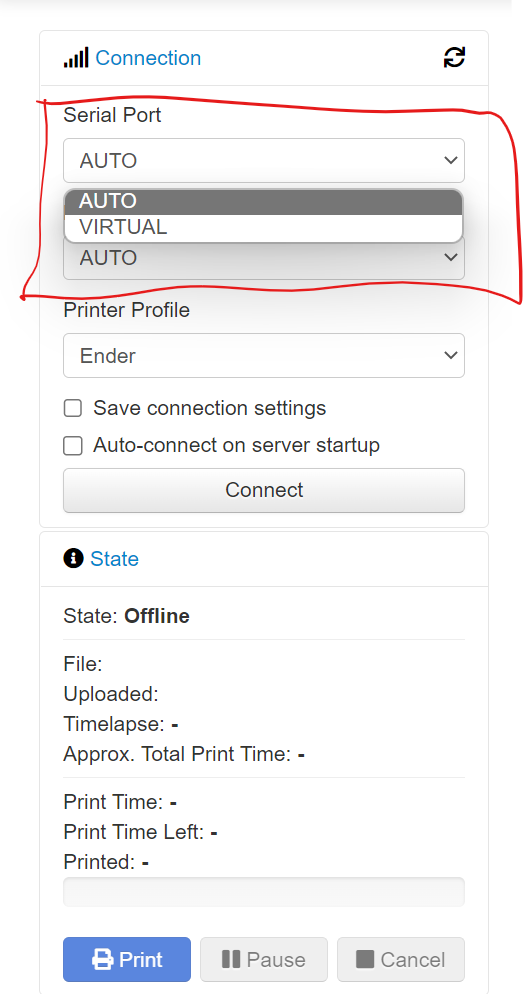
Let’s leave the setting at AUTO for now and see what happens when we click the Connect button;
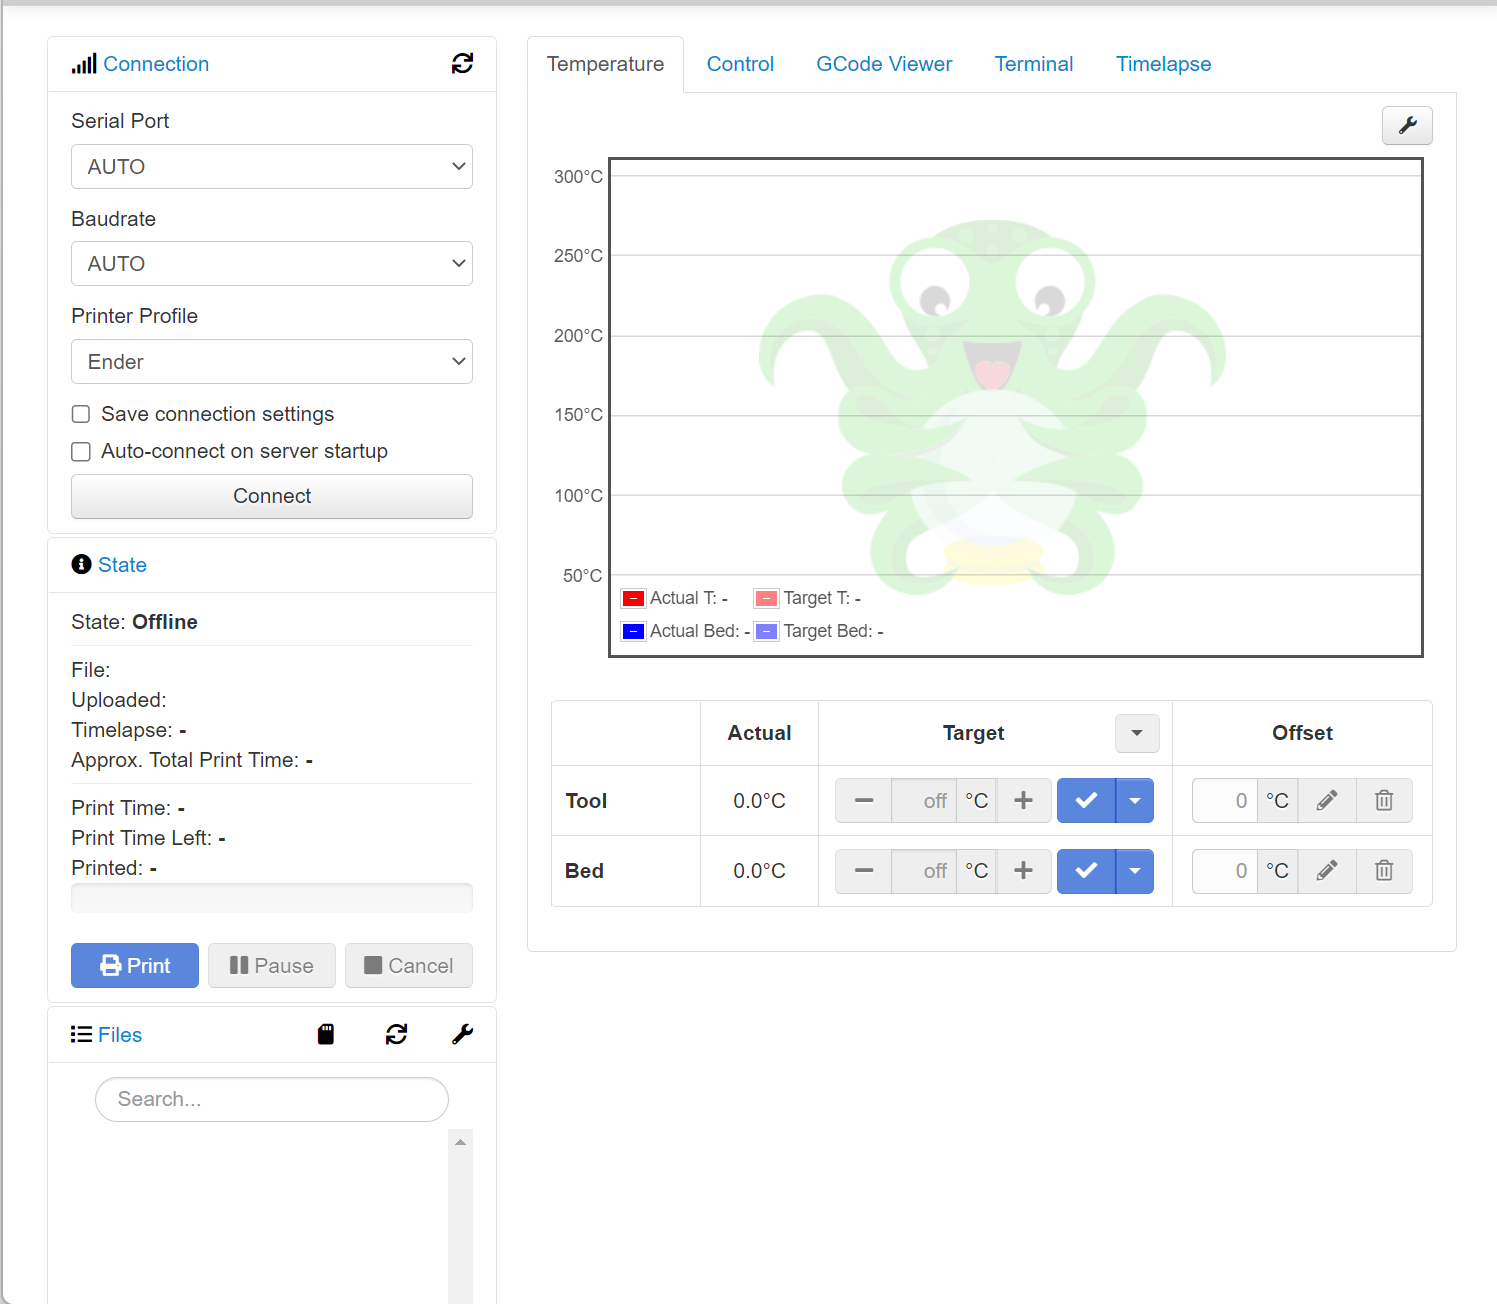
It looks now that we’re connected successfully to the virtual printer, where the State is Operational and we have some simulated data in the graph view on the right hand side.
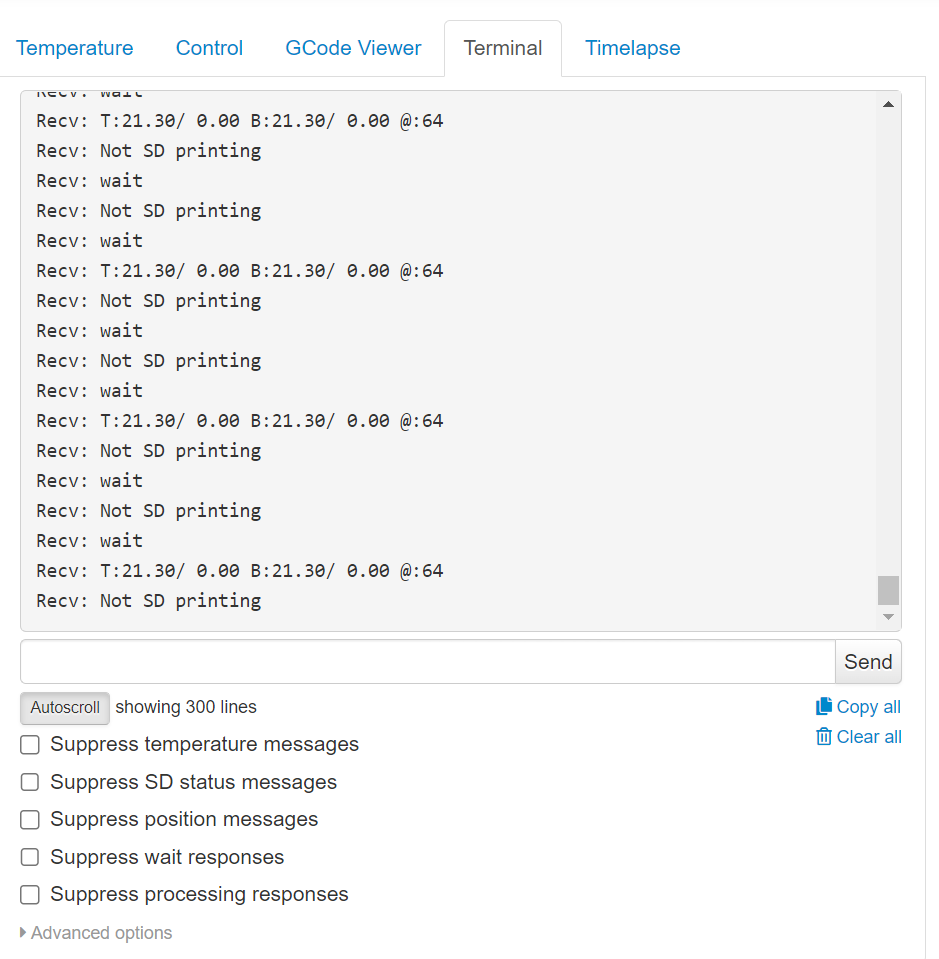
Looking at the Terminal Tab, we can see we have some simulated communications too, which is pretty cool;
Beginning Plugin Development
So, with my Environment seemingly set up, it’s time to start looking at Plugin Development!
I’ll be following a tutorial in the official docs, which looks awesome by the way.
Over the course of this little tutorial we’ll build a full fledged, installable OctoPrint plugin that displays “Hello World!” at some locations throughout OctoPrint and also offers some other basic functionality to give you an idea of what you can achieve with OctoPrint’s plugin system.
Which sounds like exactly what I need to get going…
But, for today, that will do… Let’s see what tomorrow brings!