This post is a series of posts in which I detail my journey to bring OctoPrint to the Seeed Studio reTerminal.
Day 9
In today’s post we’ll be finishing off the Hello World Plugin, including adding some JavaScript, CSS and LESS to the Project as well as adding a new tab to the main OctoPrint UI
Contents
Day 1 – 05–09–22 – Getting Started:
- Getting Started – 05/09/2022
- My Initial Plans
- Cloning the Repos
- A pointer in the right direction from the folks at OctoPrint3D – Plugins
- OctoPrint Plugin Mixin Development Docs
- Getting the Development Environment setup
- Installing Python
- Checking out the OctoPrint Sources
- Creating and Activating a Virtual Environment
- Build Tools for Visual Studio 2019
- Setting up VirtualEnv
- Adding VirtualEnv to the Windows Path
- Upgrading Pip
- Setting up the Virtual Environment
Day 2 – 06–09–22 – Setting up the Environment:
- OctoEverywhere – 06-09-22
- Continuing with VirtualEnv
- Activating the Virtual Environment
- Setting up the Virtual Environment
- Installing Microsoft Visual C++ 14.0
- Using pip to install packages in the Virtual Environment
- Git Pre-Commit
- Git Changes, Blame and Ignore
- Configuring VS Code
- Running OctoPrint for the first time
- Changing the Python Interpreter
- Running the OctoPrint from VS Code
Day 3 – 07–09–22 – Setup Wizard:
- Setting up OctoPrint in the Debug Environment – 07-09-22
- Setup Wizard – Access Control
- Setup Wizard – Online Connectivity
- Setup Wizard – Usage Tracking
- Setup Wizard – Plugin Blacklist
- Setup Wizard – Printer Profile
- Setup Wizard – Please Reload
- Setup Wizard – Setup Printer (Again)
- Setup Wizard – Server Commands
- Setup Wizard – Webcam and Timelapse Recordings
- Setup Wizard – Finish
- Virtual 3d Printer Plugin
- Beginning Plugin Development
Continuing with the HelloWorld Plugin Tutorial – 14-09-2022
After the quick side-quest yesterday setting up the basic OctoPrint installation on the reTerminal, I’m going to return to the HelloWorld Plugin Tutorial today.
Today we’ll add a settings page for our plugin so we can set the URL using the GUI instead of the config.yaml file.
To add the UI for our settings, we need to create another template file in the Templates folder in our Hello World Plugin project and add a template file in there called hellowworld_settings.jinja2, where we paste in the settings content we’d like to display;
<form class="form-horizontal">
    <div class="control-group">
        <label class="control-label">{{ _('URL') }}</label>
        <div class="controls">
            <input type="text" class="input-block-level" data-bind="value: settings.plugins.helloworld.url">
        </div>
    </div>
</form>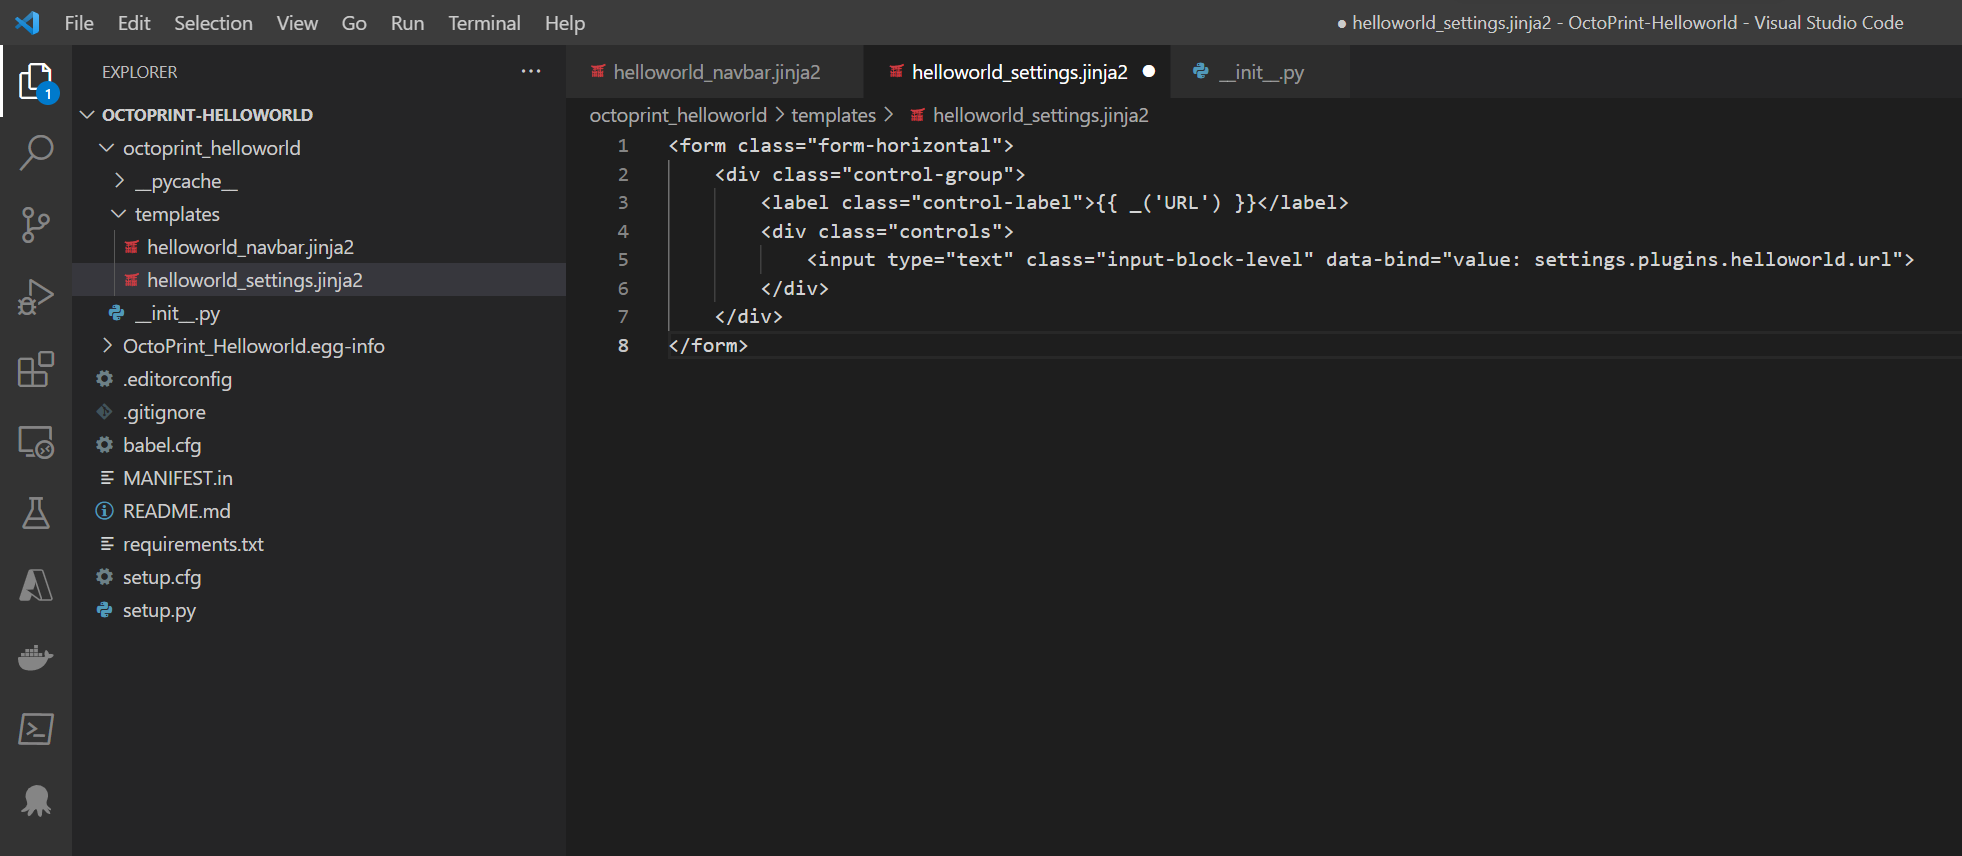
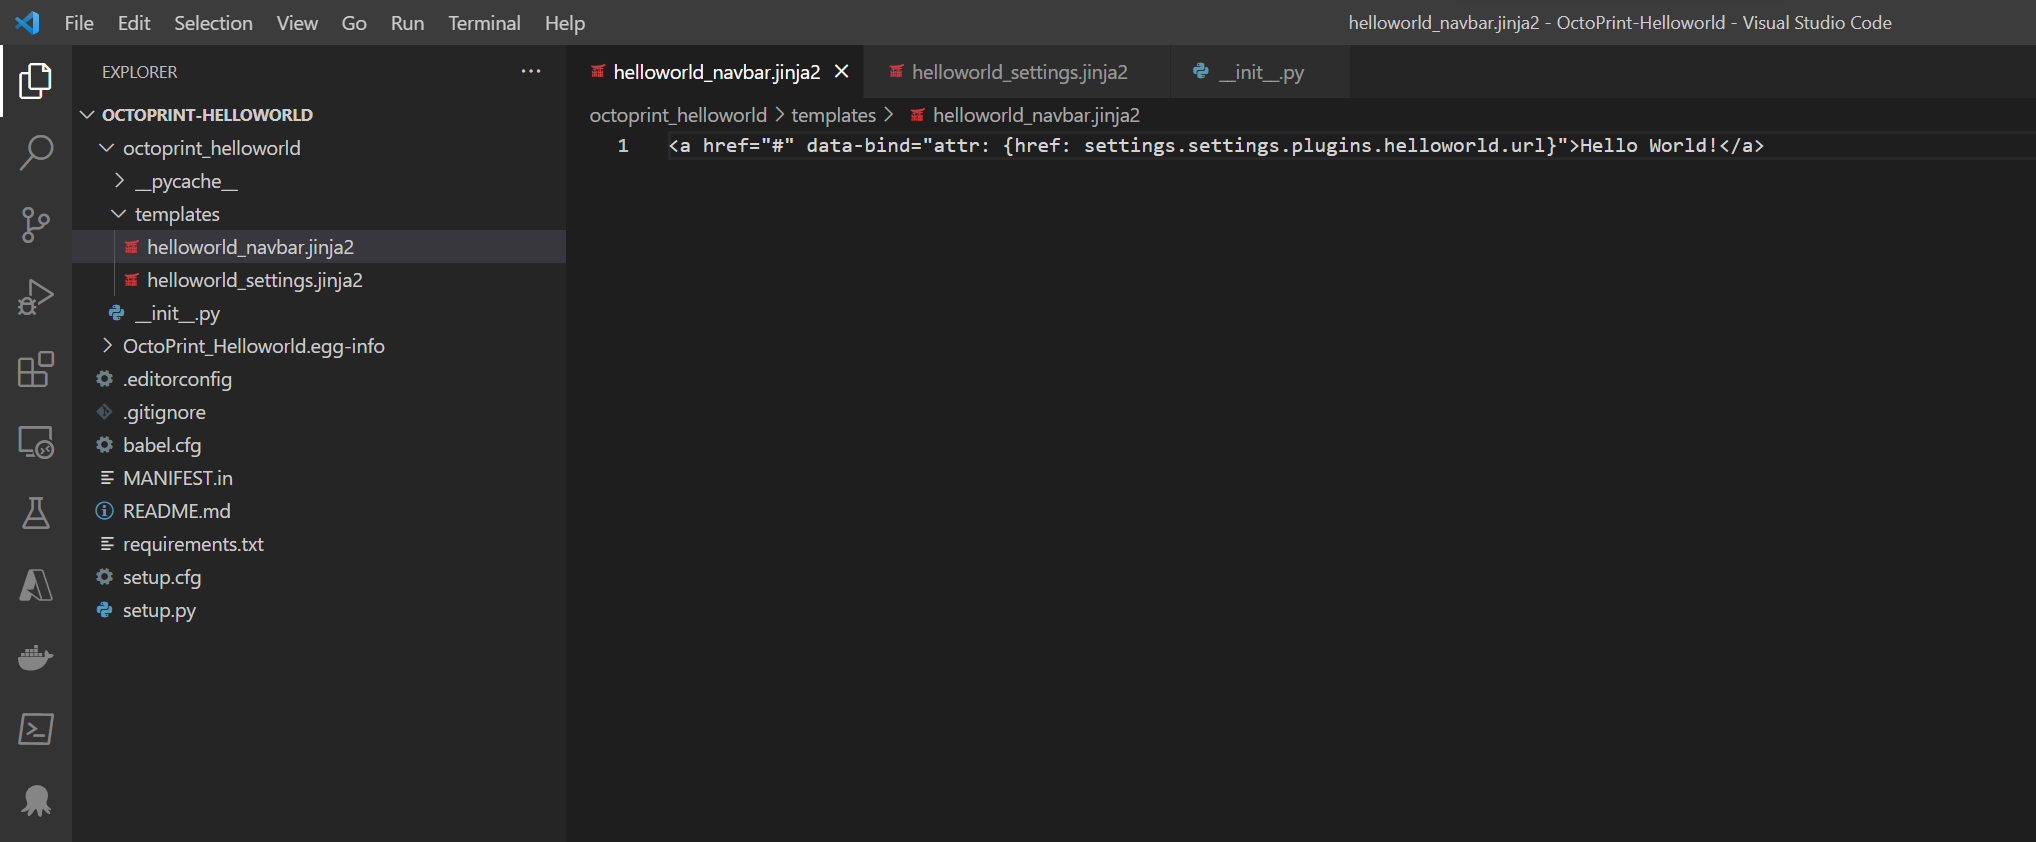
The plugin is using the settings object to bind all of its values together, so we now need to modify the helloworld_navbar.jinja2 file to reflect this;
We now need modify our plugin’s main __init__.py file to let OctoPrint not to unbind our variables as is its default behaviour.
We’ll also need to remove the line that overrides the get_template_vars line as we’ll be pulling the settings from the Settings View Model instead;
import octoprint.plugin

class HelloWorldPlugin(octoprint.plugin.StartupPlugin,
                       octoprint.plugin.TemplatePlugin,
                       octoprint.plugin.SettingsPlugin):
def on_after_startup(self):
    self._logger.info("Hello World! (more: %s)" % self._settings.get(["url"]))

def get_settings_defaults(self):
    return dict(url="https://en.wikipedia.org/wiki/Hello_world")

def get_template_configs(self):
    return [
        dict(type="navbar", custom_bindings=False),
        dict(type="settings", custom_bindings=False)
    ]

__plugin_name__ = "Hello World"
__plugin_pythoncompat__ = ">=3.7,<4"
__plugin_implementation__ = HelloWorldPlugin()
Ah… When I started OctoPrint, the Hello World navbar item was missing;
Checking the logs in VS Code… I can see there’s an error raised in my __init__.py file;
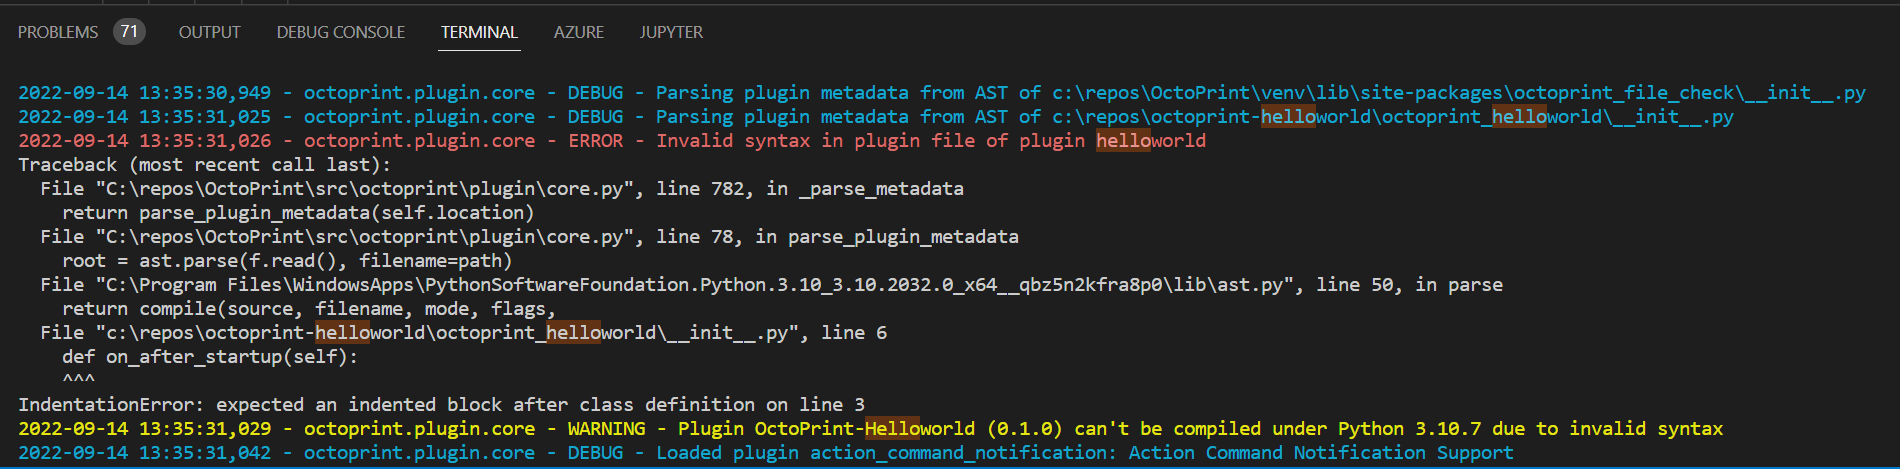
It seems there’s an indentation error IndentationError: expected an indented block after class definition on line 3.
Switching back to VS Code, and hovering over the red squiggly, I can see that the definitions here should be indented;
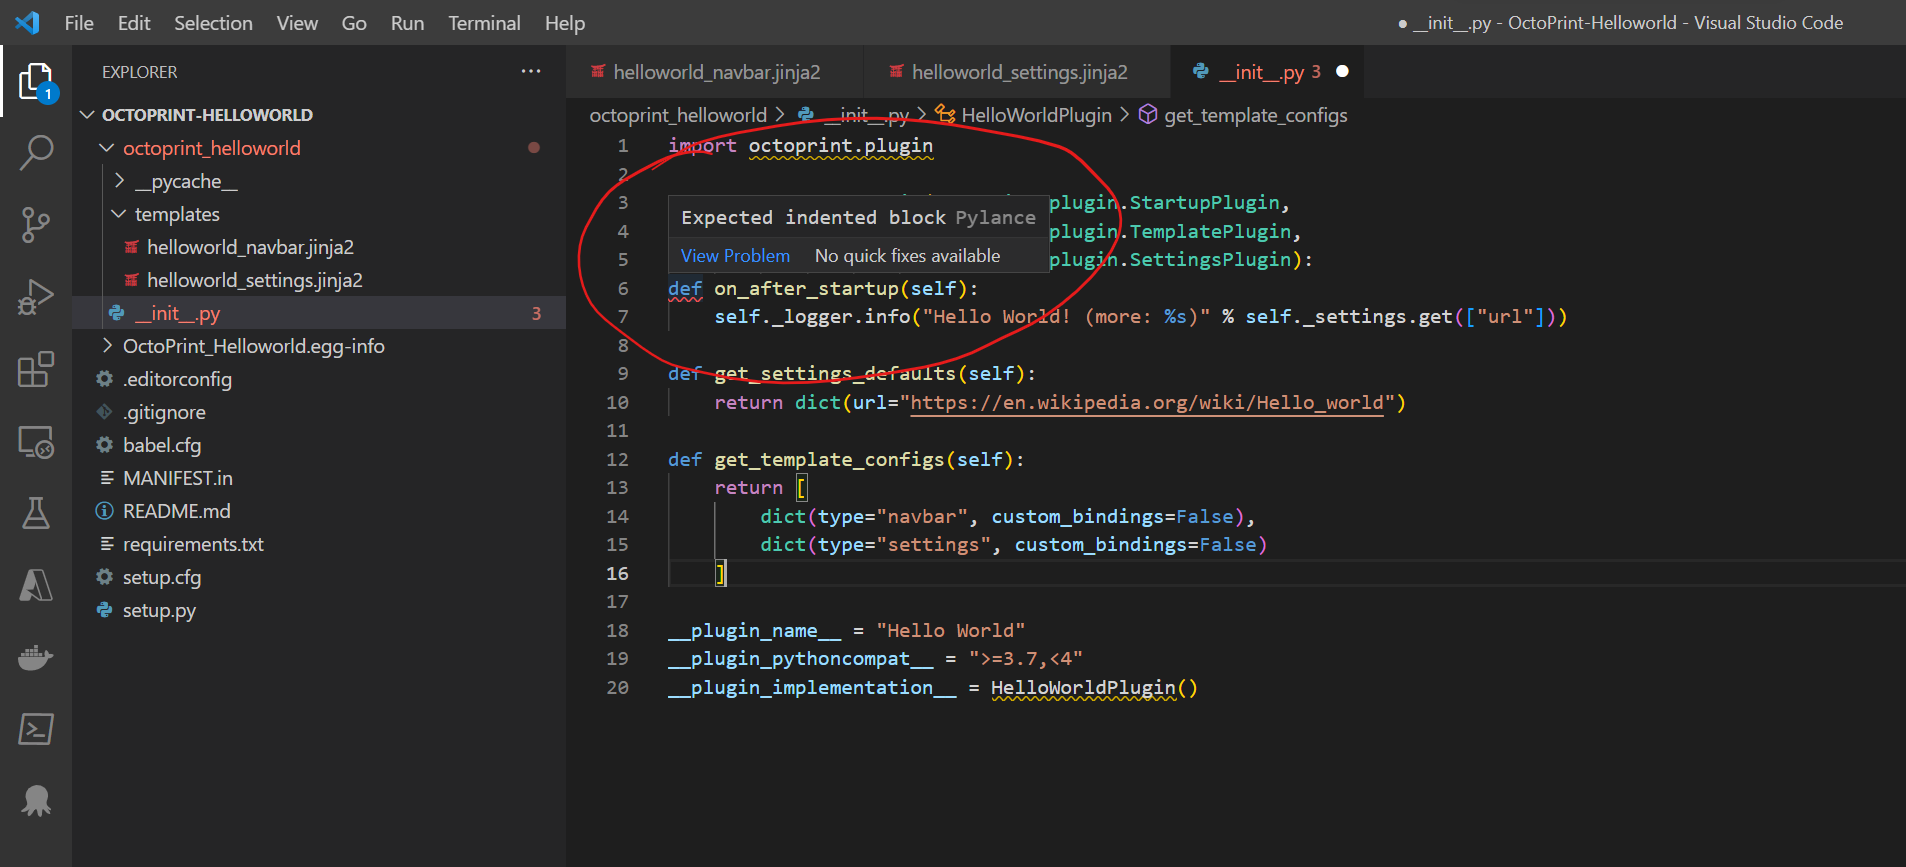
Fixing the missing indentation makes the new code;
import octoprint.plugin

class HelloWorldPlugin(octoprint.plugin.StartupPlugin,
                       octoprint.plugin.TemplatePlugin,
                       octoprint.plugin.SettingsPlugin):
    def on_after_startup(self):
        self._logger.info("Hello World! (more: %s)" % self._settings.get(["url"]))

    def get_settings_defaults(self):
        return dict(url="https://en.wikipedia.org/wiki/Hello_world")

    def get_template_configs(self):
        return [
            dict(type="navbar", custom_bindings=False),
            dict(type="settings", custom_bindings=False)
        ]

__plugin_name__ = "Hello World"
__plugin_pythoncompat__ = ">=3.7,<4"
__plugin_implementation__ = HelloWorldPlugin()
Saving this and restarting the server;
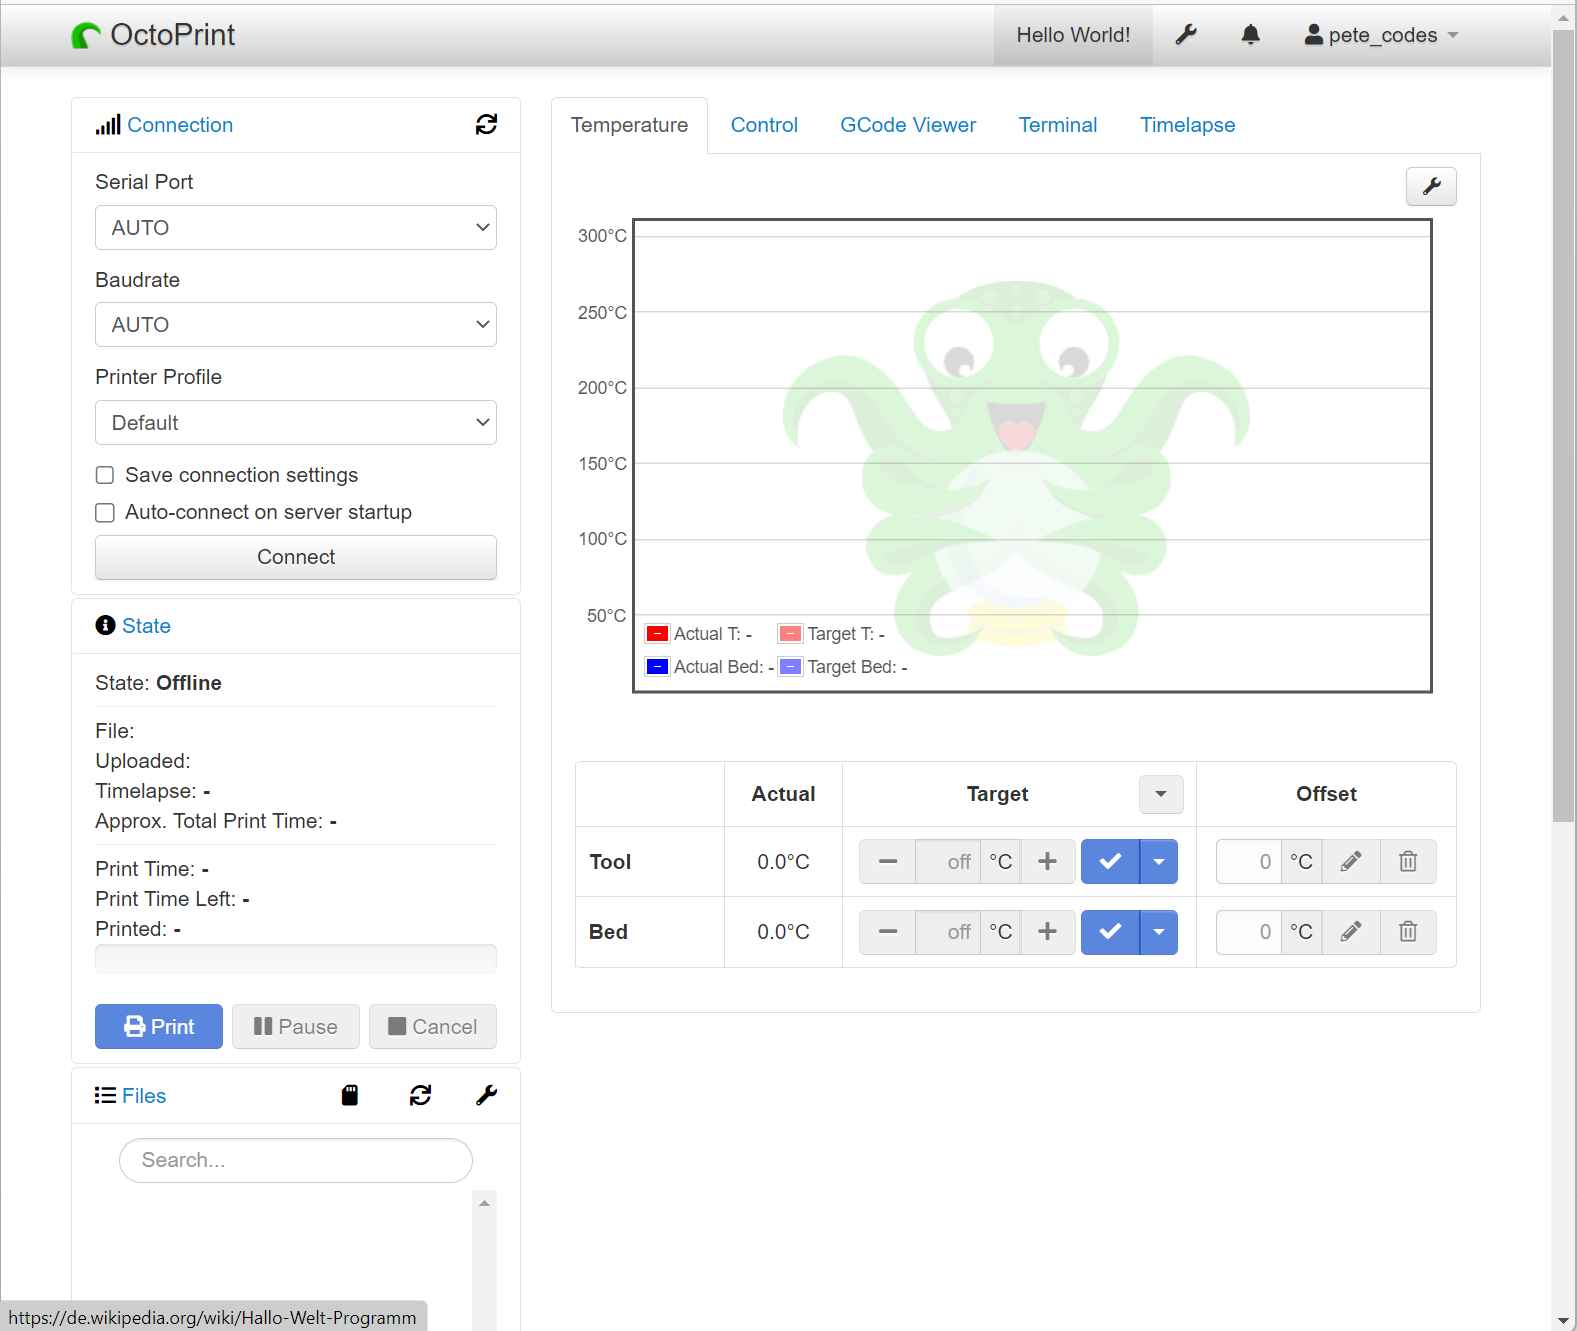
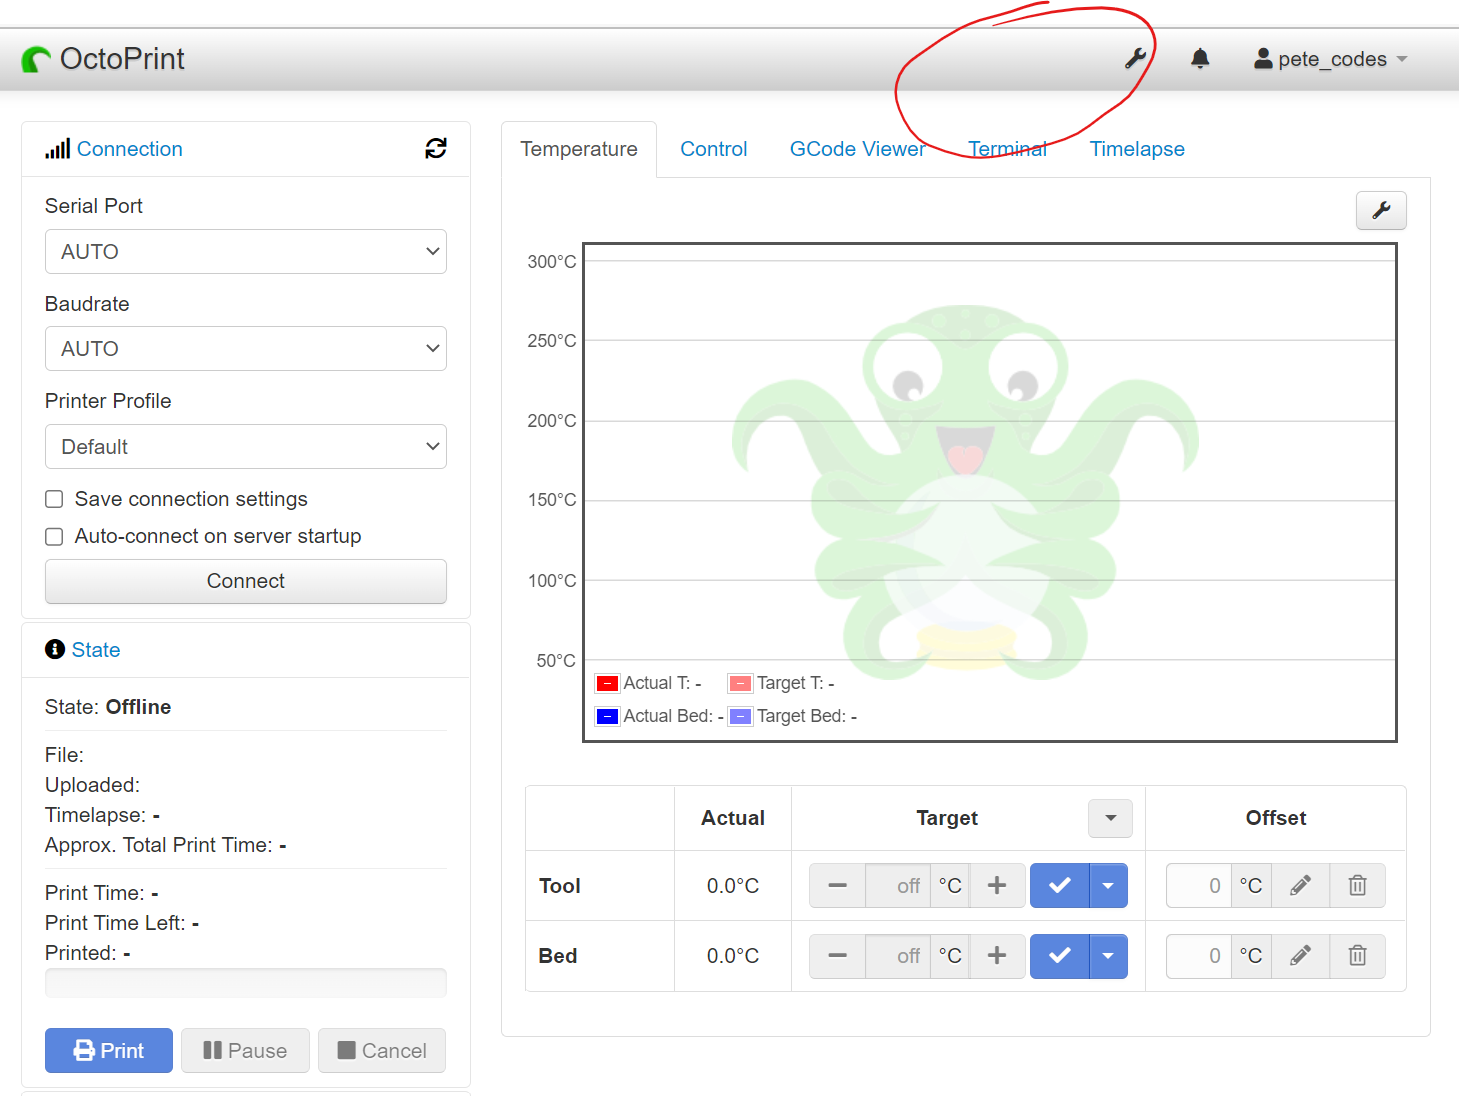
We can see our Hello World NavBar item is showing, and the correct URL is linked.
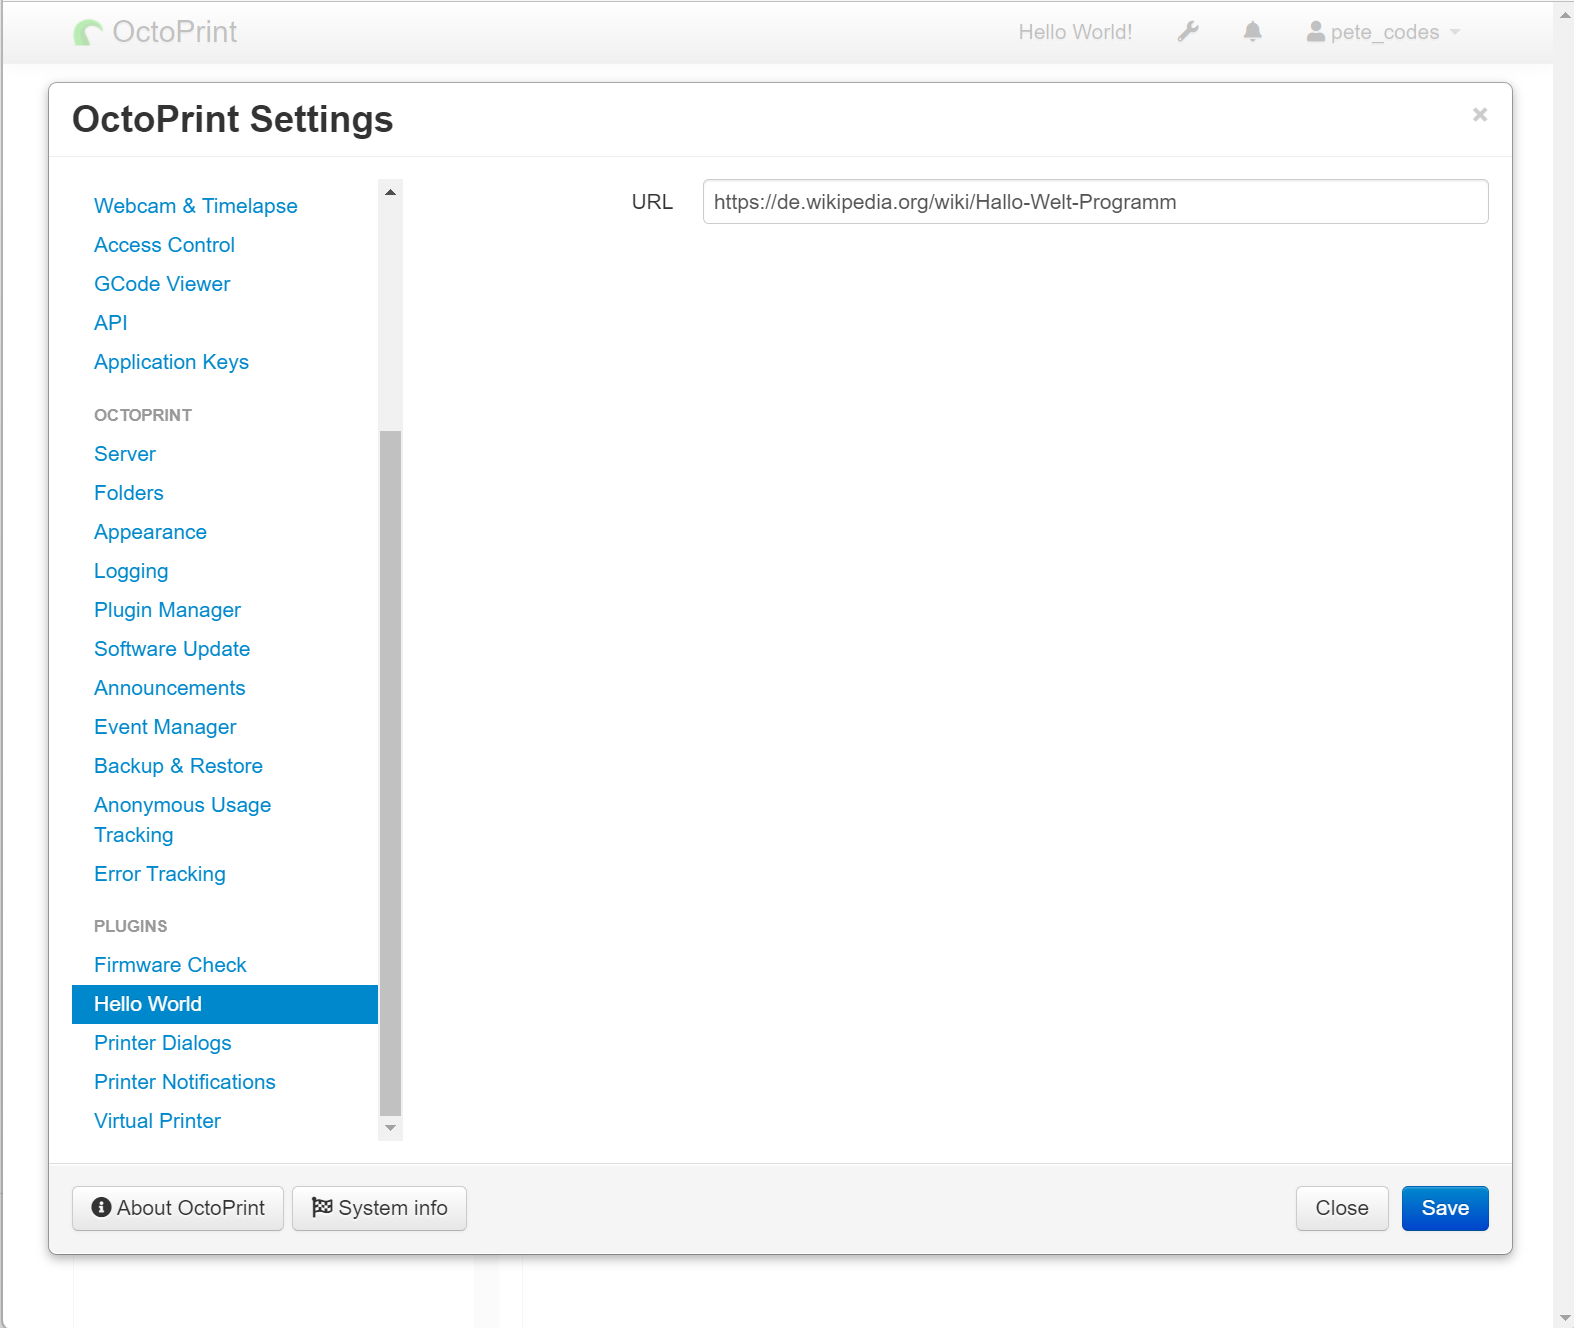
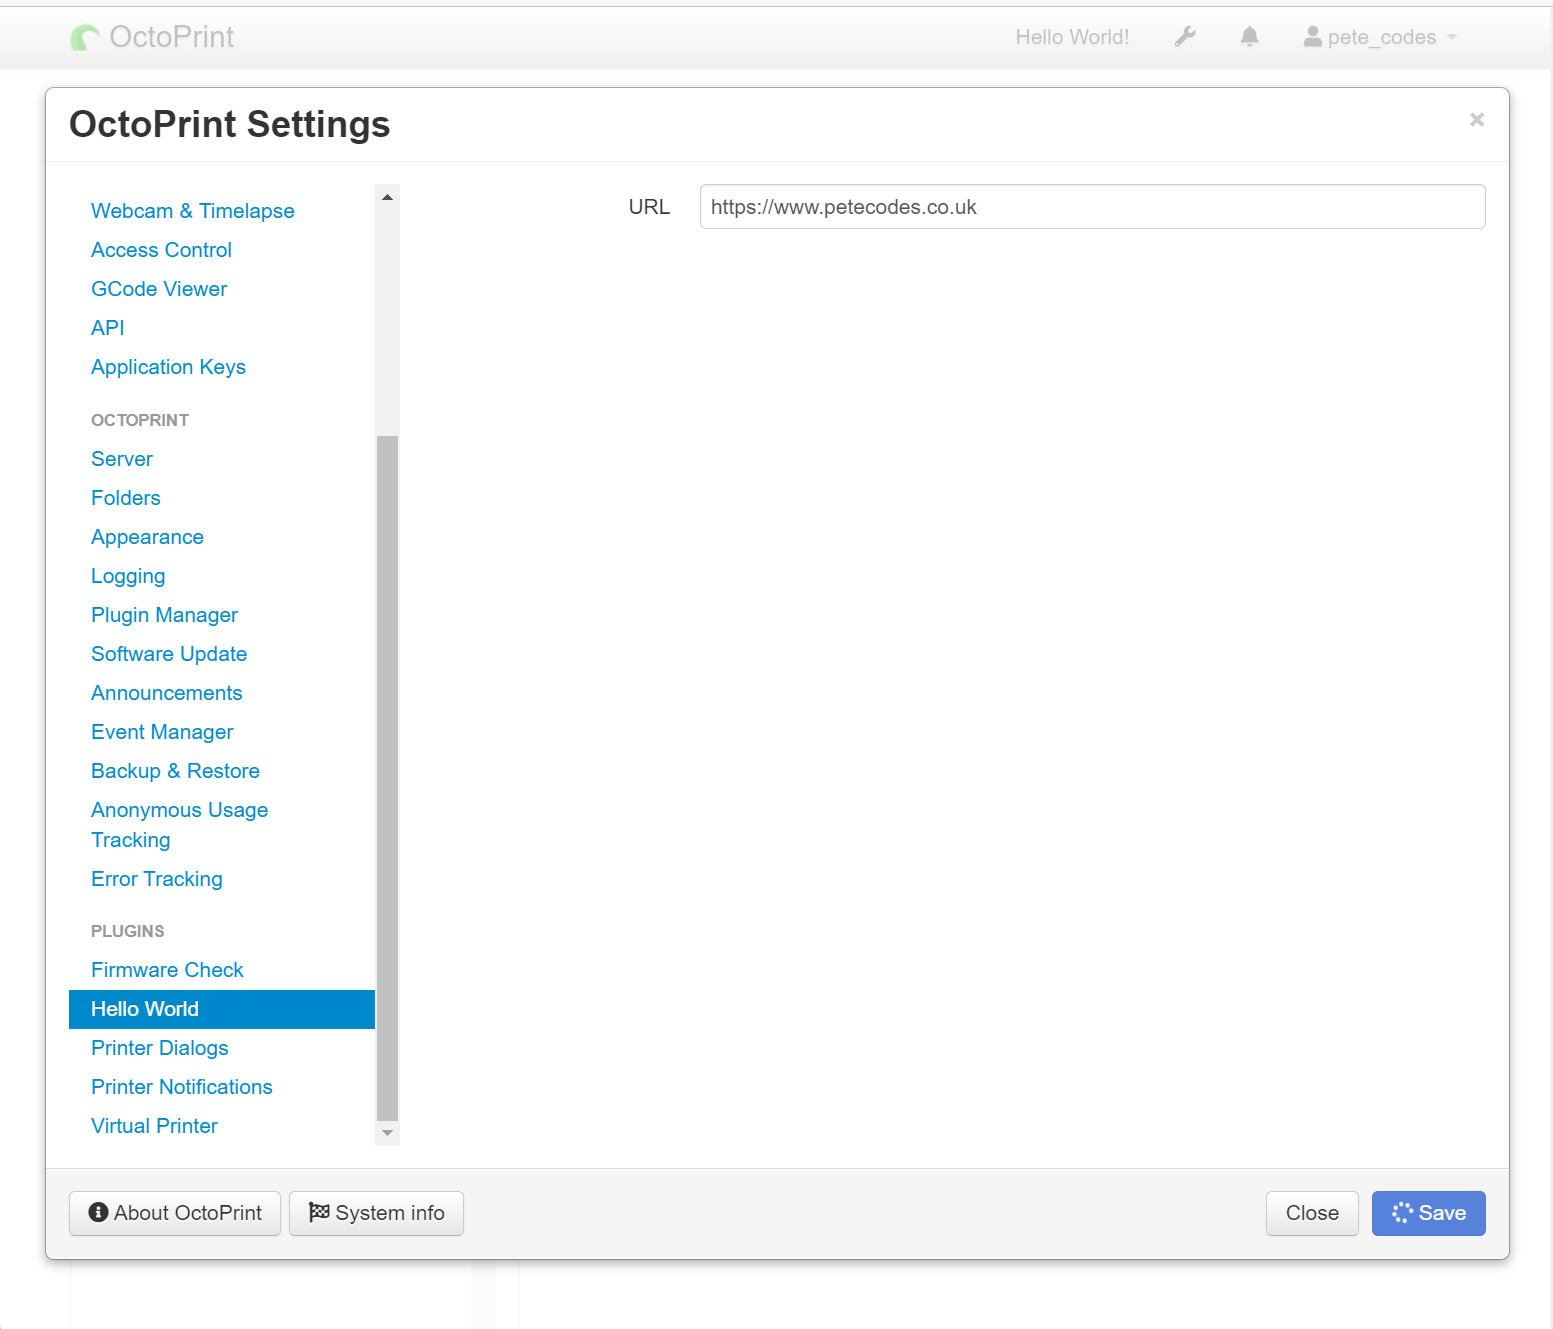
If we navigate to settings and scroll down. we can now see our new settings menu item and page;
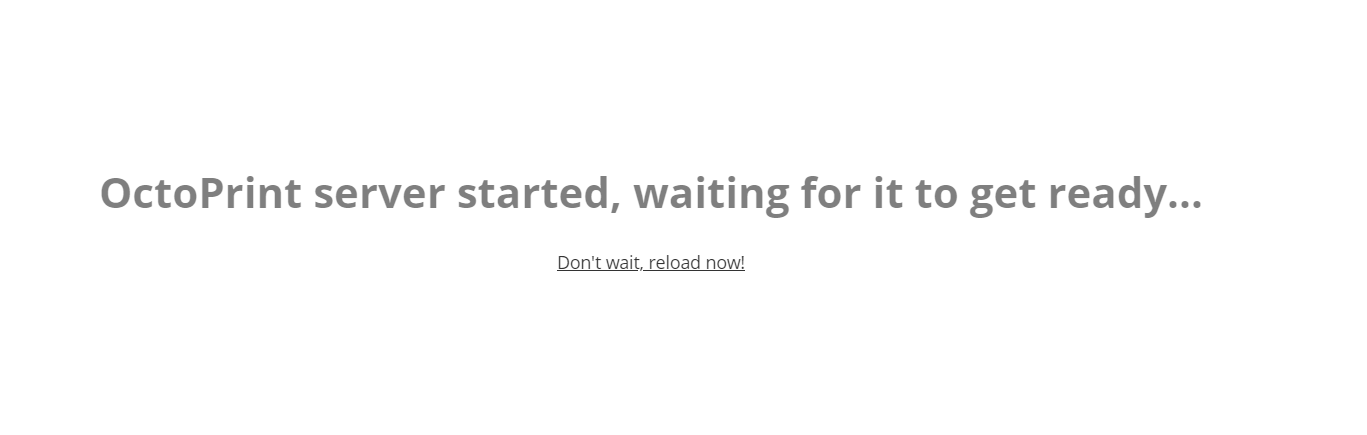
By the way… I do like the progress messages that OctoPrint shows while the server is starting;
Changing the URL for our plugin and hitting save;
The Save buttons appears to be stuck… Switching over to VS Code;
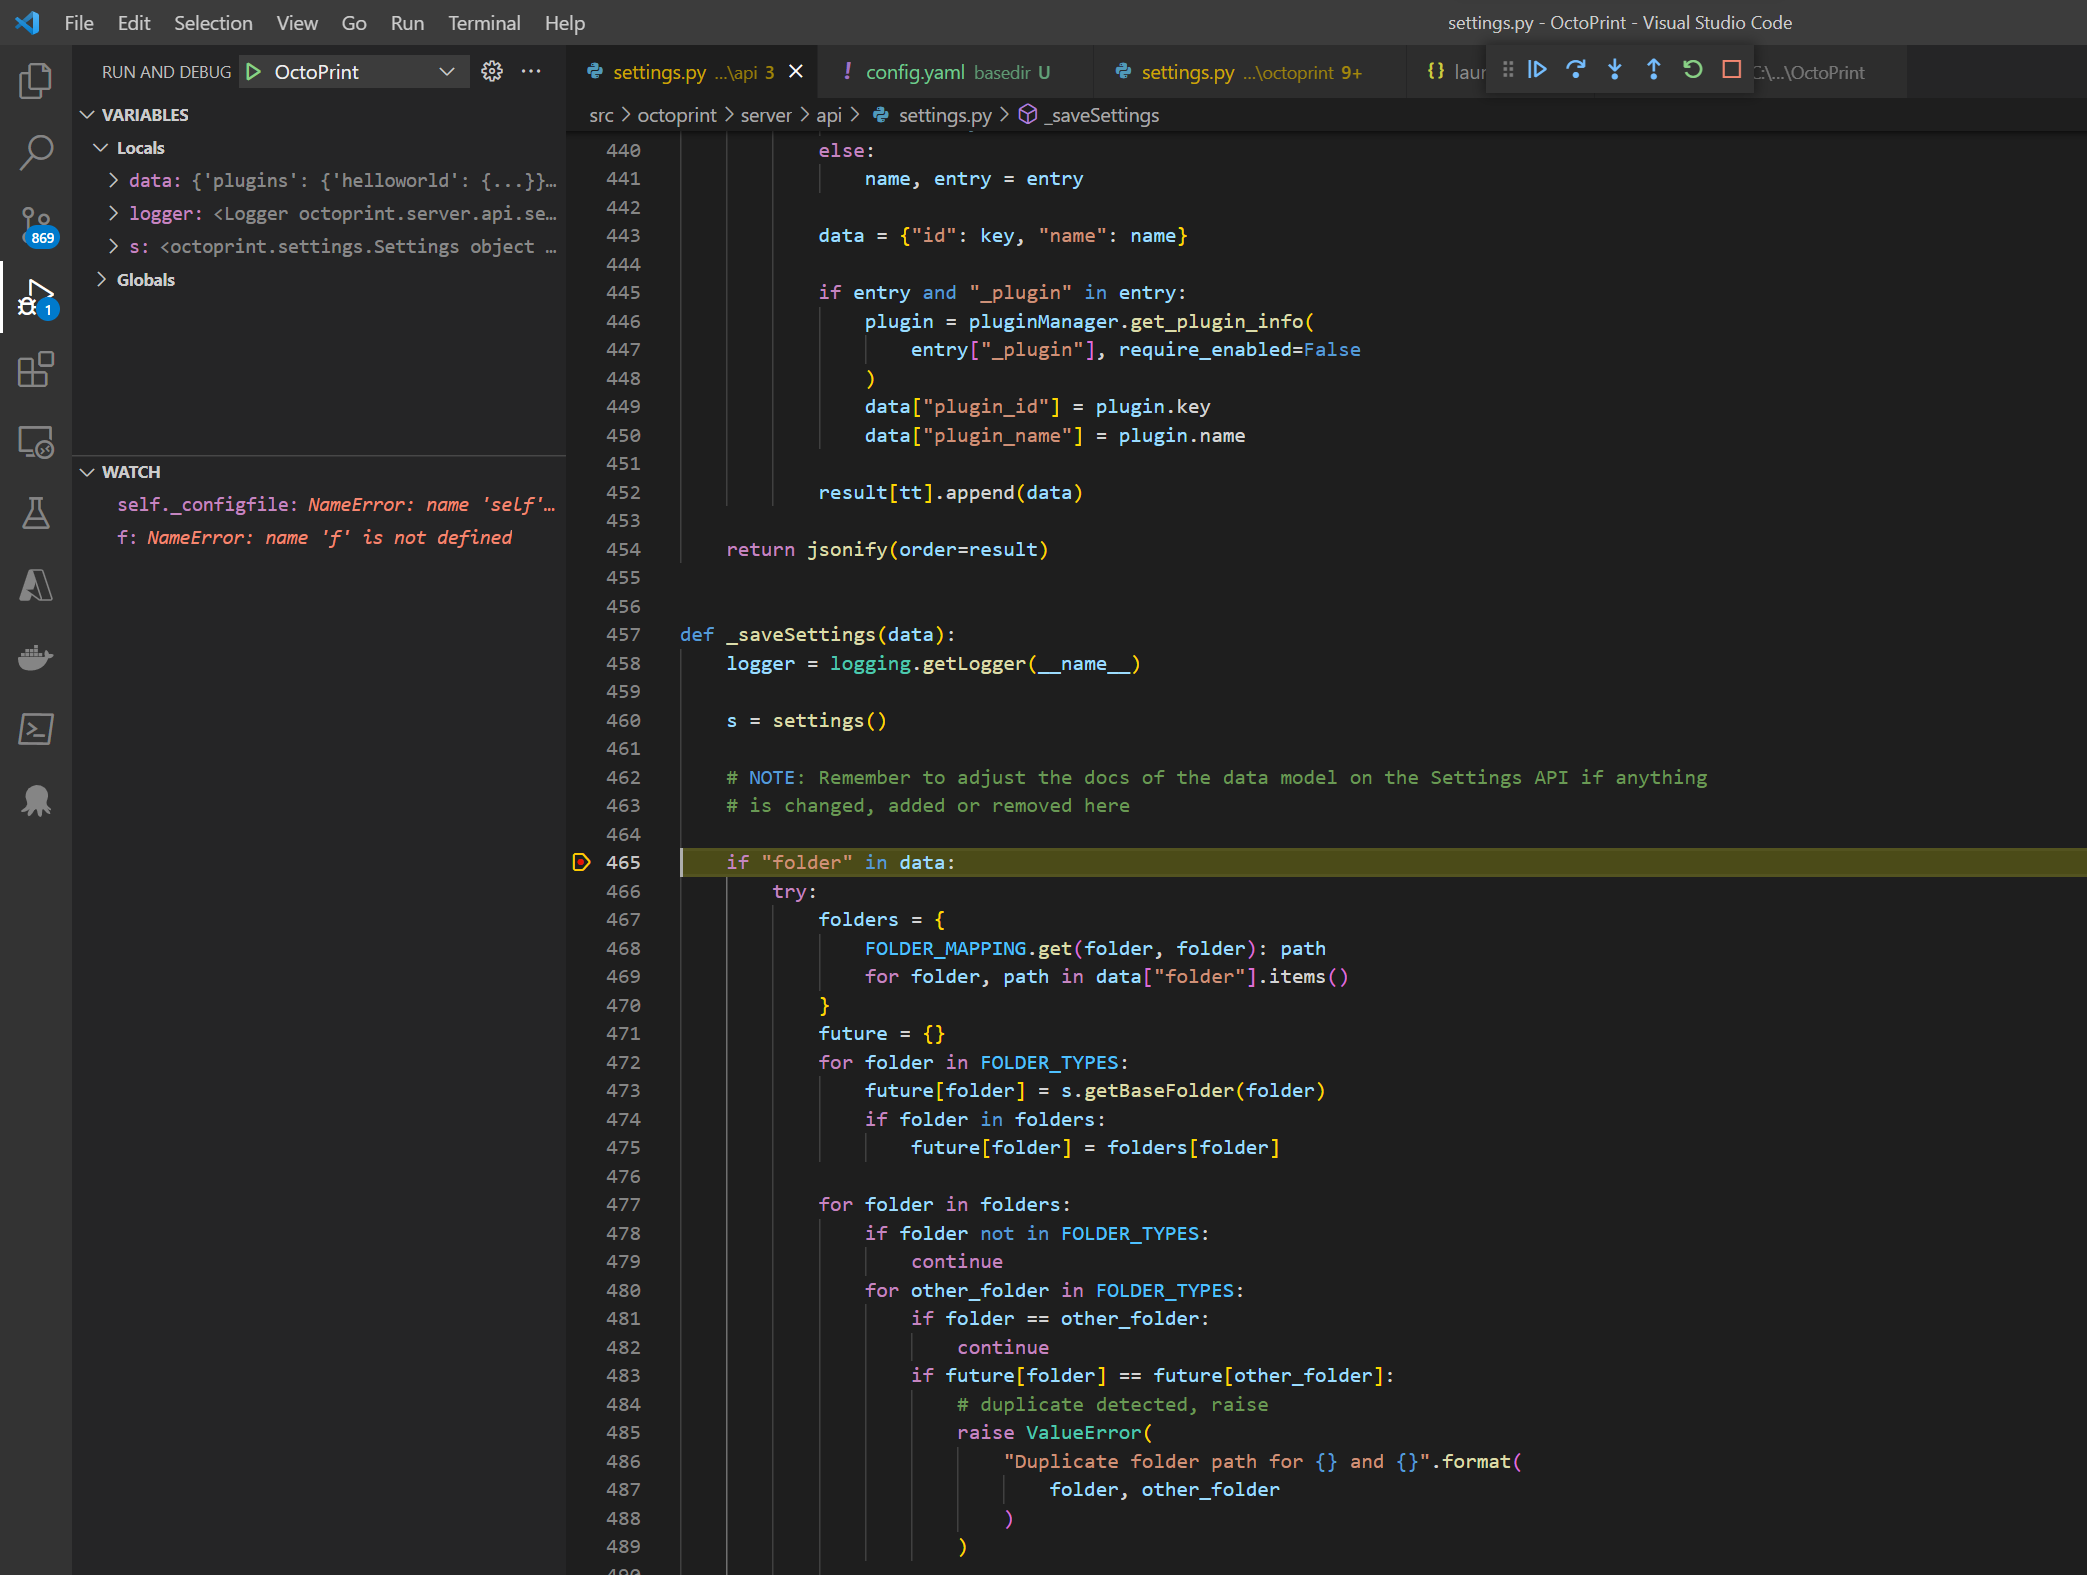
Ah, I’d left a breakpoint enabled and VS Code had obediently stopped the code… Removing the breakpoint and running the code;
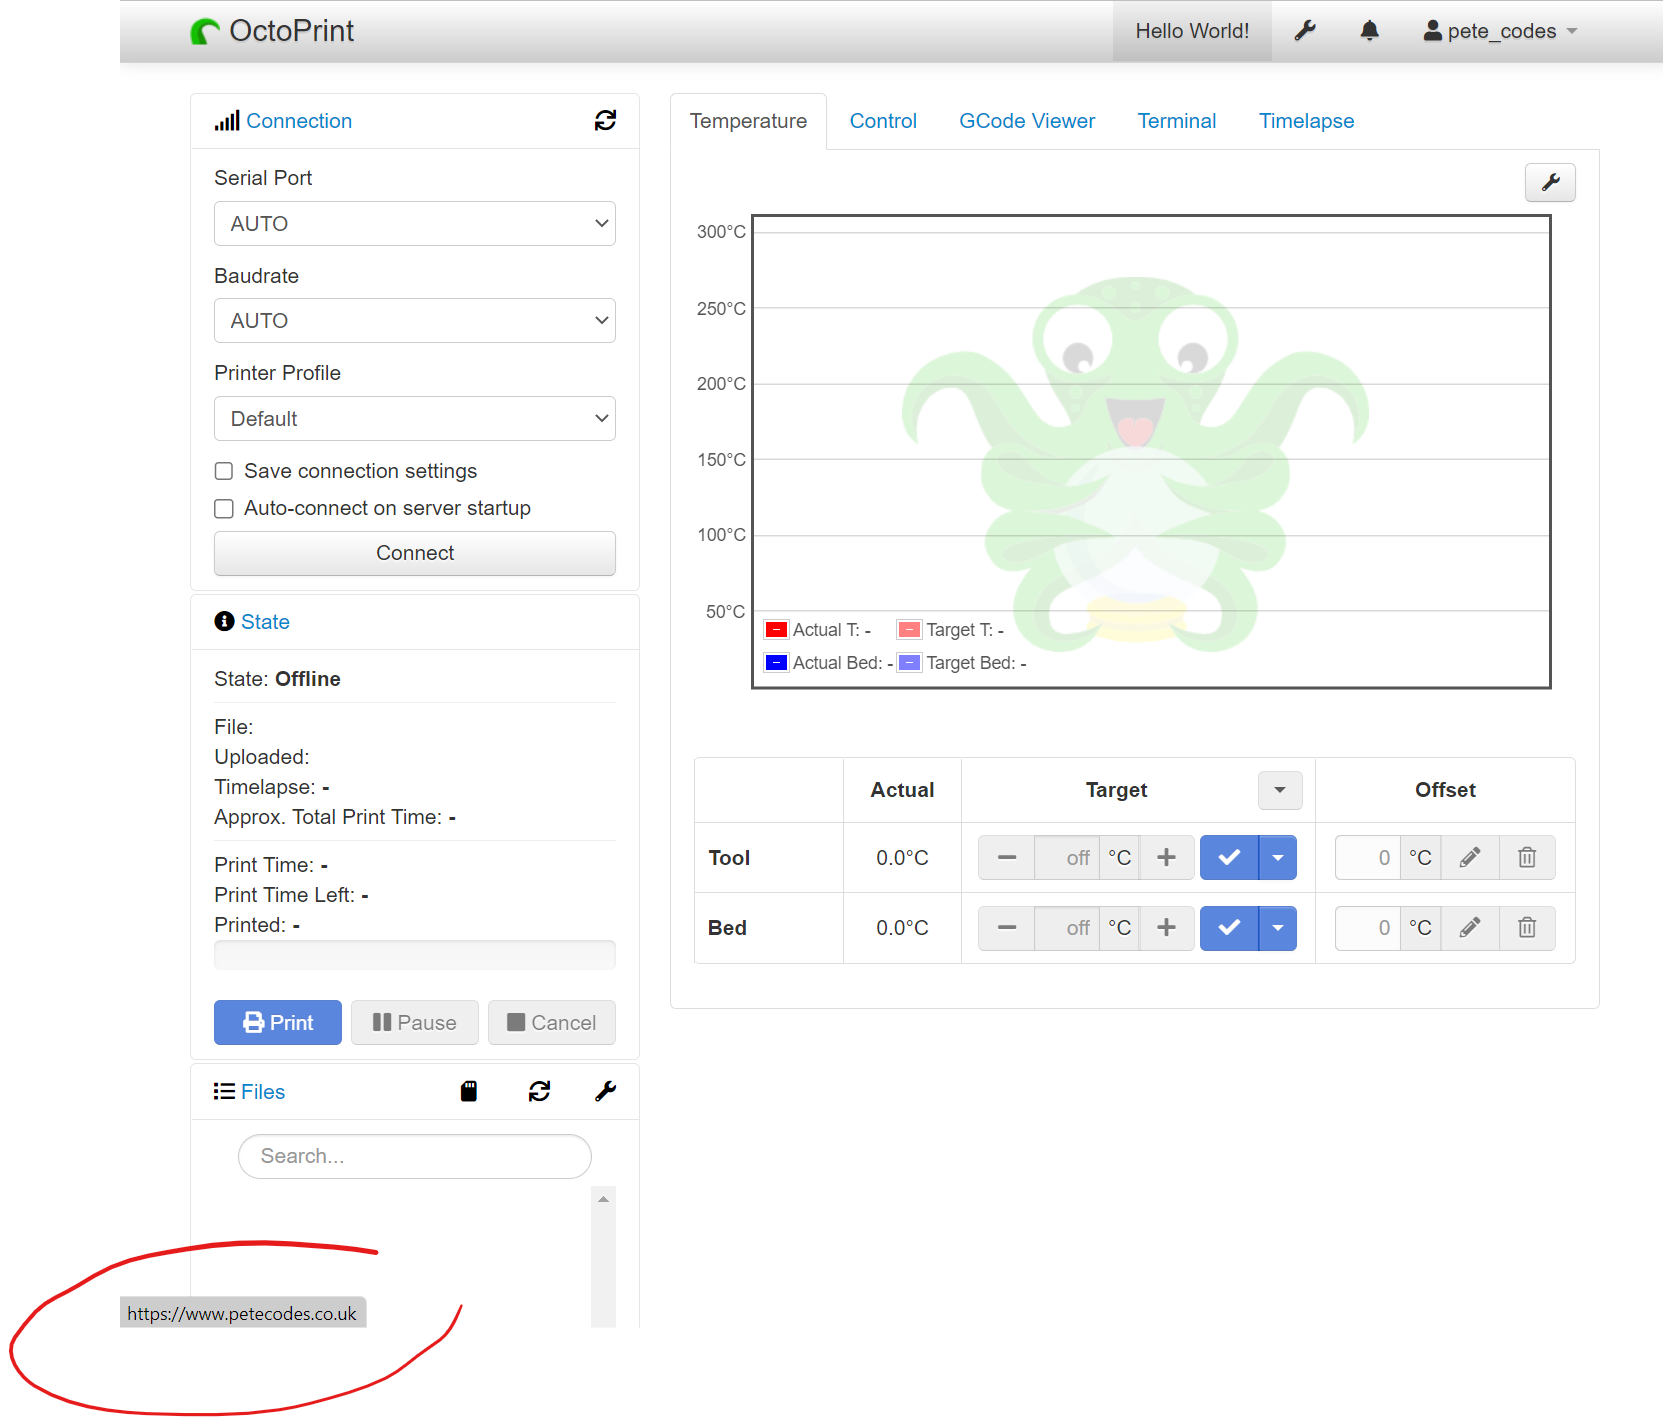
We can see that our link is now updated…
All of that was pretty straight forward… I do need to go back and make sure I understand how that’s all working mind you…
But for now, that’s pretty cool!
Adding JavaScript to the Plugin
Next up the Plugin Tutorial walks us through adding JavaScript to our Hello World Plugin.
We do this if we want to define and have control of our own settings bindings, rather than using the SettingsViewModel.
We are also going to add an extra tab to the OctoPrint Interface. This could come in quite handy depending on what I’m able to do to modify the TouchUI plugin to customise the interface there… I’ve got no idea how easy to hook into that plugin it will be.
What would be nice on that point, is that we can create our reTerminal plugin and parts of it would override parts of the TouchUI plugin, so that we don’t need to fork the whole plugin.
The first thing we need to do is create another new template in our Plugin project named helloworld_tab.jinja2. We then go ahead and add the template HTML;
<div class="input-append">
<input type="text" class="input-xxlarge" data-bind="value: newUrl">
<button class="btn btn-primary" data-bind="click: goToUrl">{{ _('Go') }}</button>
</div>
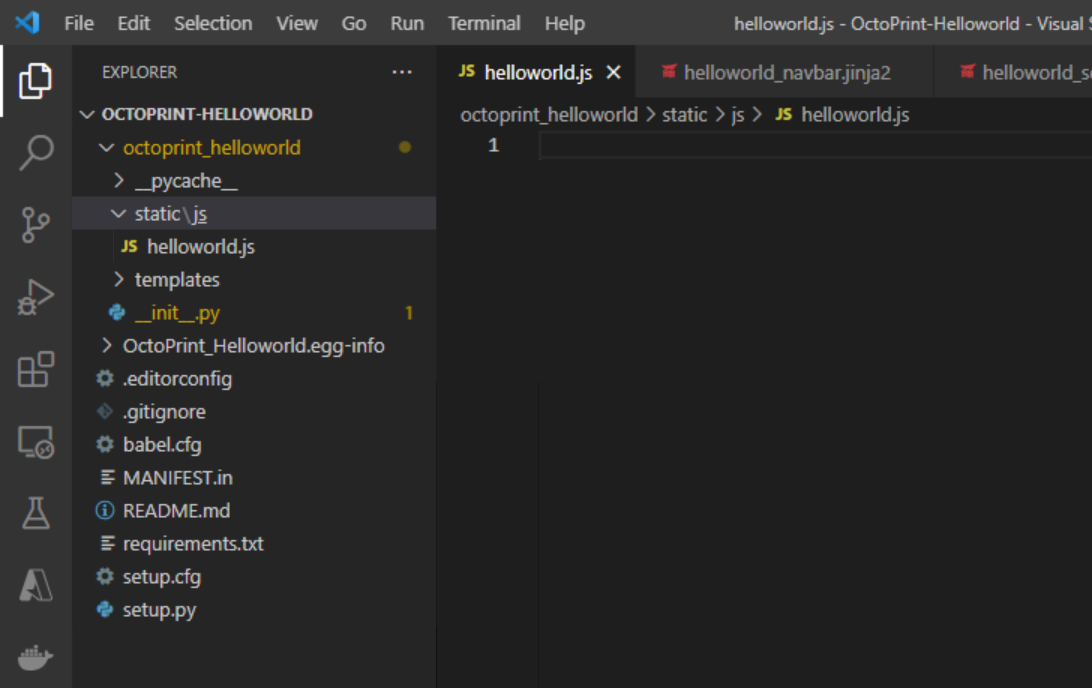
<iframe data-bind="attr: {src: currentUrl}" style="width: 100%; height: 600px; border: 1px solid #808080"></iframe>Next we create a new folder named static in the octoprint_helloworld folder, then a folder called js within that folder. Then within the js folder, we create a file called helloworld.js;
Next, we need to inject our new js file by using the AssetPlugin Mixin and overriding the get_assets method in our __init__.py file (remembering this time to add in the tabs!).
Remembering that the docs show the following for the AssetPlugin Mixin;
The
AssetPluginmixin allows plugins to define additional static assets such as JavaScript or CSS files to be automatically embedded into the pages delivered by the server to be used within the client sided part of the plugin.
import octoprint.plugin

class HelloWorldPlugin(octoprint.plugin.StartupPlugin,
                       octoprint.plugin.TemplatePlugin,
                       octoprint.plugin.SettingsPlugin,
                       octoprint.plugin.AssetPlugin):
    def on_after_startup(self):
        self._logger.info("Hello World! (more: %s)" % self._settings.get(["url"]))

    def get_settings_defaults(self):
        return dict(url="https://en.wikipedia.org/wiki/Hello_world")

    def get_template_configs(self):
        return [
            dict(type="navbar", custom_bindings=False),
            dict(type="settings", custom_bindings=False)
        ]

    def get_assets(self):
        return dict(
            js=["js/helloworld.js"]
        )

__plugin_name__ = "Hello World"
__plugin_pythoncompat__ = ">=3.7,<4"
__plugin_implementation__ = HelloWorldPlugin()
Next we can add some code to our new helloworld.js file to create a Knockout ViewModel which will inject itself into OctoPrint as well as inject the SettingsViewModel into our ViewModel so we can make use it;
$(function() {
    function HelloWorldViewModel(parameters) {
        var self = this;

        self.settings = parameters[0];

        // this will hold the URL currently displayed by the iframe
        self.currentUrl = ko.observable();

        // this will hold the URL entered in the text field
        self.newUrl = ko.observable();

        // this will be called when the user clicks the "Go" button and set the iframe's URL to
        // the entered URL
        self.goToUrl = function() {
            self.currentUrl(self.newUrl());
        };

        // This will get called before the HelloWorldViewModel gets bound to the DOM, but after its
        // dependencies have already been initialized. It is especially guaranteed that this method
        // gets called _after_ the settings have been retrieved from the OctoPrint backend and thus
        // the SettingsViewModel been properly populated.
        self.onBeforeBinding = function() {
            self.newUrl(self.settings.settings.plugins.helloworld.url());
            self.goToUrl();
        }
    }

    // This is how our plugin registers itself with the application, by adding some configuration
    // information to the global variable OCTOPRINT_VIEWMODELS
    OCTOPRINT_VIEWMODELS.push([
        // This is the constructor to call for instantiating the plugin
        HelloWorldViewModel,

        // This is a list of dependencies to inject into the plugin, the order which you request
        // here is the order in which the dependencies will be injected into your view model upon
        // instantiation via the parameters argument
        ["settingsViewModel"],

        // Finally, this is the list of selectors for all elements we want this view model to be bound to.
        ["#tab_plugin_helloworld"]
    ]);
});
Restarting the server again, we see the familiar Please reload modal, which we’d expect, as the interface will indeed have changed;
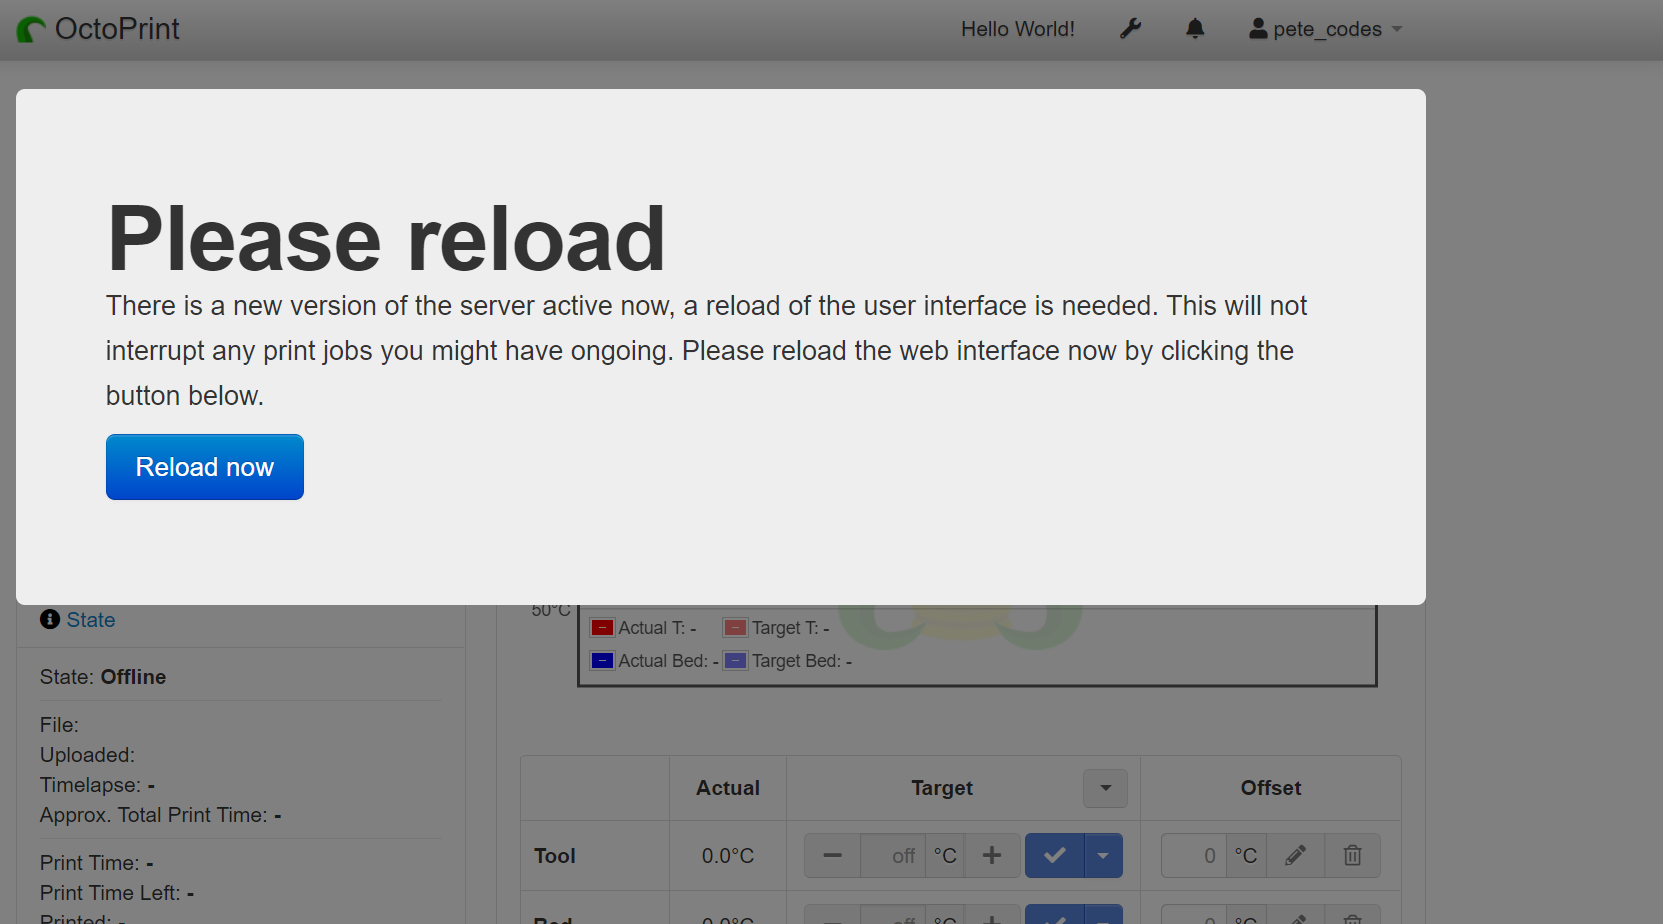
Clicking the Reload now button, I intially think it’s not worked;
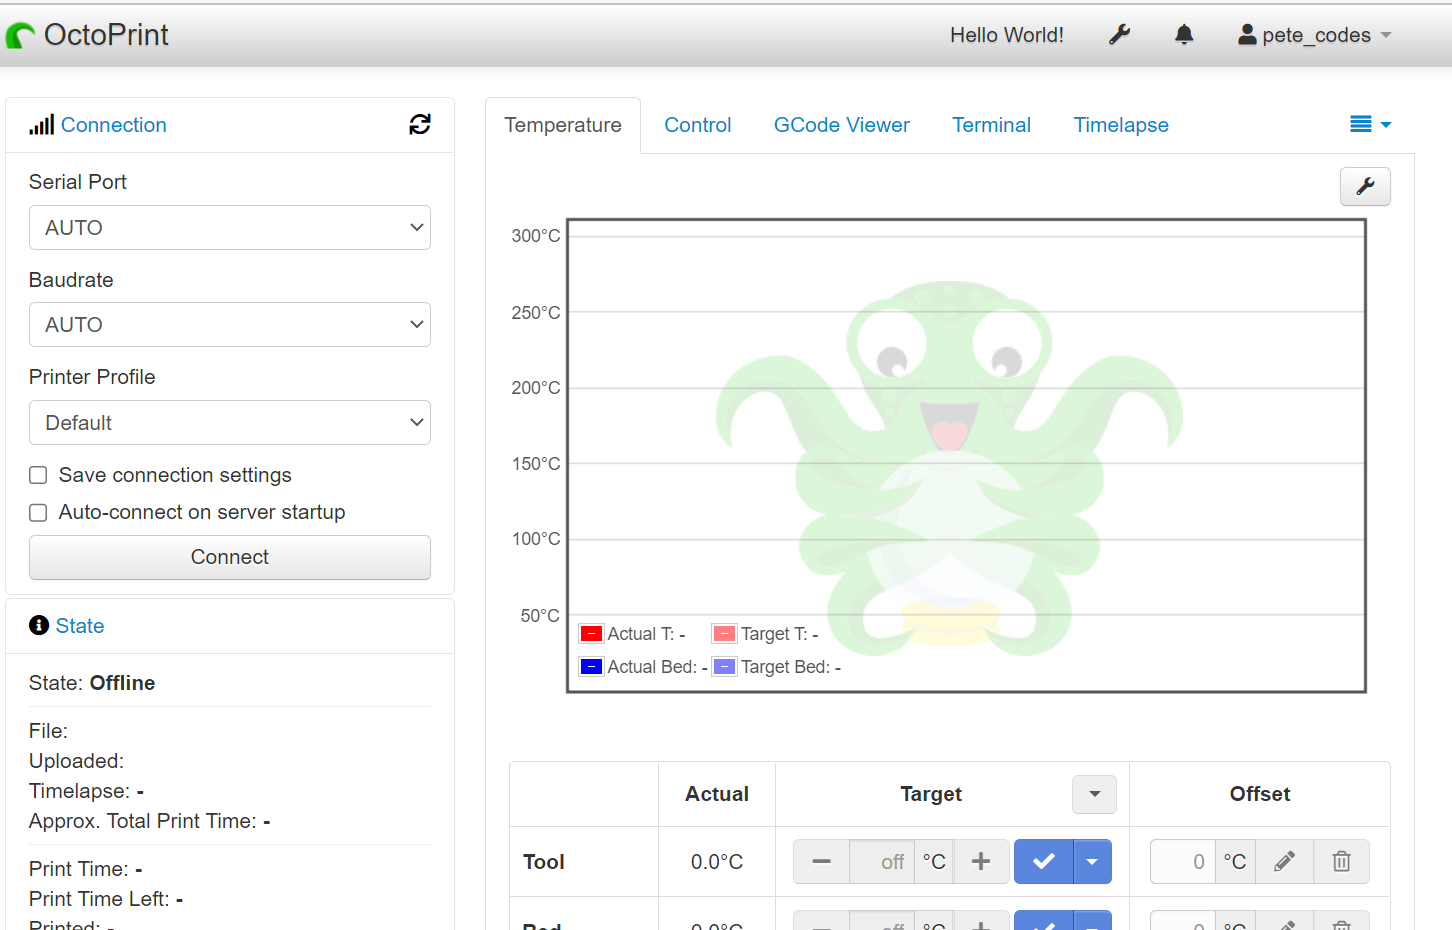
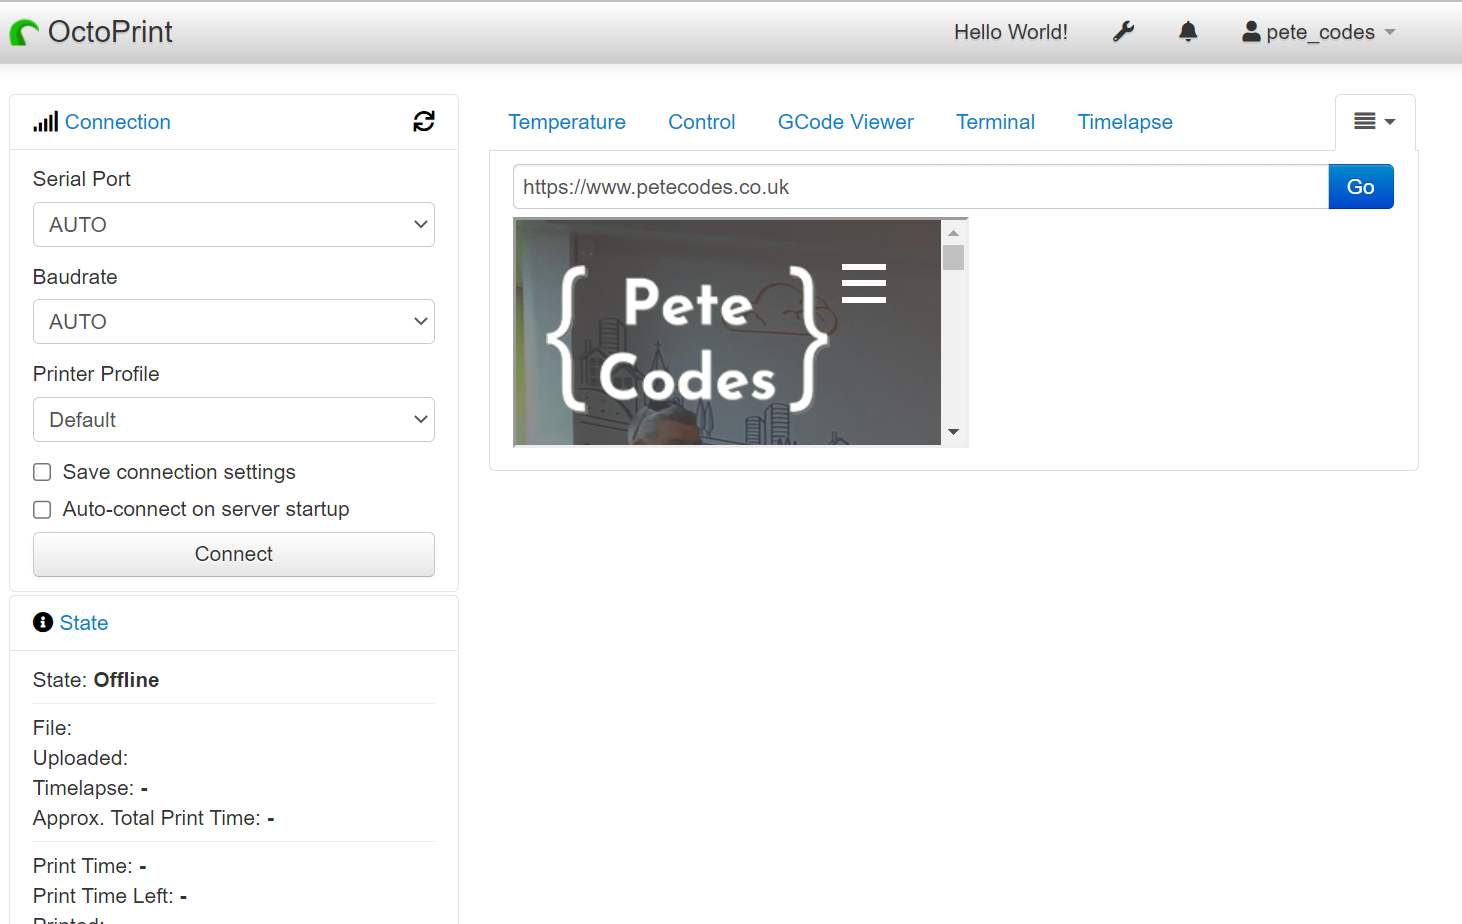
But, I then notice a new hamburger menu at the top right… Clicking that shows us our new HelloWorld tab;
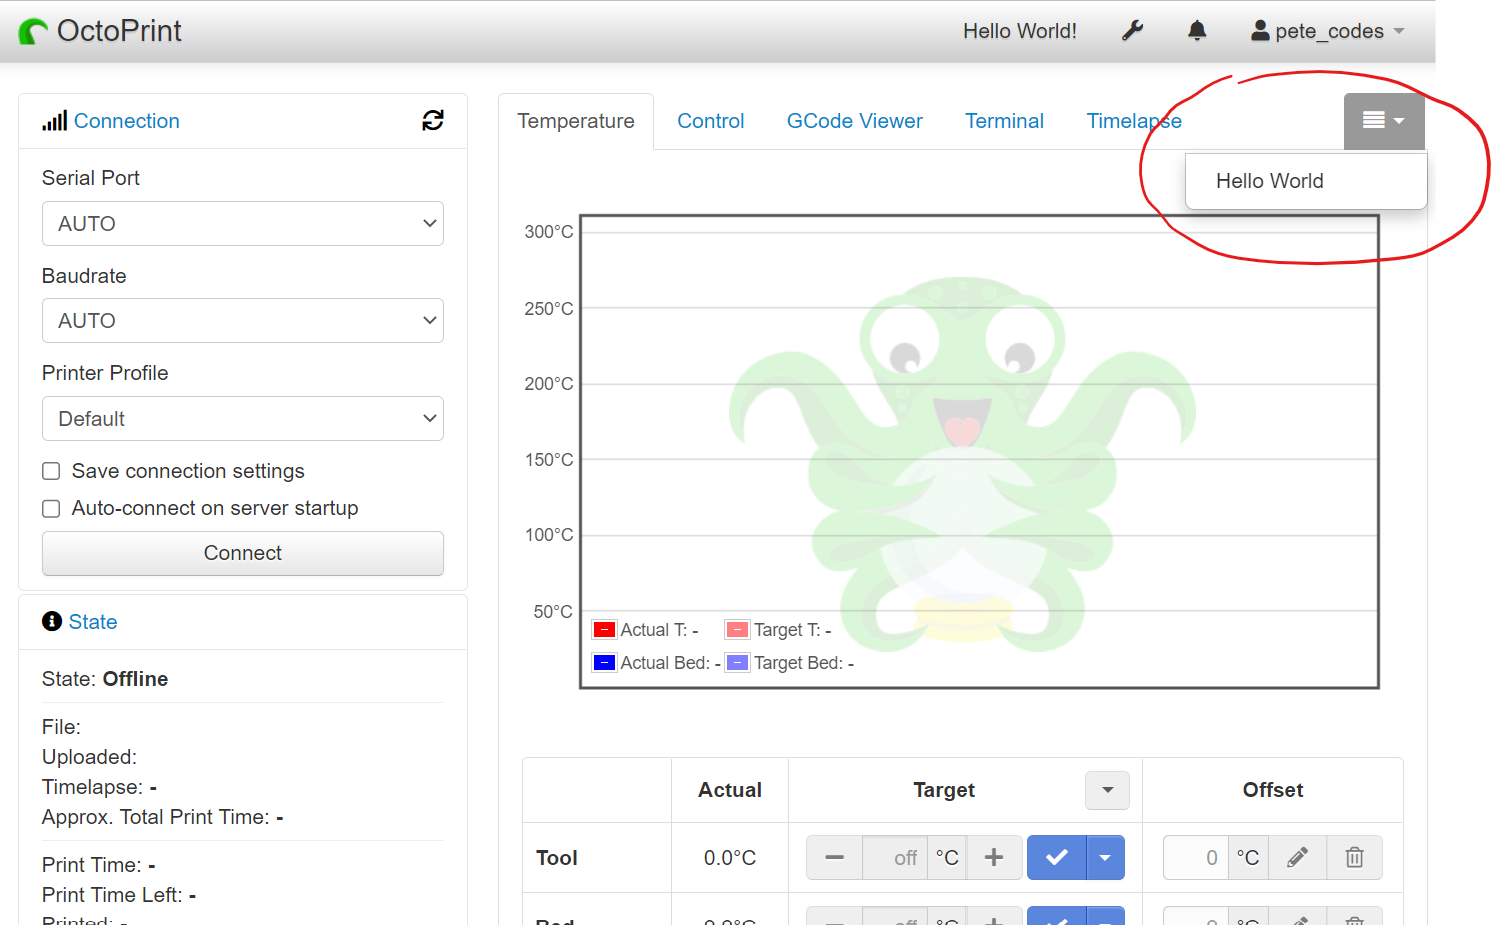
Clicking on our new Hello World Item;
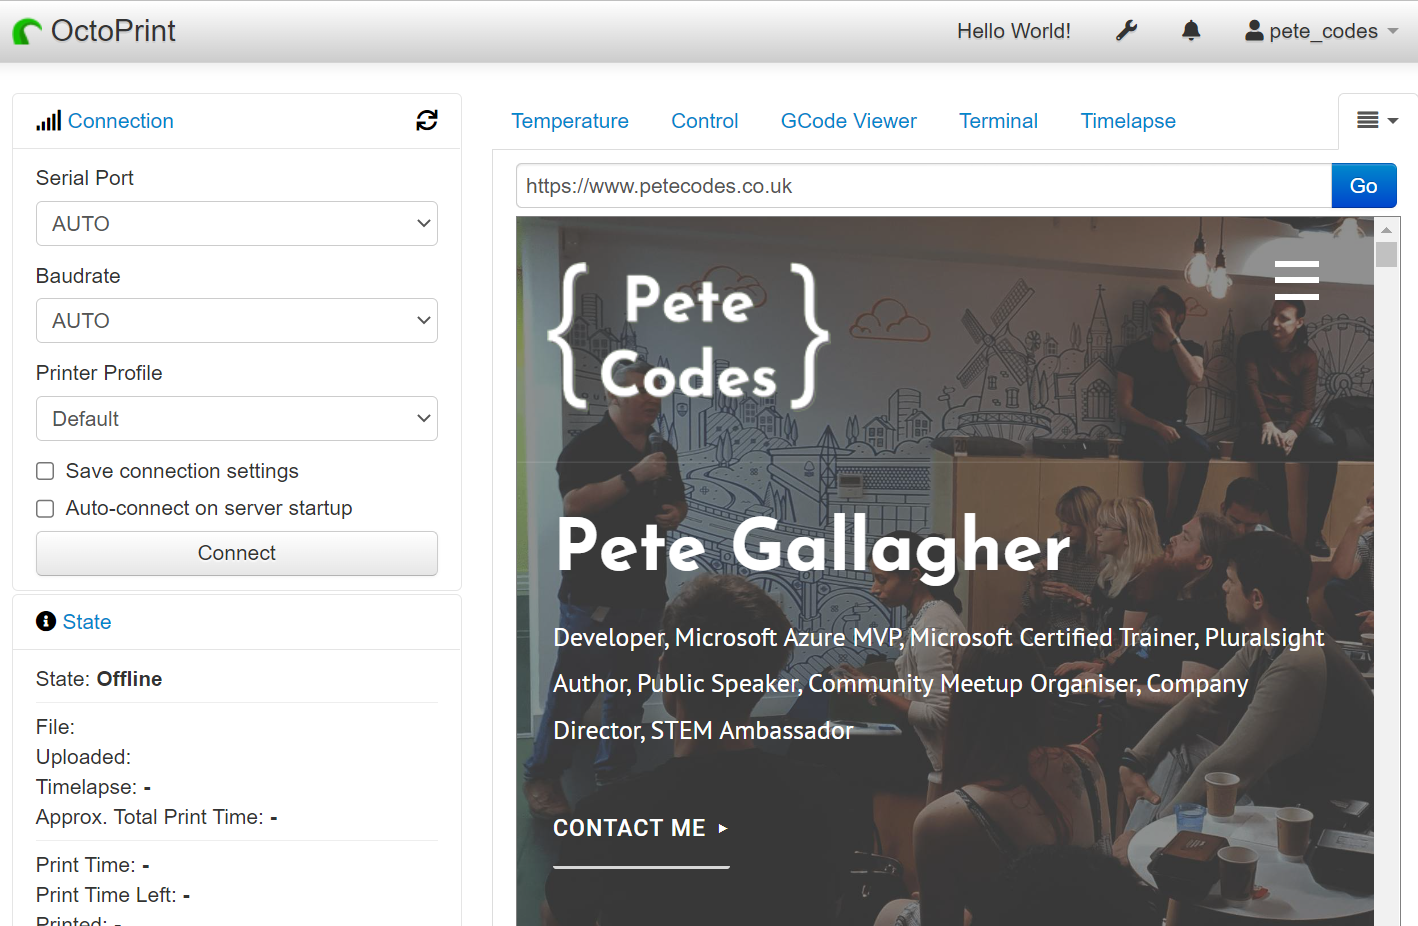
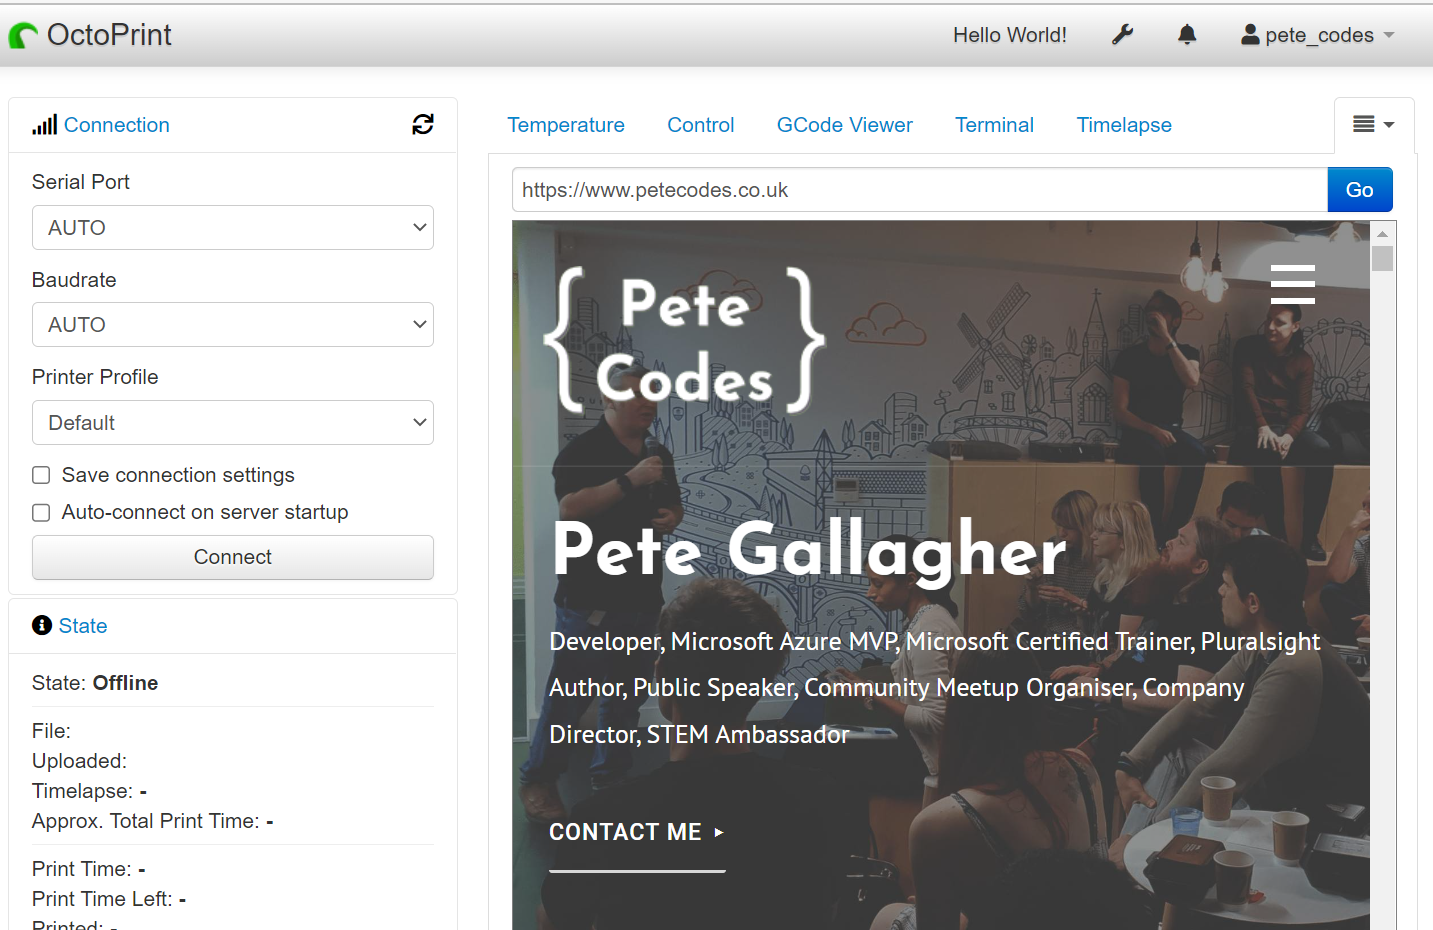
We can see that our new tab works and is loading my website homepage right there in the interface… Pretty cool.
The docs mention that the desktop version of Wikipedia looks a bit squished and we should load the mobile version of Wikipedia instead… Thankfully the PeteCodes.co.uk website is nicely responsive 😉
Injecting Custom CSS
Next up we’re going to add some styling elements into our plugin which will be injected into the OctoPrint UI.
Rather than hard coding styles directly in our template HTML, we can add CSS files to style elements in a reusable and refactored way.
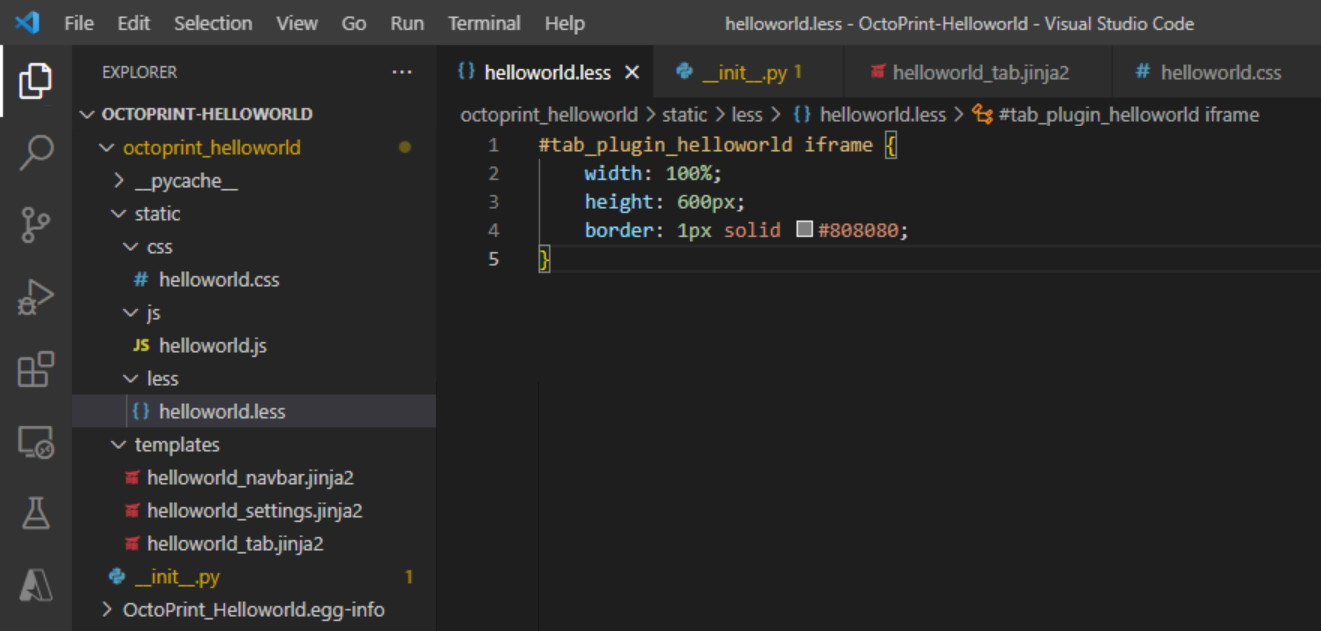
We need to create a css folder within our new static folder, add a new file in there called helloworld.css and insert some styling in there;
#tab_plugin_helloworld iframe {
  width: 100%;
  height: 600px;
  border: 1px solid #808080;
}
Next, we can remove the hardcoded styles from our new tab template;
<div class="input-append">
    <input type="text" class="input-xxlarge" data-bind="value: newUrl">
    <button class="btn btn-primary" data-bind="click: goToUrl">{{ _('Go') }}</button>
</div>

<iframe data-bind="attr: {src: currentUrl}"></iframe>
We now need to add a reference to our new CSS file in the __init__.py file;
import octoprint.plugin
class HelloWorldPlugin(octoprint.plugin.StartupPlugin,
octoprint.plugin.TemplatePlugin,
octoprint.plugin.SettingsPlugin,
octoprint.plugin.AssetPlugin):
def on_after_startup(self):
self._logger.info("Hello World! (more: %s)" % self._settings.get(["url"]))
def get_settings_defaults(self):
return dict(url="https://en.wikipedia.org/wiki/Hello_world")
def get_template_configs(self):
return [
dict(type="navbar", custom_bindings=False),
dict(type="settings", custom_bindings=False)
]
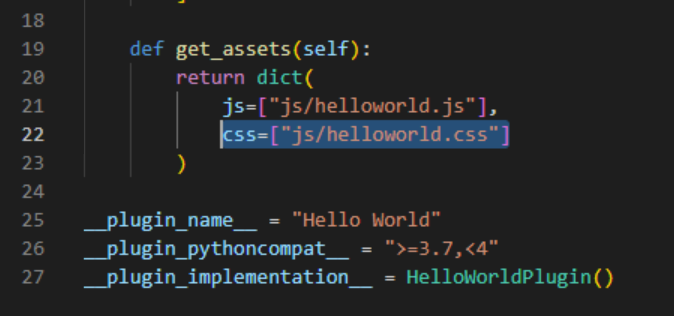
def get_assets(self):
return dict(
js=["js/helloworld.js"],
css=["js/helloworld.css"]
)
__plugin_name__ = "Hello World"
__plugin_pythoncompat__ = ">=3.7,<4"
__plugin_implementation__ = HelloWorldPlugin()The tutorial now suggests that we disable OctoPrints built in bundling of CSS files so we can see how what we’ve done affects OctoPrint.
For this we need to modify the config.yaml file… (Thank goodness we now have one to edit! Ha.) Where we add the following section;
    devel:
      webassets:
        bundle: false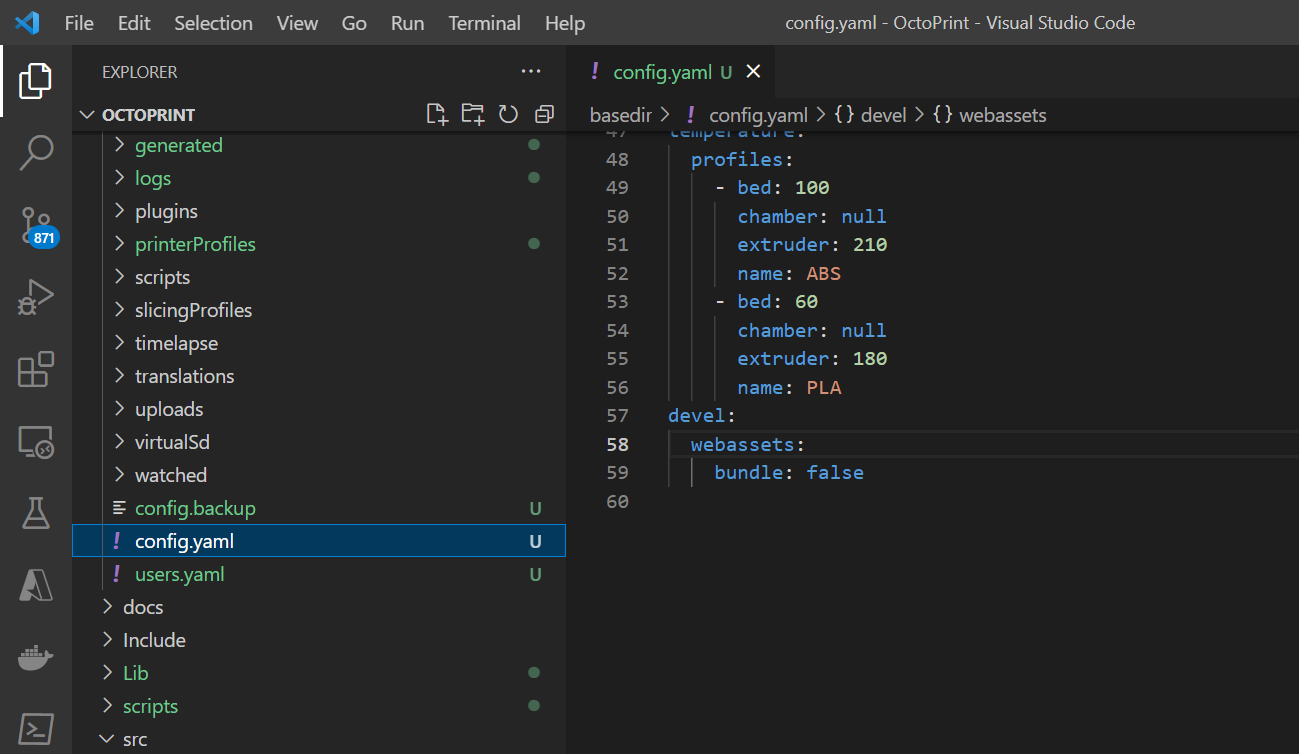
Running OctoPrint up again… While it’s starting up, I notice my extra configuration I added to the end of the config.yaml file has dissapeared;
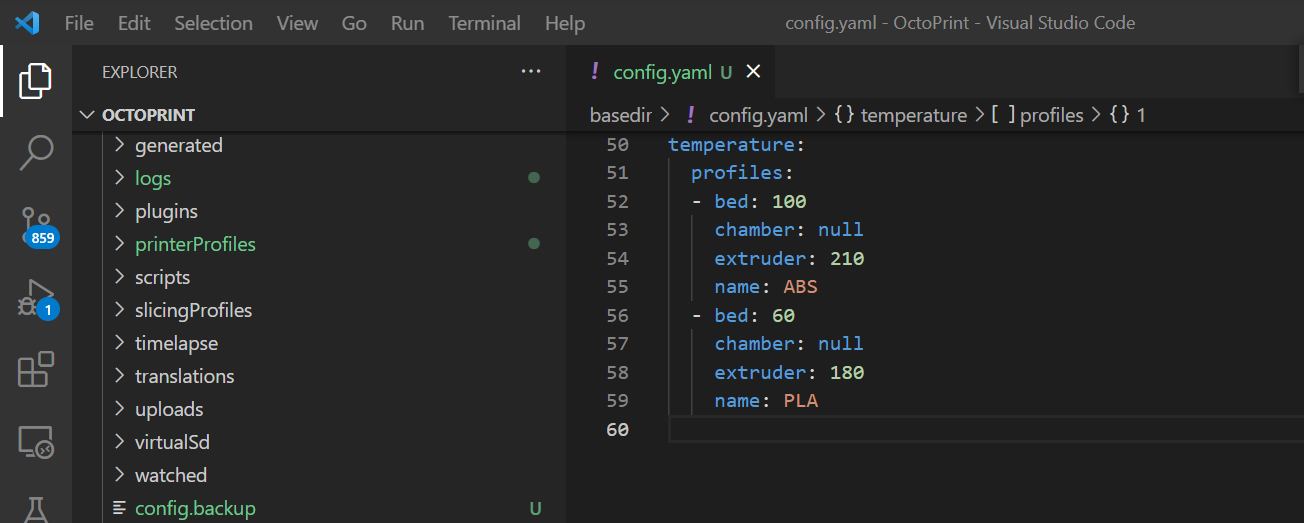
Thankfully, scrolling to the top of the file, I can see our modifications have simply been moved up;
Switching back to the OctoPrint UI and forcing a refresh of the UI with ctrl+F5 and navigating to the Hello World tab;
It looks like the CSS hasn’t taken effect… What’s gone wrong… Let’s check the obvious… Did I save my files?
Ah… Spot the copy-paste error! Yup… js instead of css… Fixing that, restarting the server, force refreshing the OctoPrint UI;
Yey… That’s now working!
More is LESS
OctoPrint uses LESS or Leaner Style Sheets, rather than CSS for styling the UI. LESS adds functionality to CSS such as Variables, Parent Selectors, Merging for aggregating value from multiple properties and so on.
We can also use LESS for our plugin and OctoPrint will use them.
We need to add a less folder to the static folder in our plugin, add a new file called helloworld.less to that and paste in the same CSS as before;
As we did with the CSS file previously, we need to adjust our plugin to load the new LESS file;
import octoprint.plugin

class HelloWorldPlugin(octoprint.plugin.StartupPlugin,
                       octoprint.plugin.TemplatePlugin,
                       octoprint.plugin.SettingsPlugin,
                       octoprint.plugin.AssetPlugin):
    def on_after_startup(self):
        self._logger.info("Hello World! (more: %s)" % self._settings.get(["url"]))

    def get_settings_defaults(self):
        return dict(url="https://en.wikipedia.org/wiki/Hello_world")

    def get_template_configs(self):
        return [
            dict(type="navbar", custom_bindings=False),
            dict(type="settings", custom_bindings=False)
        ]

    def get_assets(self):
        return dict(
            js=["js/helloworld.js"],
            css=["css/helloworld.css"],
            less=["less/helloworld.less"]
        )

__plugin_name__ = "Hello World"
__plugin_pythoncompat__ = ">=3.7,<4"
__plugin_implementation__ = HelloWorldPlugin()
We then need to enable LESS mode in our config.yaml file now;
devel:
  stylesheet: less
  webassets:
    bundle: false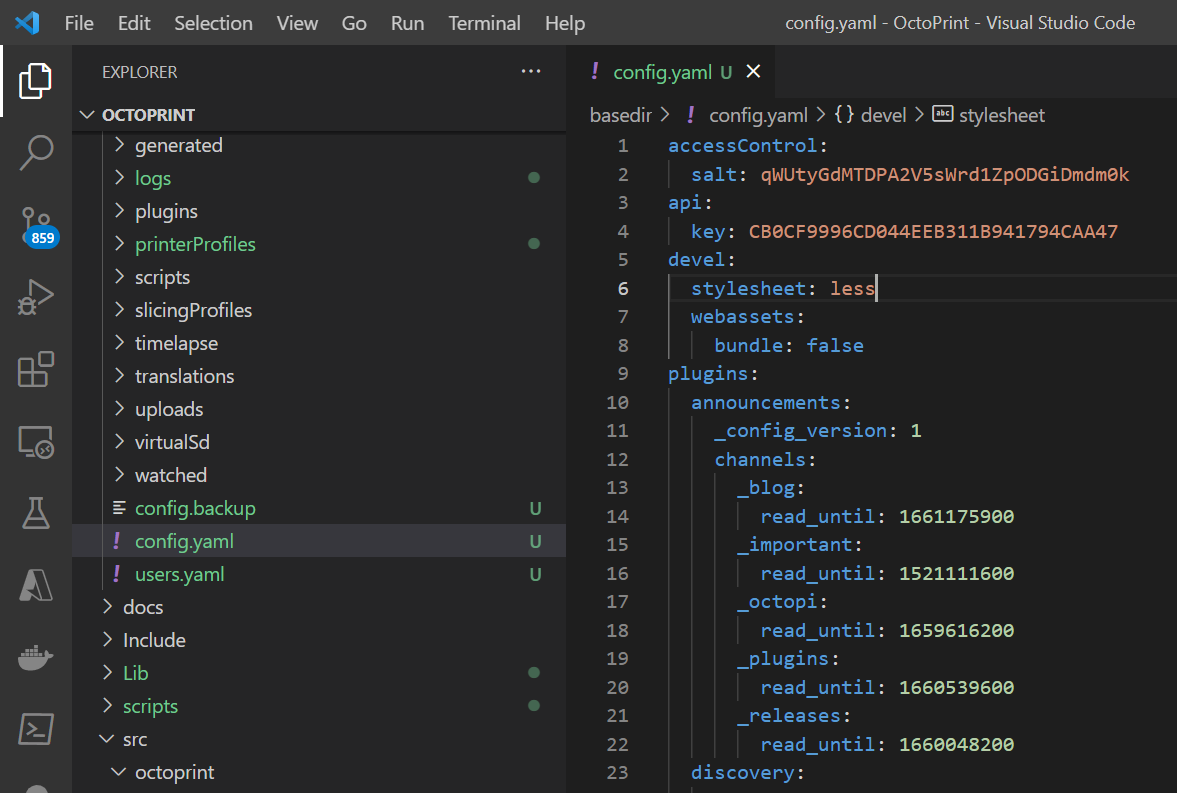
Restarting the OctoPrint Server again, we can have a look at the source for the UI;
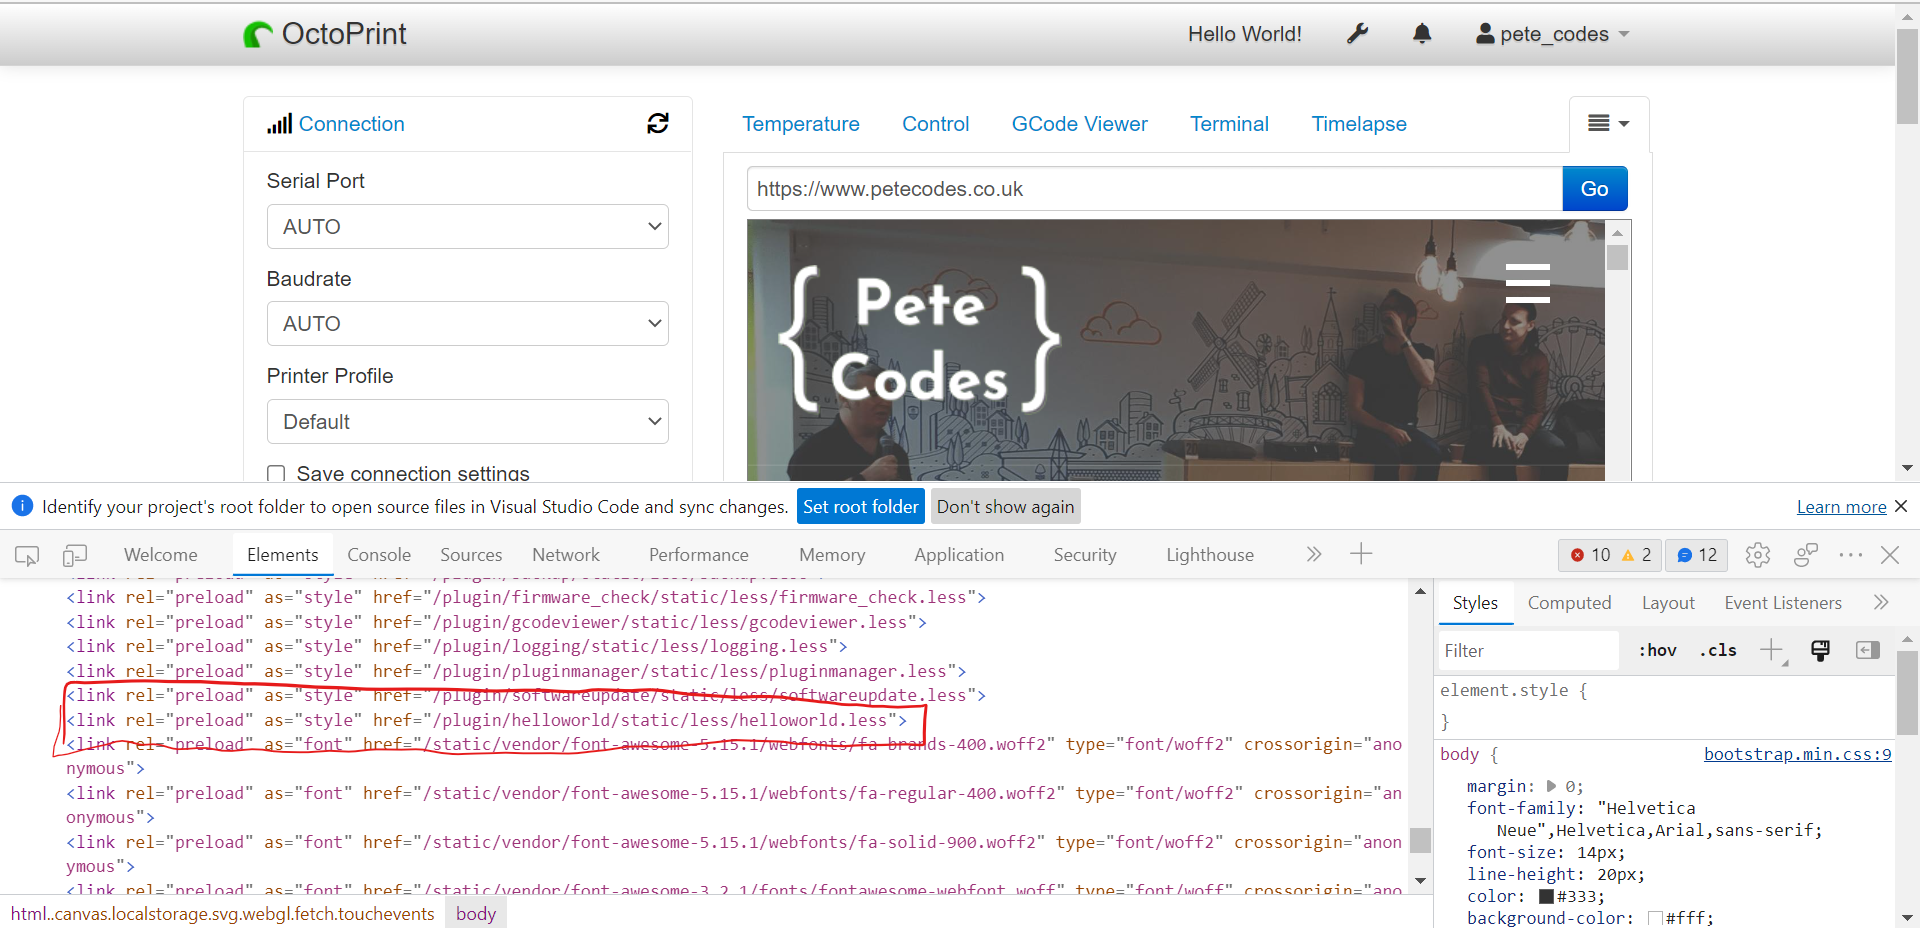
Looking at the head section, we can indeed see that our helloworld.less file has been loaded.
We can now turn bundling back on in our config.yaml by removing;
  webassets:
    bundle: false
Restarting OctoPrint one more time, refreshing the page and checking the head section again;
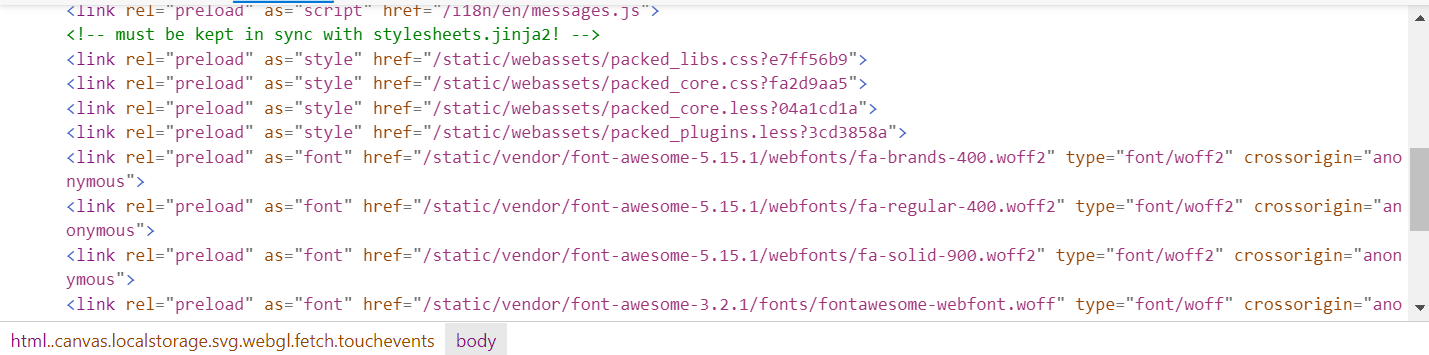
We now have way less files shown here, with a section showing packed CSS and LESS files.
What Next?
The Plugin Tutorial now suggests we have a look at some of the available plugins to get an idea of what to do next… It also calls out the Growl plugin.
For me… I need to start looking at the TouchUI plugin and what I’d like the interface to look like… Try to figure out what work I need to do to achieve the look and feel I’d like.